- Location
- Southern Maryland
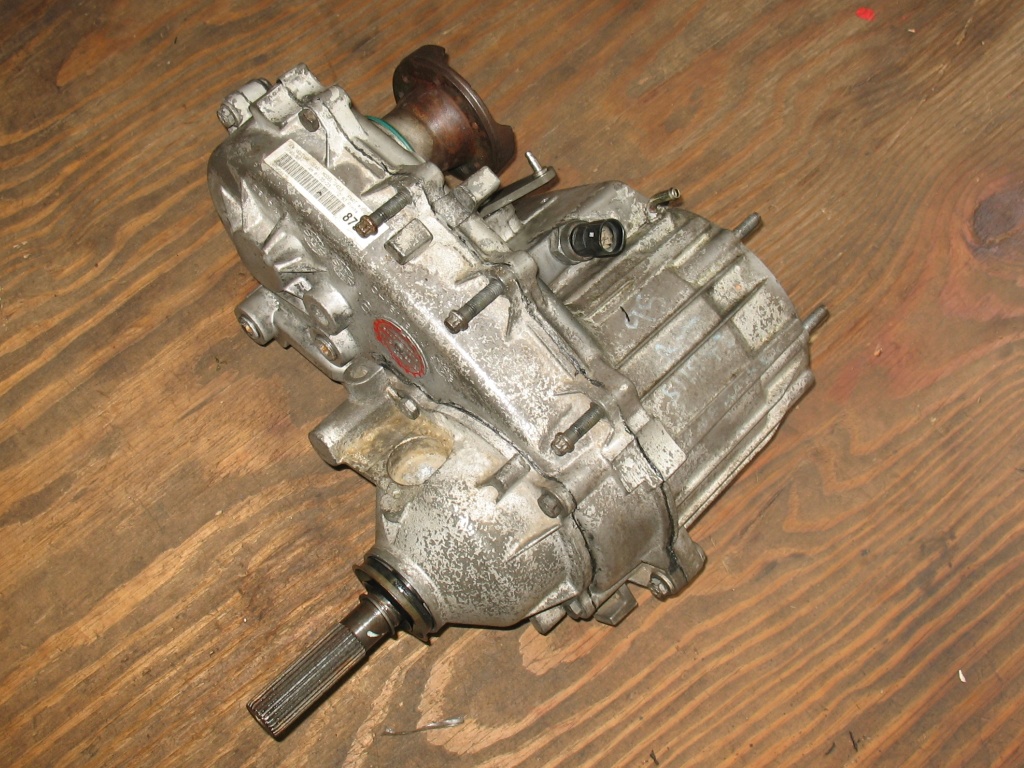
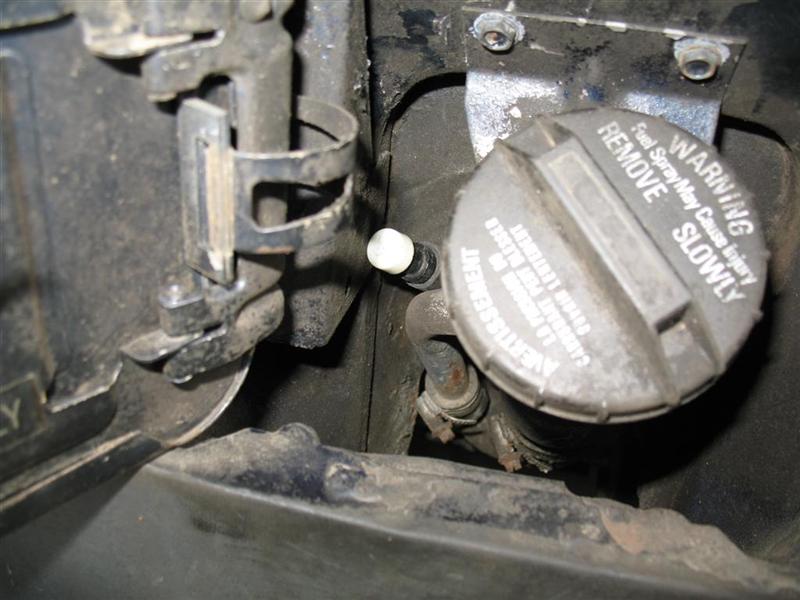
Ever since the powertrain swap, I've had the breather lines from the transmission and transfer case zip-tied to the trans dipstick, while the D30 breather hose ran up the driver UCA (stock) near the brake booster, each of them with the little plastic GM breather caps on top. When I did the D30 swap, I thought I should move that breather to the other UCA and then up the trans dipstick to the others, and do some kind of filter. Finally got all the prerequisites out of the way on this and did it today over lunch.
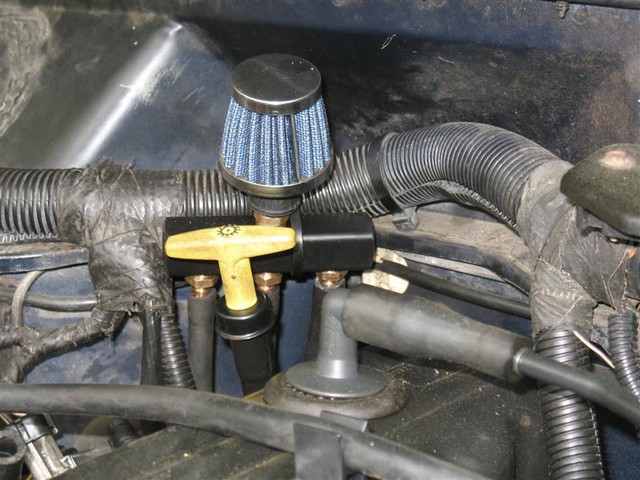
First I bought a 3:1 air manifold with 1/4 NPT threads, and a handful of 1/4 NPT to 5/16 barb adapters. I already had a Spectre breather filter from another project (I think its this one but I don't recall exactly), and I had already drilled out the input to a little over 1/2 inch.

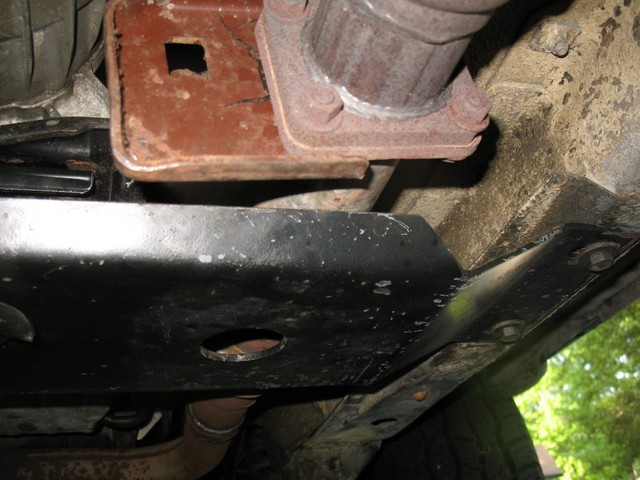
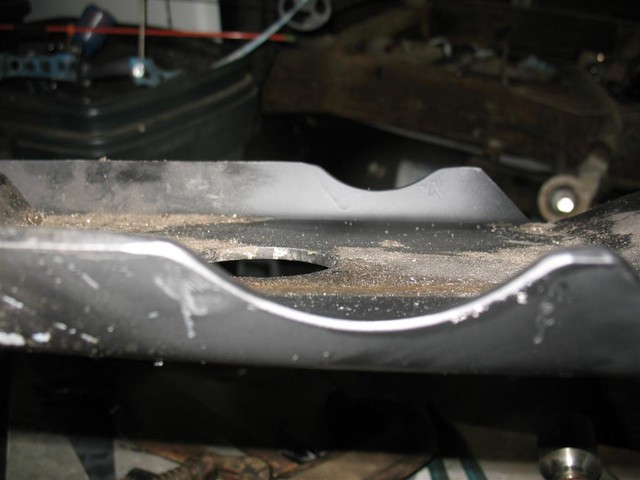
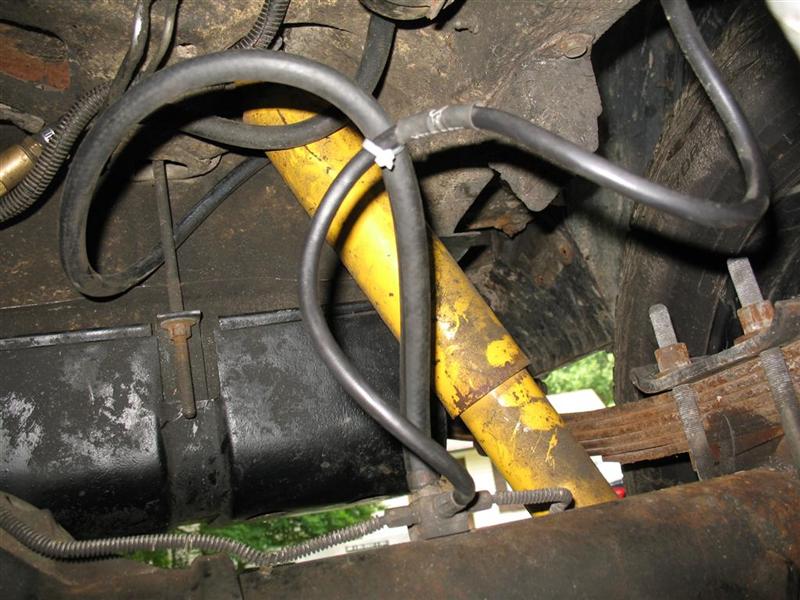
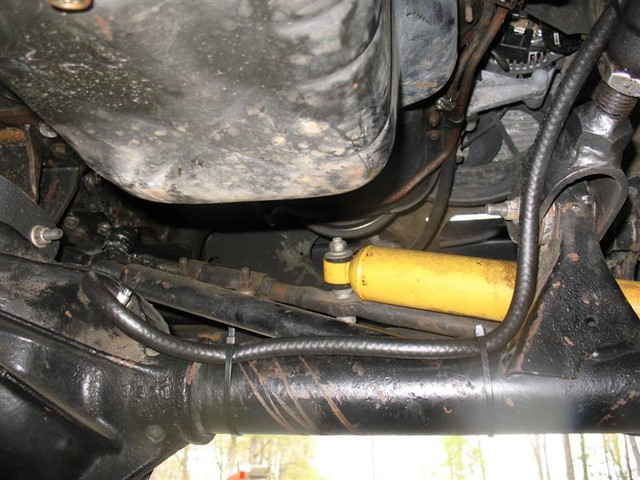
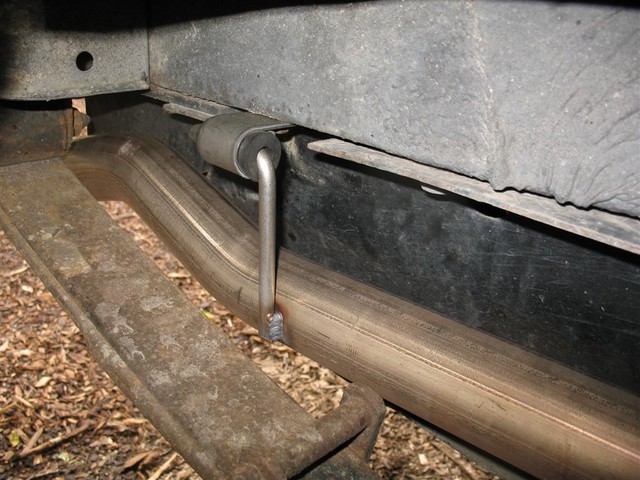
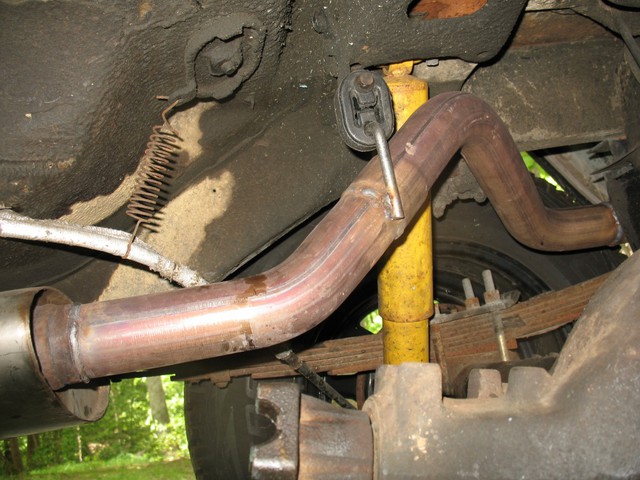
Next I bought 10 feet of 5/16 ID oil hose, and ran it along the axle and up the upper control arm to the body mount. From there it was a short jump to the transmission dipstick.
Then tied the breather lines from the transmission, transfer case, and D30 axle into the manifold. I used a small 1" piece of hose on the top port and jammed the breather filter onto that. Then strapped the manifold to the main wiring harness to get it out of the way.
This is better than the old setup for a couple of reasons, primarily because the filter should prevent dust and moisture from getting into the fluid lines, also because its cleaner setup and therefore easier to work on and around.
Potential downside is that there is a possibility of fluid contamination if anything boils up that high. The real risk there is the transmission fluid (transfer case and D30 are very unlikely), although I suspect it will boil out the dipstick before the breather line. I plan to add a temperature gauge to the transmission at some point, so hopefully it won't happen before then.
First I bought a 3:1 air manifold with 1/4 NPT threads, and a handful of 1/4 NPT to 5/16 barb adapters. I already had a Spectre breather filter from another project (I think its this one but I don't recall exactly), and I had already drilled out the input to a little over 1/2 inch.
Next I bought 10 feet of 5/16 ID oil hose, and ran it along the axle and up the upper control arm to the body mount. From there it was a short jump to the transmission dipstick.
Then tied the breather lines from the transmission, transfer case, and D30 axle into the manifold. I used a small 1" piece of hose on the top port and jammed the breather filter onto that. Then strapped the manifold to the main wiring harness to get it out of the way.
This is better than the old setup for a couple of reasons, primarily because the filter should prevent dust and moisture from getting into the fluid lines, also because its cleaner setup and therefore easier to work on and around.
Potential downside is that there is a possibility of fluid contamination if anything boils up that high. The real risk there is the transmission fluid (transfer case and D30 are very unlikely), although I suspect it will boil out the dipstick before the breather line. I plan to add a temperature gauge to the transmission at some point, so hopefully it won't happen before then.


")