- Location
- In a strange land
I am writing this up because every time I go through this process I find I am missing something, invariably something that is not readily available locally.
Here is the list of everything I want to have on hand next time I do this:
4 quarts of Redline MT-90 or MTL
AX-15 shifter overhaul kit (rubber boot, polyurethane spacer/washer/pivot & shifter ball bushing)
Replacement tunnel boot (get one for a TJ, they don’t seem to offer them for an XJ anymore)
Replacement console boot
There are two reasons for combining these two jobs. For one, it is much easier to fill the AX-15 from above than from below, and for another, the shifter and rubber boots probably all need serviced. Again.
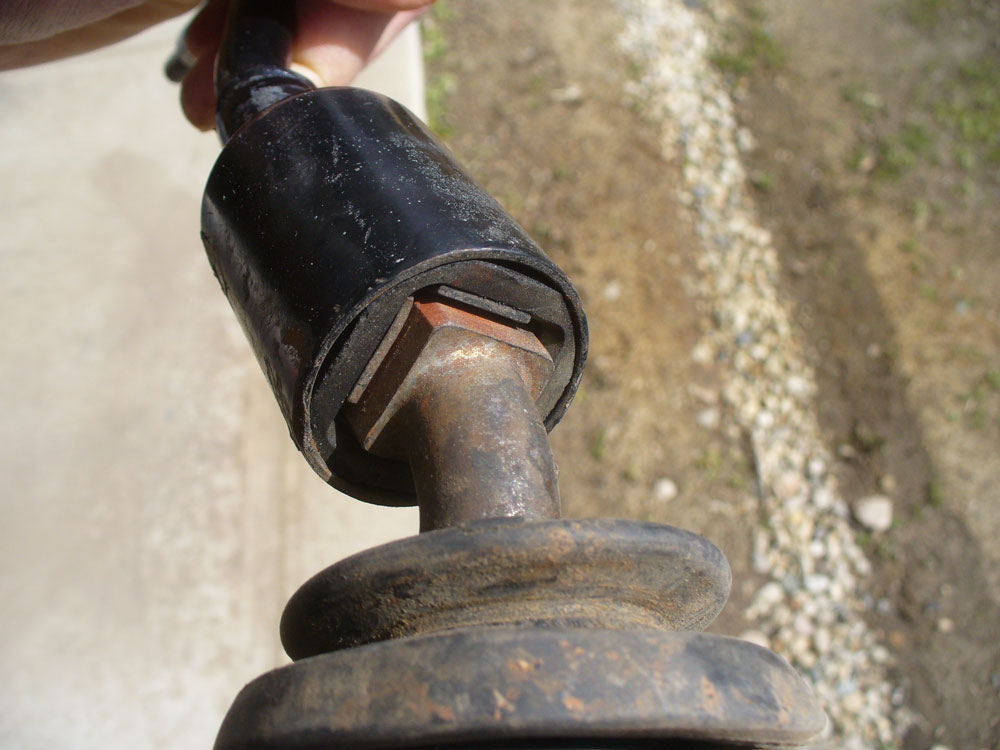
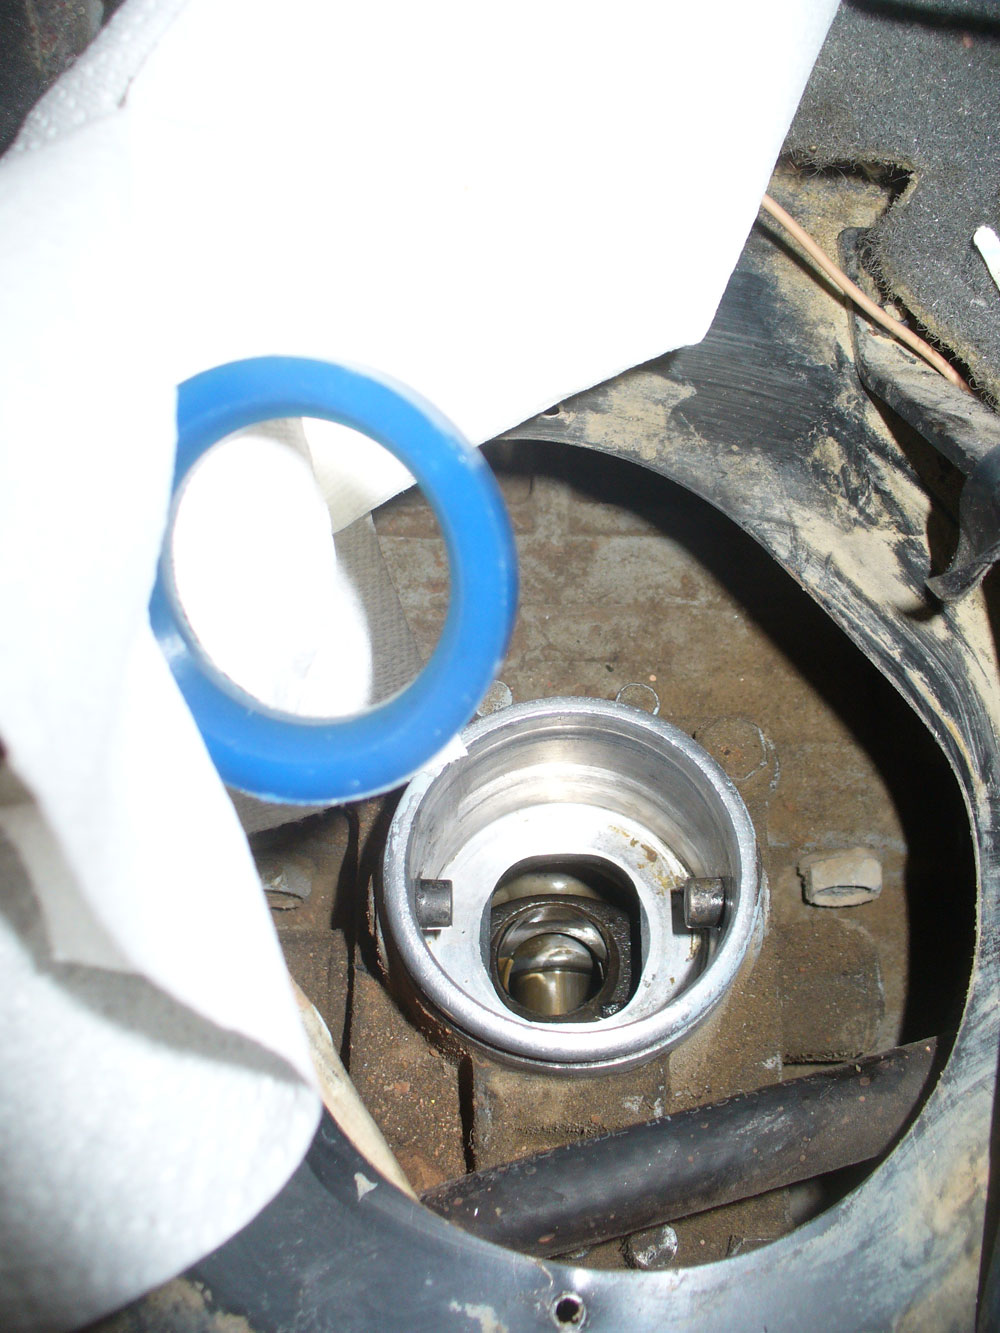
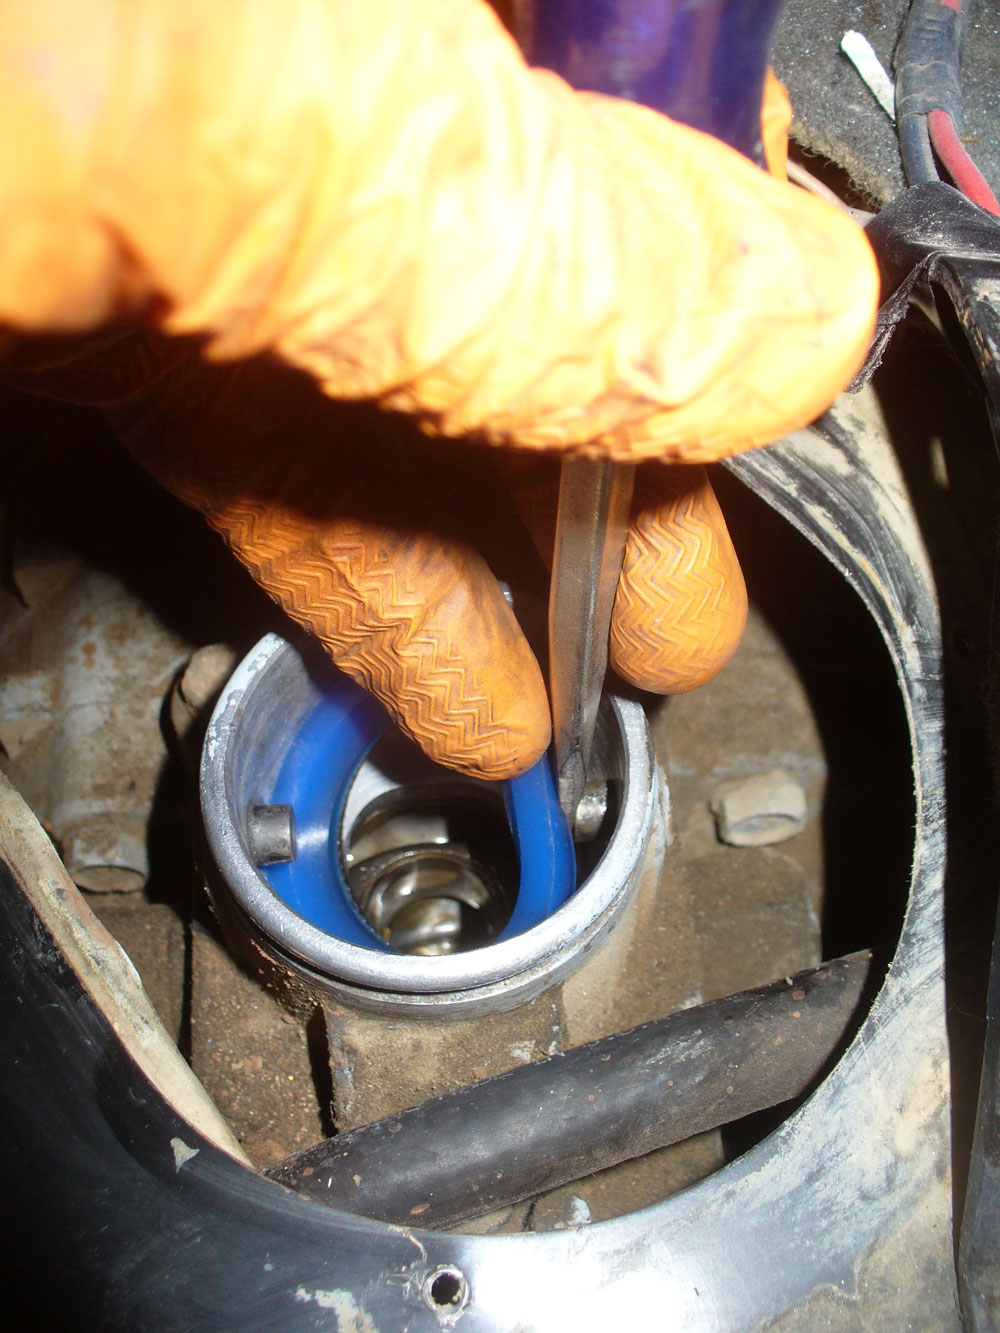
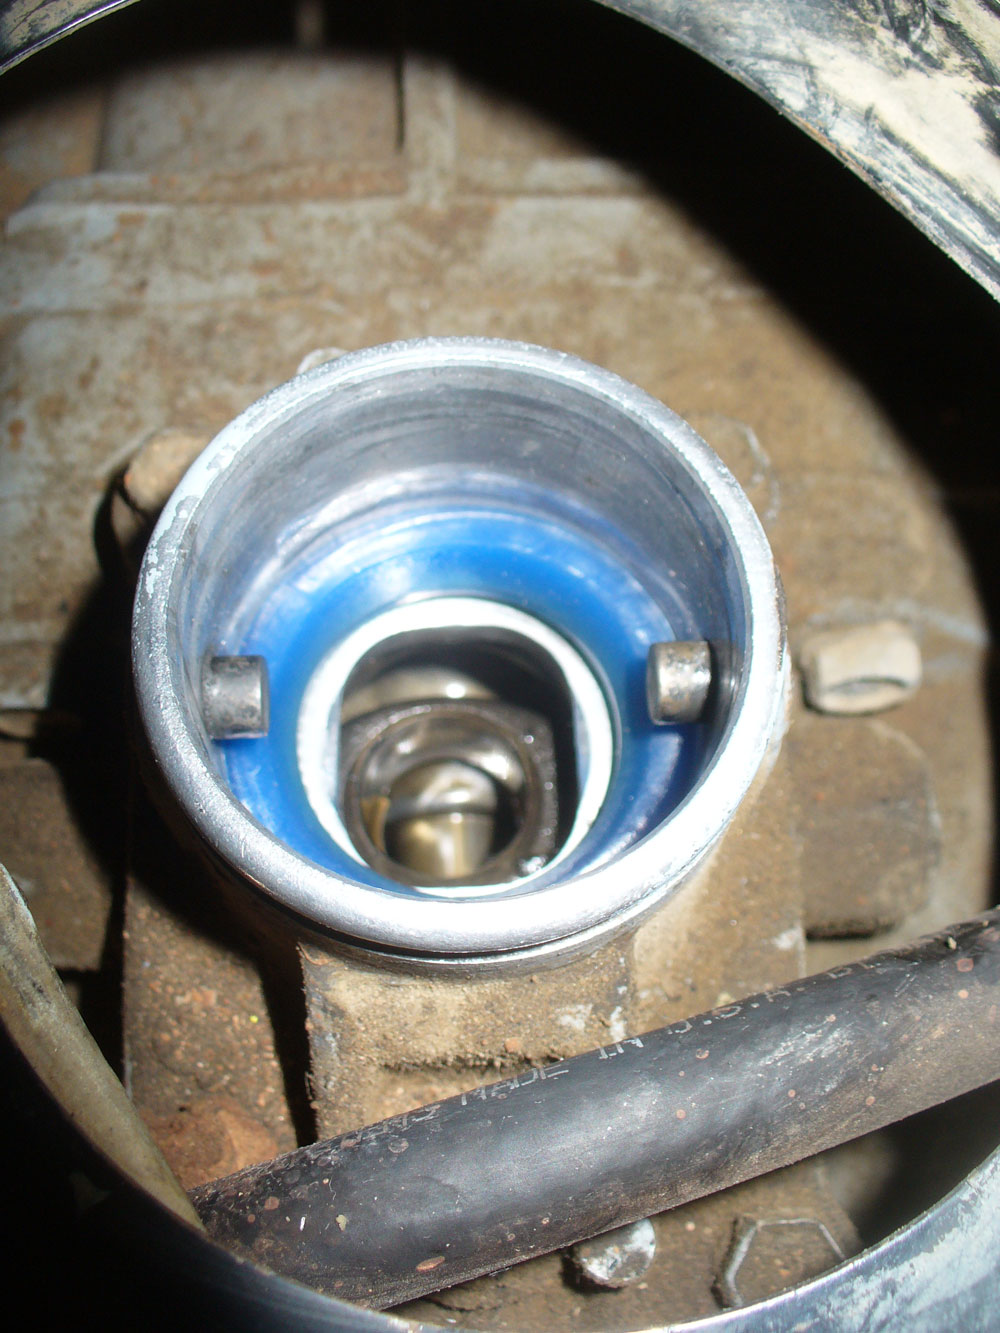
Here is one of the reasons this job needs done this way:
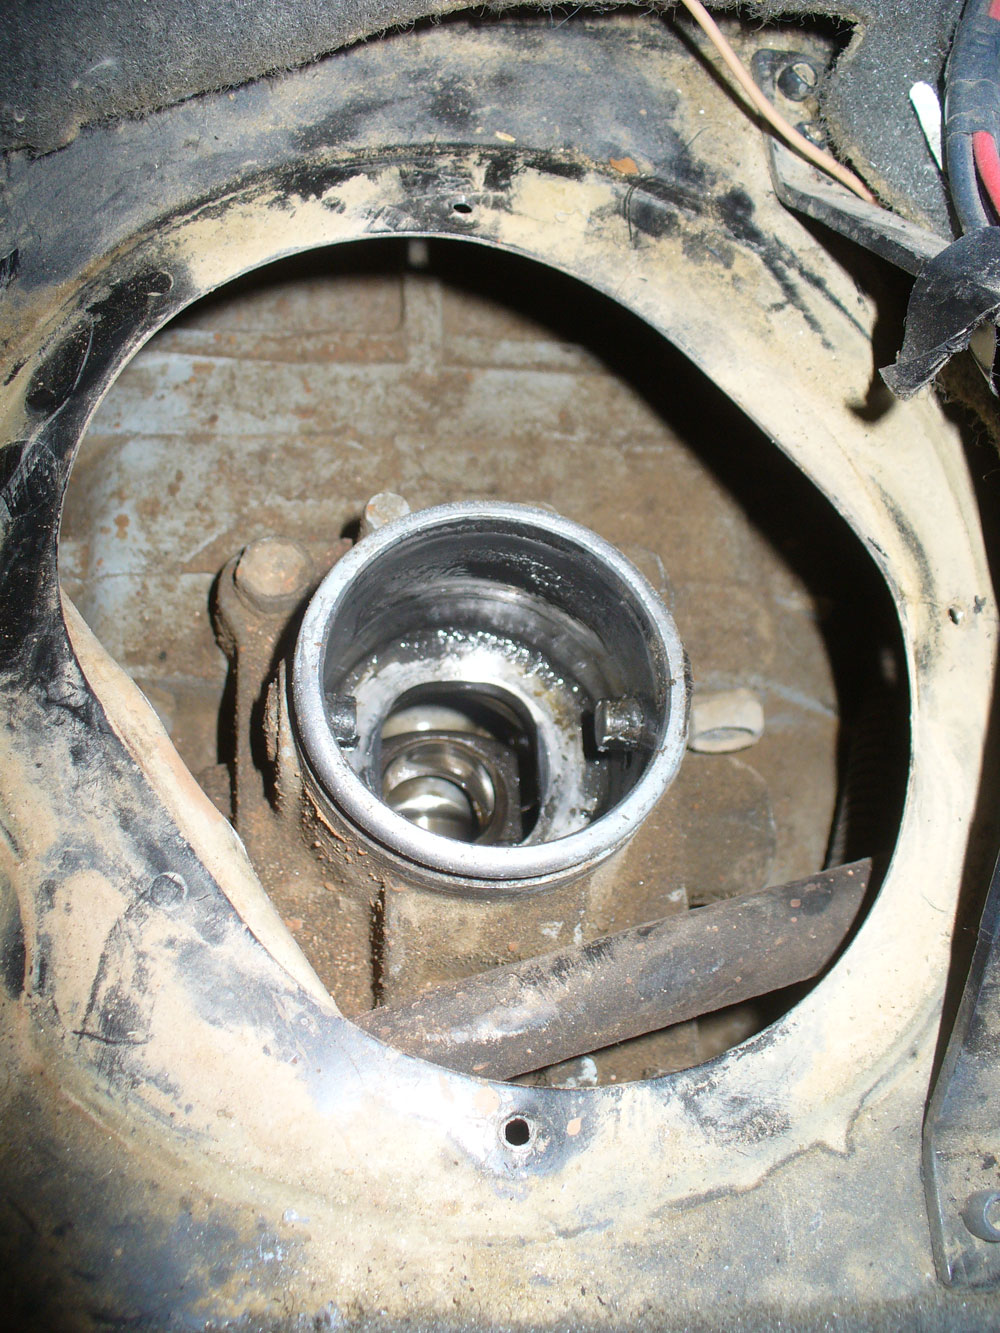
I had never before realized it, but there is a piece missing at the bottom of that recess. From what I have read from others it is pretty common for that bottom washer/cup to be missing. No need to try to guess where it goes, but I would much prefer it didn’t go there. Better to replace it before giving it the chance.
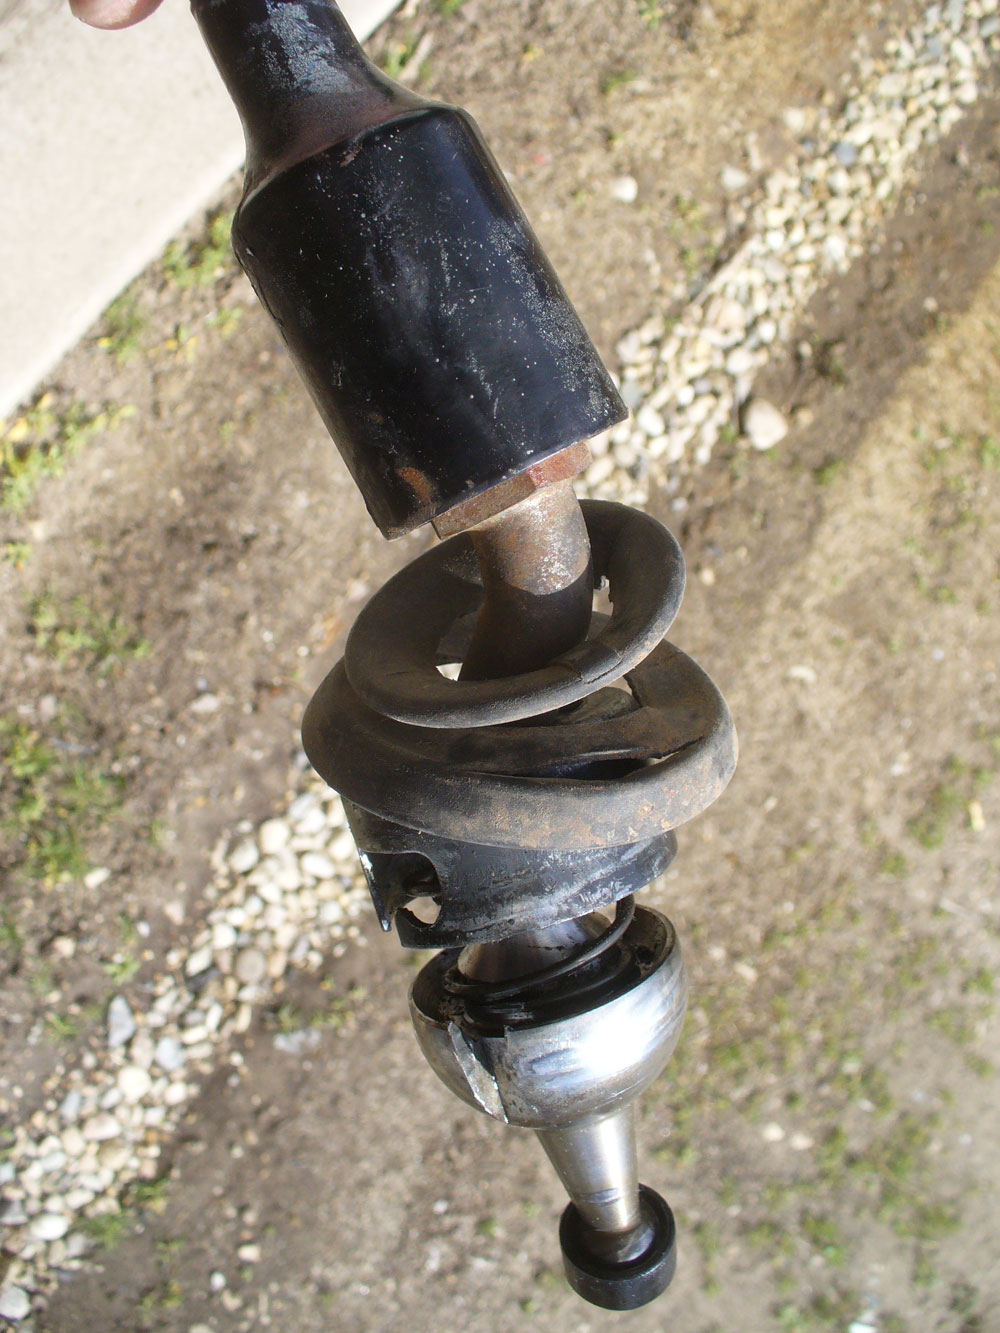
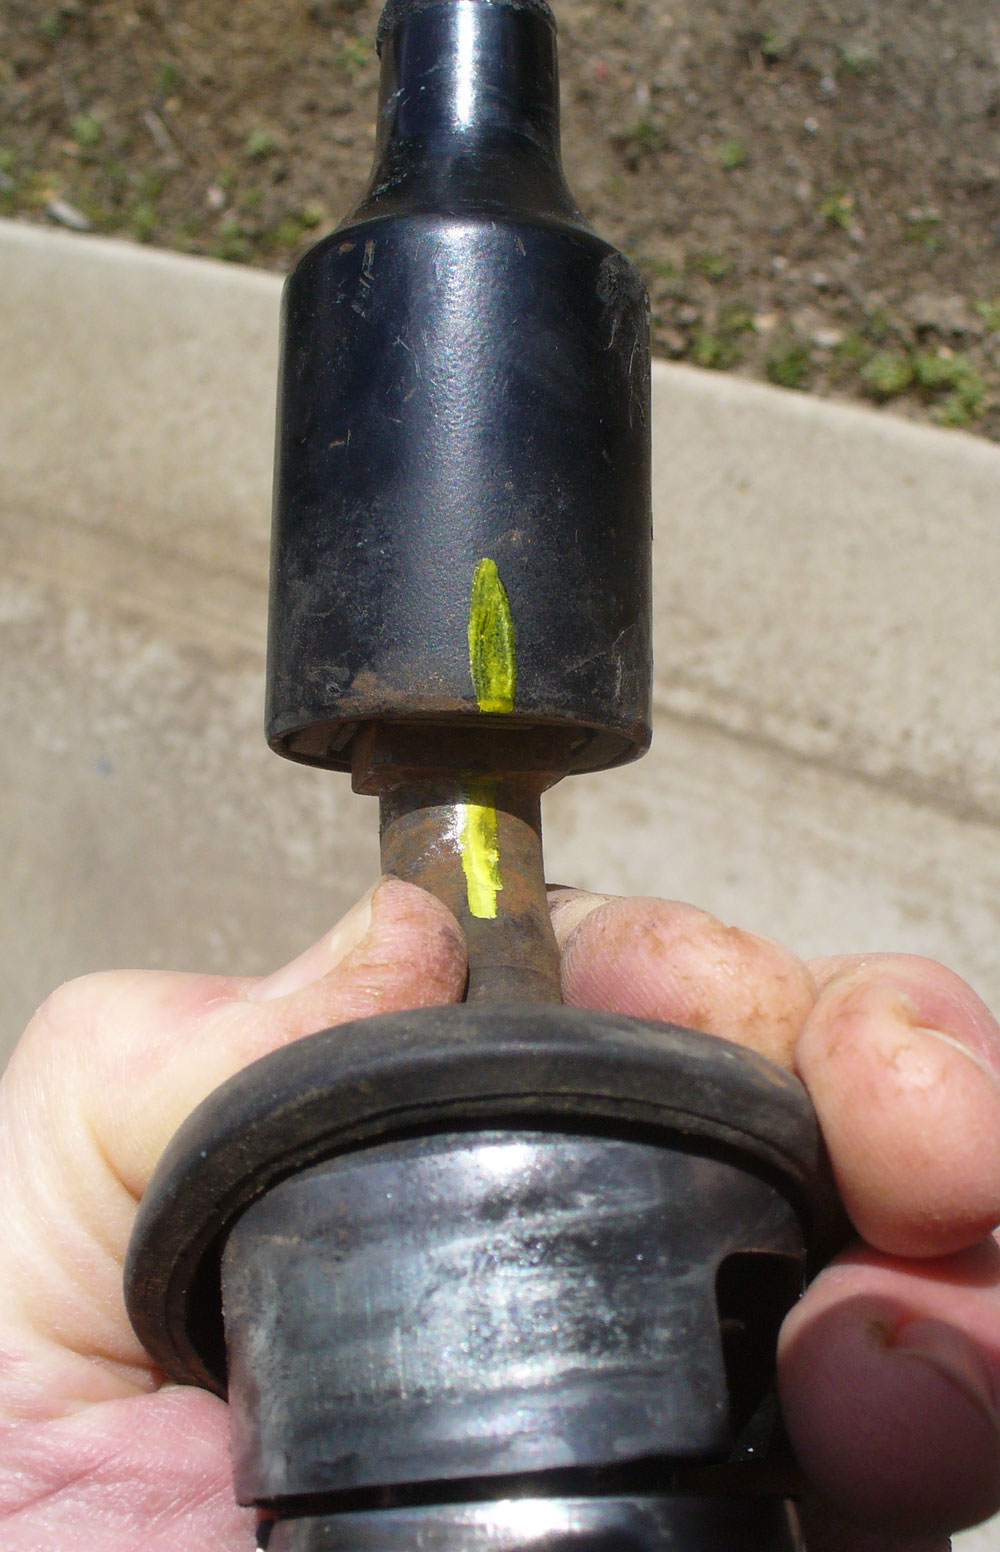
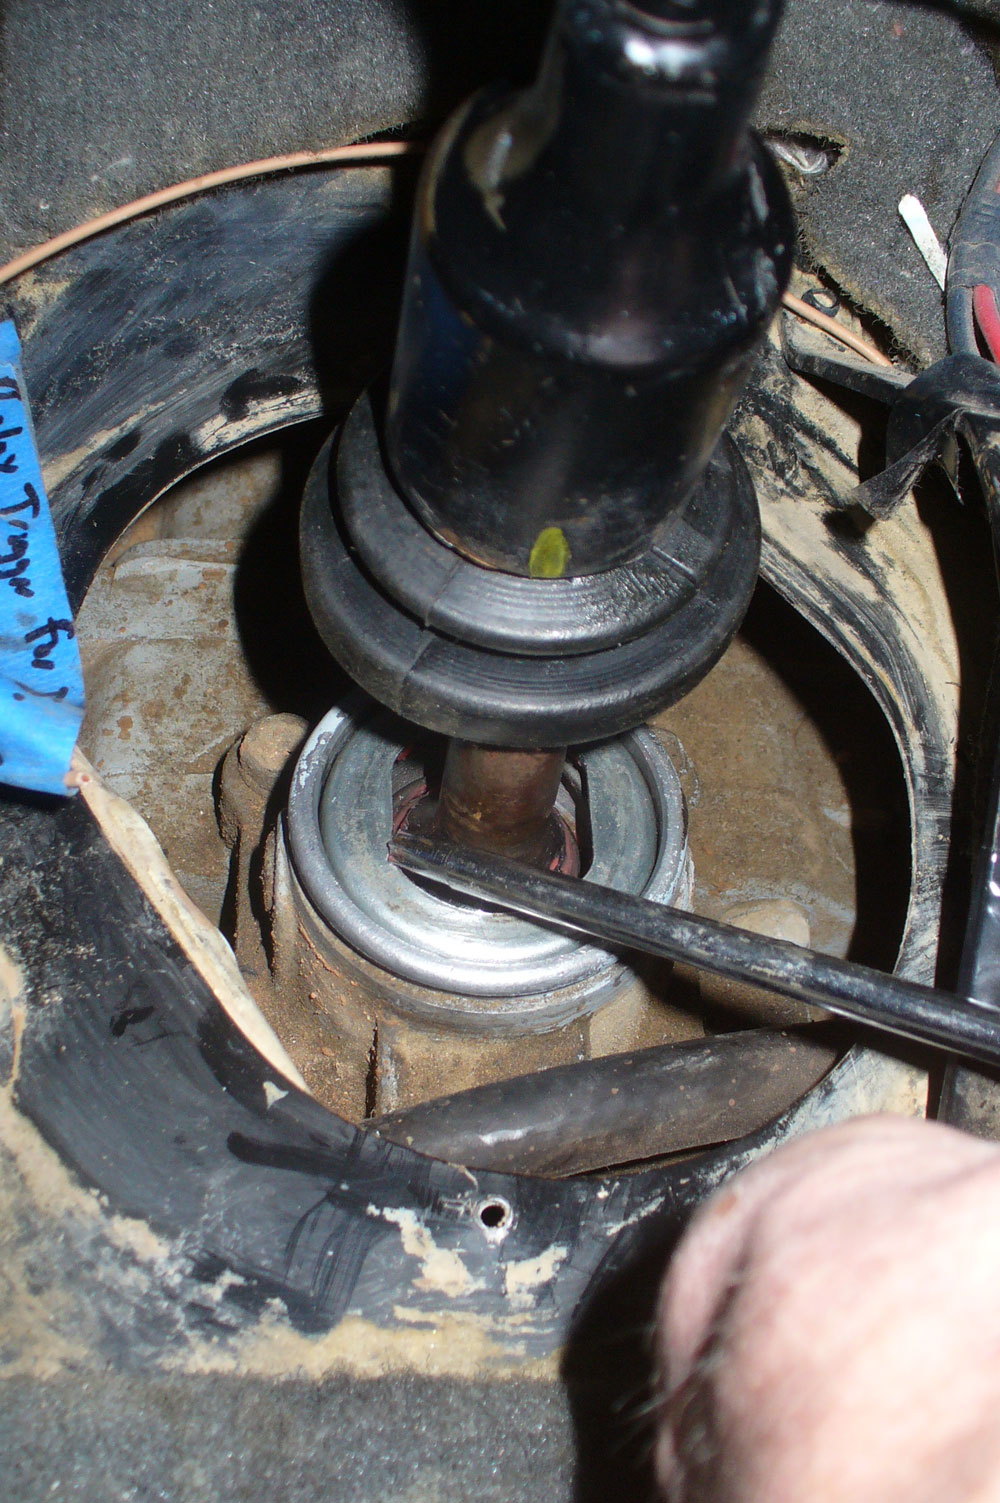
And there are three rubber boots that probably all need replaced too. This one on the shifter is the biggest challenge:
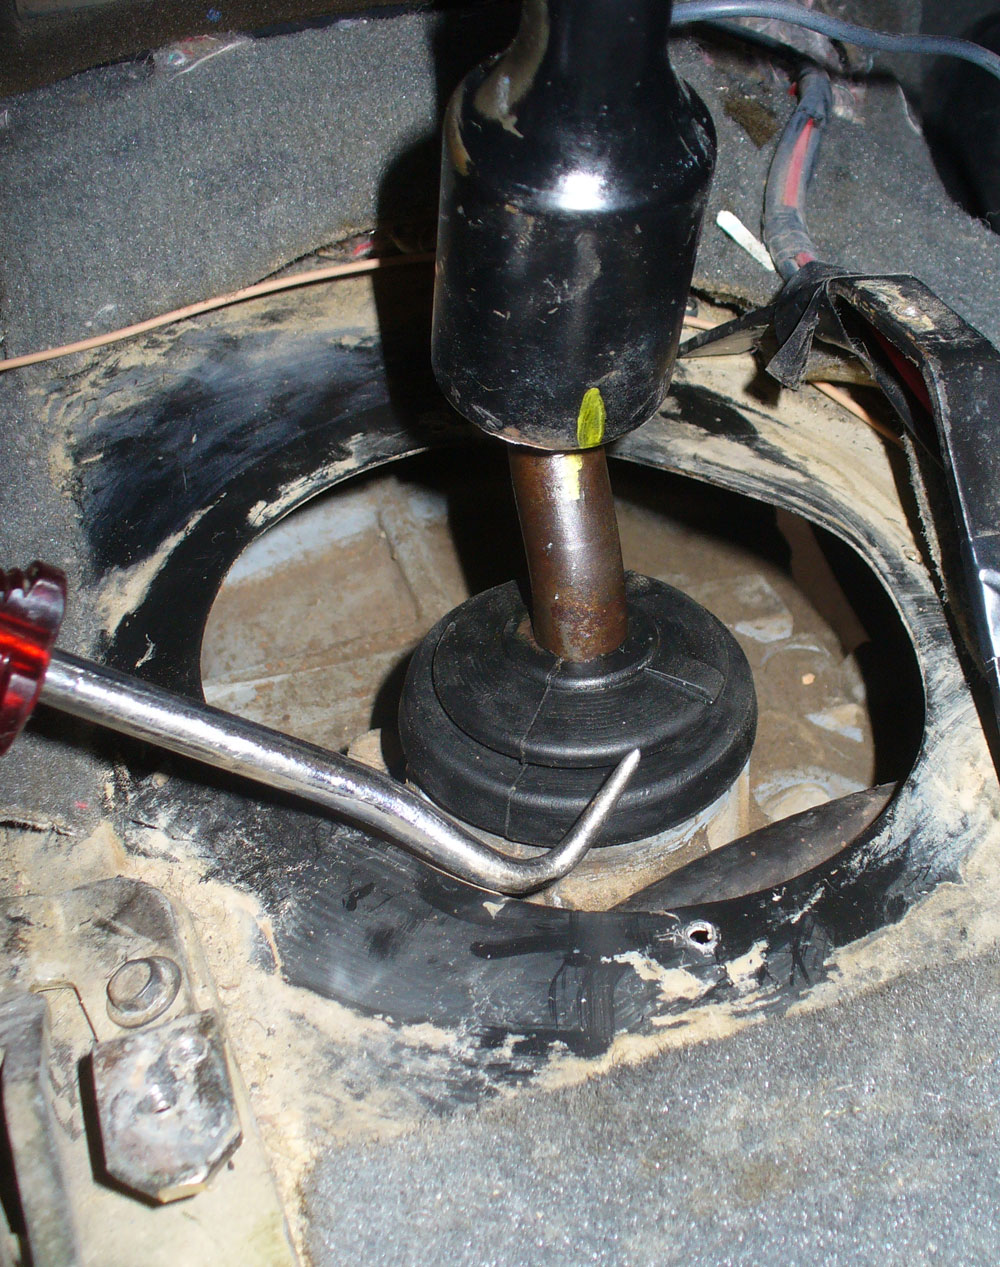
There is also the one that seals the tunnel:
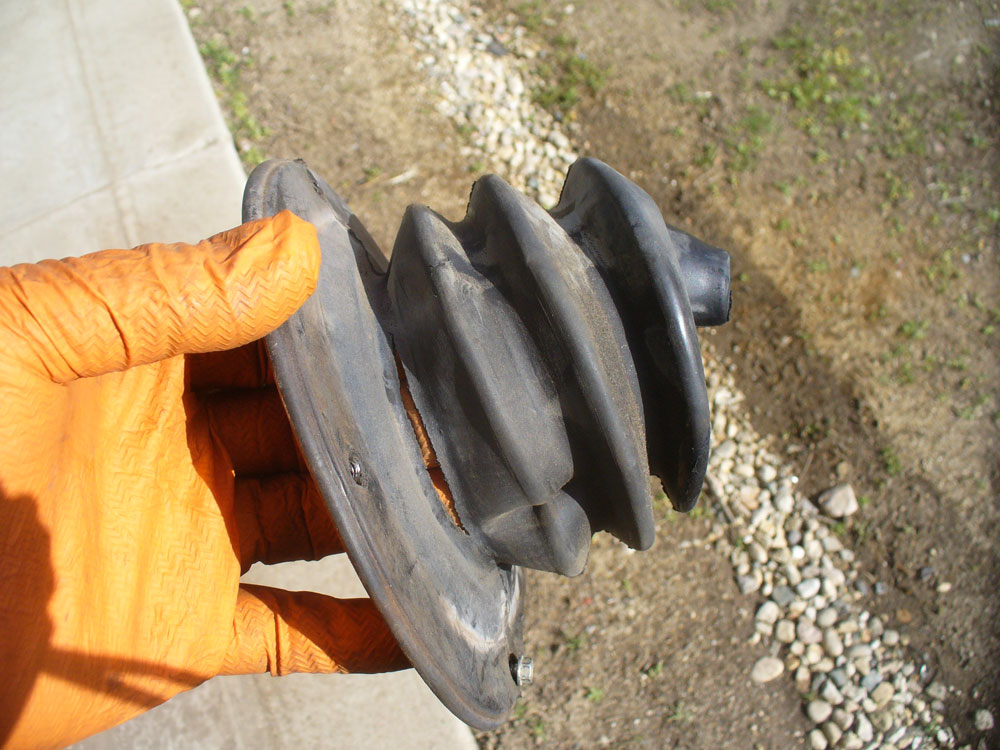
And there is the one for the console:
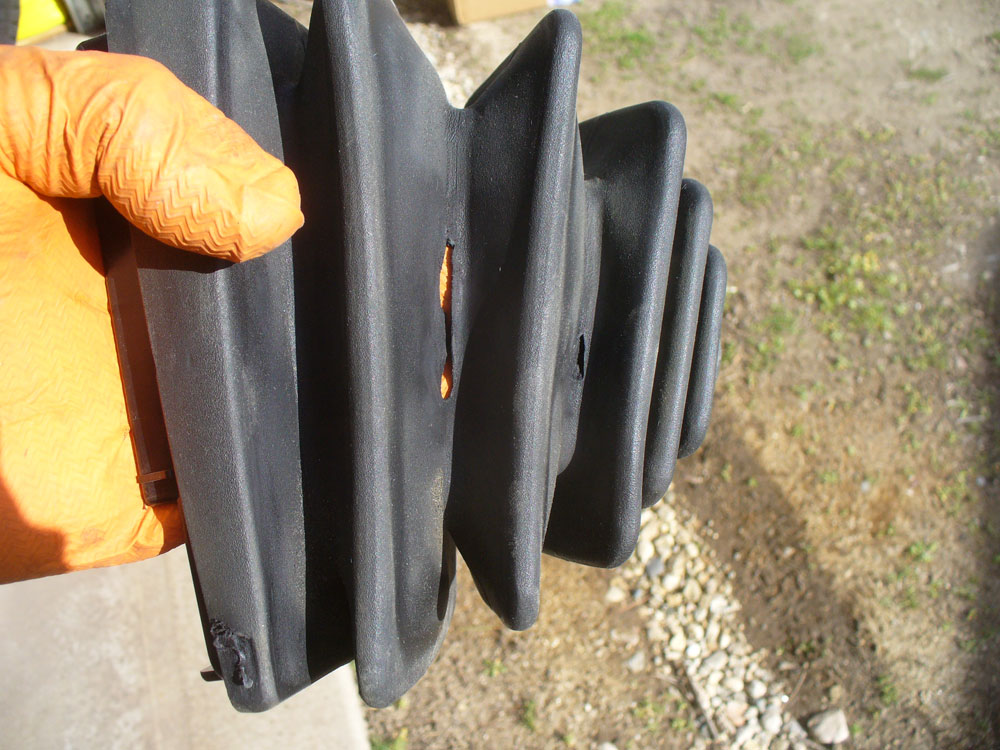
That one for the tunnel and the one for the console were replacements about 7 years ago. As you can see, they are due for replacement again. Lamentably I did not have their replacements on hand as I did not realize they had those holes in them until I removed them. They got reinstalled as they are this time around. Hopefully next time I will have ALL the parts I need.
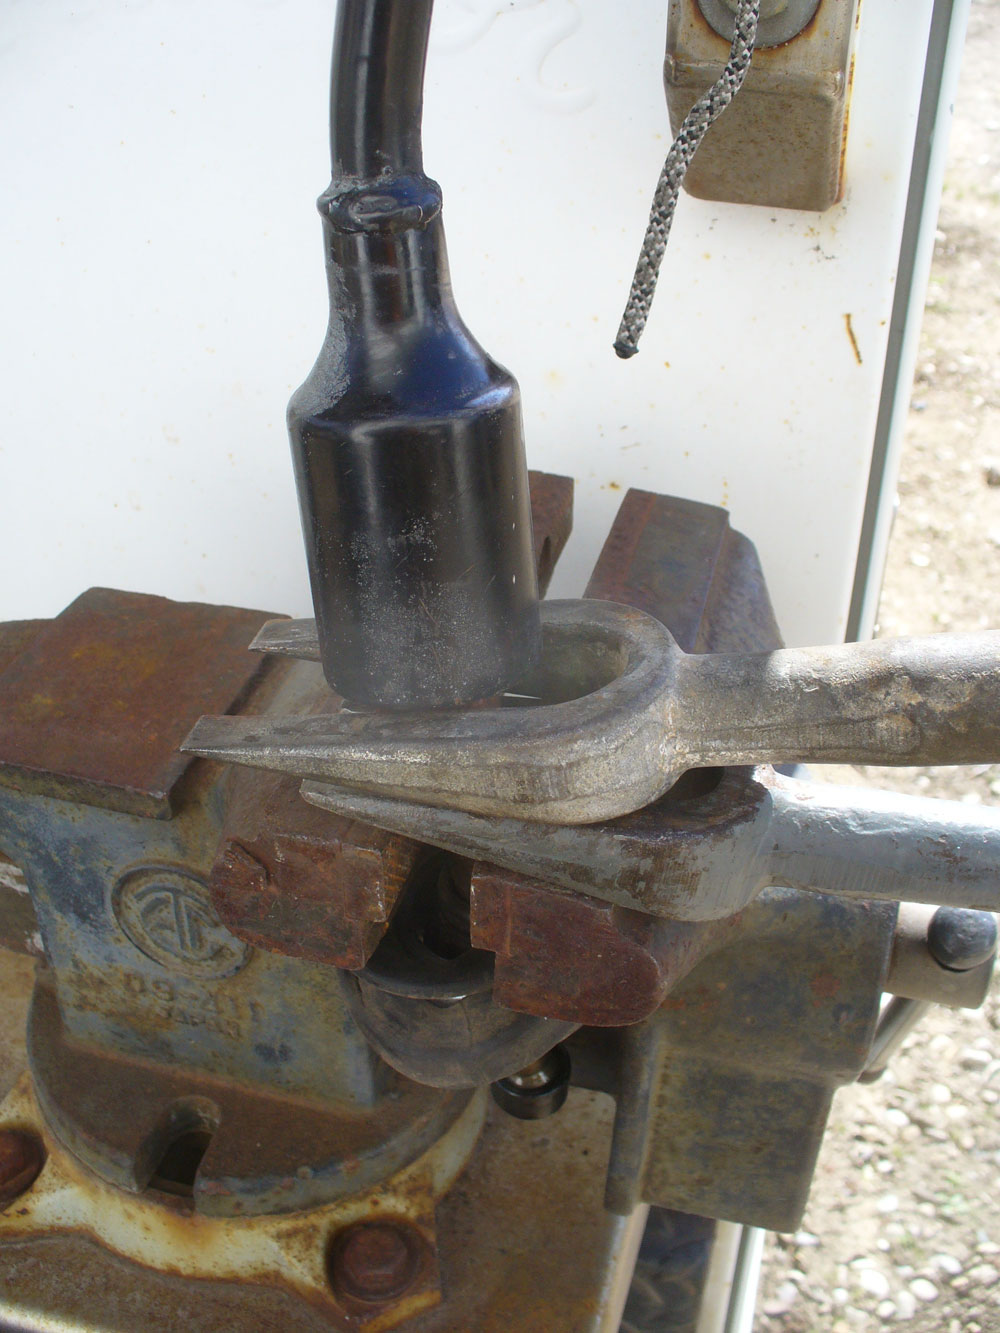
I ordered a shifter rebuild kit off ebay. This is what I got:
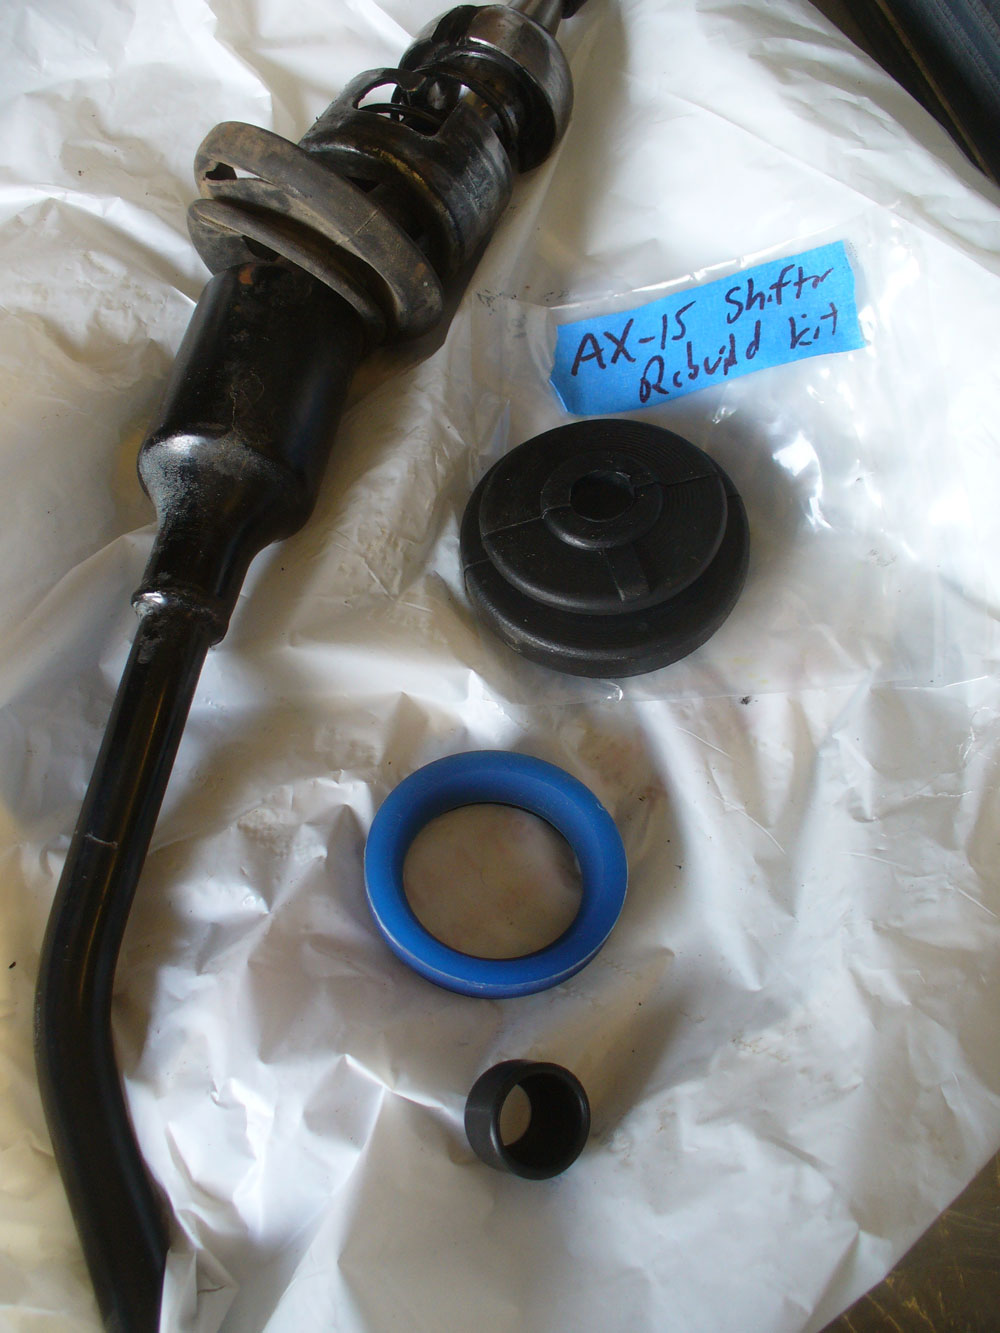
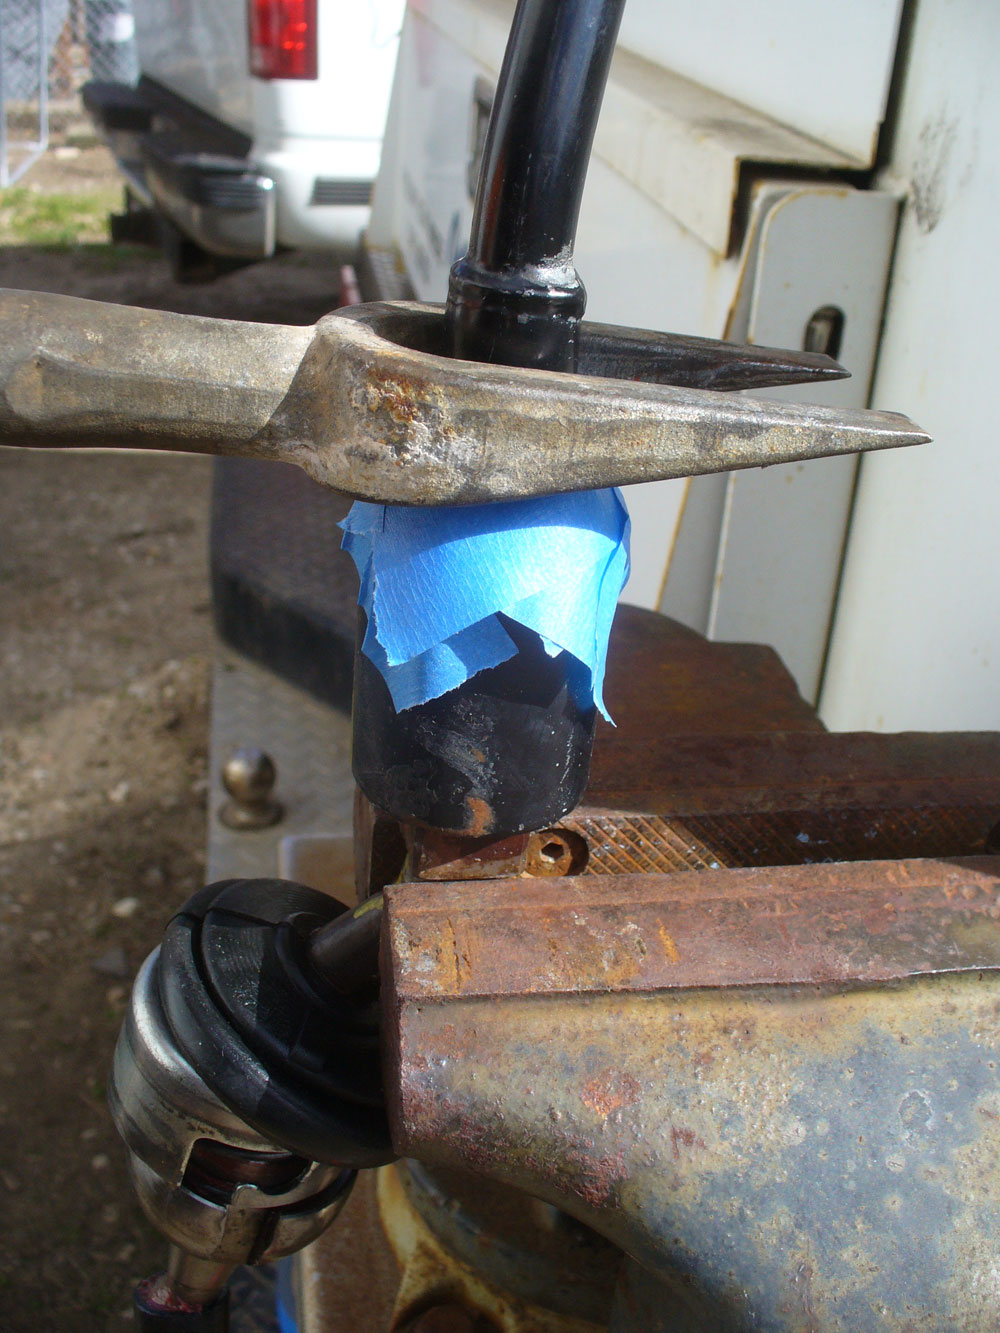
This rubber boot was the part I was certain I needed:
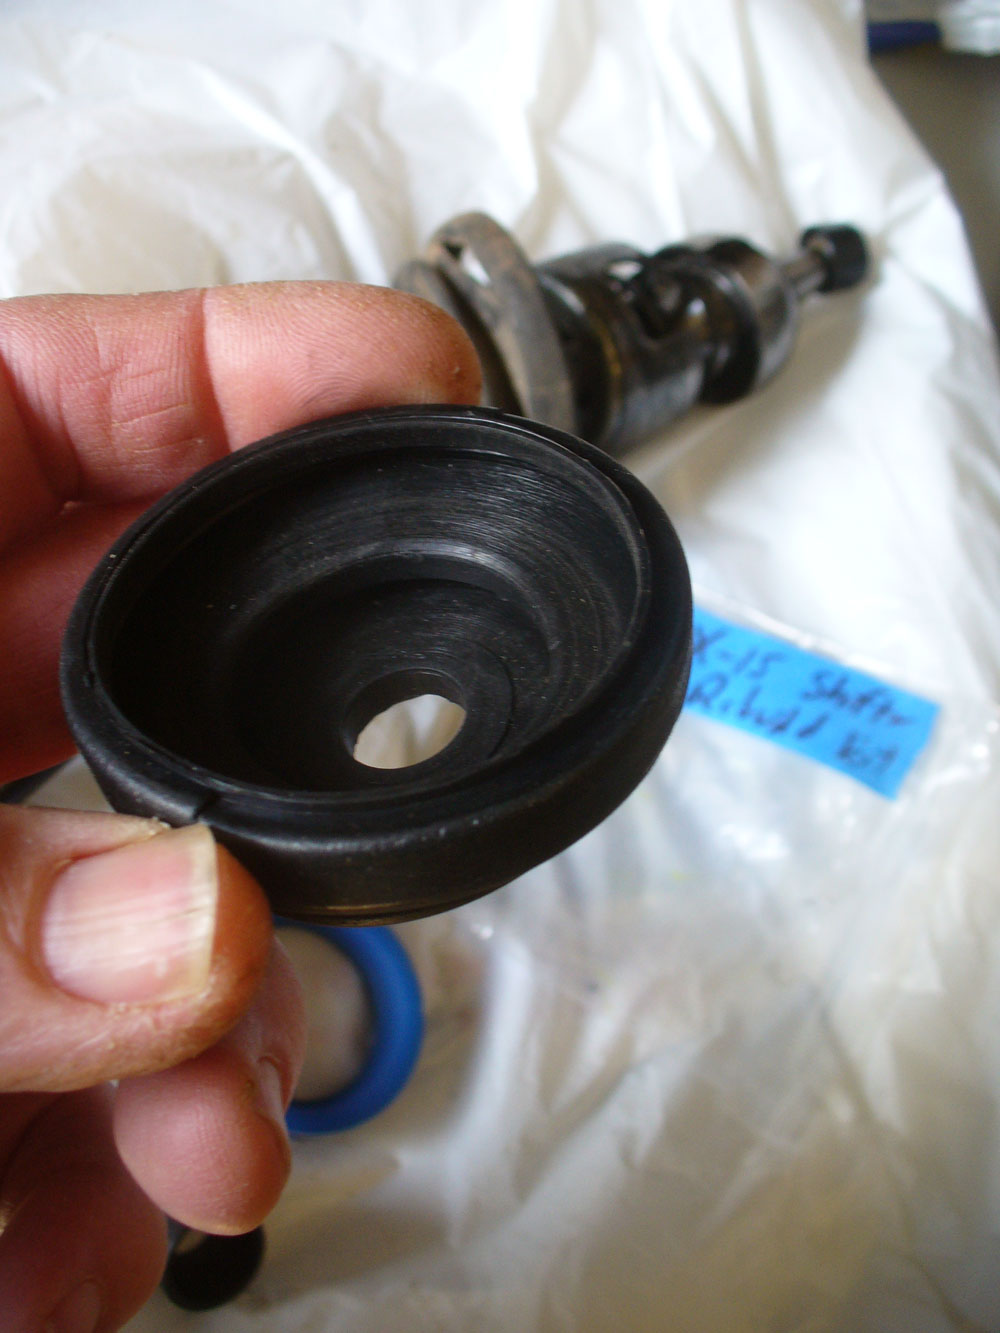
In previous oil changes I had not been able to locate that part all by itself. I used a nitrile glove over the shift tower instead.
The other two pieces in the kit I wasn’t entirely sure I needed, but I decided to get them just to see what they were and where they went.
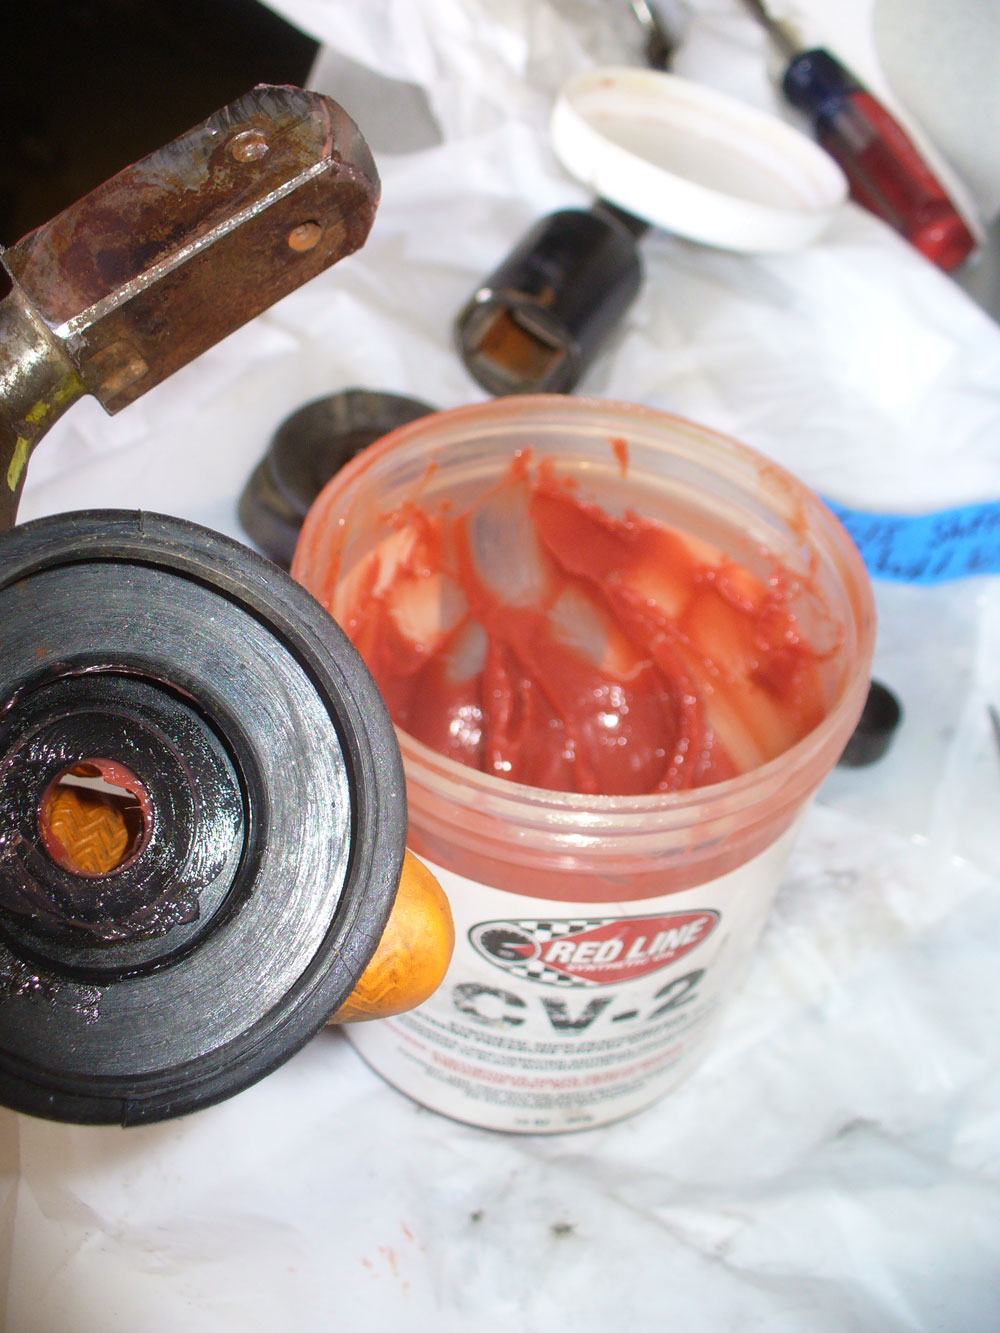
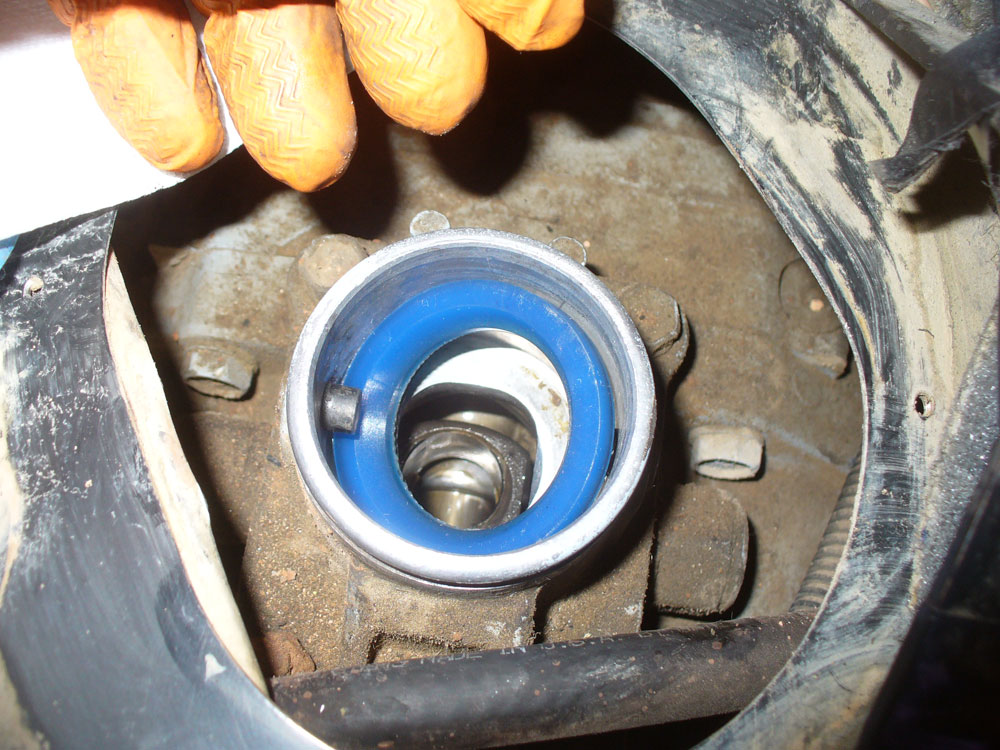
This part turned out to be something I really needed:
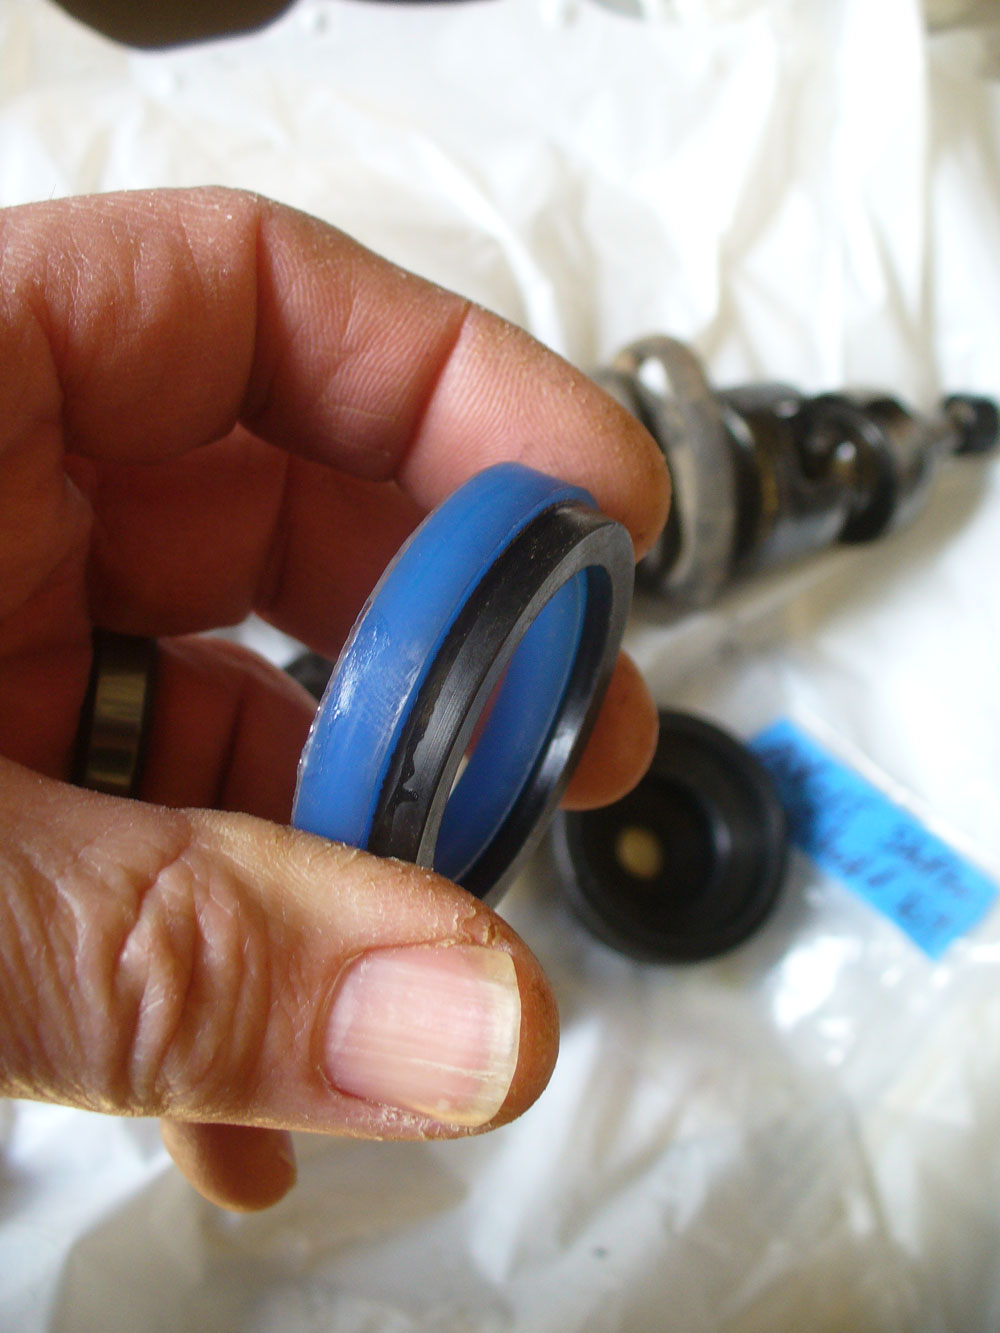
I had never realized that part was missing from my shifter.
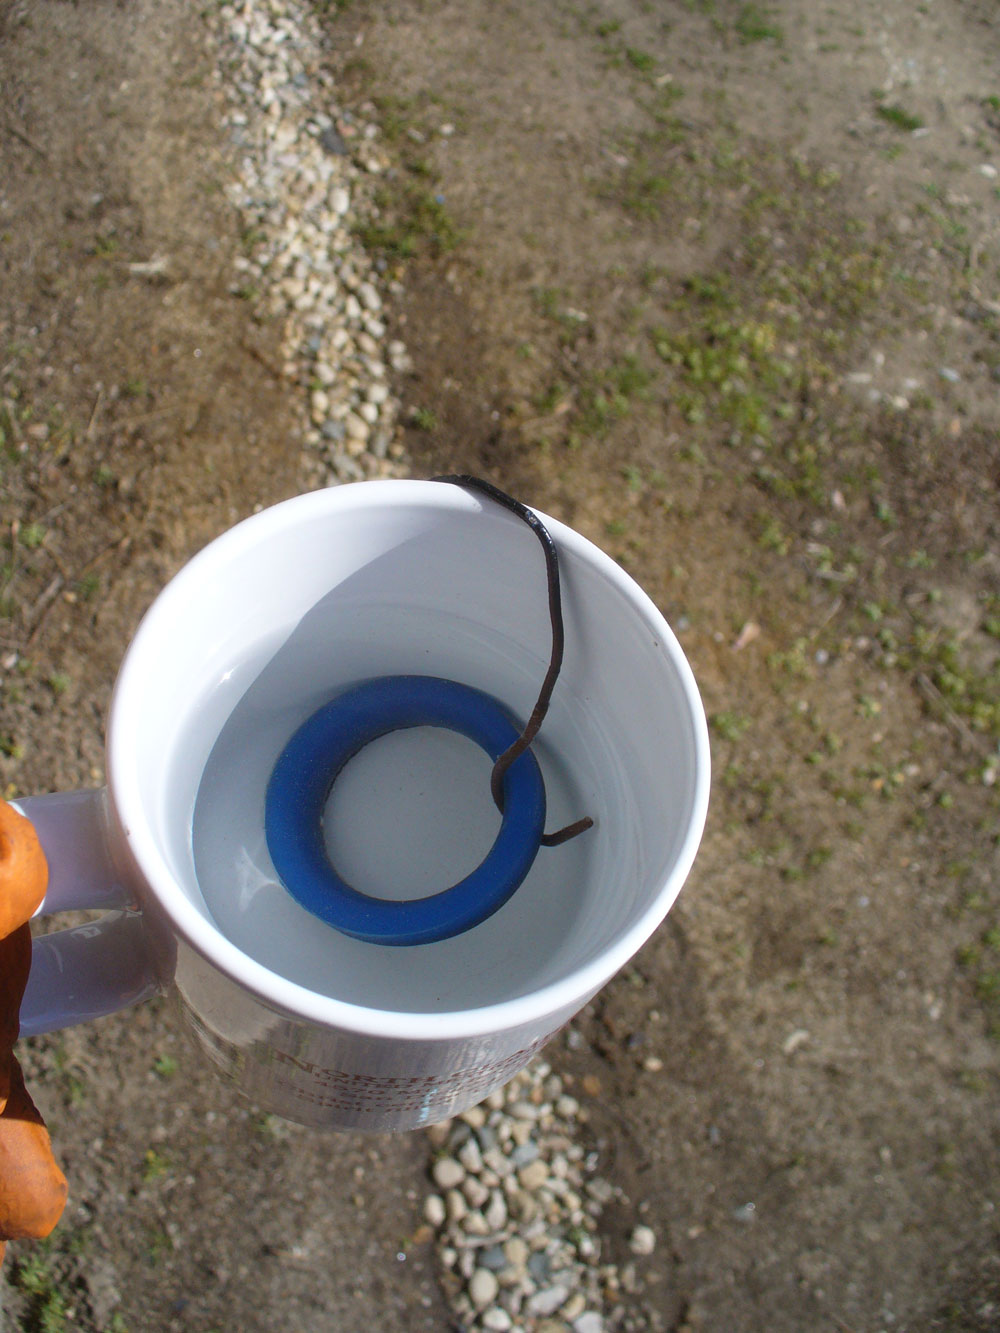
And then this part:
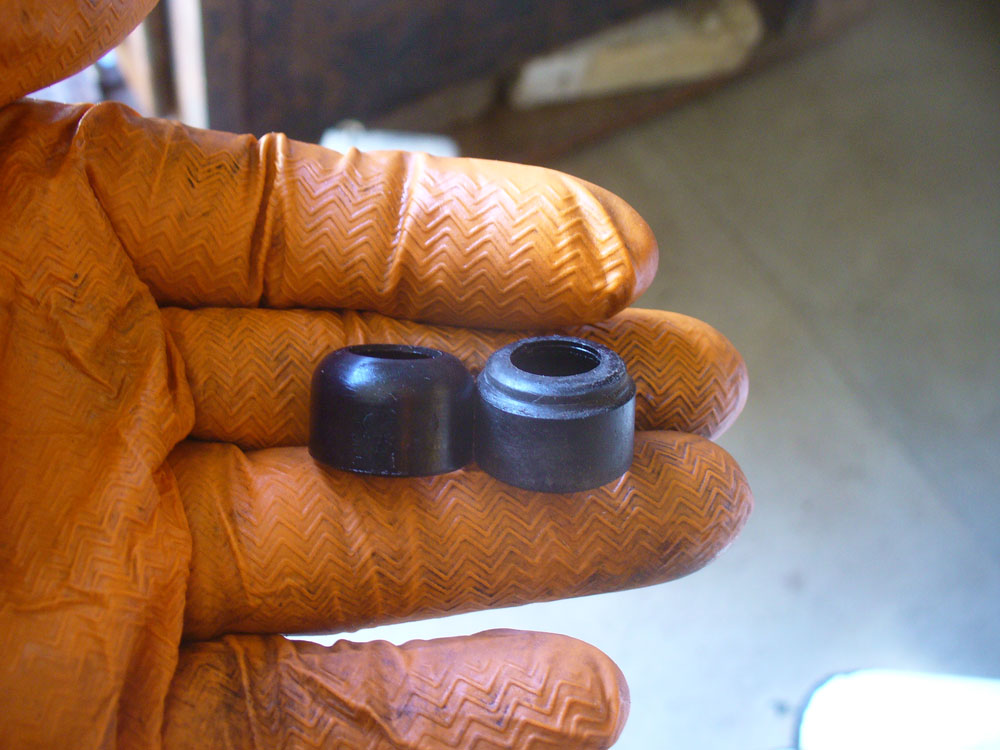
That shows the new one next to the old one. When it was all said and done I decided to run the old one. I wasn’t impressed with the new one. It fit with more slop than did the old one.
Here is the list of everything I want to have on hand next time I do this:
4 quarts of Redline MT-90 or MTL
AX-15 shifter overhaul kit (rubber boot, polyurethane spacer/washer/pivot & shifter ball bushing)
Replacement tunnel boot (get one for a TJ, they don’t seem to offer them for an XJ anymore)
Replacement console boot
There are two reasons for combining these two jobs. For one, it is much easier to fill the AX-15 from above than from below, and for another, the shifter and rubber boots probably all need serviced. Again.
Here is one of the reasons this job needs done this way:
I had never before realized it, but there is a piece missing at the bottom of that recess. From what I have read from others it is pretty common for that bottom washer/cup to be missing. No need to try to guess where it goes, but I would much prefer it didn’t go there. Better to replace it before giving it the chance.
And there are three rubber boots that probably all need replaced too. This one on the shifter is the biggest challenge:
There is also the one that seals the tunnel:
And there is the one for the console:
That one for the tunnel and the one for the console were replacements about 7 years ago. As you can see, they are due for replacement again. Lamentably I did not have their replacements on hand as I did not realize they had those holes in them until I removed them. They got reinstalled as they are this time around. Hopefully next time I will have ALL the parts I need.
I ordered a shifter rebuild kit off ebay. This is what I got:
This rubber boot was the part I was certain I needed:
In previous oil changes I had not been able to locate that part all by itself. I used a nitrile glove over the shift tower instead.
The other two pieces in the kit I wasn’t entirely sure I needed, but I decided to get them just to see what they were and where they went.
This part turned out to be something I really needed:
I had never realized that part was missing from my shifter.
And then this part:
That shows the new one next to the old one. When it was all said and done I decided to run the old one. I wasn’t impressed with the new one. It fit with more slop than did the old one.
Last edited:

") Nice writeup!
Nice writeup!