• Welcome to the new NAXJA Forum! If your password does not work, please use "Forgot your password?" link on the log-in page. Please feel free to reach out to [email protected] if we can provide any assistance.

My MJ build...all in one place...

TRAILREADYXJ

NAXJA Forum User
Location
Raleigh NC
Hey all, been away a while but I’m finally doing some more web wheeling again! Alright,I have chunks of my build in various sections of the forum. I figured it was FINALLY time to gather it all together and post up in the MJ section. This will mostly be a copy and paste from other forums so a lot will be outdated, but I will do some editing….warning…It will be long!

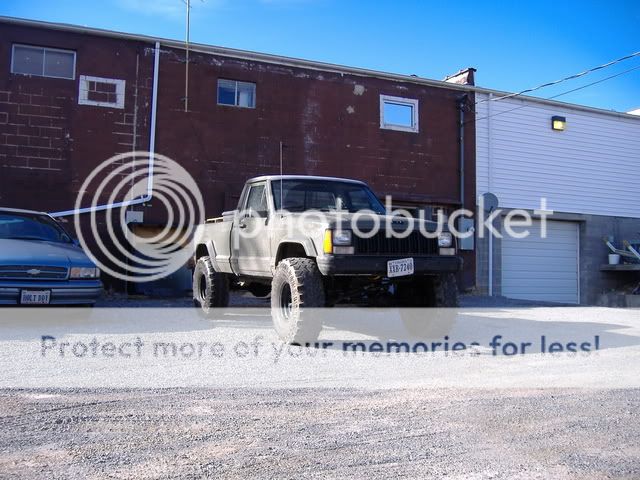
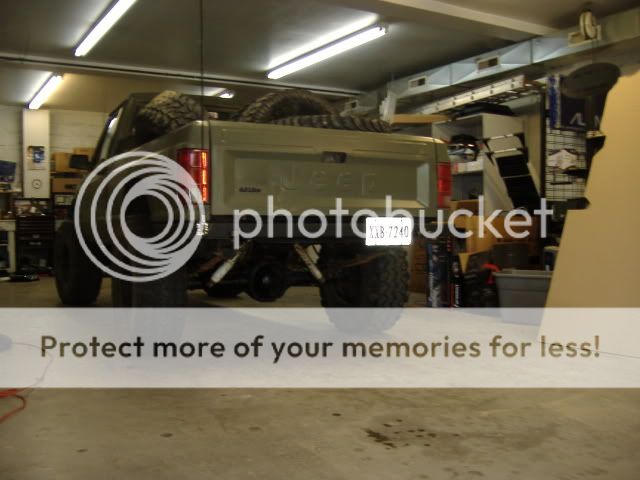
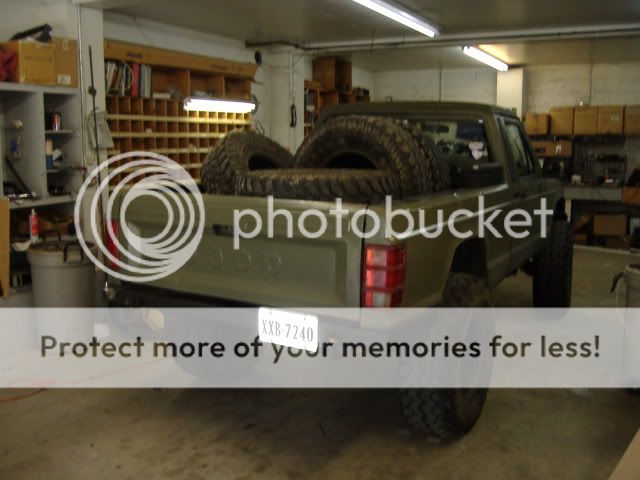
1989 MJ, 4x4, 4.0, AW4, D30/35 , NP231.

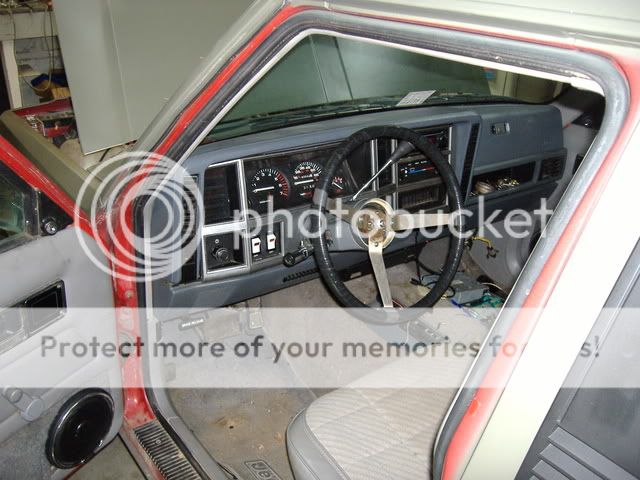
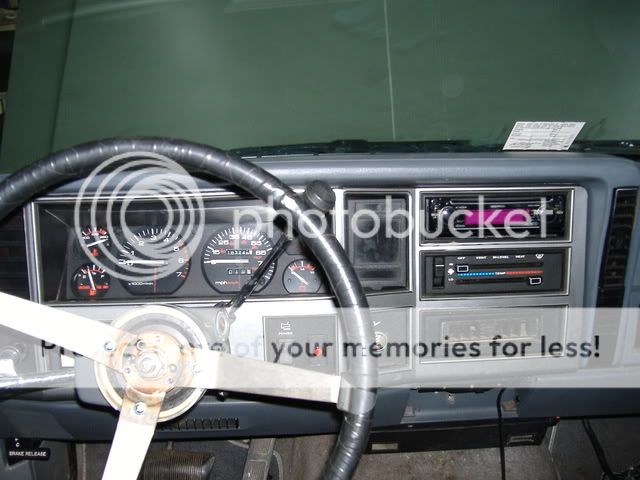
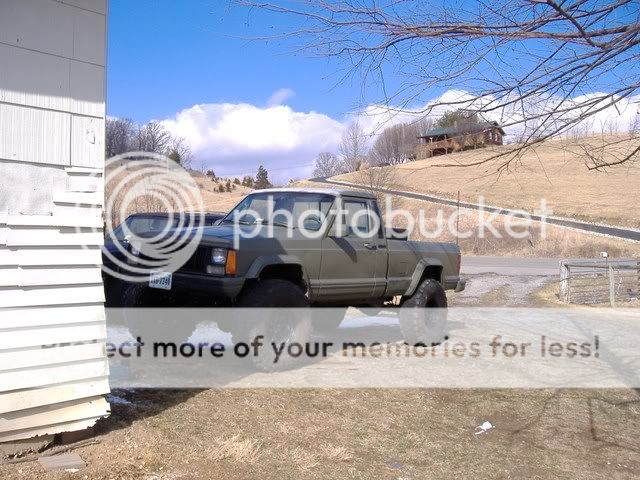
The day I brought it home….back in 2008.
DSCF2617.jpg

DSCF2615.jpg


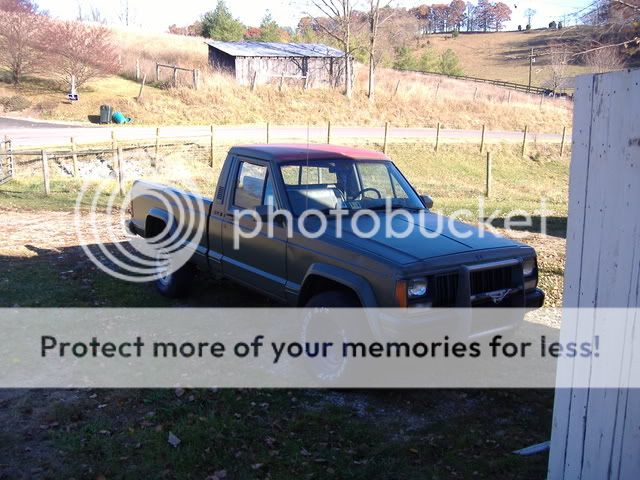
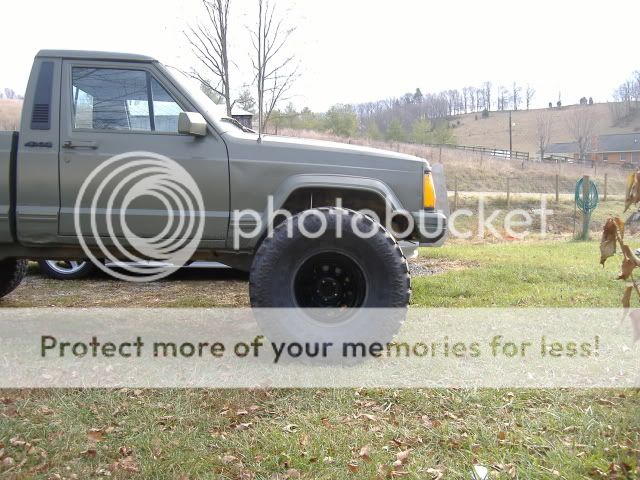
The PO decided to shoot it OD green, but ran out of paint before hitting the roof and in the bed. I was originally going to just flat black it, but the OD grew on me.

I cleaned it up a bit, rattle canned the inside of the bed for now, and primed the roof.

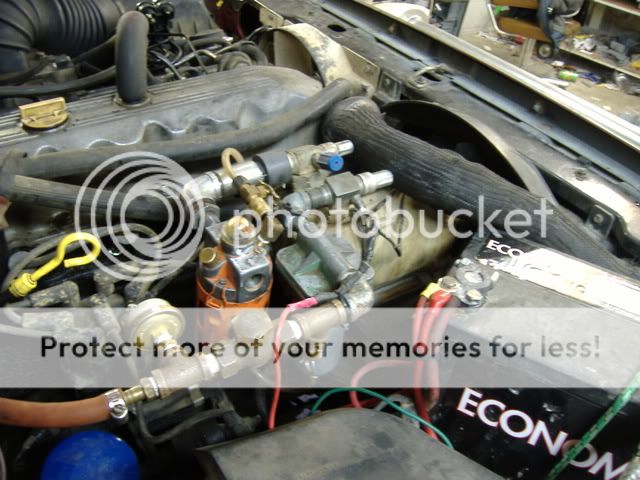
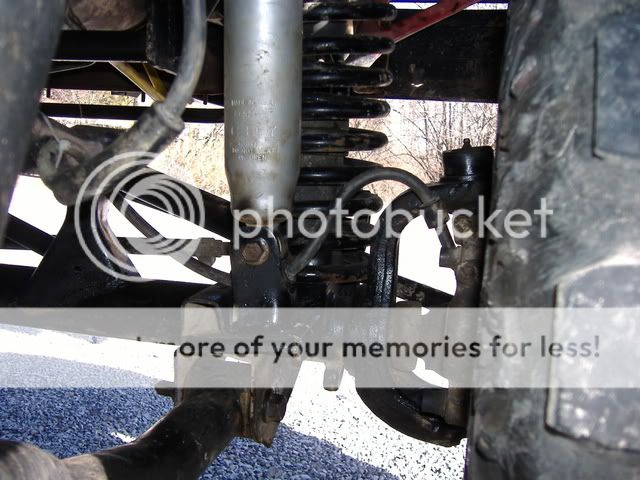
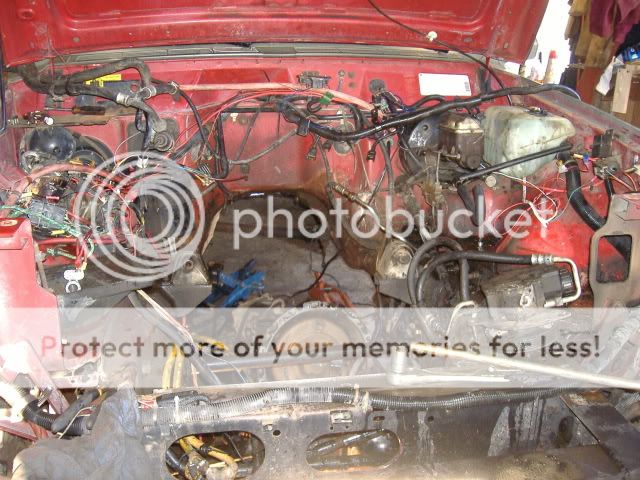
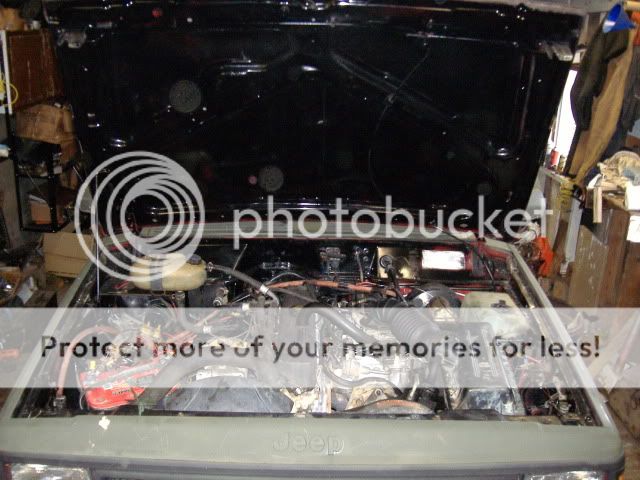
Initially I needed to get this thing on the road ASAP, and as cheap as possible! It needed several things to be road worthy. A couple tires, both unit bearings, and the shocks were totally shot. It also has a rod knock, and had no power with tons of hesitation! The heater didn't work, and the blower would only kick on every once and a while. I can't complain, I didn't expect much from a $500 truck!

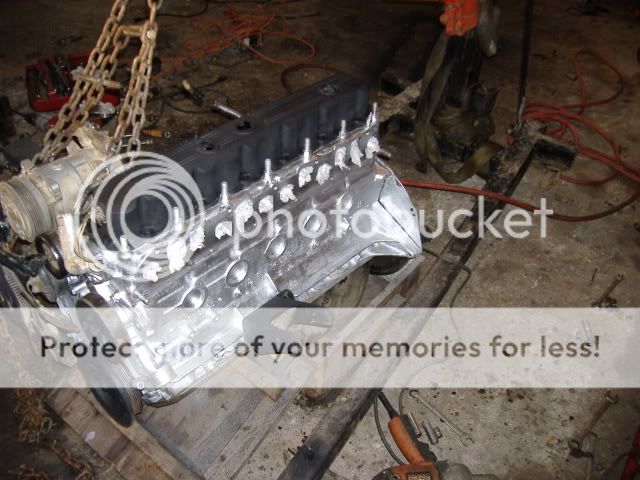
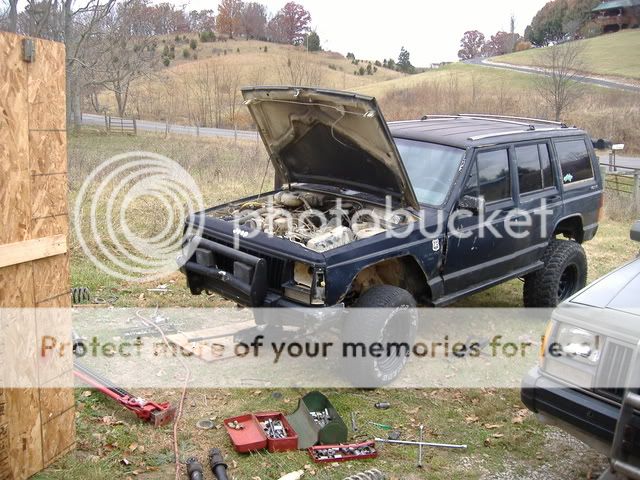
I have wanted one of these for years now, and my XJ had seen better days! My plan is to swap the lift, wheels and tires, and engine from the XJ.

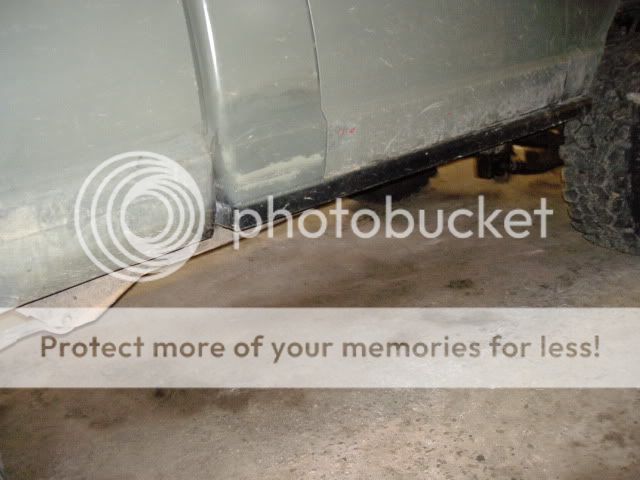
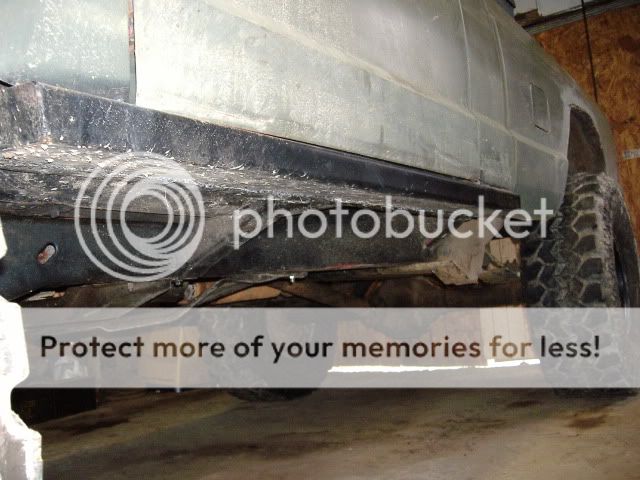
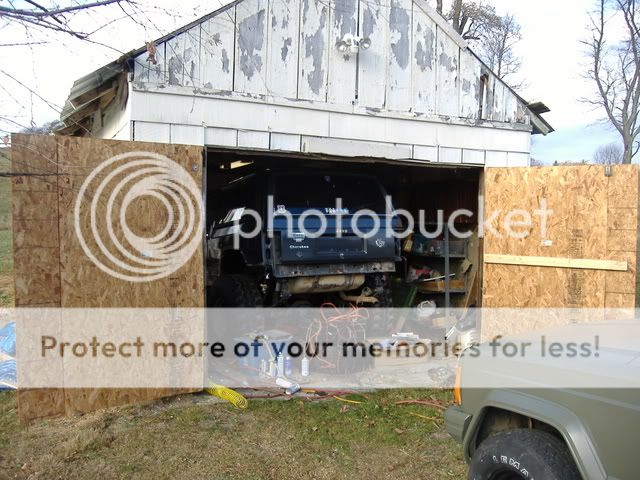
So, I got to work! Unfortunately I had to work on it in my gravel/grass driveway due to a friends XJ occupying my small garage.
DSCF2632.jpg
 
I mixed and matched until I had everything I needed to replace the necessary parts. I pulled the front springs, trackbar and CAs from the XJ.
Then I stuck it all under the MJ.
DSCF2634.jpg

DSCF2637.jpg

DSCF2641.jpg


In the last pic, I drove it into work to fix the blower and install some tunes!

I did a SOA in the rear, so I had to add some spacers in front to level it out at about 6". DBs or LAs are in the very near future, but overall this thing rides great! After giving it a tune up, the power is back and I was able to get up to ~75MPH with no problems or vibes.

I kept the stock axles in it for now :( 
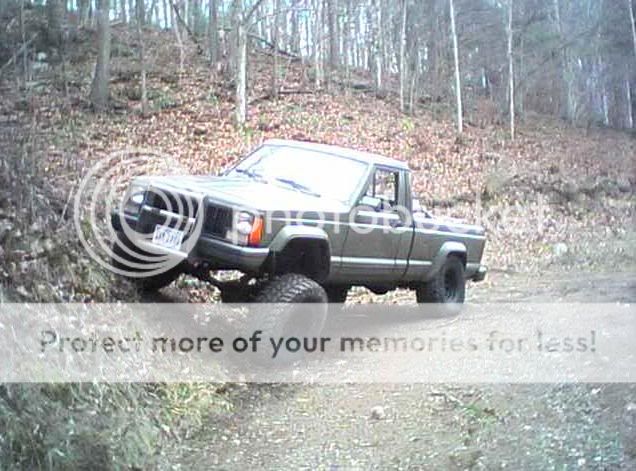
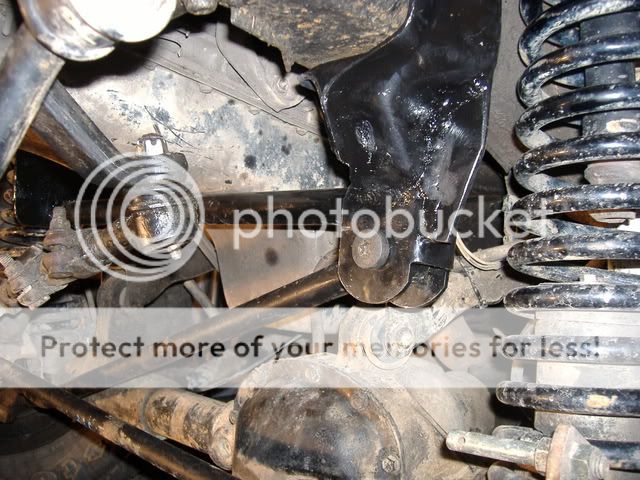
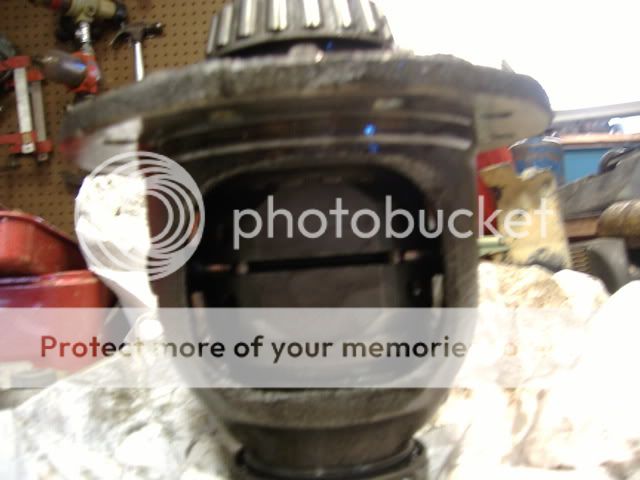
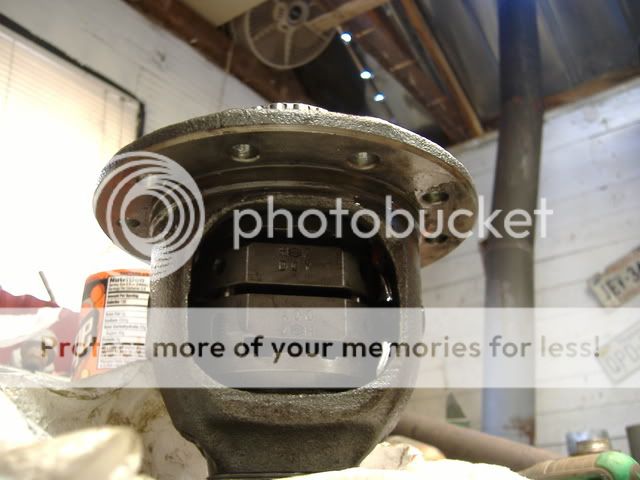
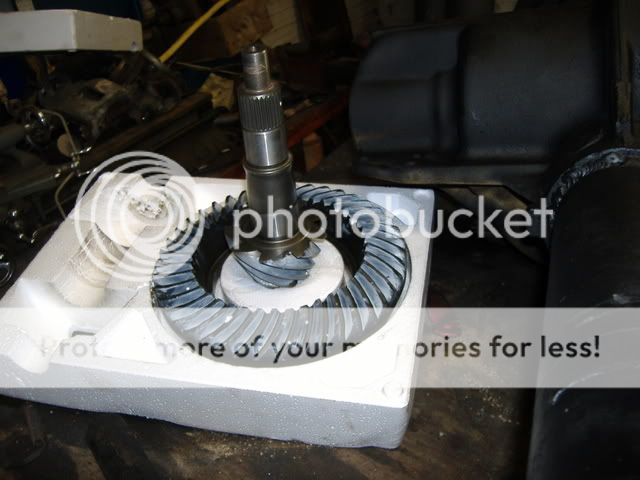
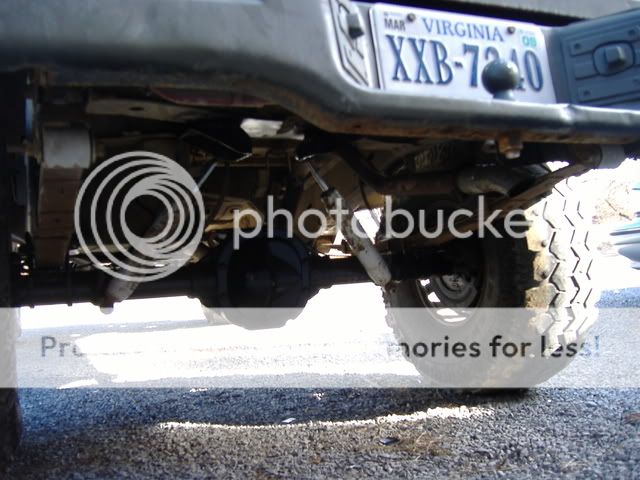
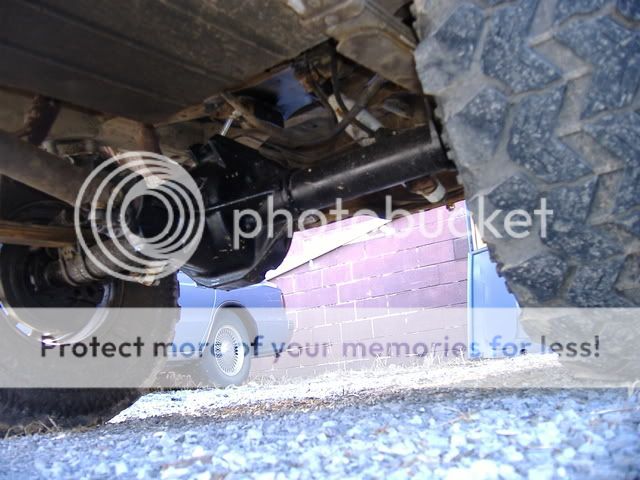
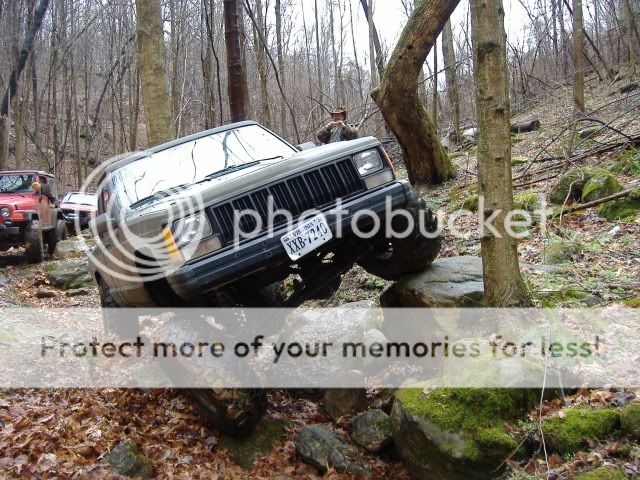
. I will be building a ford 8.8 and a non-disconnect HPD30, probably with 4.88s and probably Aussies. I don't plan to wheel it hard until I get the axles done, but have spare D35 parts, just in case.
 
As mentioned, I needed some tunes. I installed some Kenwood Excelon 6.5" coaxials in the doors, and a Excelon CD/USB player in the dash.
I (used to) install for a living, and got this stuff free through a promotion! I need to paint those door jams!
DSCF2622.jpg

DSCF2624.jpg


I had also installed a gauge cluster from a XJ with a tach and gauges. It originally had the idiot lights and giant fuel gauge (that was broken).

I was able to get it inspected with no problems after going through all the lights. I also had to fix the horn, and just wired in a momentary push switch. I have been driving it regularly, and it gets all kinds of attention! I can't even count the number of people that said I should paint a white star on the doors :lol: .

I am hoping the engine will hold through the winter, the knock isn't that bad. That will give me time to pull the 4.0HO from the XJ, and go through it. This will actually be the 4th Jeep it's been in, with only about 110K on the clock! That's a different story though.

I had to trim the fenders some, and removed the "air dam" below the front bumper. I will be running 35s once I get the axles done, so I will need to do some more.

DSCF2644.jpg

DSCF2645-1.jpg


Total out of pocket cost so far, not including the truck...and money previously spent on the XJ $0!!!
 
I took a couple poser shots when it carried its first small load of firewood. The bed is loaded down, so the front isn't maxed out although the sway bar is disconnected.

120608_1450.jpg

120608_1451.jpg
 
On down the road….

Here are some CA Drop Brackets that I built... yes built! I would have just done long arms, but I had these materials on hand, my garage was still occupied, and I had some free time to play around.

I still want/need to make the braces, but many run these on MJs without, so I'm going to go ahead and install them once I get time.

In addition to the normal DB mounting, I have added 2 self tapping bolts that will run straight up into the "frame". They go through the pocket, as well as the thicker part of the fame rail, so hopefully there will be enough to grab.
These are also a one piece design as far as the UCA goes, however there will be a strap going from the outside of the bracket, up to the stock UCA mount.
I also added a few adjustment points for the UCA, including an extra 1" stretch. I will be running stock UCAs for now, so this gives me more options.

My camera is acting up, so I only took a couple cell phone pics as the paint was drying. I'll try to get more, as well as some install pics.

122508_1429a.jpg

122508_1431a.jpg

DSCF2751.jpg
 
I have also installed my drop pitman arm and trackbar mount brace. I originally made this for my XJ, but of course it was a direct swap. It is designed to use a ZJ arm (3/4" drop from XJ/MJ), not yet installed in pics.

DSCF2181.jpg

DSCF2194.jpg

DSCF2195.jpg

DSCF2186.jpg
 
DANA 35 LOCKER IN A 30!!!

Here it goes… This all started when I traded some work for a D35 Lock Right. I figured I could do one of two things with it. I had a D30 Lock Right, but it was missing the spacers that keep the couplers aligned. Before I saw it, I was going to see if these spacers were interchangeable, they are not! This ruled out the idea of piecing together the D30 Locker.

Then I went on to plan “B”. I was just going to throw it in the rear for temporary, light throttle use. I have spare shafts, and full D35 internals, so I figured, why not? I got into tearing down the axle, and noticed I have a non c-clip D35. I didn’t think much of it, other than my spare shafts wouldn’t work. Since if it did break a shaft, it would not keep me from limping off the trail, I continued. Well, it turns out the non-c clip version has a larger carrier, and the locker won’t fit. With ideas brewing in my head, I continued to reassemble the axle. At least I have new gear oil!

Now is where the outside the box thinking comes in. Looking at the two lockers, they appeared VERY similar in overall size, and are the same spline count and cut. I noticed the D35 Locker was slightly wider than the 30, but only .020” or so. I had a spare D30 Carrier lying around, so I figured what the hell… To my surprise, it fit great! The side couplers fit perfectly in the carrier, even the pin is the same diameter!

With this test fitting done, I decided to try the real thing. I tore down the front end, and installed the locker normally. Once again it fit great, and I was feeling even more confident in the results. Below is a pic of the locker installed in the D30 carrier. The only real “disadvantage” I see is that it has the cutouts for the D35 c-clips.

DSCF2773.jpg

DSCF2775.jpg


I reassembled the front end, and did the standard spin tests to make sure it would unlock. This was the thing I was most concerned with since this locker was a little wider. Worse case, this would cause it to either not unlock, or be rough in operation. I was pleased to find it unlocked very smoothly! I put it all back together and went for a drive. Like my previous Aussie, I couldn’t even tell it was there in 2wd! Slight clicking on slow, sharp turns, just like it is supposed to have! As I pulled back in my driveway (gravel), I engaged 4wd, and made a sharp turn. It was very apparent the locker was working, and my experiment was a success!!!

I still have to actually try it out off road, but with everything in spec and functioning as it should, it should be just fine. I will report back once I get a chance, but with D35 lockers floating around for CHEAP, this could be a great option for those on a tight budget!


UPDATE: It’s been 4 years since I installed this and it’s still holding up!!! Along the way I even stripped the teeth of a set of gears before this thing broke!
 
Also...I have been working on a new and improved OBA setup for the MJ. I had a system on the XJ, but it required constant oiling, and was never leak free. Well, I pieced together a much better system out of parts I already had that came extra with my home air compressor.

Here is a pic showing the components. I need to redo a couple things after installing and testing it. First the check valve should be before the safety valve. However, the check valve seems to be bad, so it's now just a fancy coupler :roll: . Also the pressure switch I had was way too low, like 20psi, so it will get replaced asap!
labeled.jpg


The compressors have odd size fittings. On the XJ I just cut the AC hoses and used the stock connection. However, the MJ didn't even have AC stock, so I found a solution.
It just happens that the inside of the output is just the right size to tap for 3/4" pipe thread!
DSCF2760.jpg

DSCF2762.jpg


The input side is less critical since it isn't pressurized, so I just found a piece of PVC, and force threaded it on.

I also ran a tube from the separator back to the oilier through an adjustable valve. This allows self lubrication, and other than an occasional oil change, it's maintenance free! I tested it, and it works great!

Here you can see the tube, and intake side:
DSCF2772.jpg
 
Installed:
I removed the filter here, it was an old one I used for test fitting and didn't allow enough airflow. I will get a new one soon.

I also decided the saftey valve before the check valve isn't a bad thing just in case the valve malfunctions. I will add another one at the tank just in case.

DSCF2783.jpg


DSCF2787.jpg


Sorry for the bad pic.
(note: I have since relocated the tank under the bed above the muffler.)
 
SCORE!!! I picked up an Exploder 8.8 today for $120. It's 100% complete, and pretty clean too! The disks are pretty rusty, but should be able to be turned.

It has 3.55s now, but I should be able to buy gears in a couple days. I wanted 4.88s, but found a deal on some 4.56s I may not be able to refuse. Either way, I'll be MUCH better off than I am now with 3.55s and 33s.

Since the gears are on the way, and I started to work on the axles. I also went ahead and slapped the 35s on so I can make any necessary suspension/body mods. I will be using a non-disco HP D30 I have, and of course the 8.8. My plan is to build them on the bench, and slap them in the Jeep. If all goes well, this will happen by month's end :D
This will work out well, and almost eliminate down time. Although it's really a turd on the 35s, at least I can still drive the MJ to work if the weather is bad.

Here are a couple pics on the 35s. I had to adjujst the brightness to get the pics to show, so the color may be off...
DSCF2812.jpg

DSCF2811.jpg


I still need to do some trimming, and am in debate as to what to do with the flares.
 
Well, I got the rear gears in :). They are Motive 4.56s. I got them from a guy on ebay pretty cheap. They were installed but never ran, so they were still new. You can still see the old marking compound on them, and no sign of wear or break in. They were also already notched for the cross pin, and he did a great job of it!
DSCF2823.jpg

It's a good sign when the diff cover is this clean with just a wipe off!
DSCF2824.jpg

I stripped down the 8.8, welded the tubes, and installed the gears already! The gear install went real smooth. I got the pinion depth right the first time, and it only took a couple tries to adjust the backlash :) . It helps I have done many 8.8s at this point, but it was by far the easiest gear install I've done! Here are a few pics, they didn't turn out great...
Adjusting backlash:
DSCF2827.jpg

Pattern checks:
DSCF2831.jpg

DSCF2834.jpg


I also got the front gears installed and swapped in the axles. I didn’t get any pics of the swap, but the 8.8 swap has been covered plenty of times…
 
Here are some pics. I got the axles done, but still have a few little things to button up.
I don't like how the rear shocks worked out on the axle, and can see myself ripping one off. I am going to raise them up some tomorrow.
I also need to trim the fenders more, and have yet to decide what, if anything, to do about the flares.
Anyway, on to the pics...

DSCF2897.jpg

Welded in "BPE"
DSCF2901.jpg

Here are the rear shock mounts. I relocated the uppers by welding in the stock spring plates with built in mounts. Kinda booty fab, but works well!
You can see where the lower mounts are in danger though.
DSCF2909.jpg

DSCF2914.jpg

No SYE, 6" of lift, and no vibes.... gotta love the longer driveshaft MJs have ;)
DSCF2912.jpg


DSCF2898.jpg
 
Well I took it on a run with a local club on one of the private trails we have access to. I figured I'd post a few pics of the MJ in action with the new setup.
Everything worked out great, except I managed to taco my tie rod... time to upgrade!
I also removed the flares and trimmed the fenders... good thing too, it flexes great, didn't pull a tire all day :).

014.jpg

DSCF2949.jpg

DSCF2938.jpg

DSCF2957.jpg


My tie rod...
DSCF2963.jpg


Some "beauty marks"...
DSCF2964.jpg

DSCF2965.jpg


Looks like it's about time for me to do the rocker replacement!
 
I figured I better build some bumpers!
Here are a couple pics of the "un-finished" rear bumper. It's 3x3 1/4" wall, so it should take some abuse!
DSCF3154.jpg

DSCF3156.jpg


Here’s the front:
Eventually I will add a winch tray, and I still need/want to tie it into the frame a little better, but for now I have added protection and good recovery points :)

DSCF3480.jpg

DSCF3481.jpg

DSCF3484.jpg

DSCF3485.jpg
 
Motor swap time!!! The old one was knocking bad and lost power. I installed the HO engine I had previously installed in my XJ…and a friends XJ before that…yes, it’s the 4th Jeep its been in!!!

After yanking it from the old XJ, I cleaned up and painted the “new” engine. No, I wasn’t going for the “bling” factor here, but I did want to have a light color to make it easy to detect any leaks. I happened to have some high temp aluminum paint already, and figured it would look pretty good.
DSCF3643.jpg

DSCF3644.jpg


I was thinking about taking the time (and money) to rebuild it before installation, but at around 100k, it still has relatively low mileage compared to the average lifespan of these suckers. It ran great in the XJ, so I decided to spare the expense at this point. Also, when I installed it in the XJ a few years ago, I had replaced all of the major seals and gaskets. It only had a couple thousand miles put on it since then, so I just went with it.

Before:
DSCF3649.jpg


During:
DSCF3651.jpg


Naked:
DSCF3660.jpg


Originally I was going to strip down the entire engine bay, clean, and paint it. However I started to get pressed for time, so I mainly got the stuff I wouldn’t be able to get to later on. Because of this, it’s certainly not the best paint job, but it looks better than all the red.

After!!!:
DSCF3674.jpg

DSCF3673.jpg


After the install she fired right up and ran smooth. I am very pleased with the results! I had almost forgotten what “stock” power felt like. I had never re-geared the old XJ, and had got used to 3.55s and 33s. While it wasn’t bad, it didn’t have anything near the power it should have. Then when I first got the MJ, the motor was just plain tired and never had full potential. Now that I’m geared very close to stock (actually a tad bit lower according to my speedo with stock gear), and have the H.O. motor (adapted to the renix injection), It feels like it should!
 
I also got around to doing something with the rockers. I needed to do something before I got it inspected. The passenger side was so bad you could see right through to the inside!

I was able to cut these out of the XJ, however due to longer wheelbase on the MJ, they were about 10” too short to run the full length. However, I want to do something different with the bed in the future, so I just cut them down to fit the cab.

Unfortunately, I didn’t get pics during this process, but it was a nasty, nasty, mess! On the passenger side, the prior owner had covered the whole rocker with metal tape, so I knew it wouldn’t be pretty underneath. Once I removed what was left of the tape, what was left of the rocker pretty much came with it along with several pounds of dirt!

The good thing is it was just the part of the rocker I would have cut out anyway. Everything on the inside of the pinch seam was still intact, so I was able to work with it. The drivers side was just all dented up (wonder how that happened :roll: ), but rust free, so it went much smoother.

The rear cab corner on the passenger side was pretty rough as well. Because this part is still uni-body, and structural, I welded in a piece of angle to reinforce it. The only thing I don’t care for here is that it makes the rockers look kinda crooked. The front end has a taper anyway, but this adds to it. However, I think once I do the bedsides (or custom bed :twisted: ), it will look a bit better. This thing is about function anyway!

DSCF3667.jpg

DSCF3665.jpg


You can also see where the MJ got extra bracing that runs to the frame rail. This is one of several things they got the XJs did not. The others I’ve noticed are, four bolts in the crossmember vs. two, extra bracing on the front LCA mounts, and fully boxed rear frame with “X” crossmember (although it’s still mostly layered sheetmetal).

I also made the doors removable since I had to remove them anyway. I would have done this sooner, but because this area was weak enough already, I really didn’t want to do this until I had done the rockers. I plan to make a set of tube doors sometime before next summer.

With the rockers done, I took it down and got my nice, new inspection sticker  It was VERY close to not passing!!! The reason… Too high! He measured the front bumper at 32.5” :eek: HOWEVER, because they are “aftermarket” bumpers, the law states that this measurement is to be taken at the frame rail, so he went ahead and passed it. My bumpers are only 3” tall, so the bottom of the frame measured about 29” or so (probably still a bit high). I will also say, this is the very first time I have ever ran into, or even heard of this during an inspection. I wasn’t planning on it anyway, but it doesn’t look like I’ll be going any bigger… at least while it’s still on the road :twisted:
 
And finally, to bring things up to date I have done the following…

The transmission started giving me issues and would get stuck in gear from time to time. It was probably just the solenoids, but I came across a deal on a 2001 aw4 with a matching 23 spline 231, so I performed a swap/upgrade.
I also installed an aw4 controller so I could have control over things

I’m sure I’m missing some other things along the way, but here are the current specs:


Drivetrain and Axles:
-1989 Comanche Pioneer (MJ)
-4.0 HO from a 93 XJ
-AW4/231 from a 2001 XJ
-HP D30 Front, non-disco, 4.56s, lock-right.
-8.8 Rear, 31 spline, discs, 4.56s, stock LSD w/extra shim.
-35X12.50s on 15X8 Pro Comp Crawlers, 3.75"BS.

Front Suspension and steering:
-Rusty's 4.5" coils
-1.5" spacers (stacked stock isolators)
-BPEs
-Crappy RC shocks
-Custom track bar mount with frame brace
-Custom fixed track bar
-"Beefier" stock steering
-1" Drop Pitman arm (to match TB mount)
-Custom control arm drop brackets
-Rusty's adjustable LCAs
-Bumpstops
-Extended Brakelines (from a dodge ram)

Rear Suspension:-SOA conversion with stock leaves (about 6" of lift)
-Relocated shock mounts
-Crappier RC shocks
-Bumpstops

Armor and Misc:
-Stock Gas skid
-Stock T-case skid
-OBA using sanden AC compressor and 5 gal tank under the bed
-AUX fan from XJ
-CB with 4ft fiberglass antenna
-AW4 controller including TC lockup control
-Rocker replacement with 2x6 tube
-Custom bumpers with recovery points
 
Back
Top