Avanteone
NAXJA Forum User
- Location
- Auburn, WA
Thought I'd share this here, lemme know if this type of stuff should be some place else.
Auburn Car Repair & Offroad was recently given the opportunity to install and test a Yukon Zip Locker in the D30 application. My good friend, and fellow PNWJeep club member, Rich McCoy's 2000 Jeep Cherokee seemed to be the perfect subject for this opportunity. RIch's rig still sees many street miles every year, and is used offroad more than just about any other rig I can think of. This XJ runs 33" tires, a swapped in HPD30 from a couple year earlier XJ, and the corporate Chrysler 8.25 rear axle.
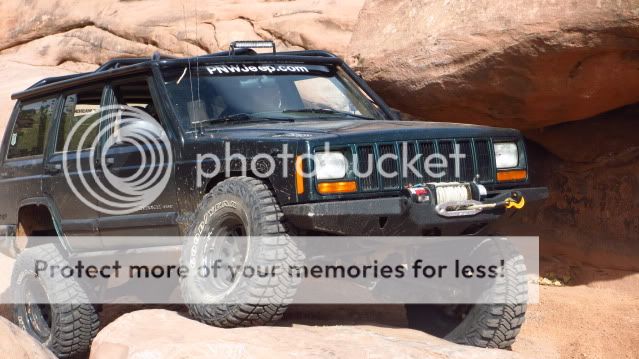
Rich's rig is setup for all types of off roading here in the Northwest. He enjoys running all the local trail systems, camping in remote areas, and snow wheeling, which we generally get the chance to do plenty of up here. While his previous setup worked great with an Aussie Locker up front in the D30 and a Detroit Locker in the rear Chrysler 8.25 axle, the non-selectable aspects of the front locker sometimes left more to be desired. A selectable locker allows you to still run 4WD, but with less stress all the time on front end axle, steering, and chassis components. A selectable locker allows the front end to act like an open differential, until that button is pushed to lock it up, and then allowing the rig to climb over obstacles. A selectable locker (or two) can also be very beneficial at times in the snow and ice. Rich's rig was already running Yukon gears and axle shafts, so the Yukon Zip Locker was an easy choice to replace the "lunchbox" locker in his front D30 axle. The Zip locker is Yukon's air actuated selectable locker. It's assembled in the USA, and features 4320 Chrome Moly internals for added strength. Follow along as we show how it all comes together.
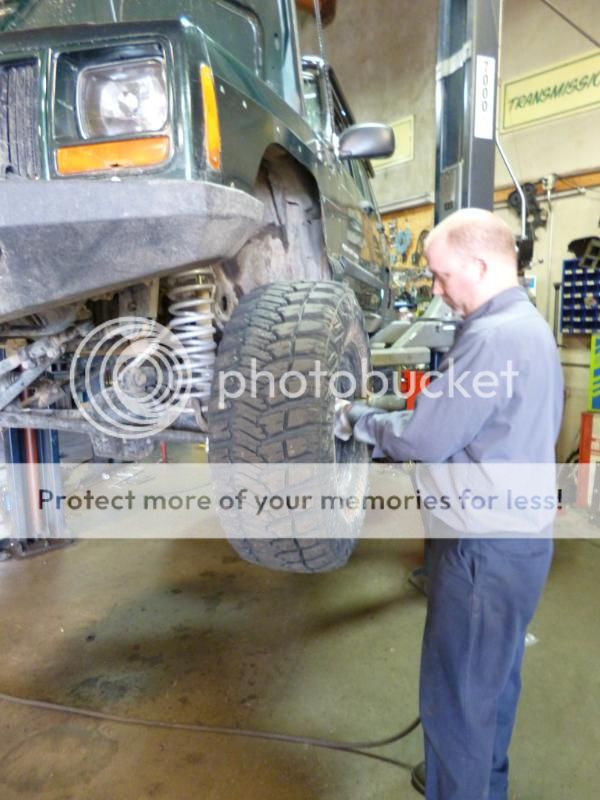
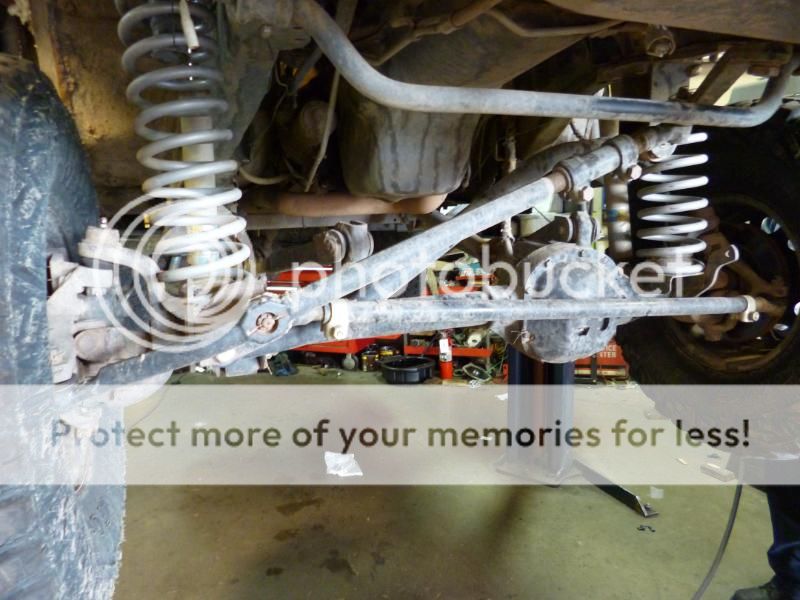
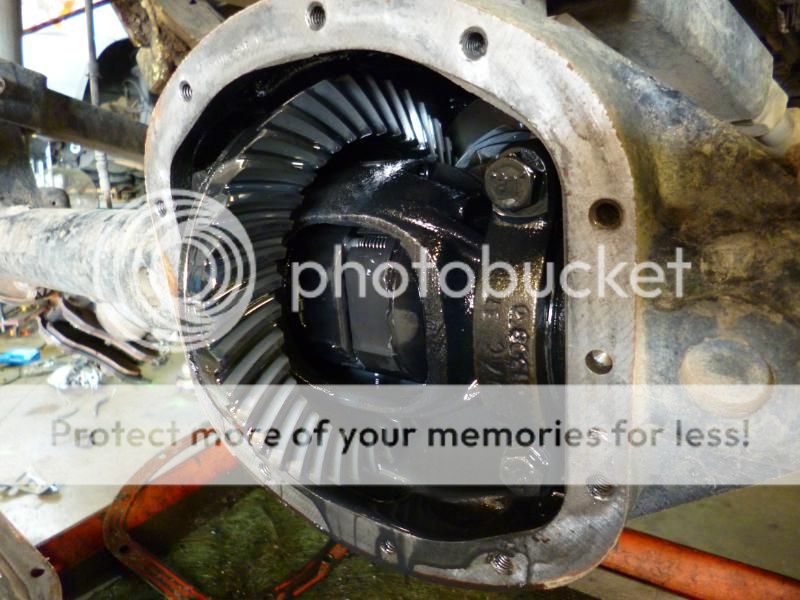
First step is to get it up on the hoist, here technician Jason Abbitt has already removed brake parts, unit bearings, axle shafts, as well as the diff. cover and carrier. The Aussie Locker is commonly referred to as a "lunchbox locker". Some people say they are able to be carried in their lunchbox, others say their installation is so simple they can be installed on a lunch break. Either way, while this style of locker is generally effective, they definitely have their downsides. An air actuated selectable locker gives you all of the advantages of an open differential on the street and easier off road scenarios, while instantly being able to be locked when the need arises. The "lunchbox locker" also re-uses the factory carrier, which can be a weak point. The Zip Locker is a complete differential carrier replacement, which is therefore much stronger.
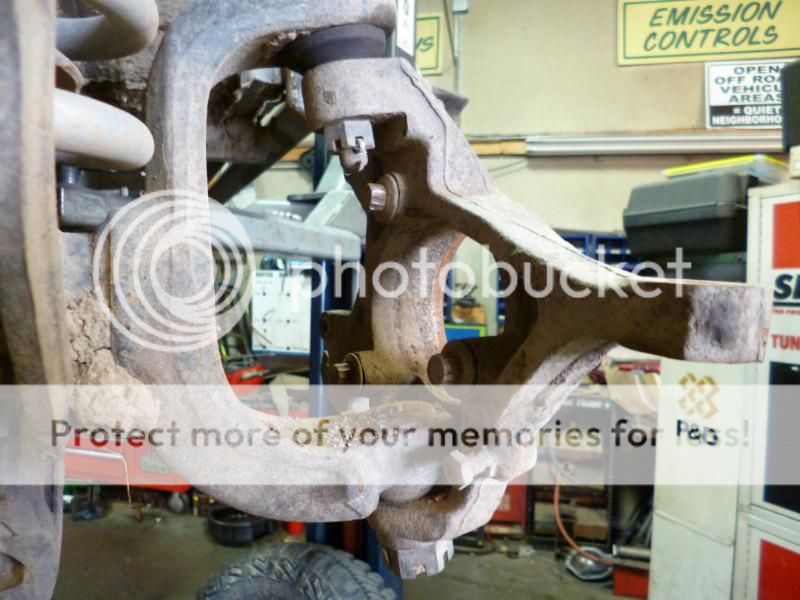
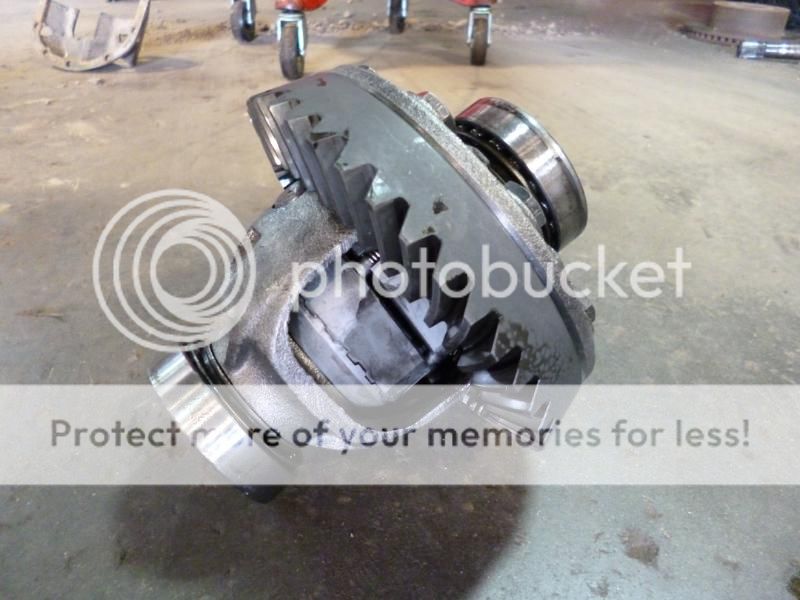
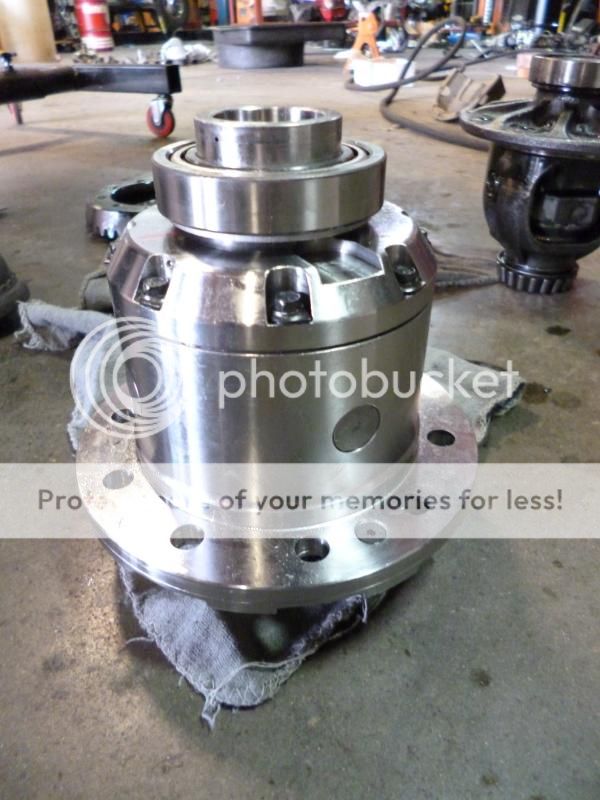
Unless you are mechanically skilled and posses the necessary specialty tools, such as a case spreader, bearing puller, and dial indicator, this locker install may be best left to the professionals. Getting the proper carrier pre-load, backlash, and other settings are crucial in the setup phase of the install. Backlash measurements are taken before dis-assembly, to be matched when reassembled, since we are not changing from the current 4.56 gear ratio. Using setup bearings, available from Randy's Ring & Pinion, can aid in the installation due to them allowing you to slip bearings on and off the Zip Locker while coming up with the right combination of shims to set proper backlash. Once that setting is reached, the new carrier bearings are easily pressed into place. A hole is drilled and tapped in the housing to route the air line and fittings outside of the differential. We use an air pressure gauge with a check valve on it to test the locker and fittings, ensuring no leaks in the system. It's much easier to correct any issues at this time, than after finding it once the differential is completely reassembled.


Once the Zip Locker and necessary fittings are installed. The differential cover is re-sealed and installed, all axle shafts and other parts are reassembled, and the rig is lowered back to the ground. The next part of the install is the air source for the selectable locker. This can be done any number of ways, including tapping into an on-board air system utilizing an A/C compressor, using C02, or using an electric compressor, such as an ARB compressor. The ARB mini compressor is small enough to be tucked nearly anywhere, and we chose to mount in the fender well of Rich's Cherokee.
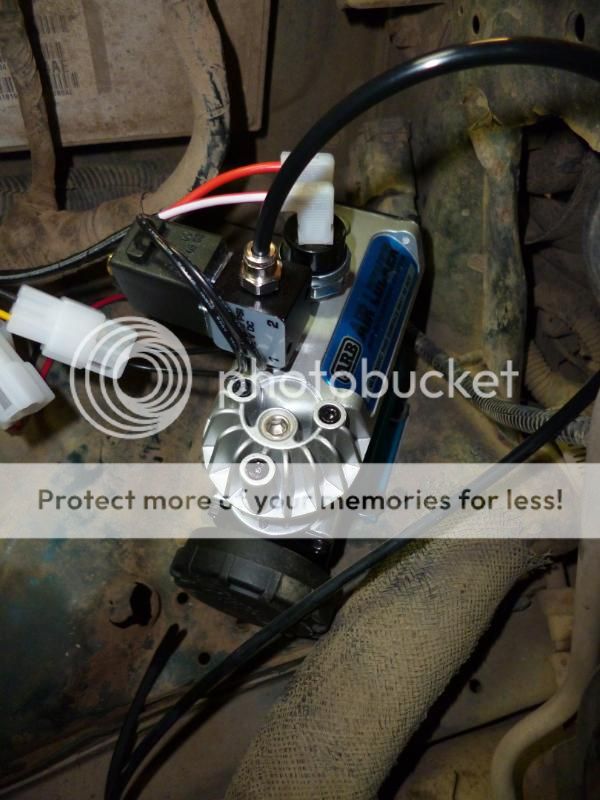
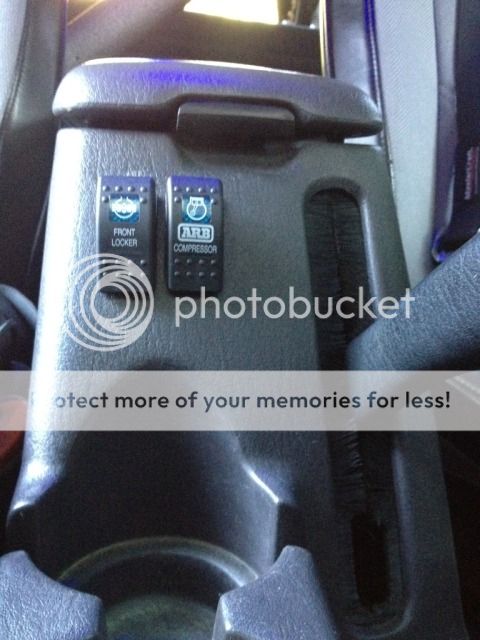
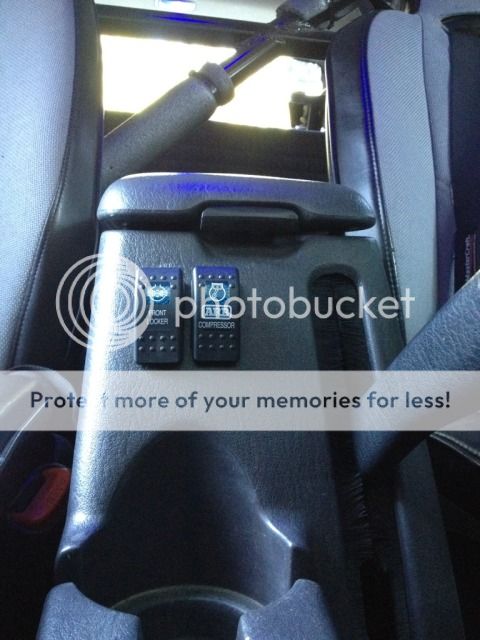
Once the Zip locker is installed and the compressor is mounted, all that's left is to run some power and install the switches. There is one switch to power up the compressor, and another to activate the locker. We like to mount them within easy reach so that the switches are easily manipulated without having to reach too far. On a late model XJ, the surface just above the parking brake handle is a perfect mounting location. With the install complete, all that's left is a test drive!
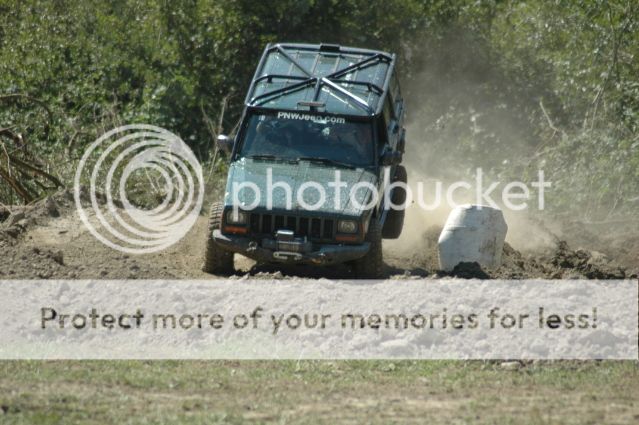
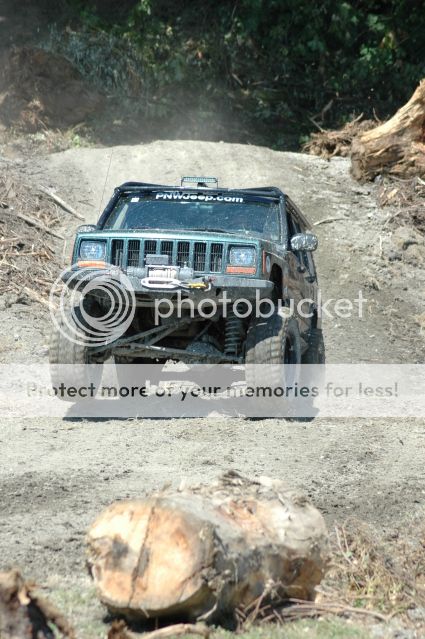
The first thing noticed was that it is much more smooth on the street, even in two wheel drive. Not having the friction of the full time locker really makes a difference in how it drives. Next up was the torture test. We wrapped up the install right before the CORE Prison Break Challenge in Monroe, WA. Rich was entered as a contestant and beat his XJ, the poor D30, and the ZIP Locker mercilessly, and with no real carnage to report. The Yukon Zip locker worked flawlessly and will continue to do so for a long time. With a couple more wheeling trips coming up shortly, and the winter wheeling season upon us in a couple of months, Rich's rig will get many more trail miles put on it before the year is out.
http://www.auburncarrepair.com
http://www.yukongear.com
Auburn Car Repair & Offroad was recently given the opportunity to install and test a Yukon Zip Locker in the D30 application. My good friend, and fellow PNWJeep club member, Rich McCoy's 2000 Jeep Cherokee seemed to be the perfect subject for this opportunity. RIch's rig still sees many street miles every year, and is used offroad more than just about any other rig I can think of. This XJ runs 33" tires, a swapped in HPD30 from a couple year earlier XJ, and the corporate Chrysler 8.25 rear axle.
Rich's rig is setup for all types of off roading here in the Northwest. He enjoys running all the local trail systems, camping in remote areas, and snow wheeling, which we generally get the chance to do plenty of up here. While his previous setup worked great with an Aussie Locker up front in the D30 and a Detroit Locker in the rear Chrysler 8.25 axle, the non-selectable aspects of the front locker sometimes left more to be desired. A selectable locker allows you to still run 4WD, but with less stress all the time on front end axle, steering, and chassis components. A selectable locker allows the front end to act like an open differential, until that button is pushed to lock it up, and then allowing the rig to climb over obstacles. A selectable locker (or two) can also be very beneficial at times in the snow and ice. Rich's rig was already running Yukon gears and axle shafts, so the Yukon Zip Locker was an easy choice to replace the "lunchbox" locker in his front D30 axle. The Zip locker is Yukon's air actuated selectable locker. It's assembled in the USA, and features 4320 Chrome Moly internals for added strength. Follow along as we show how it all comes together.
First step is to get it up on the hoist, here technician Jason Abbitt has already removed brake parts, unit bearings, axle shafts, as well as the diff. cover and carrier. The Aussie Locker is commonly referred to as a "lunchbox locker". Some people say they are able to be carried in their lunchbox, others say their installation is so simple they can be installed on a lunch break. Either way, while this style of locker is generally effective, they definitely have their downsides. An air actuated selectable locker gives you all of the advantages of an open differential on the street and easier off road scenarios, while instantly being able to be locked when the need arises. The "lunchbox locker" also re-uses the factory carrier, which can be a weak point. The Zip Locker is a complete differential carrier replacement, which is therefore much stronger.
Unless you are mechanically skilled and posses the necessary specialty tools, such as a case spreader, bearing puller, and dial indicator, this locker install may be best left to the professionals. Getting the proper carrier pre-load, backlash, and other settings are crucial in the setup phase of the install. Backlash measurements are taken before dis-assembly, to be matched when reassembled, since we are not changing from the current 4.56 gear ratio. Using setup bearings, available from Randy's Ring & Pinion, can aid in the installation due to them allowing you to slip bearings on and off the Zip Locker while coming up with the right combination of shims to set proper backlash. Once that setting is reached, the new carrier bearings are easily pressed into place. A hole is drilled and tapped in the housing to route the air line and fittings outside of the differential. We use an air pressure gauge with a check valve on it to test the locker and fittings, ensuring no leaks in the system. It's much easier to correct any issues at this time, than after finding it once the differential is completely reassembled.
Once the Zip Locker and necessary fittings are installed. The differential cover is re-sealed and installed, all axle shafts and other parts are reassembled, and the rig is lowered back to the ground. The next part of the install is the air source for the selectable locker. This can be done any number of ways, including tapping into an on-board air system utilizing an A/C compressor, using C02, or using an electric compressor, such as an ARB compressor. The ARB mini compressor is small enough to be tucked nearly anywhere, and we chose to mount in the fender well of Rich's Cherokee.
Once the Zip locker is installed and the compressor is mounted, all that's left is to run some power and install the switches. There is one switch to power up the compressor, and another to activate the locker. We like to mount them within easy reach so that the switches are easily manipulated without having to reach too far. On a late model XJ, the surface just above the parking brake handle is a perfect mounting location. With the install complete, all that's left is a test drive!
The first thing noticed was that it is much more smooth on the street, even in two wheel drive. Not having the friction of the full time locker really makes a difference in how it drives. Next up was the torture test. We wrapped up the install right before the CORE Prison Break Challenge in Monroe, WA. Rich was entered as a contestant and beat his XJ, the poor D30, and the ZIP Locker mercilessly, and with no real carnage to report. The Yukon Zip locker worked flawlessly and will continue to do so for a long time. With a couple more wheeling trips coming up shortly, and the winter wheeling season upon us in a couple of months, Rich's rig will get many more trail miles put on it before the year is out.
http://www.auburncarrepair.com
http://www.yukongear.com