DBenz
NAXJA Forum User
- Location
- Manhattan, Kansas
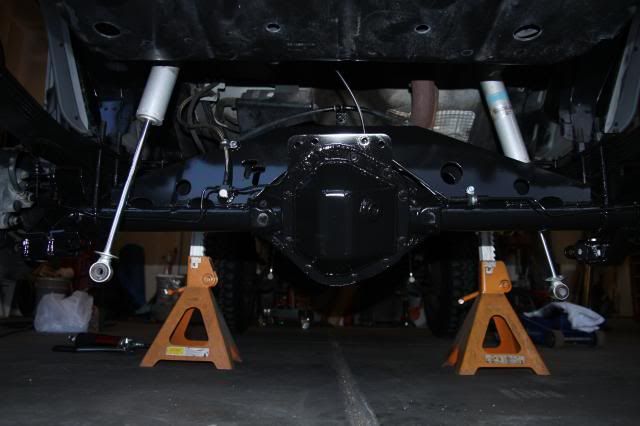
Great idea for the upper rear shock mounts, I'm curious which companies offer a piece like this for those of us without welders?

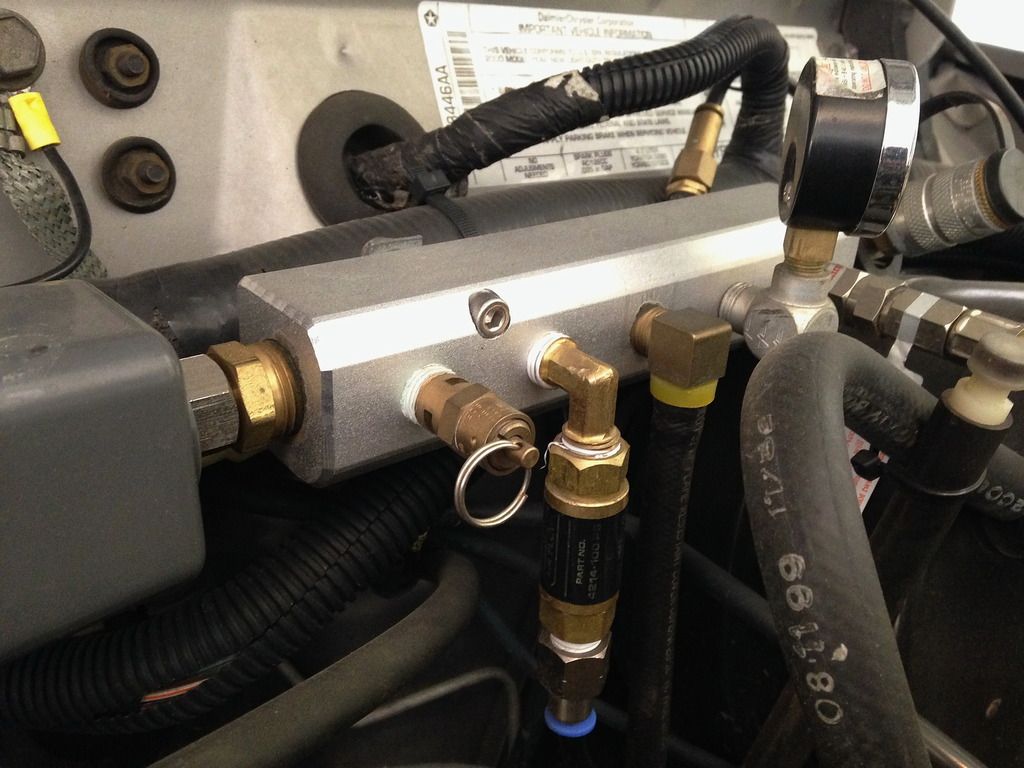
what did you end up doing about the vent line? with the tnt truss?
Main tube is 1.75" DOM, hoop is 1.50" DOM and the side braces are 1" EW. I already had the 1.5 hoop from another bumper project and decided to use it, even though it was smaller than the main. Turned out OK....

Brandon, I fabbed my own brackets for my front bumper. Since then, my buddy has a CAD XJ bumper plate template and can burn them on his plasma table, if you like. Hit me via text if you need his info.