Mitchell28
NAXJA Forum User
- Location
- SNH
What's up everybody long time lurker here who decided its time to get my build thread started. Mainly doing this to keep myself up to date with what I have done to this turd and to keep myself motivated by drooling over everyone else's rigs on here. This is my 3rd jeep but first ever Cherokee. I have had her since march 2013 and haven't been the best at tracking my progress so please excuse the somewhat jumping around that may happen at first. So her it goes.... After having to sell my daily driven TJ for something better on gas I was jeep-less for about 3 months and couldn't handle it so I needed a project. I picked up, well AAA picked up this 98 classic with only 90k on the clock for $1400. All I knew was the previous owner told me it had "major brake issues" and could not be drivin....

So in true to myself fashion the next morning after AAA dropped her in my driveway I ripped around my yard for a whopping 3 minutes until the exhaust from the muffler back ripped off and I was high centered/the stock bald tires wouldn't push me anymore..

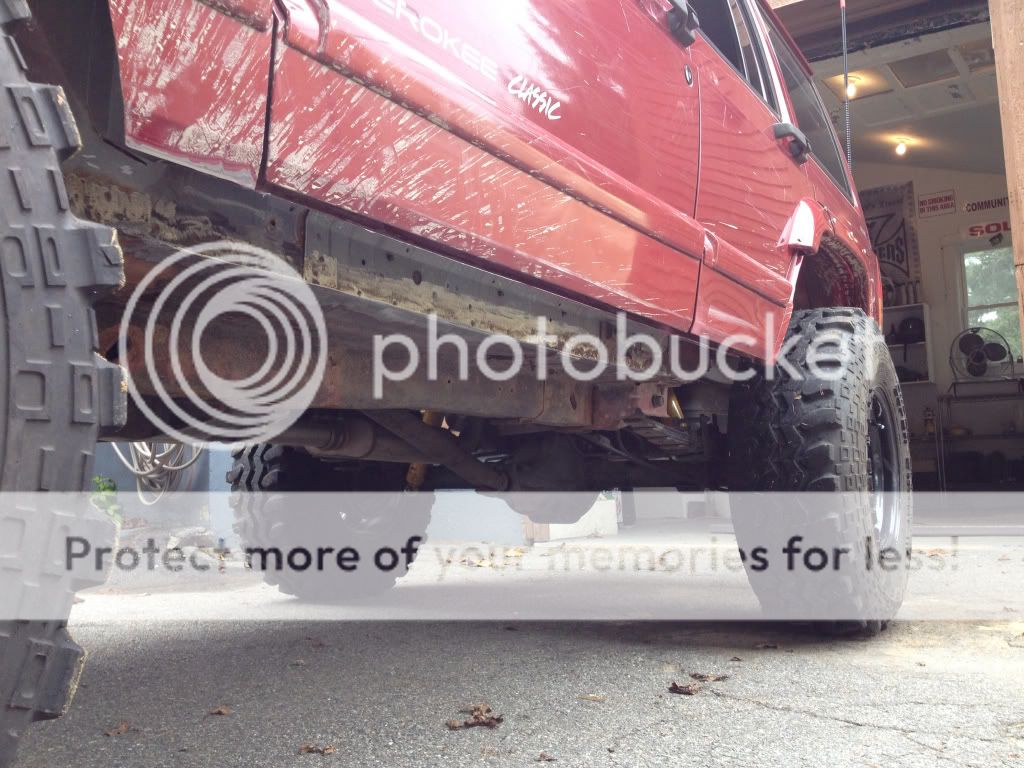
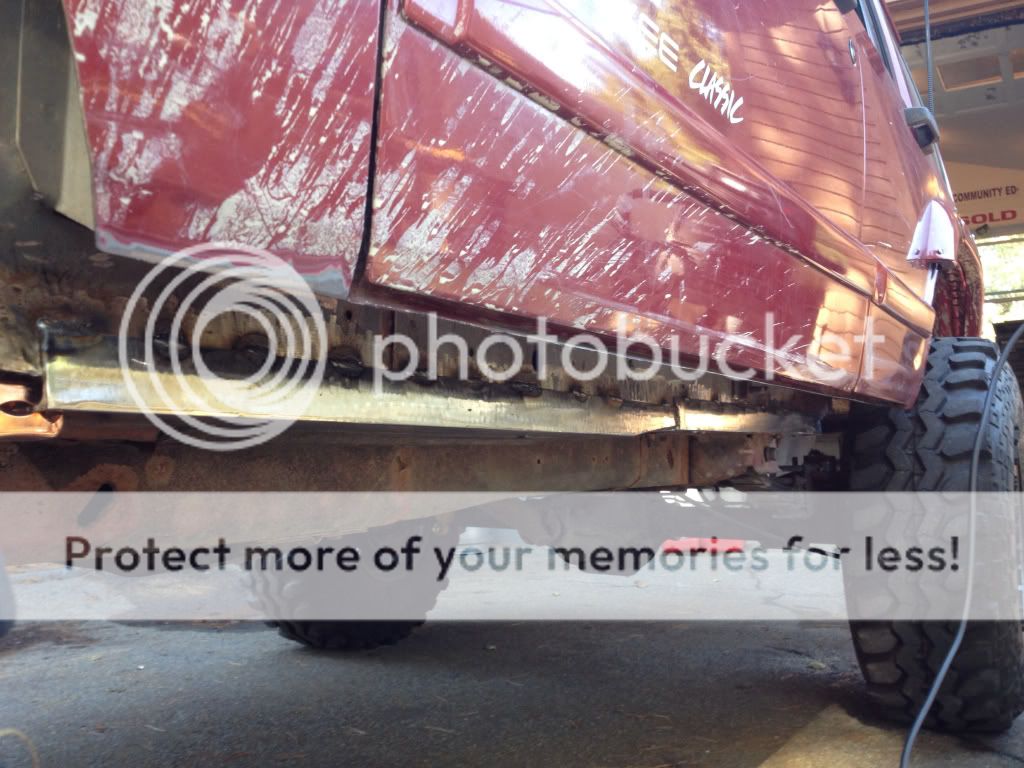
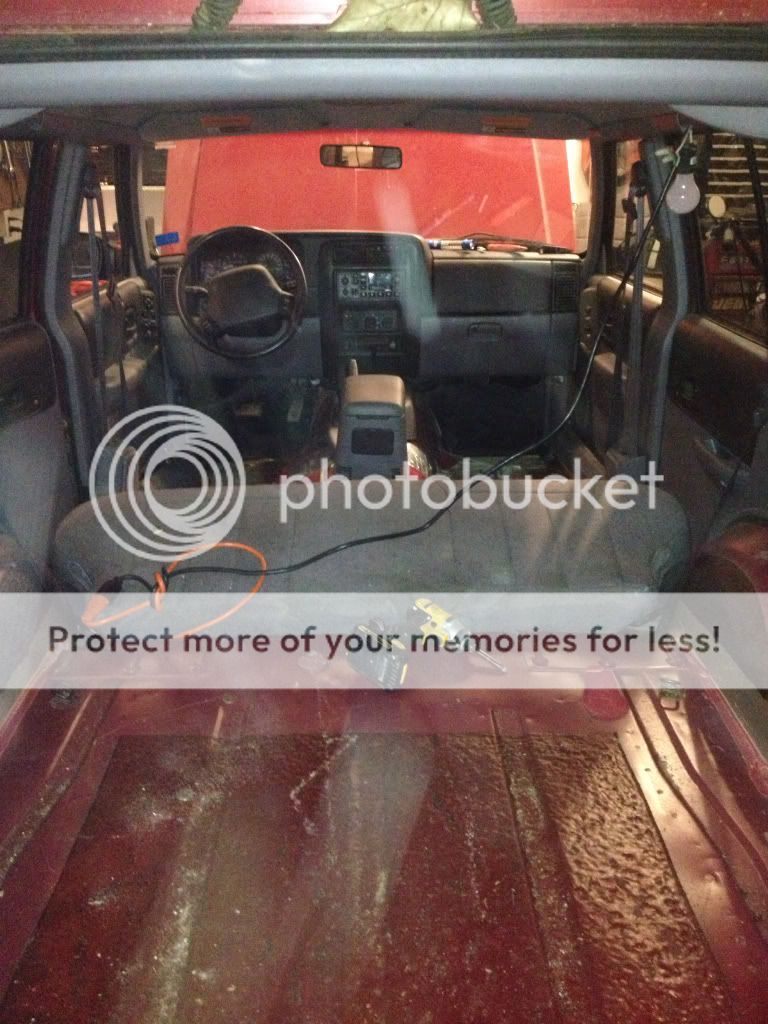
After some shoveling it was into the garage for the start of the tear down. Started by replacing almost all of the brake lines due to the main line to the rear being cracked, (that was the "major issue") and figured why I was at it I would do a new proportioning valve as well as rebuild the rear drums completely and put on the new front pads that the seller gave me when I bought the jeep. While it was parked in the garage I decided to remove all the carpet and put the new exhaust on.

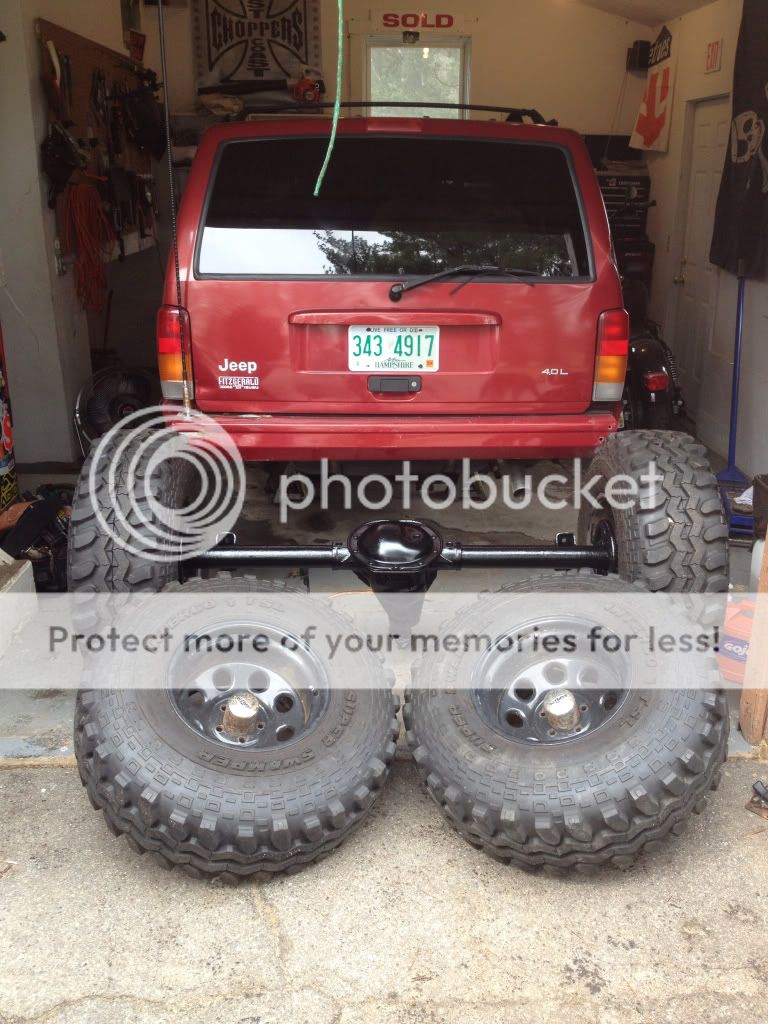
At this point I had probably had the rig for 2 or so months and was driving it around in stock form trying to work out the kinks. Soon after pulling my rear axle out to clean it up I found a craigslist deal I couldn't refuse in the form of some 33in TSL's with with wheels, which meant it was time to pull the trigger on a lift. I called up DPG off-road and went with an OME HD in the 3.5" flavor with some other goodies, JKS trackbar, shock mounts, blah blah blah....

Cut and folded up my rear fenders and clearly had to see what no lift and 33's looked like. Mall crawler status....

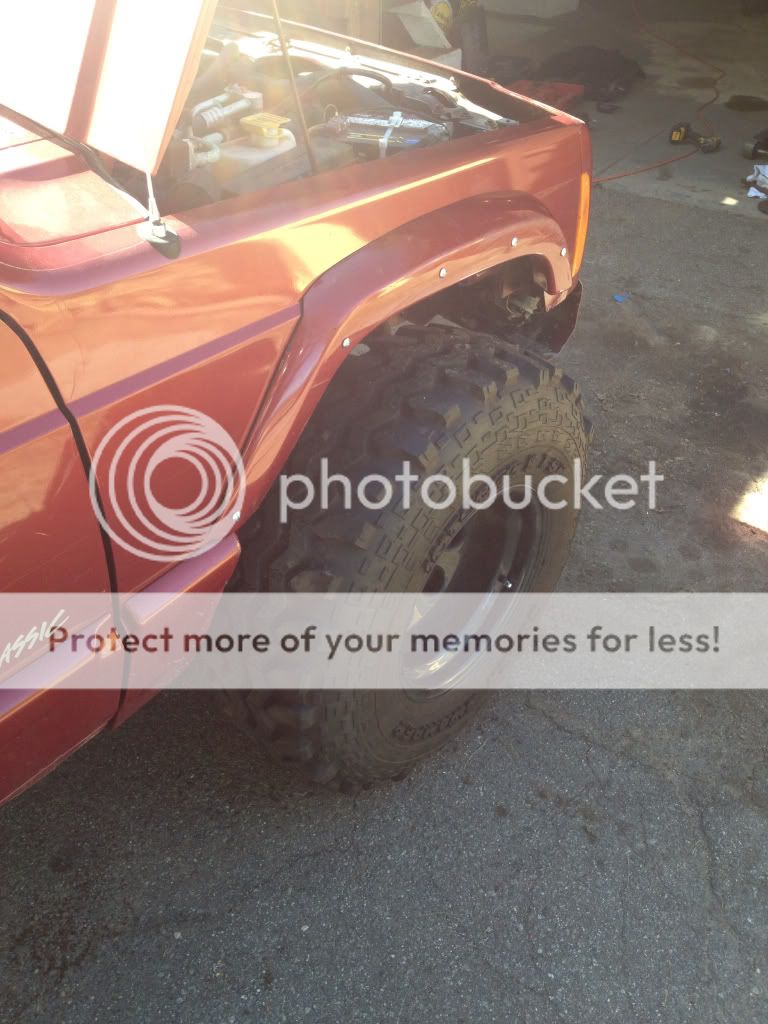
While waiting for the lift to arrive I hacked my front fenders out and made some home brew poor mans style bushwacker cut out flares for the front(rear also done now but no pics yet)
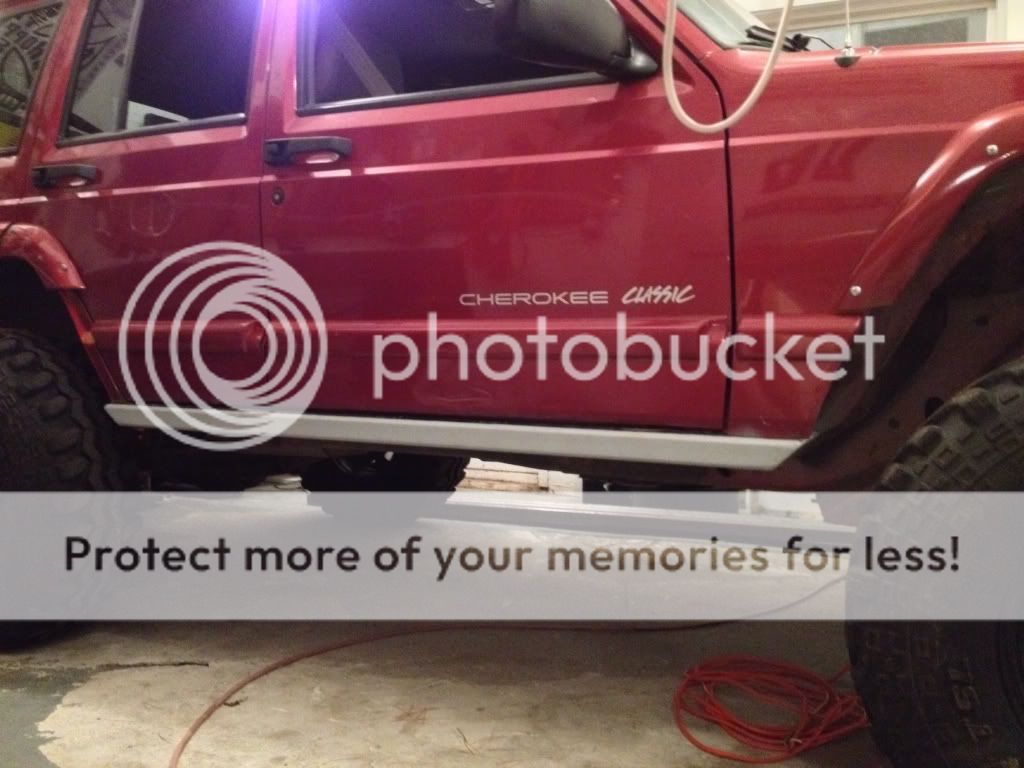
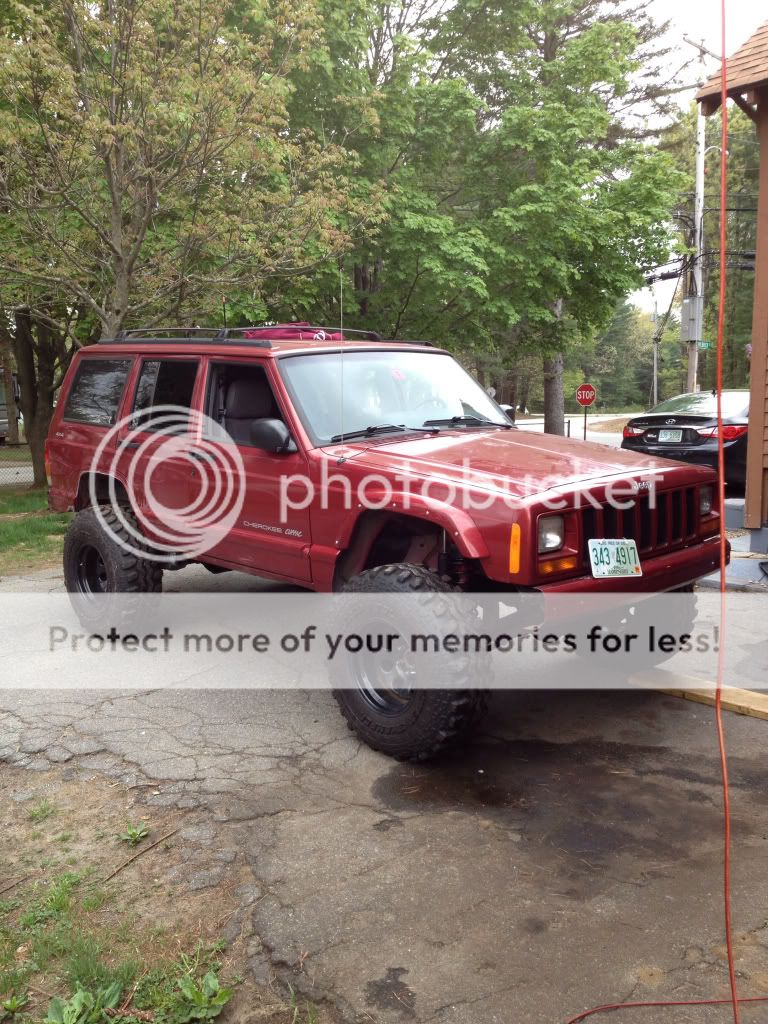
First lift I have ever installed 100% solo with no help and let me tell you some parts were miserable without another set of hands around but I have zero patients and wasn't waiting to get this thing installed. 3.5" OME with cut fenders and 33X12.50's..

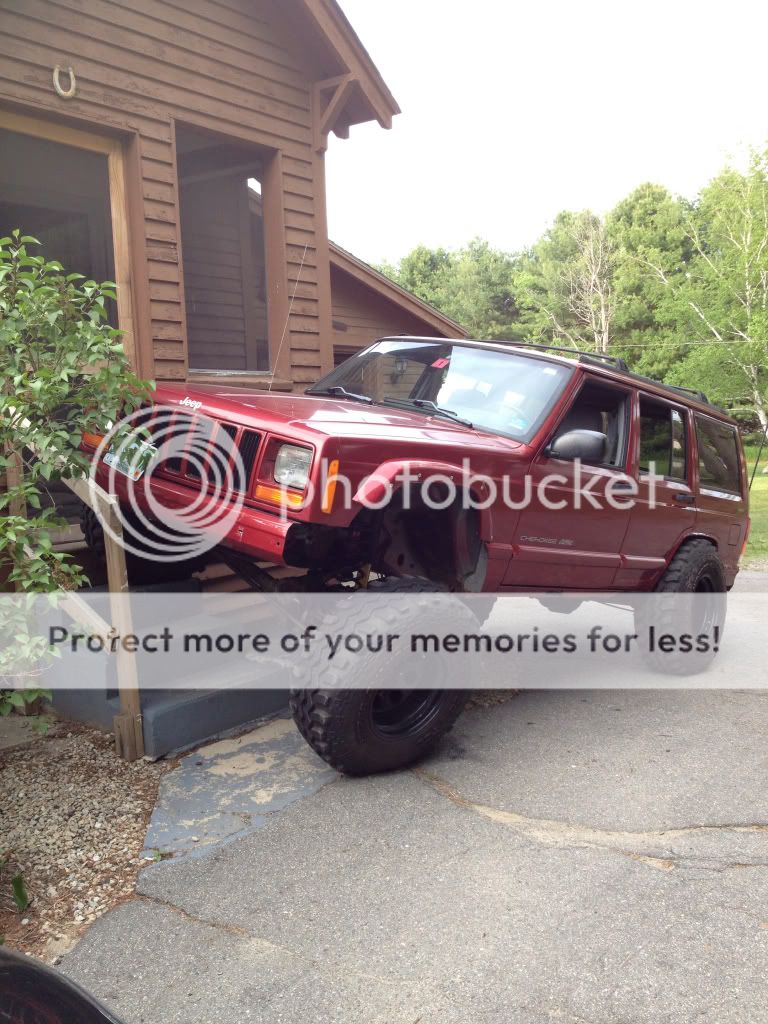
Completely necessary front stairs flex test..
Super poser pic but this was 1 of her first trail runs...

So in true to myself fashion the next morning after AAA dropped her in my driveway I ripped around my yard for a whopping 3 minutes until the exhaust from the muffler back ripped off and I was high centered/the stock bald tires wouldn't push me anymore..
After some shoveling it was into the garage for the start of the tear down. Started by replacing almost all of the brake lines due to the main line to the rear being cracked, (that was the "major issue") and figured why I was at it I would do a new proportioning valve as well as rebuild the rear drums completely and put on the new front pads that the seller gave me when I bought the jeep. While it was parked in the garage I decided to remove all the carpet and put the new exhaust on.
At this point I had probably had the rig for 2 or so months and was driving it around in stock form trying to work out the kinks. Soon after pulling my rear axle out to clean it up I found a craigslist deal I couldn't refuse in the form of some 33in TSL's with with wheels, which meant it was time to pull the trigger on a lift. I called up DPG off-road and went with an OME HD in the 3.5" flavor with some other goodies, JKS trackbar, shock mounts, blah blah blah....
Cut and folded up my rear fenders and clearly had to see what no lift and 33's looked like. Mall crawler status....
While waiting for the lift to arrive I hacked my front fenders out and made some home brew poor mans style bushwacker cut out flares for the front(rear also done now but no pics yet)
First lift I have ever installed 100% solo with no help and let me tell you some parts were miserable without another set of hands around but I have zero patients and wasn't waiting to get this thing installed. 3.5" OME with cut fenders and 33X12.50's..
Completely necessary front stairs flex test..
Super poser pic but this was 1 of her first trail runs...
Last edited: