Clayton Off Road
Clayton Off Road
- Location
- East Haven CT
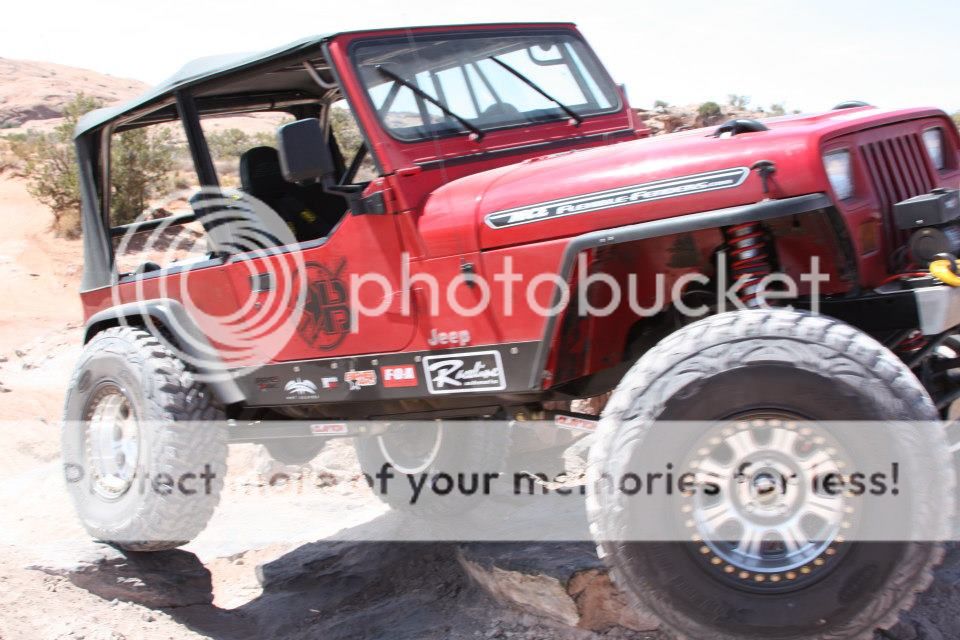
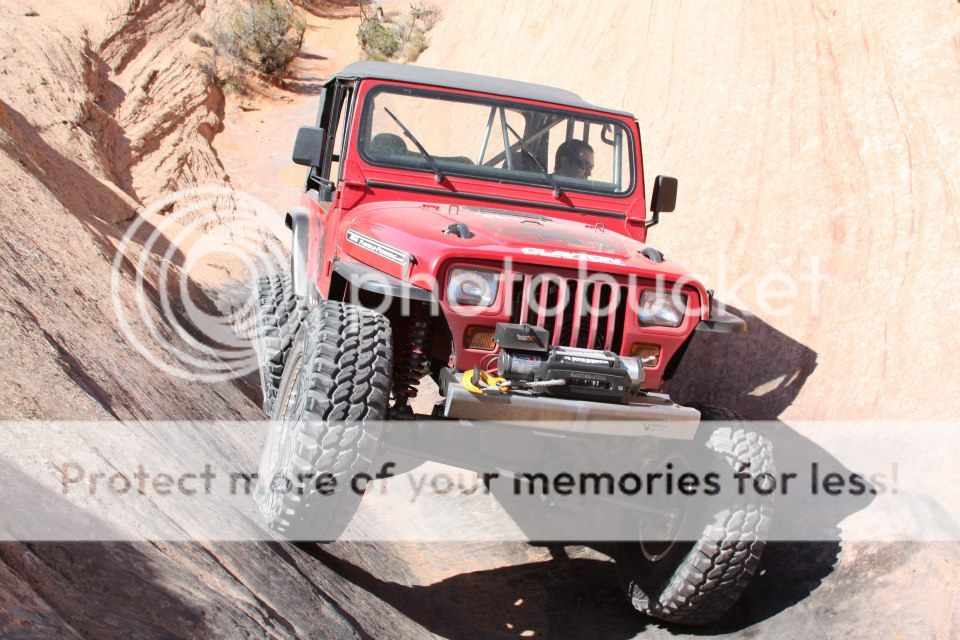
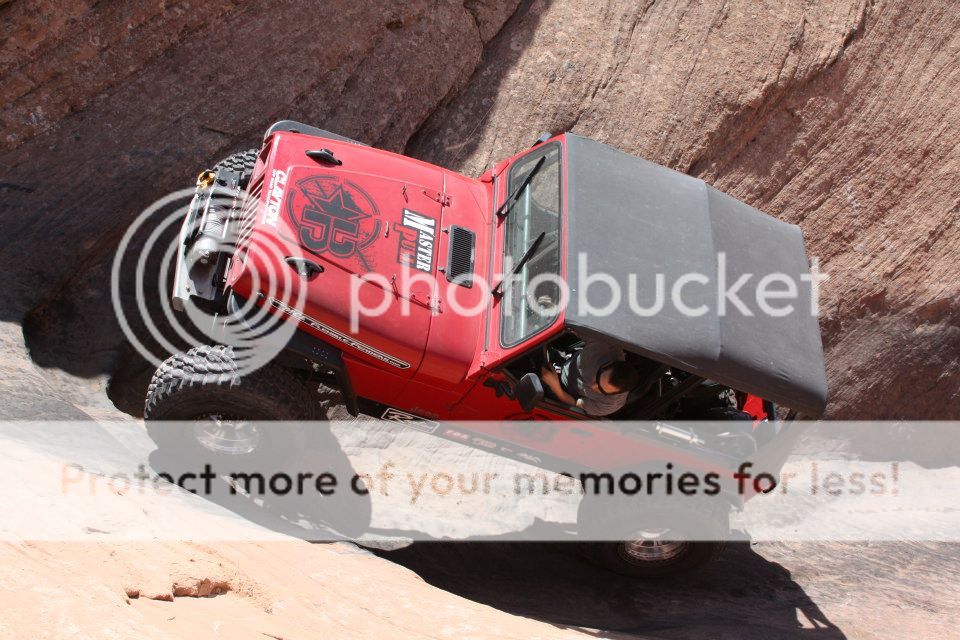
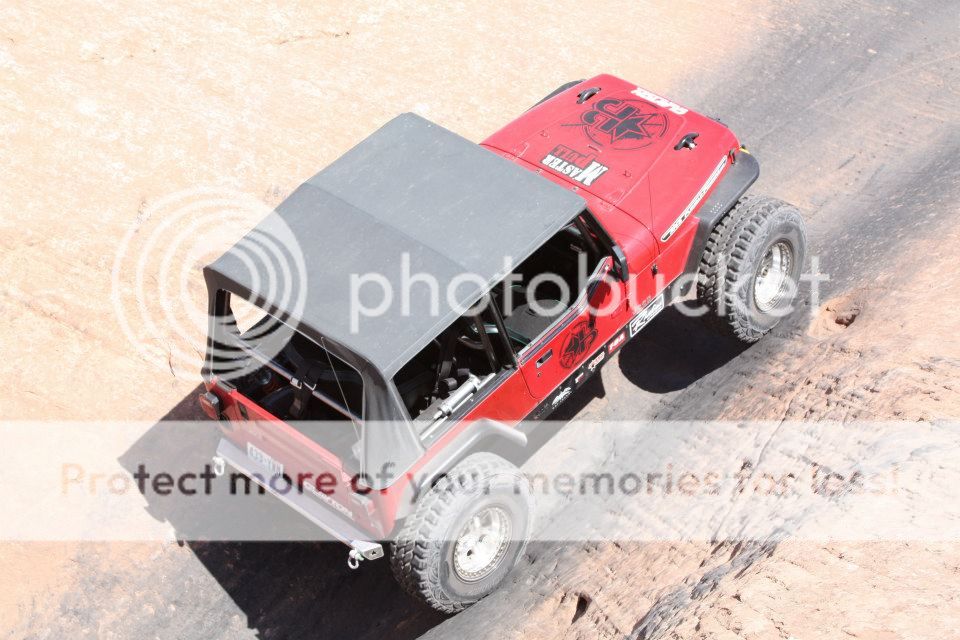
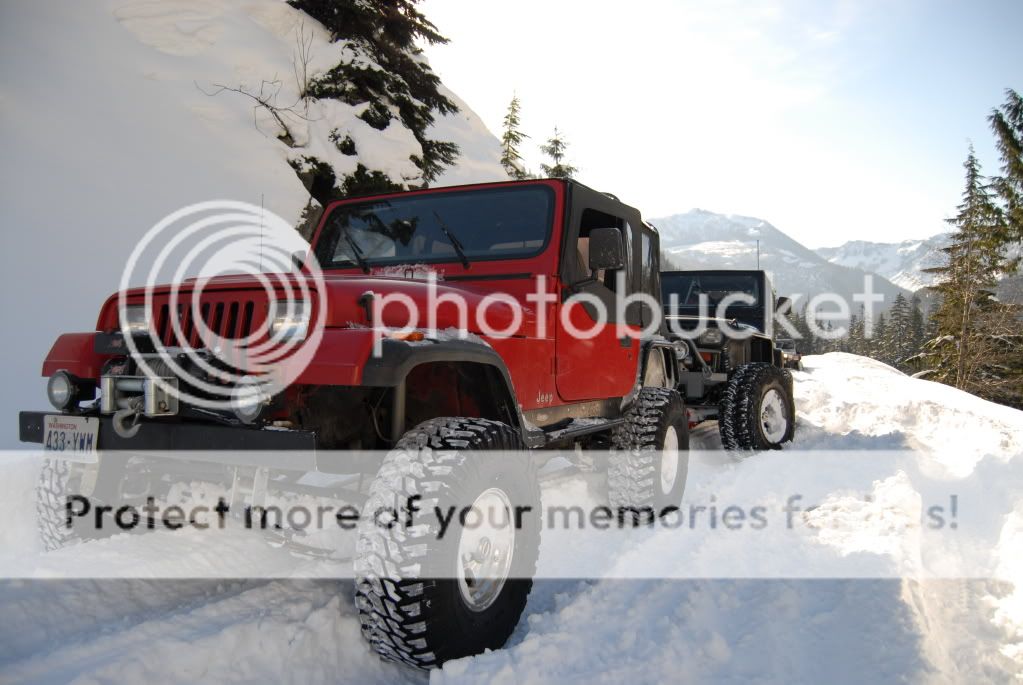
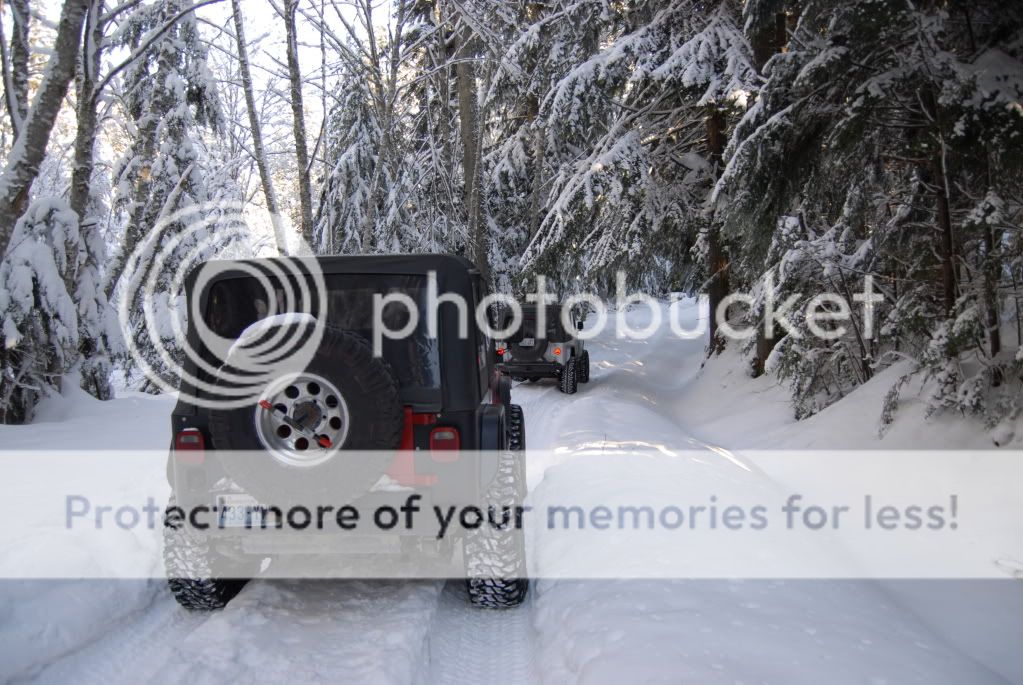
Here is a photo dump of my YJ build thread, I used to have an XJ, this one actually:
I decided to trade with a local guy to build up a YJ instead, the XJ had just about reached it's limit on what I could do and the go fast bug kept biting me.
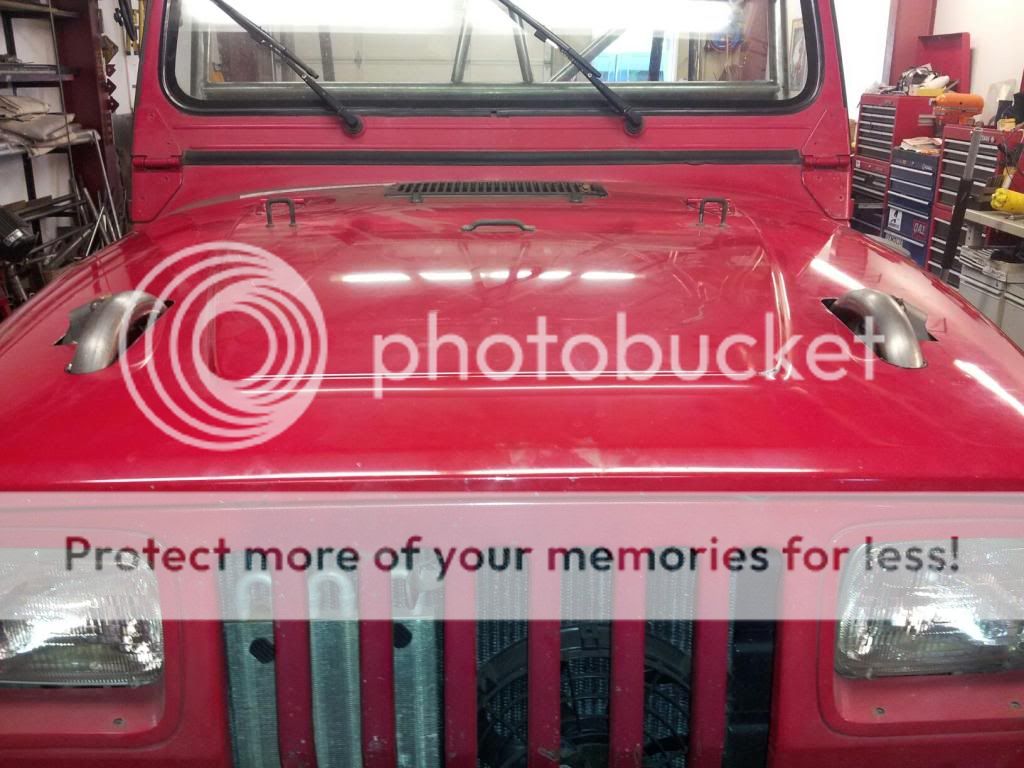
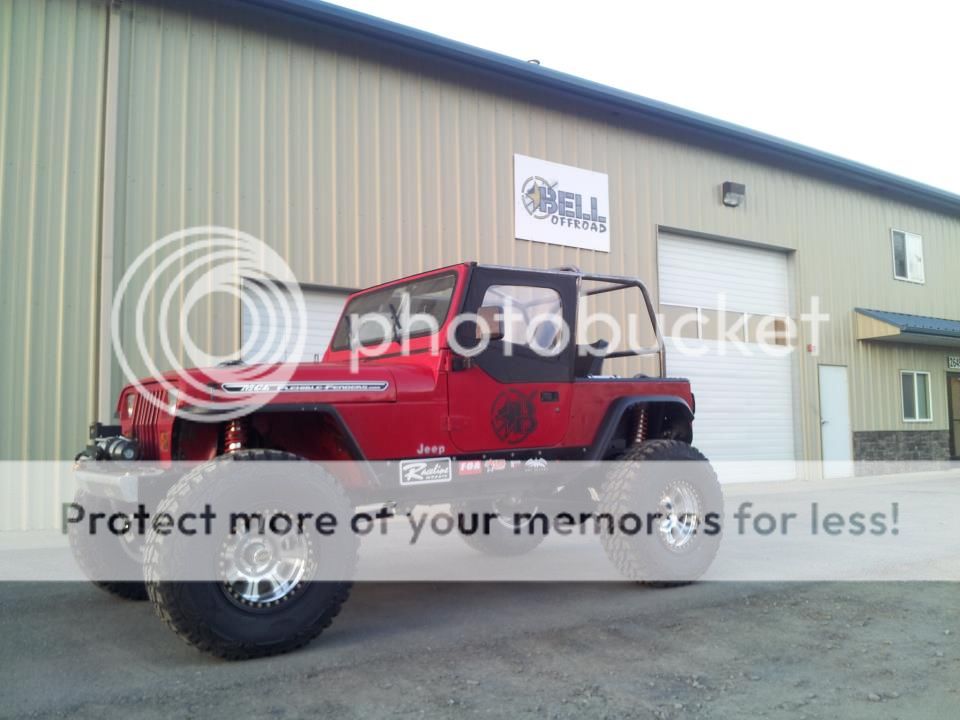
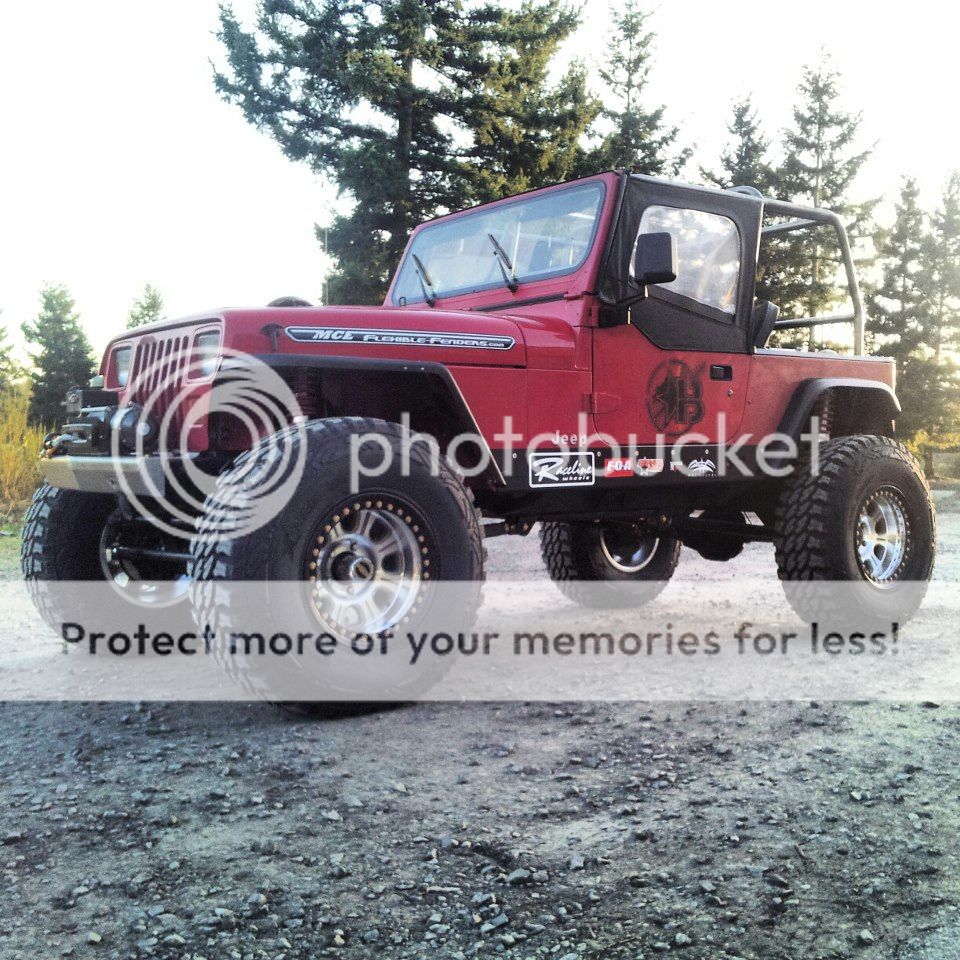
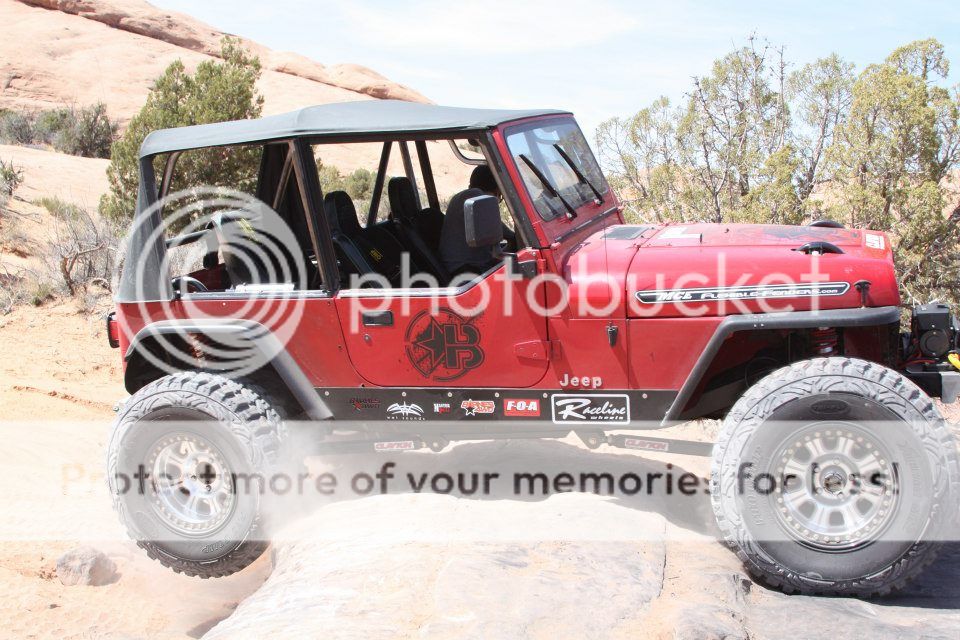
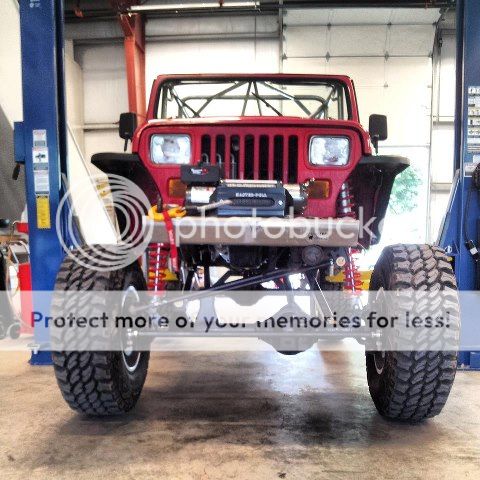
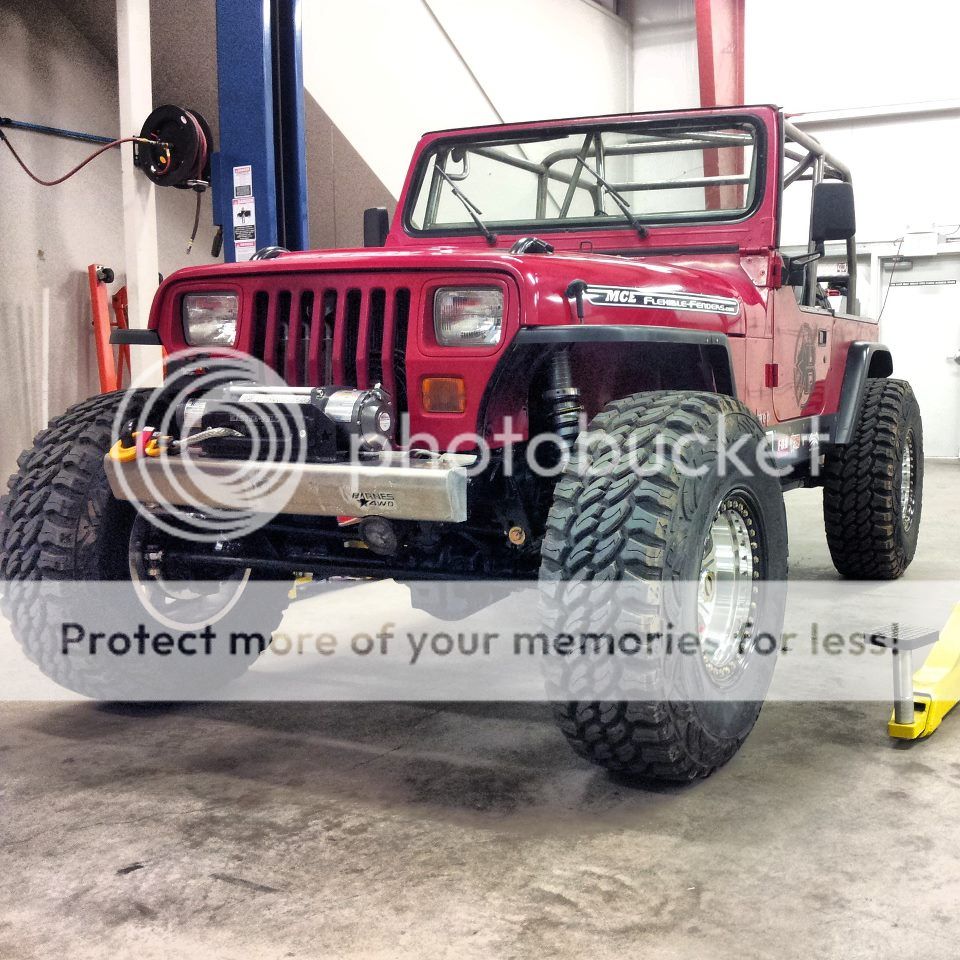
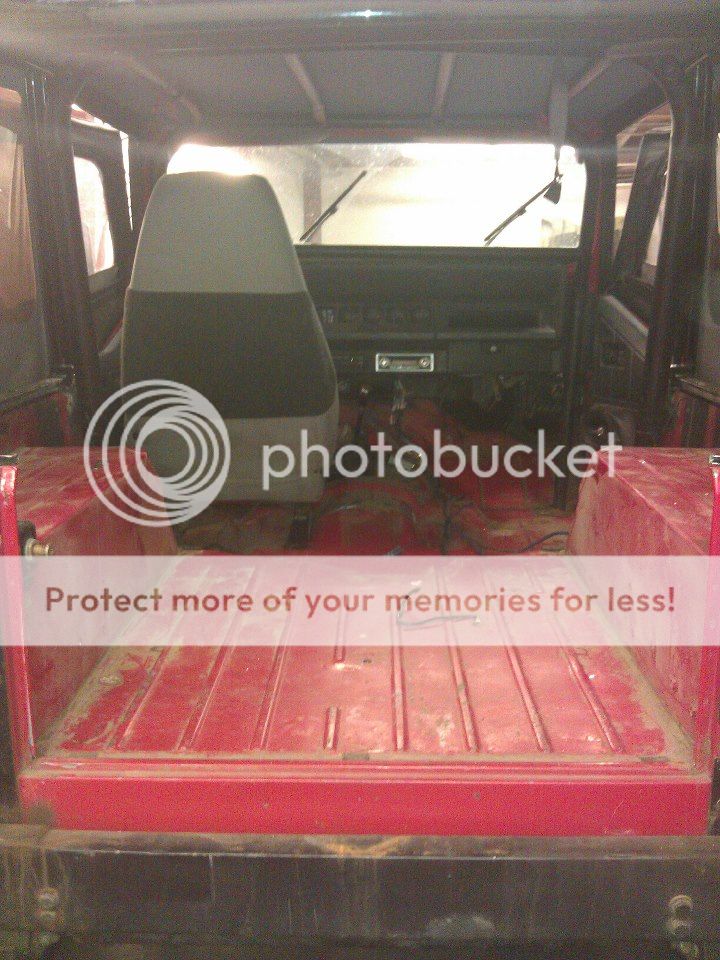
Here is what we started with:
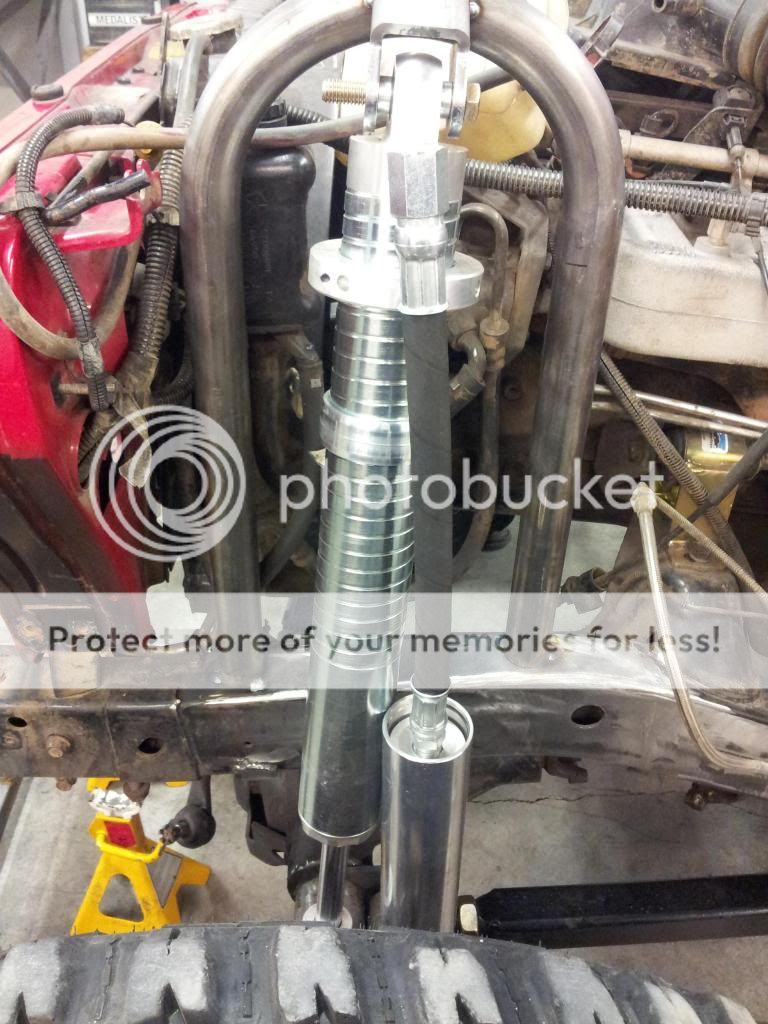
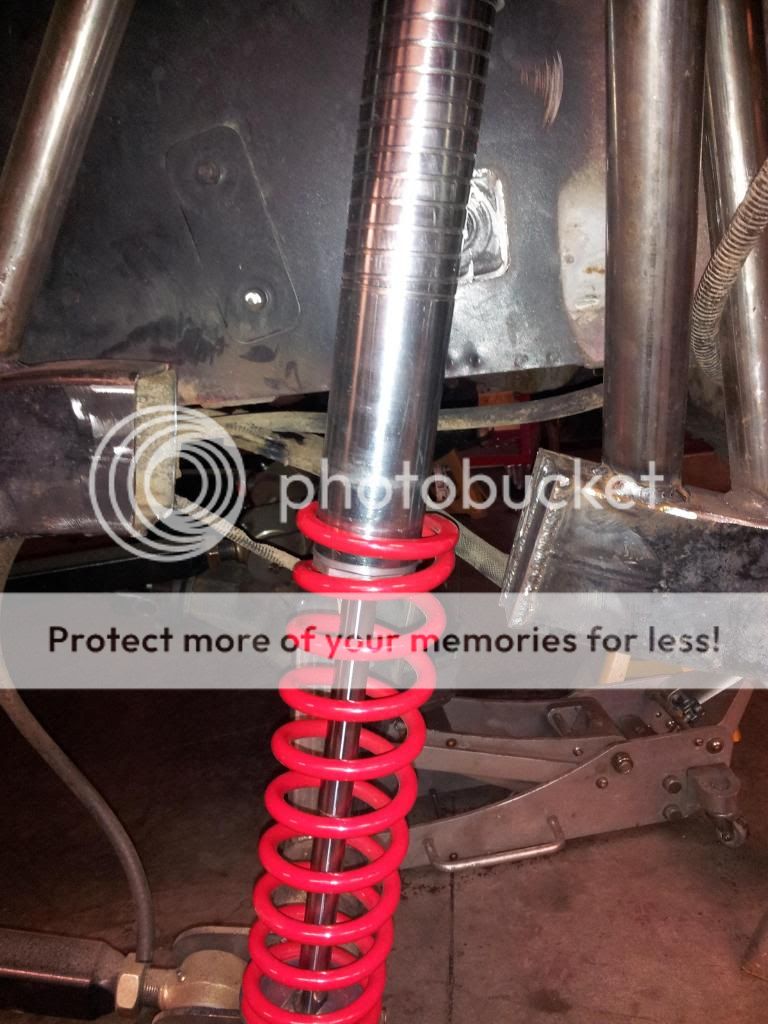
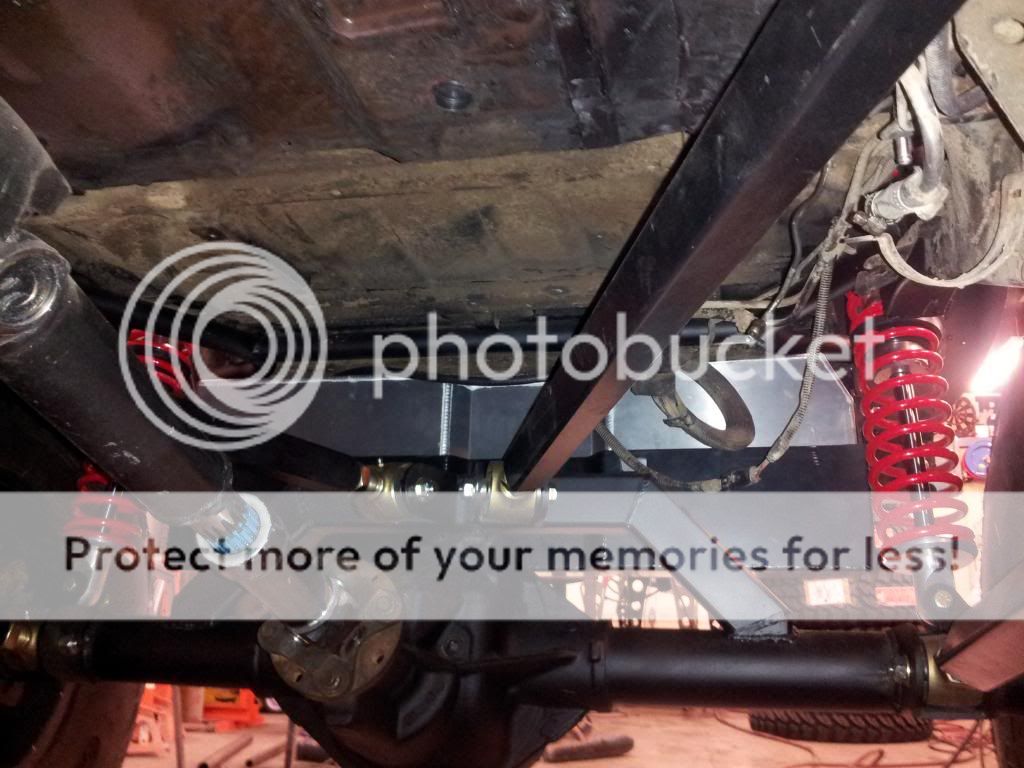
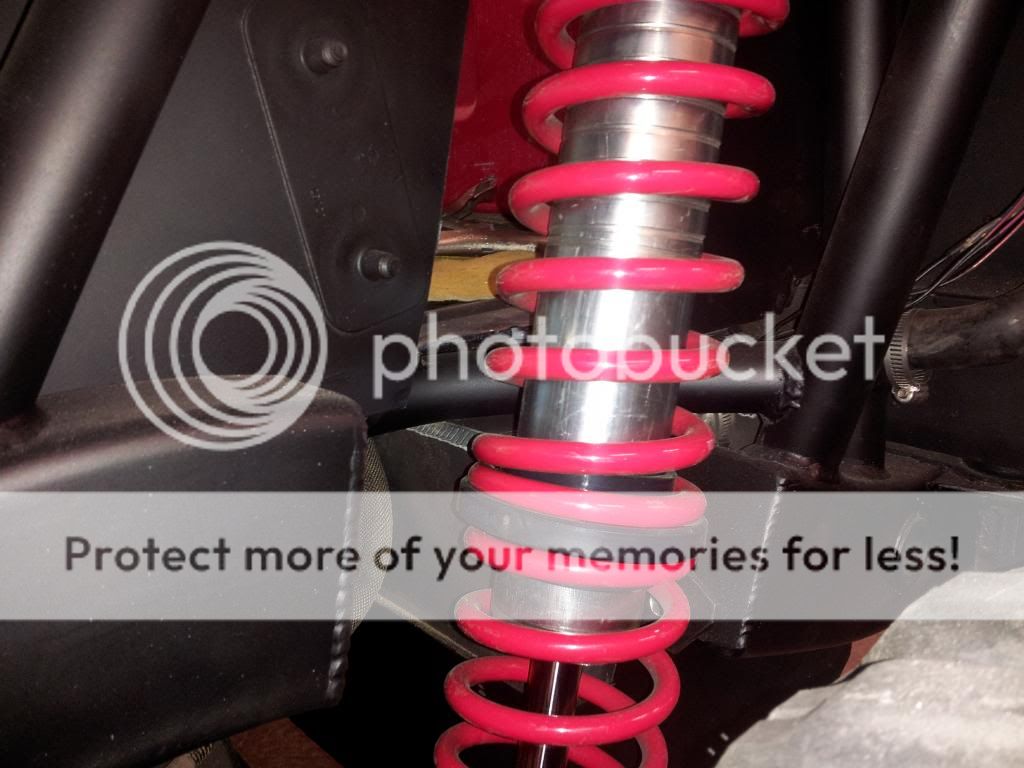
Jonni (Jonasson Motorsports) John (Bell Off Road) and I put together a plan for what we wanted to do, build a trail capable YJ, but keep it as light as possible. We decided on coil overs F/R, tons of new armor, custom roll cage, and a good amount of front and rear stretch.
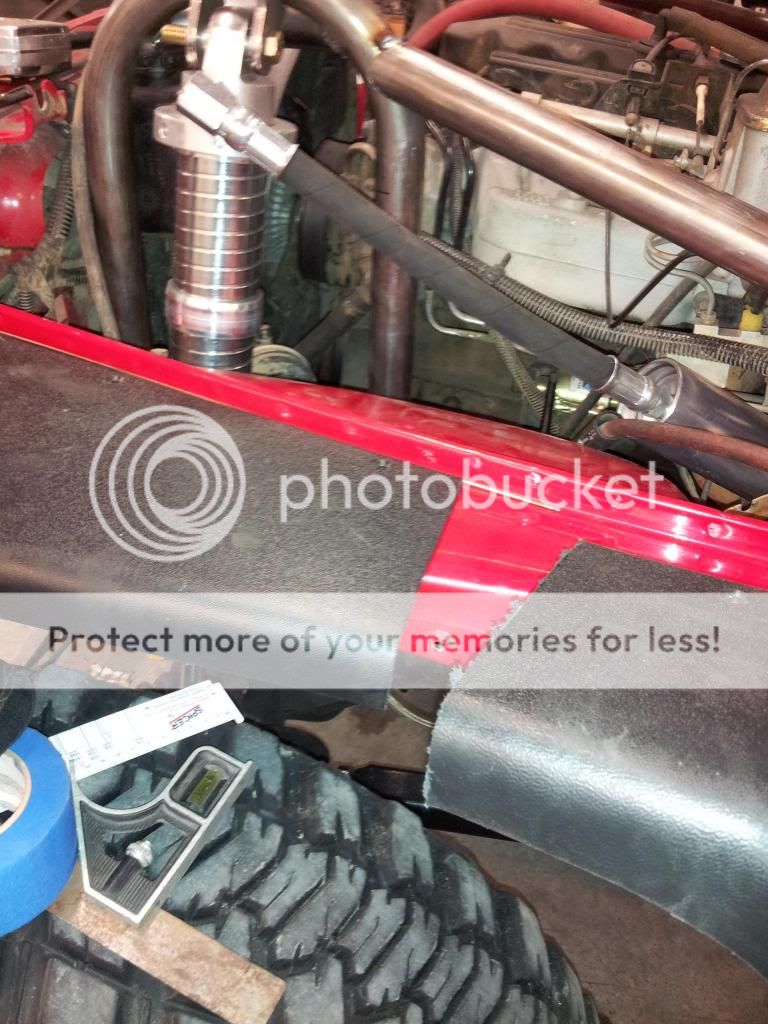
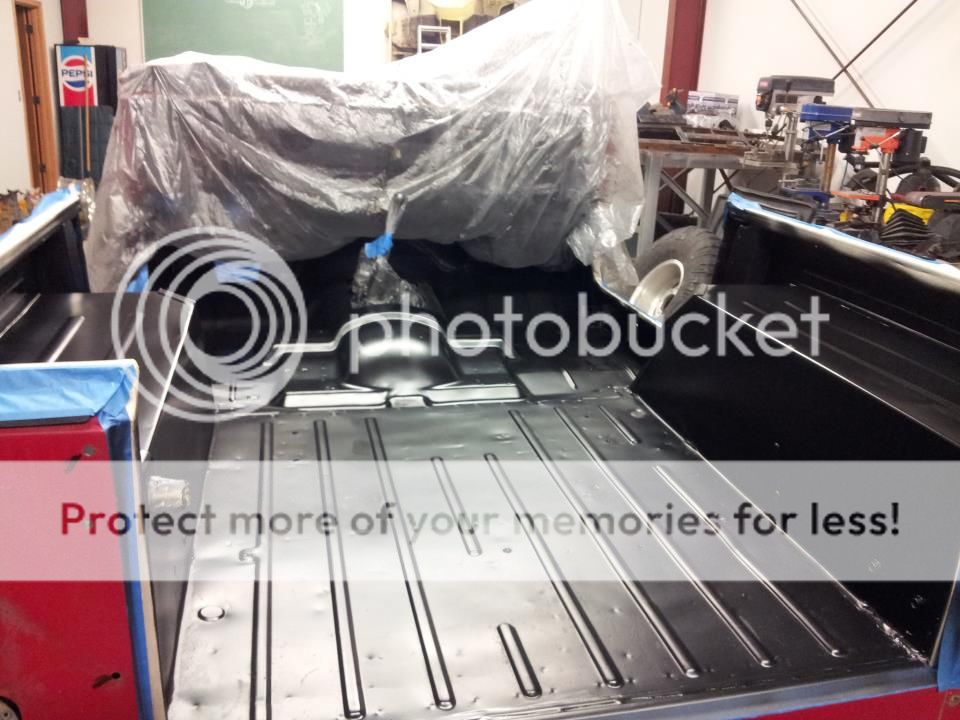
Since the eventual plan is to repaint the rig we started by stripping it and cleaning the tub, and removing all of the old wiring, alarm system, and sound mods that had been done:
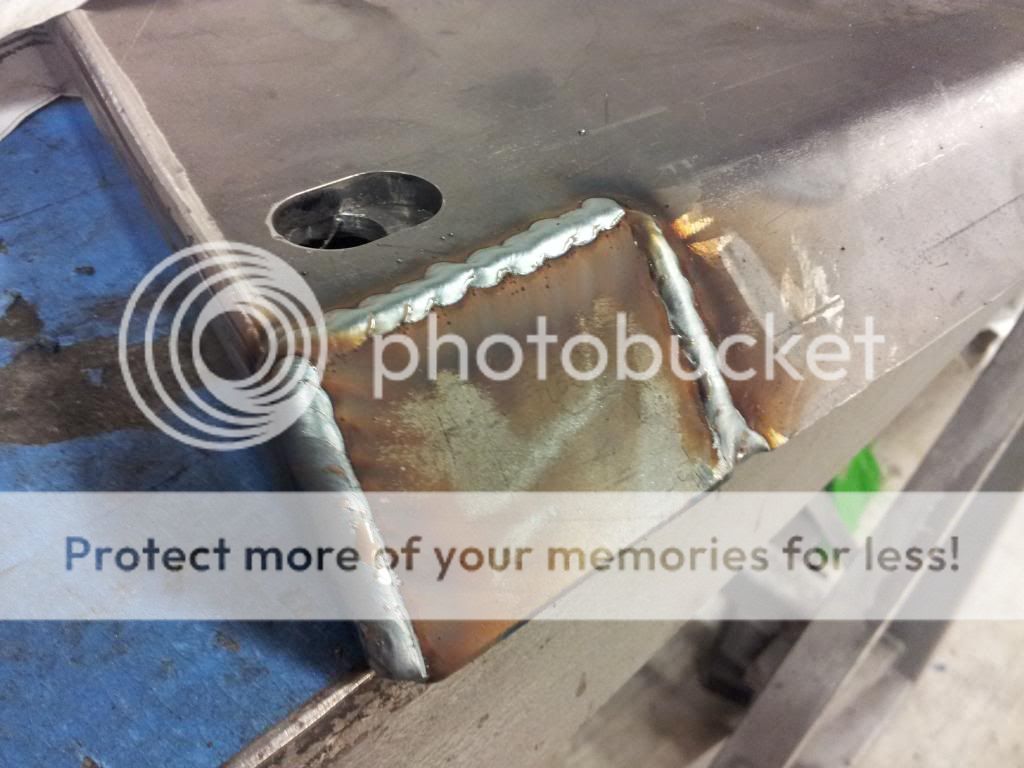
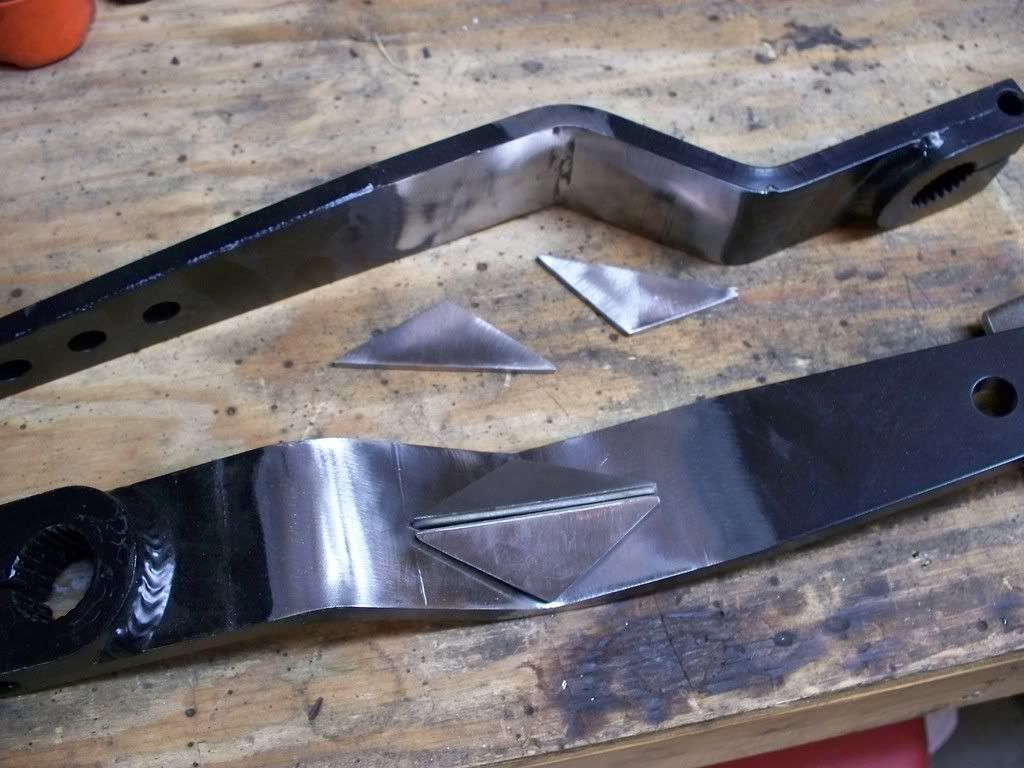
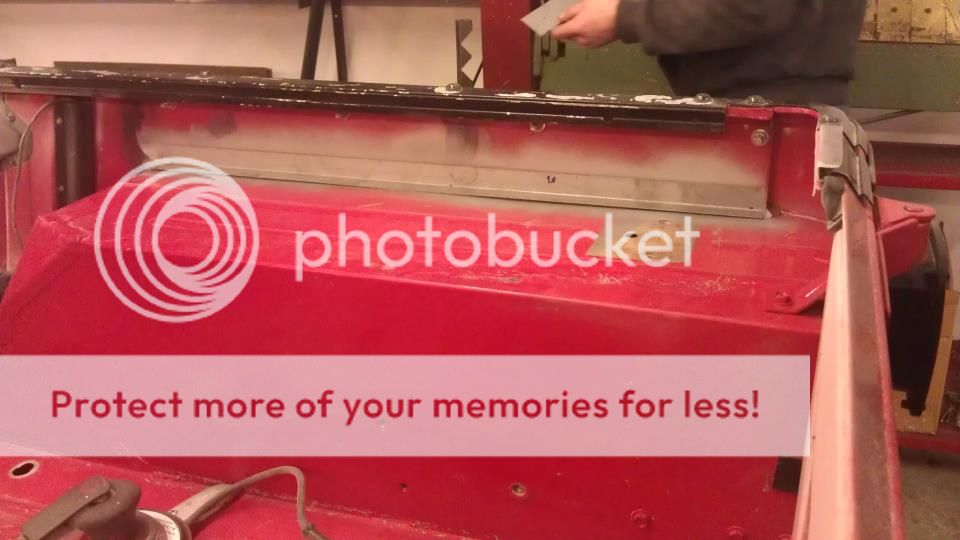
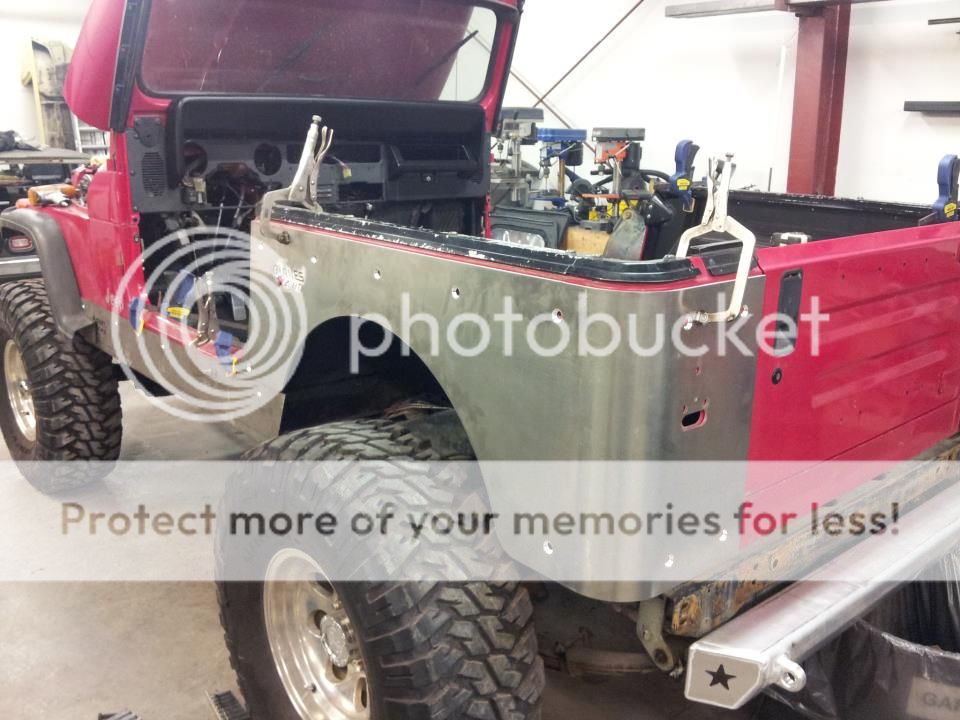
When we looked at the rear wheel wells we realized that when the corners were mounted the area was trimmed just a bit too much. Jonni built a bracket using some sheet metal and plug welded it back to the tub:
Jonni shot the tub black with an epoxy primer for now:
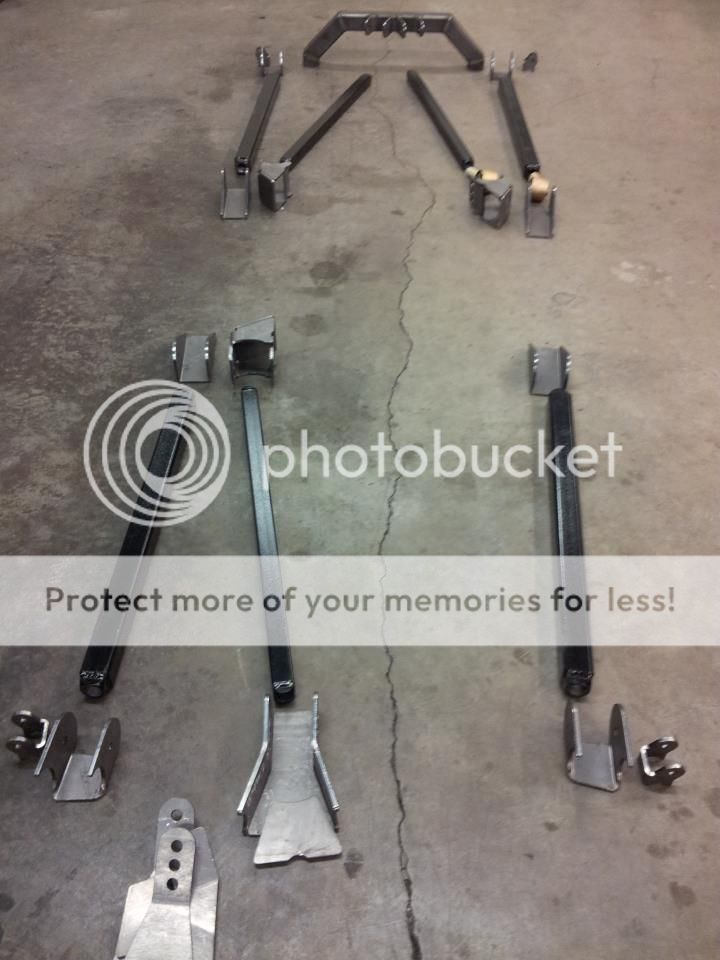
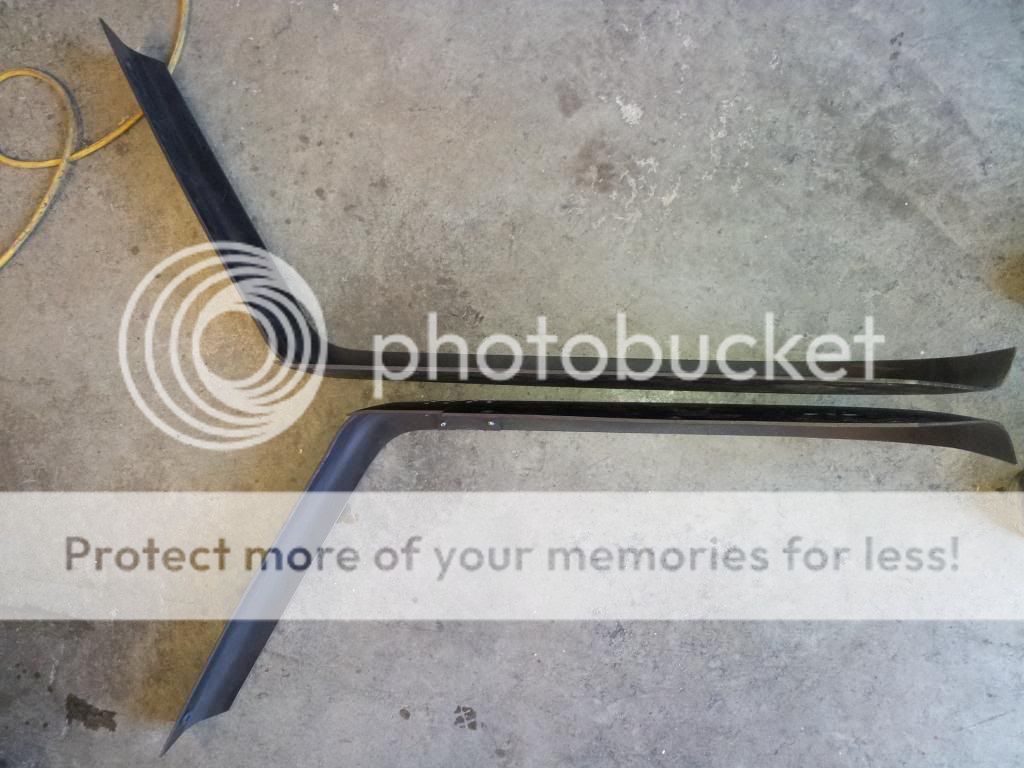
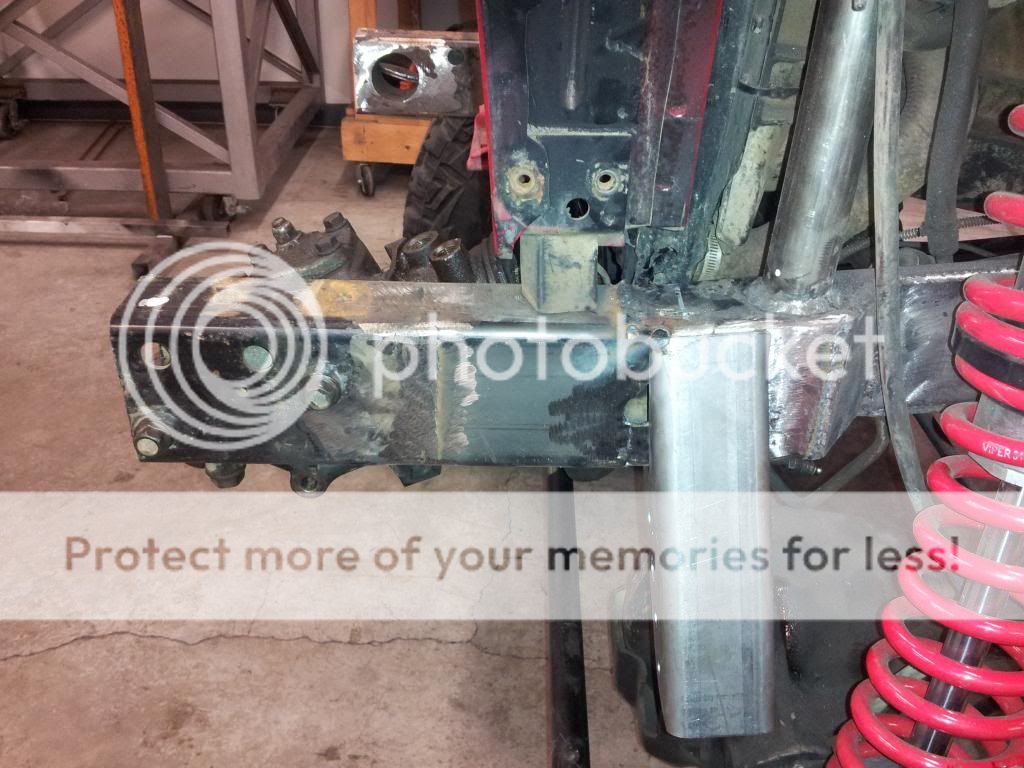
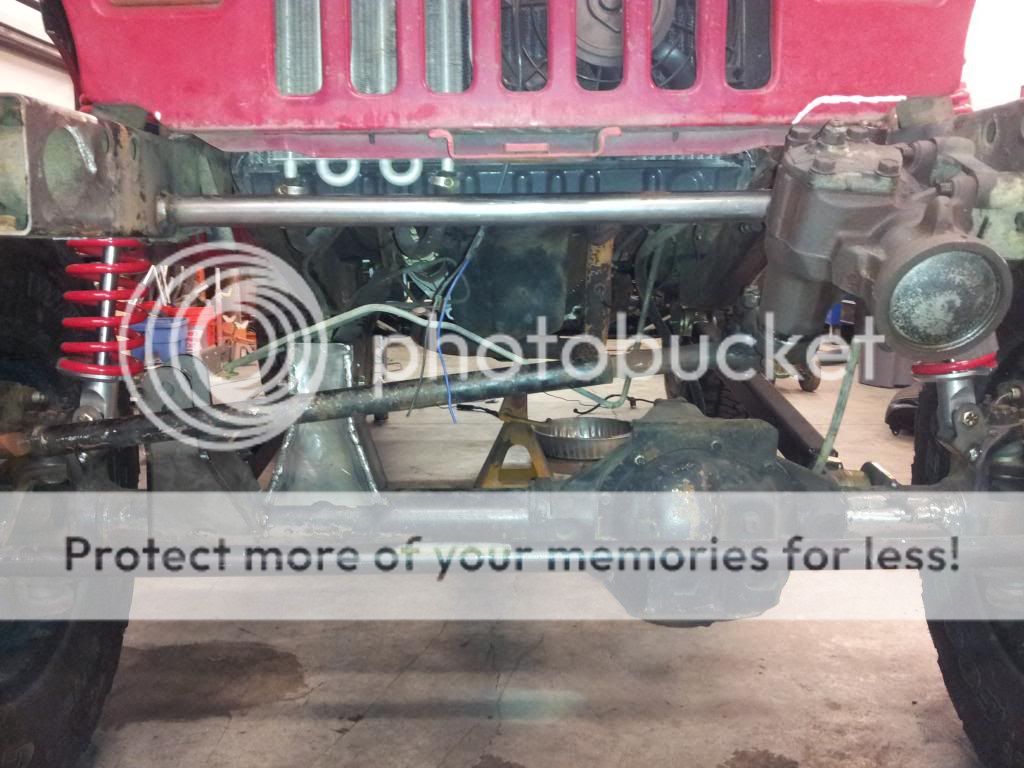
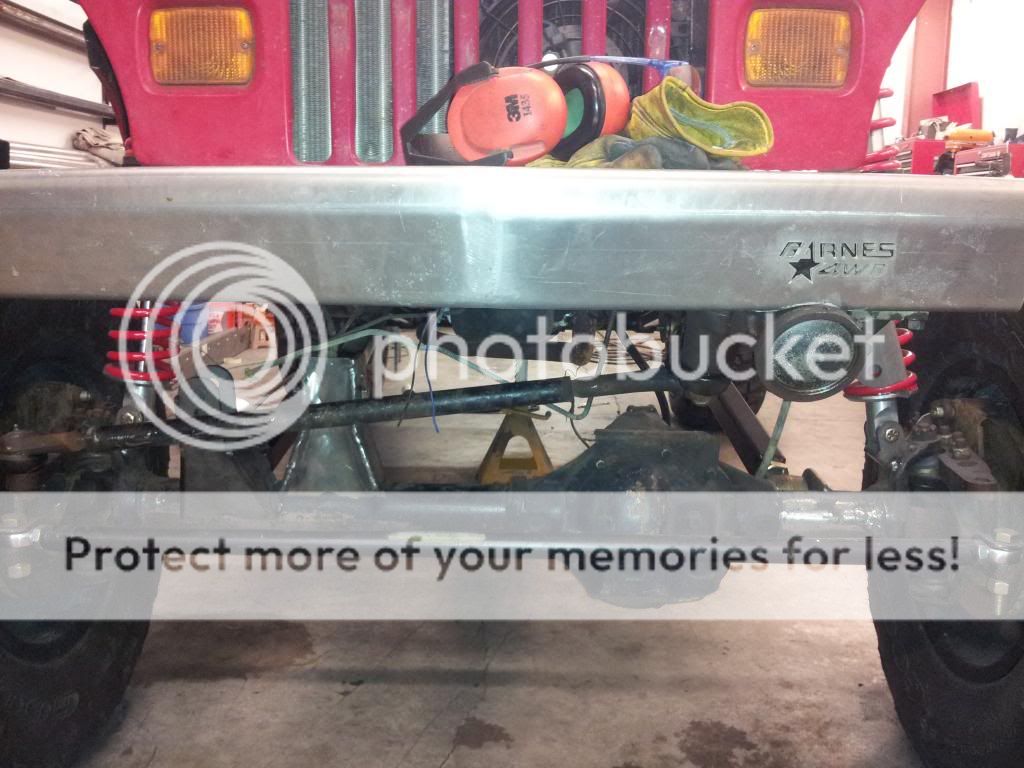
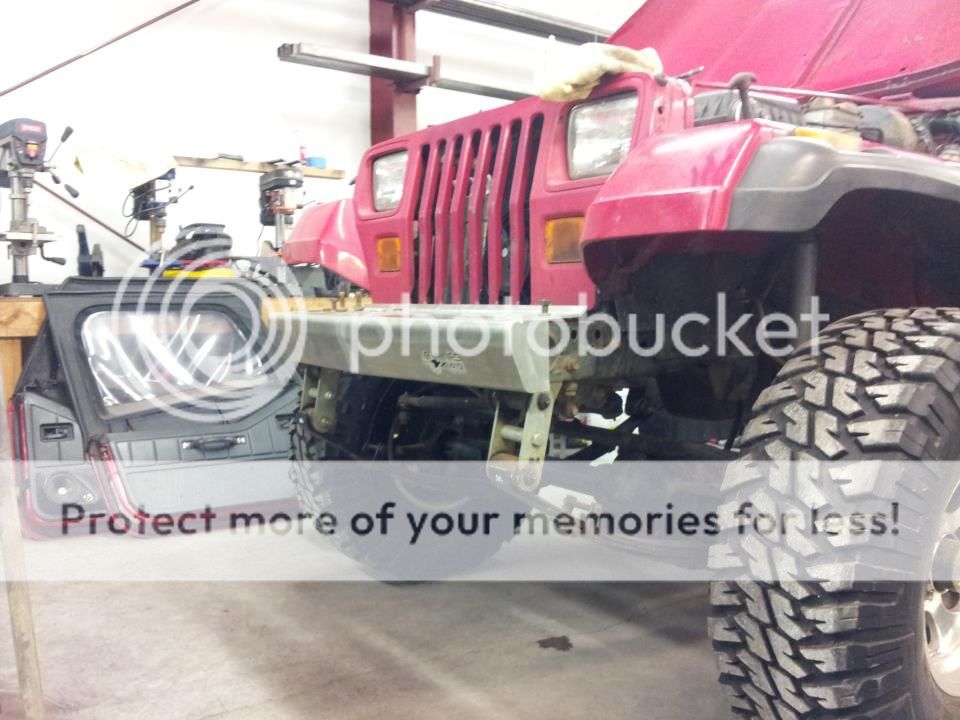
Our armor from Barnes 4wd came in, we will be using aluminum corners, F/R bumpers and steel rockers to help save weight where we can:
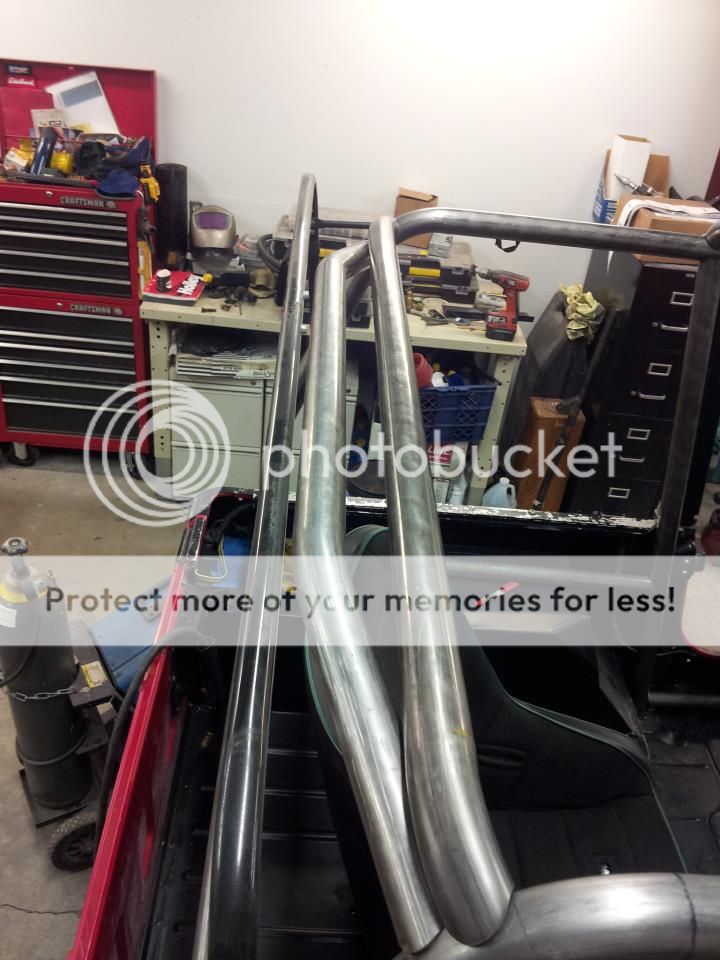
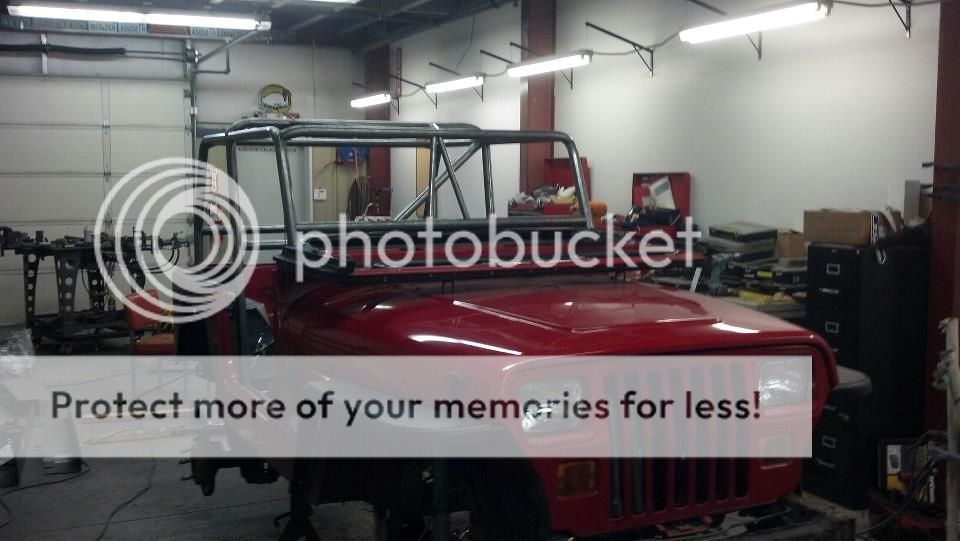
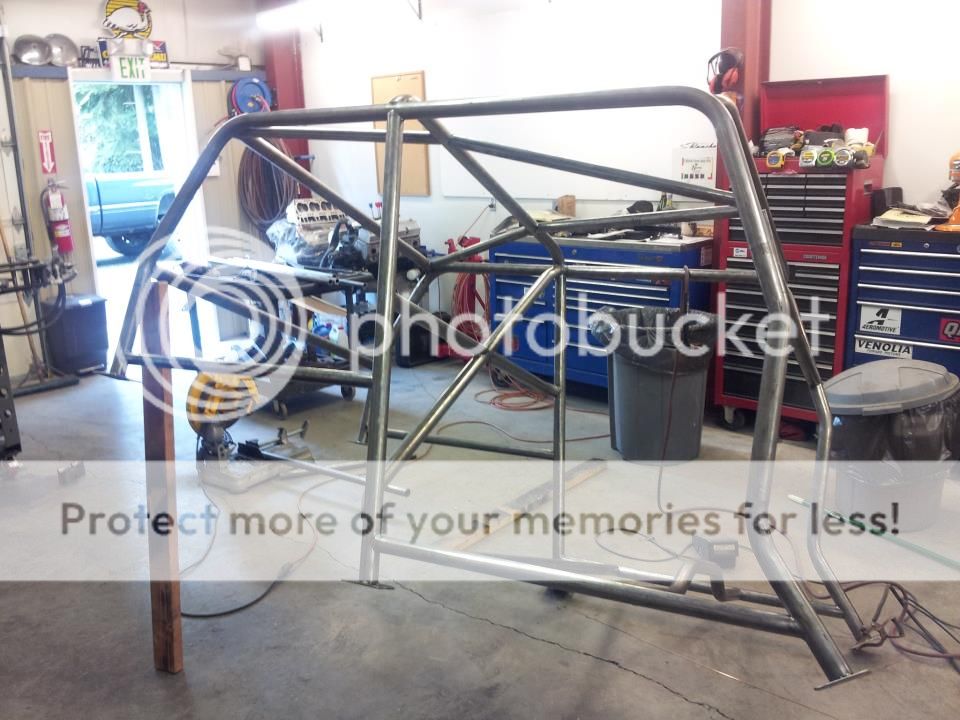
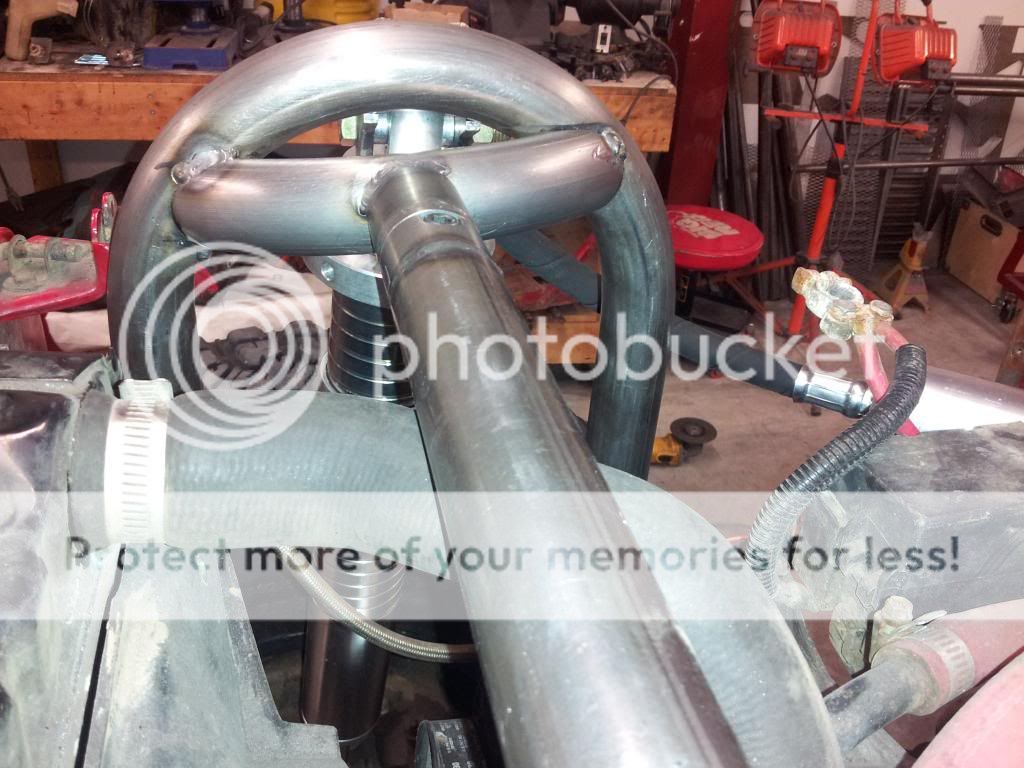
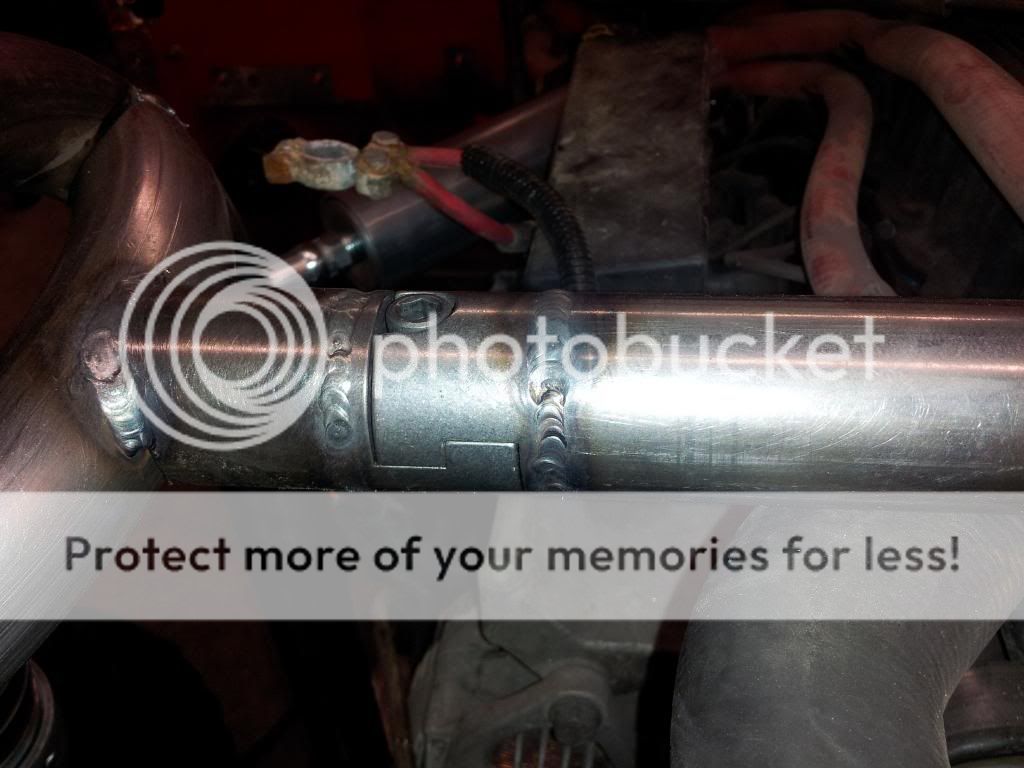
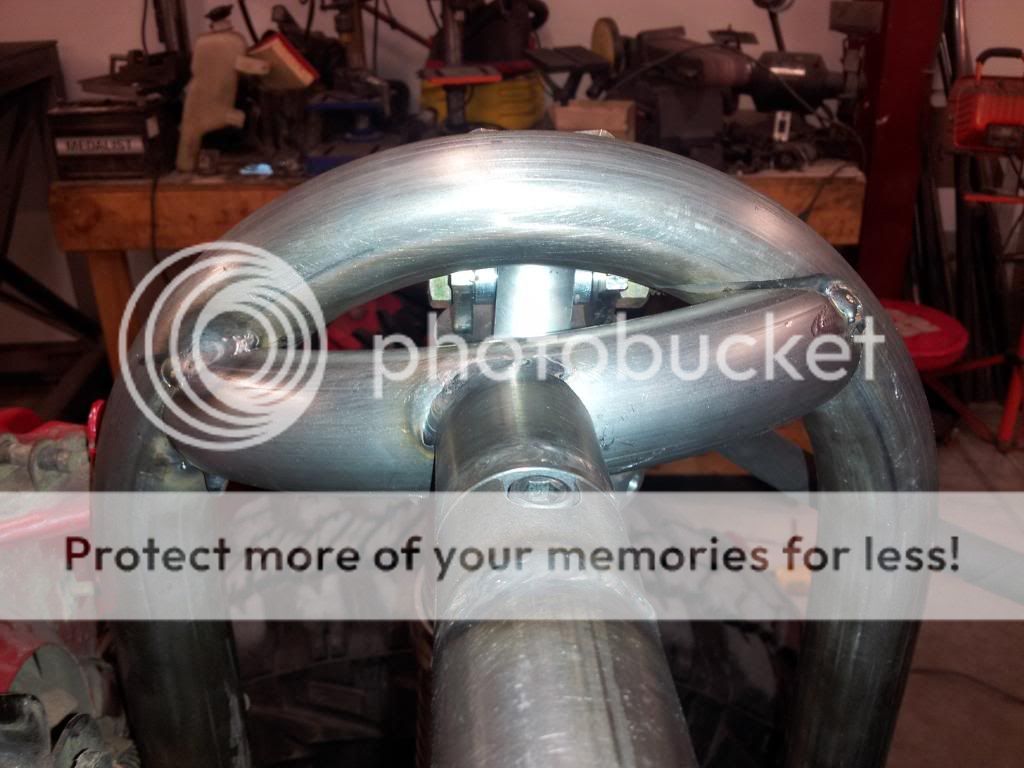
Jonni and I started bending tubes and messing with the angles on the cage:
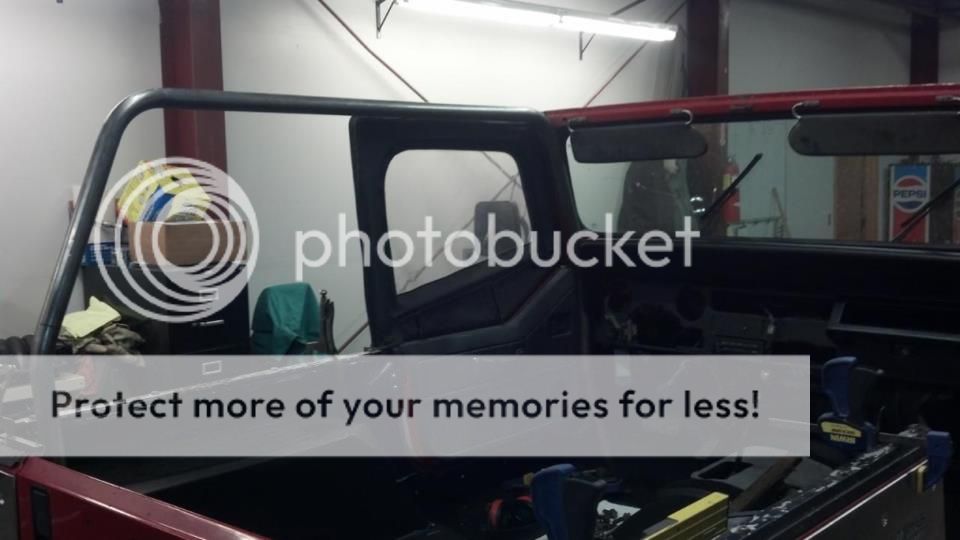
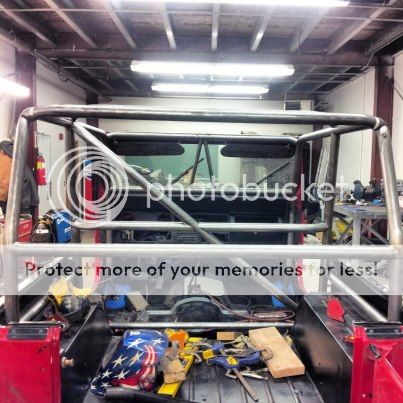
You can see the rear seat in this picture, since I had a spare PRP shorty bucket we will be using that along with a pair of PRP front Daily Drivers:

Alex
Marketing Director
Clayton Off Road
I decided to trade with a local guy to build up a YJ instead, the XJ had just about reached it's limit on what I could do and the go fast bug kept biting me.
Here is what we started with:
92 Jeep Wrangler
4.0
AW4 auto out of XJ with over drive
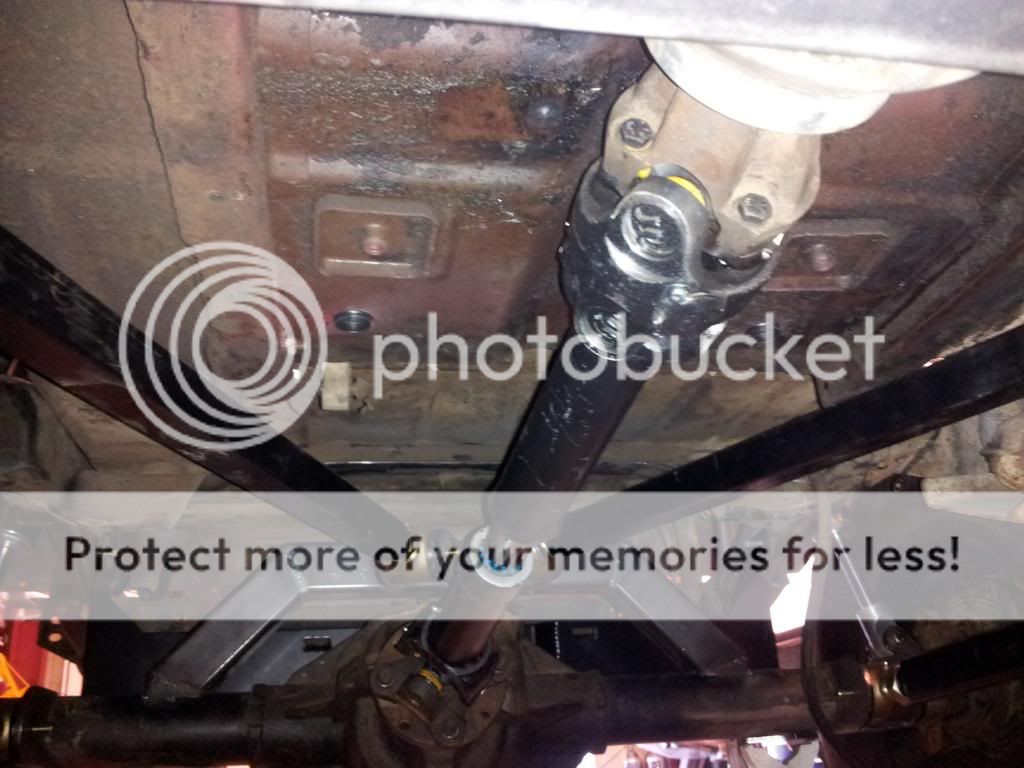
NP231 with SYE/cv rear driveline and Tera 2LO kit, novak shifter
HP Dana 44 front axle narrowed to jeep width, 4.88 gears, detroit locker, superior axle shafts, ctm ujoints, diff cover guard, recent ball joints, seals, and grease
8.8 rear axle with super 8.8 kit installed, 4.88 gears and detroit locker, diff cover guard
Rubicon Express 4.5" Extreme Duty lift kit with shocks, stainless braided brake lines, ubolts flipped front and rear (rear with dynatrac kit)
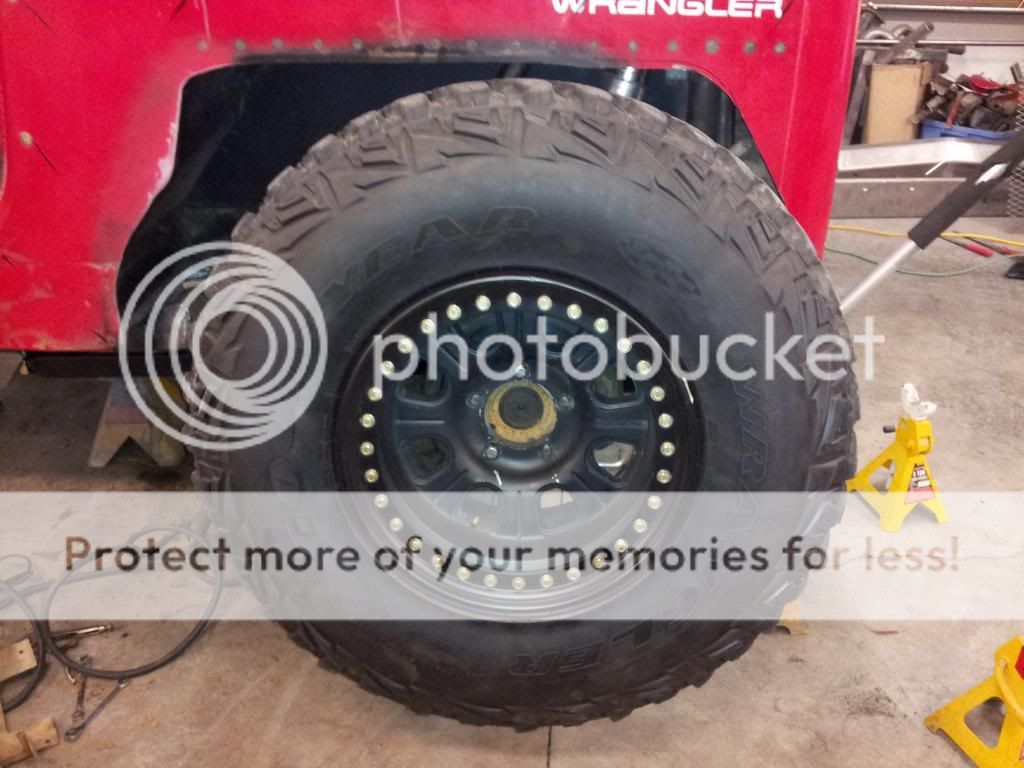
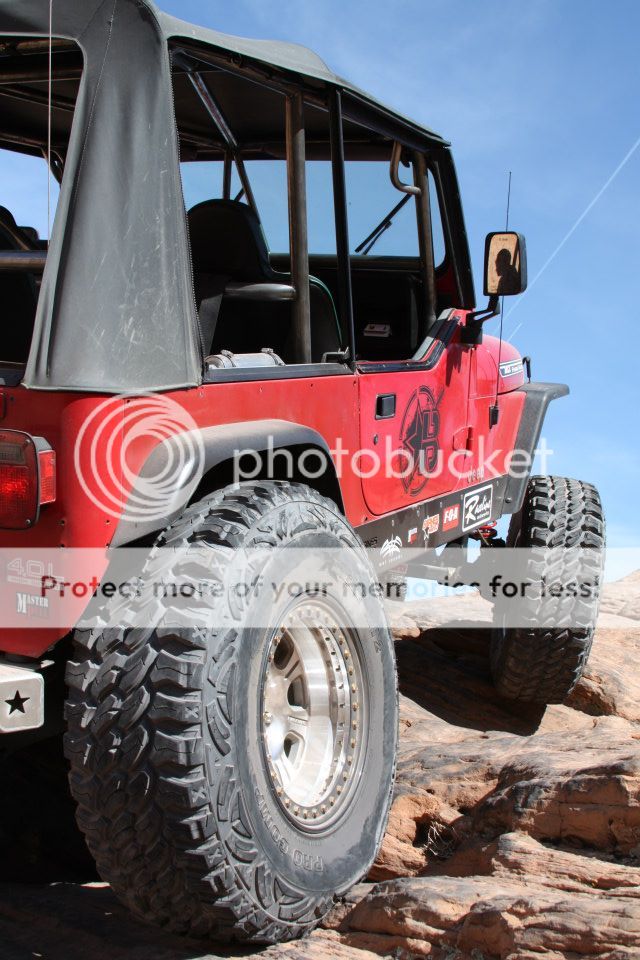
35" Goodyear MTR's on Procomp wheels with matching spare
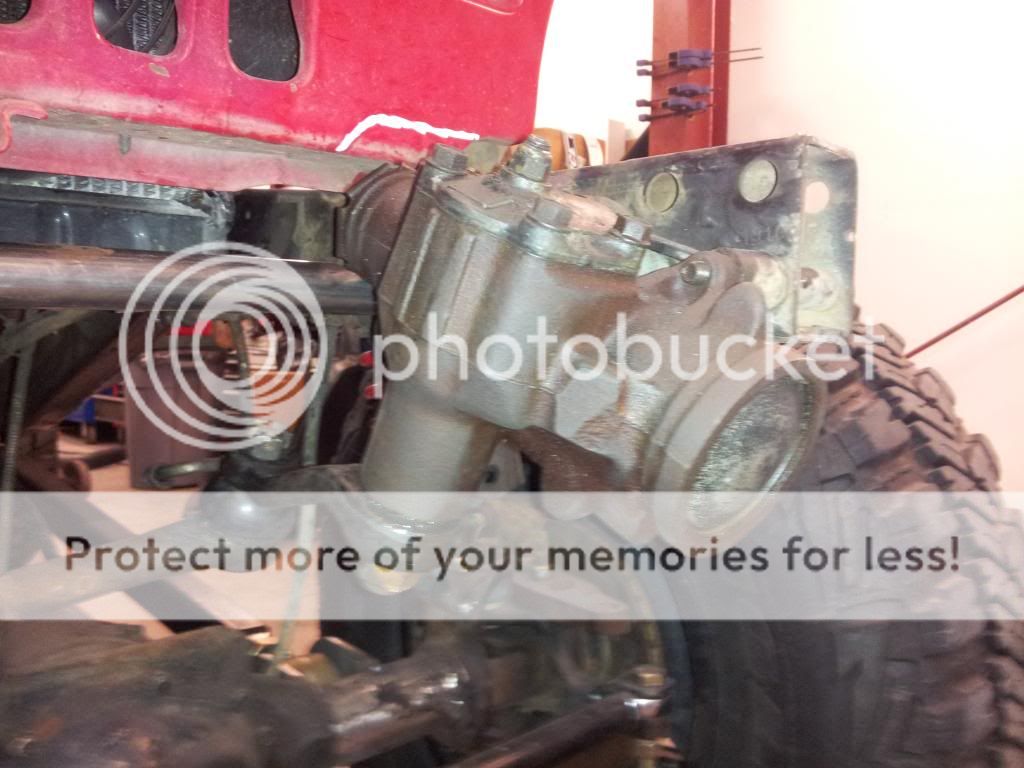
Hi-Steer with all 1-ton tie rod ends and beefy tie rod and drag link
Genright rocker guards and rear corner guards with welded on 3" rear flare
Rear bumper with swing out tire carrier
Smitty built 8k winch on front
HID aux lights up front
cb radio
Aftermarket radio with speakers and subs
Softtop with tinted rear windows, bikini top, wind jammer, duster cover, safari top
Full roll cage (factory with aftermarket tube added on)
Probably more that I am forgetting
200k miles on Jeep. Engine/transmission/t-case were all removed 1,500 miles ago and all leaks were fixed so nothing leaks. Lift/axles/most aftermarket stuff has no more than 3,500 miles on it.
Jonni (Jonasson Motorsports) John (Bell Off Road) and I put together a plan for what we wanted to do, build a trail capable YJ, but keep it as light as possible. We decided on coil overs F/R, tons of new armor, custom roll cage, and a good amount of front and rear stretch.
Since the eventual plan is to repaint the rig we started by stripping it and cleaning the tub, and removing all of the old wiring, alarm system, and sound mods that had been done:
When we looked at the rear wheel wells we realized that when the corners were mounted the area was trimmed just a bit too much. Jonni built a bracket using some sheet metal and plug welded it back to the tub:
Jonni shot the tub black with an epoxy primer for now:
Our armor from Barnes 4wd came in, we will be using aluminum corners, F/R bumpers and steel rockers to help save weight where we can:
Jonni and I started bending tubes and messing with the angles on the cage:
You can see the rear seat in this picture, since I had a spare PRP shorty bucket we will be using that along with a pair of PRP front Daily Drivers:
Alex
Marketing Director
Clayton Off Road