- Location
- Reno, NV
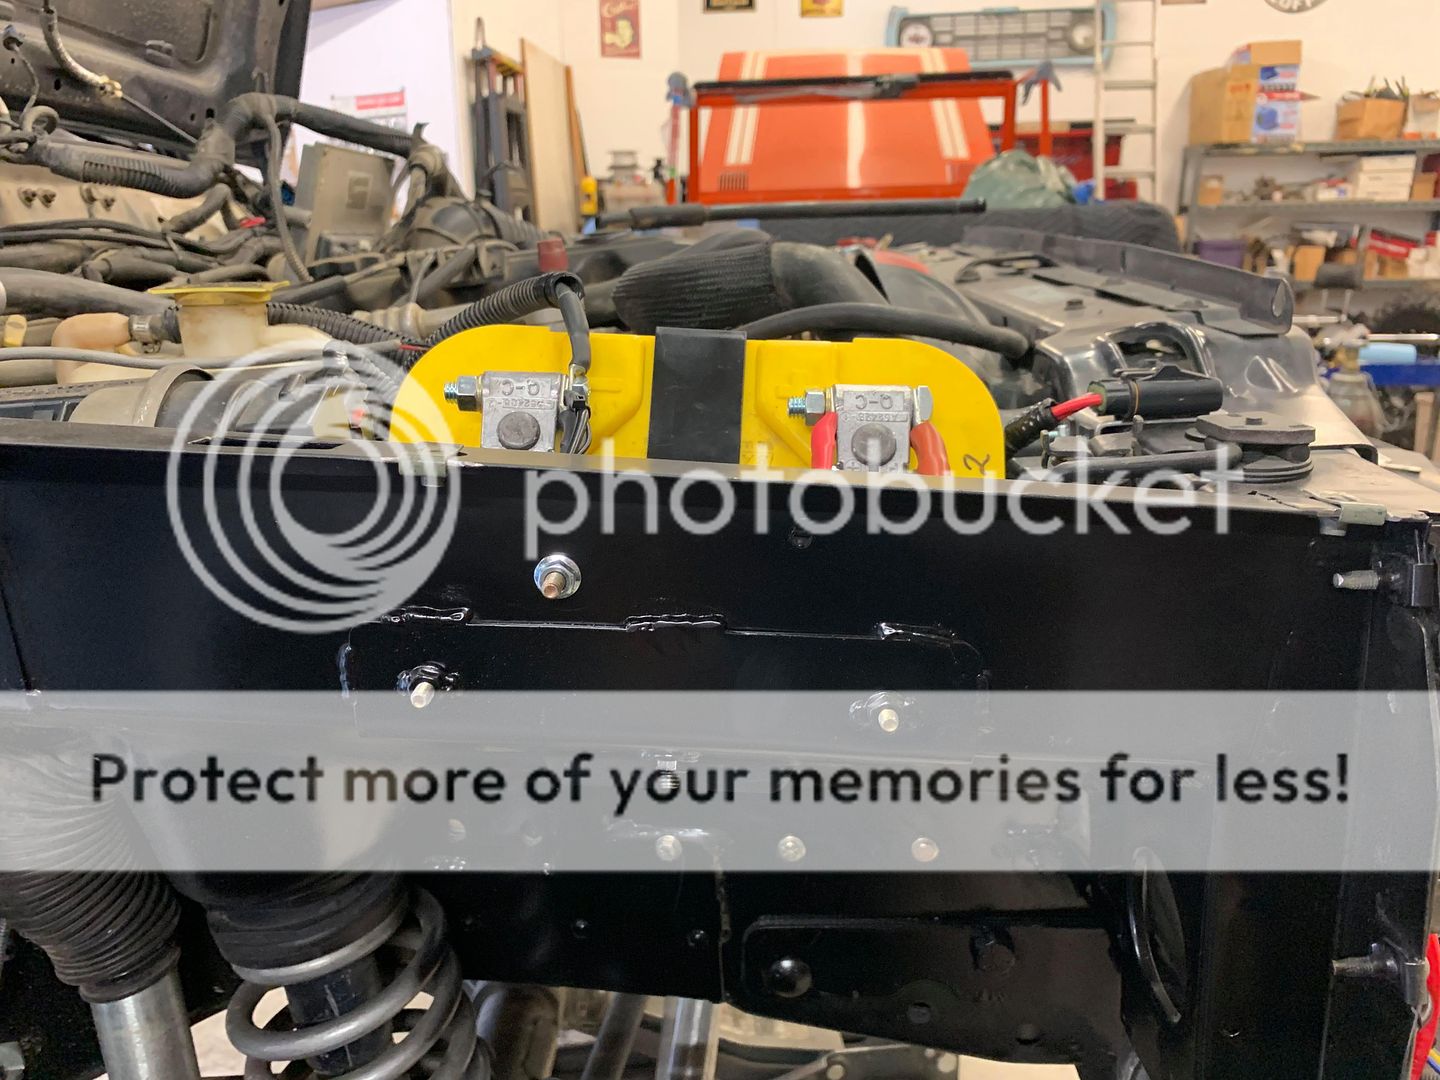
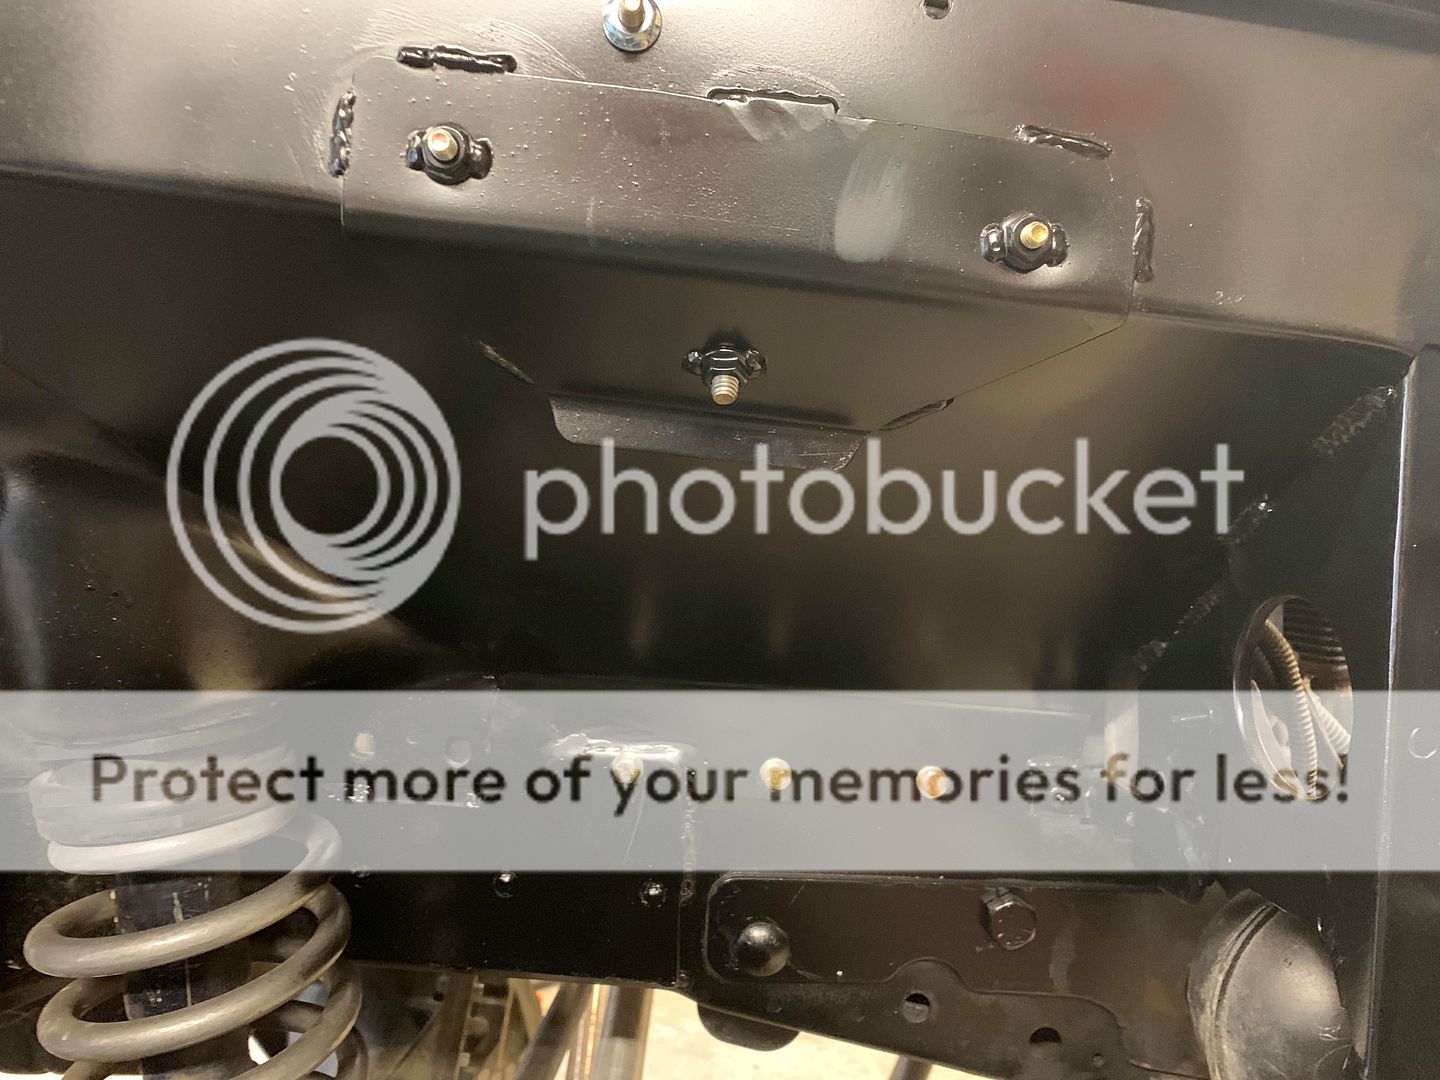
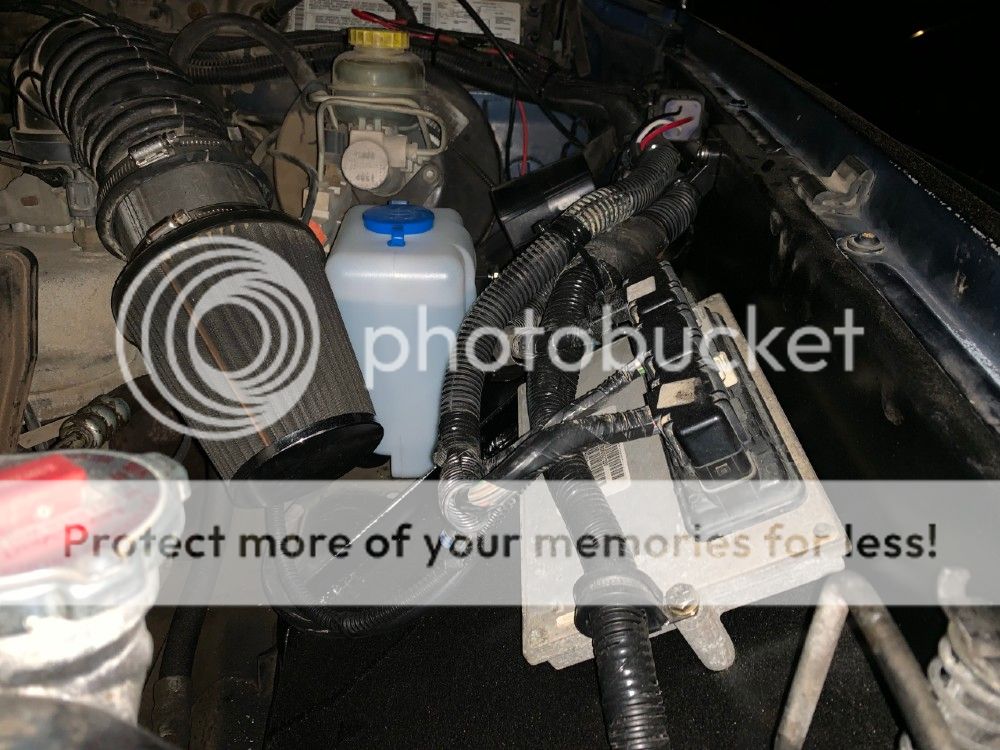
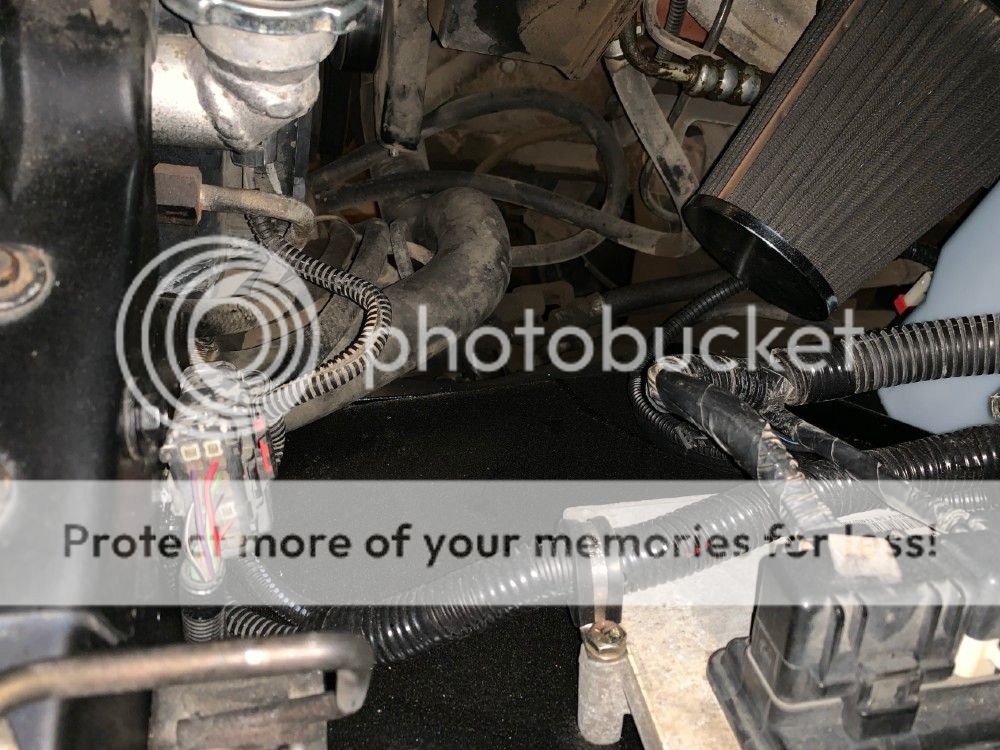
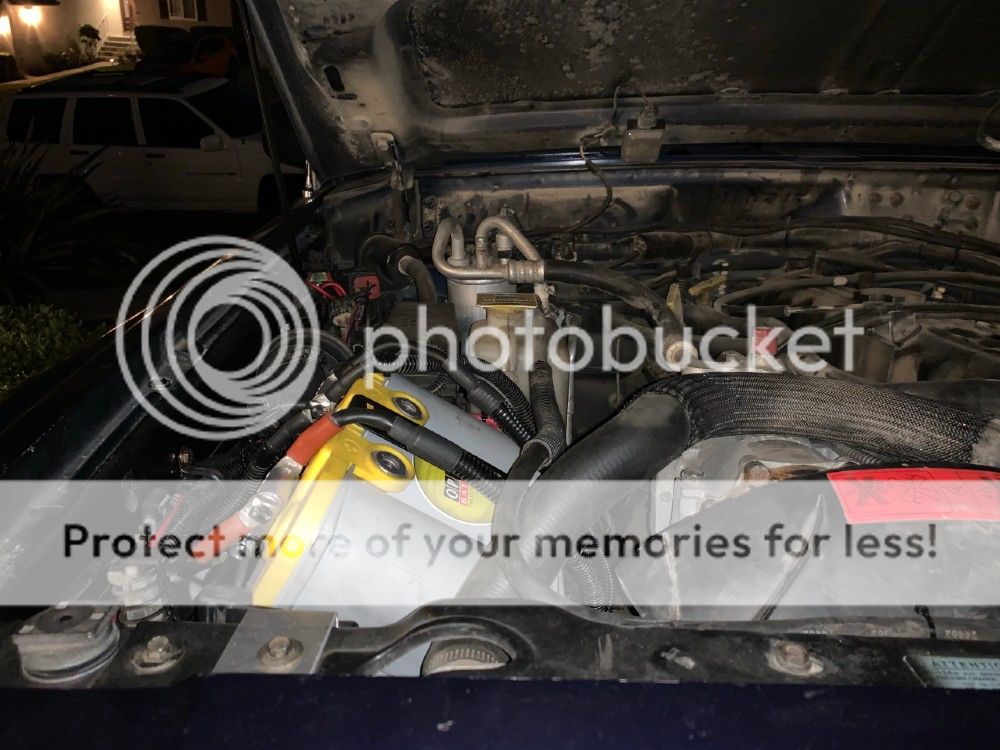
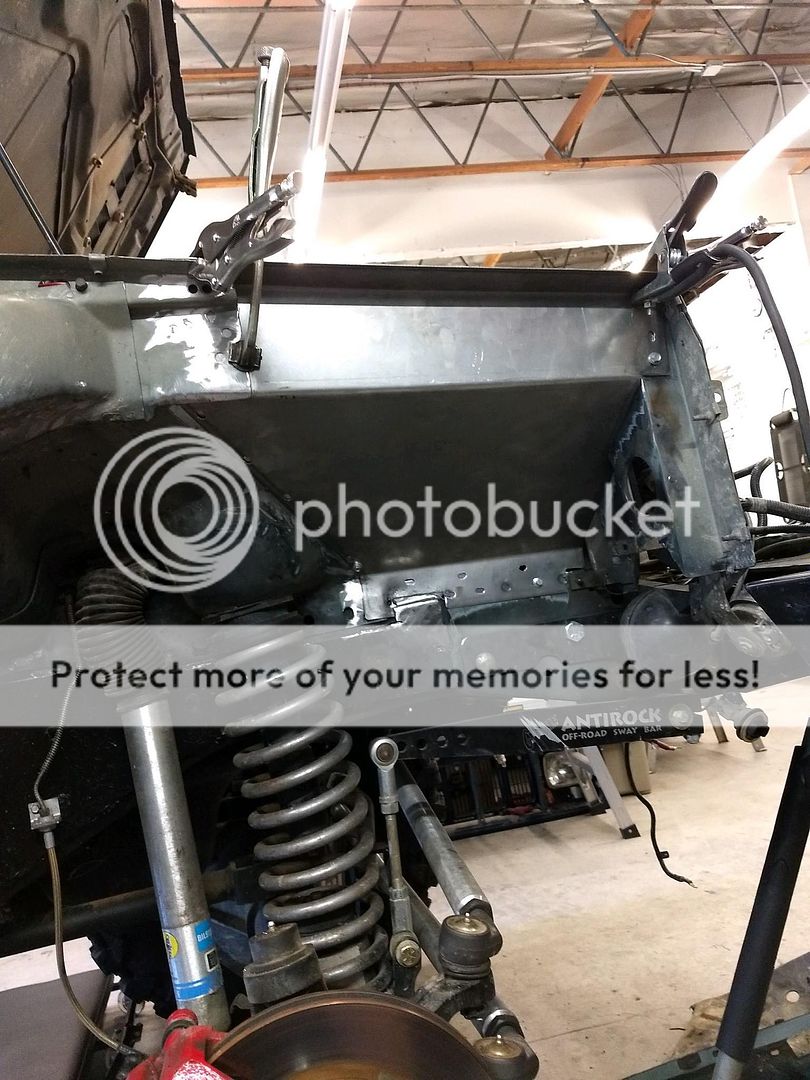
Started the process of modding the inner fenders for more up travel and clearance for my 37's on my low COG rig.
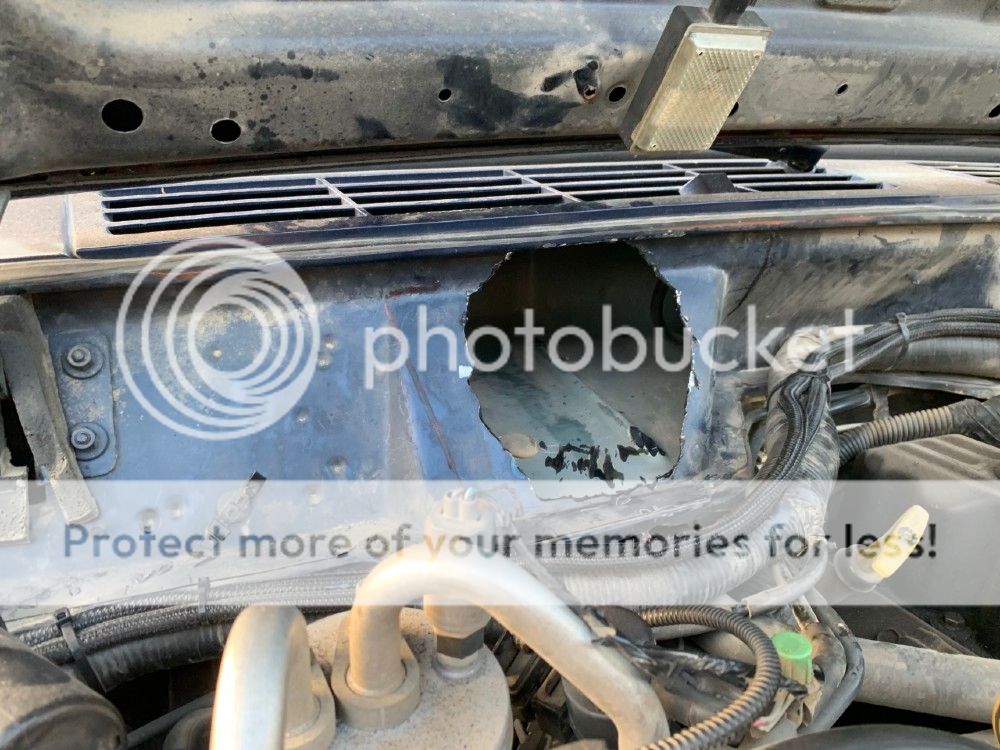
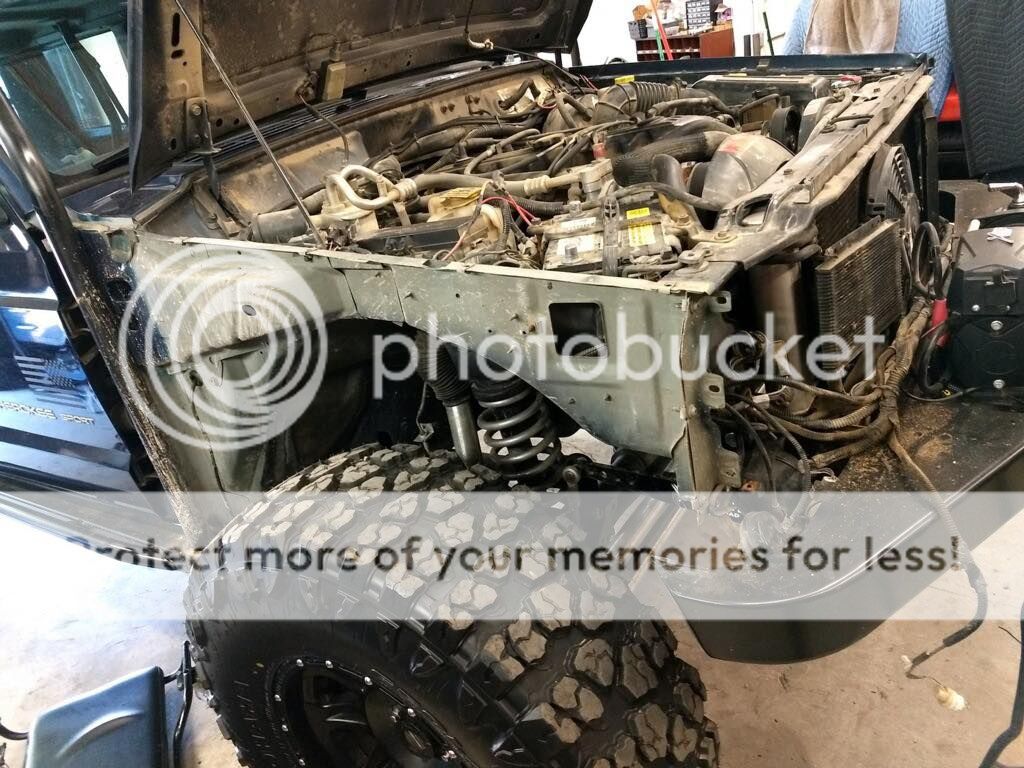
Removing drivers side inner fender
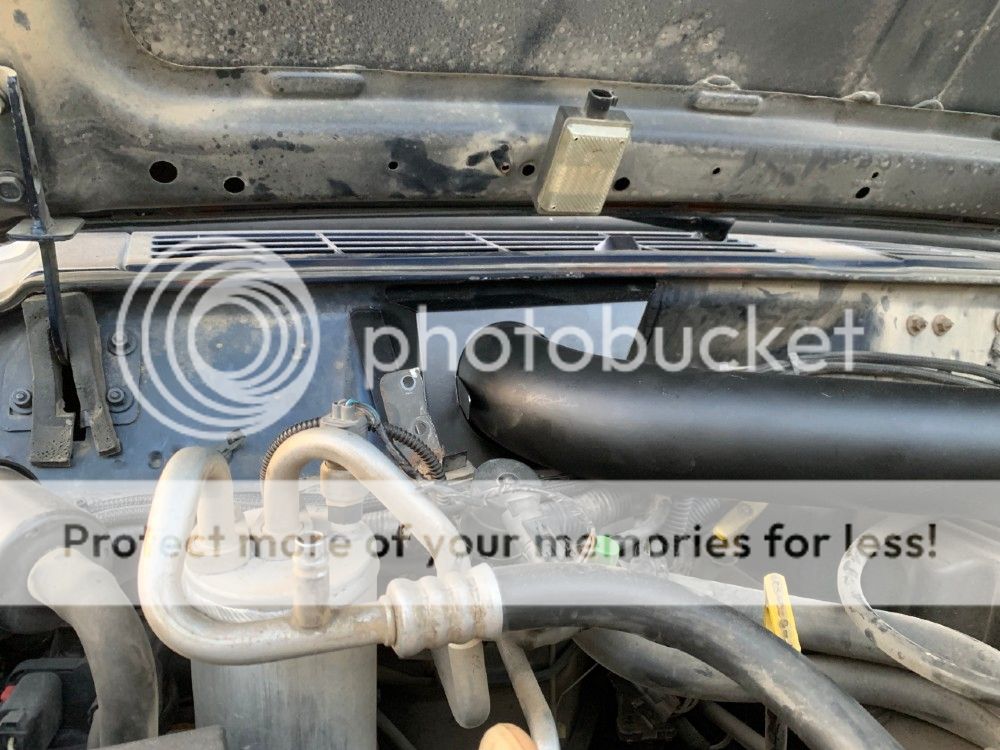
Passenger side
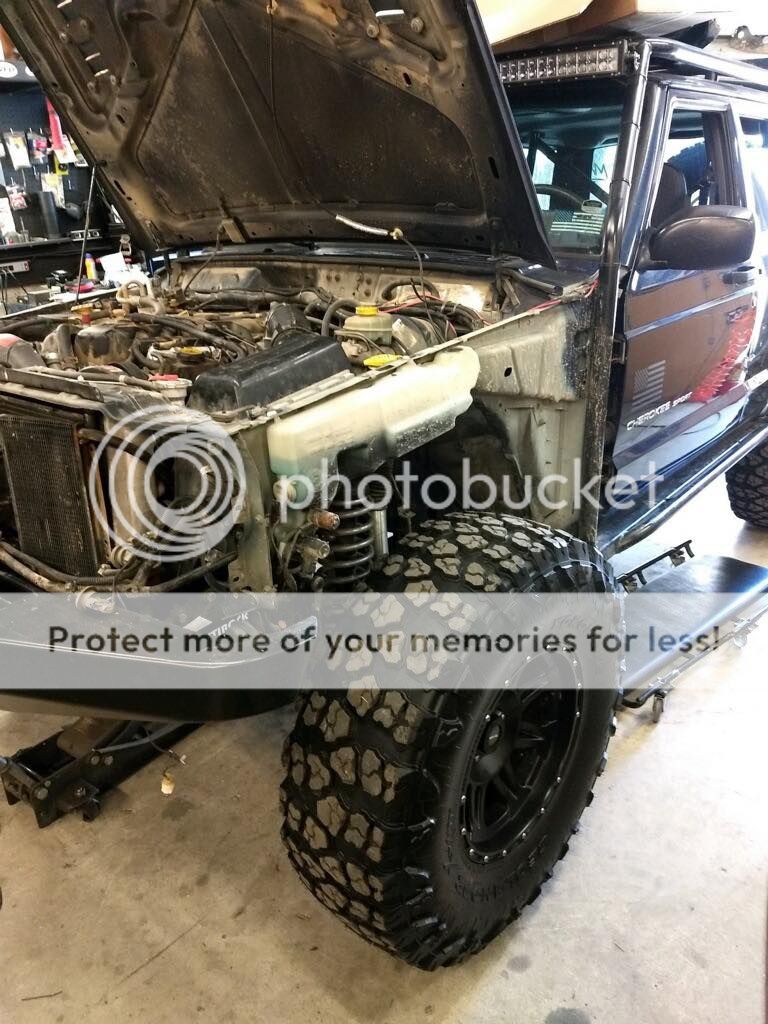
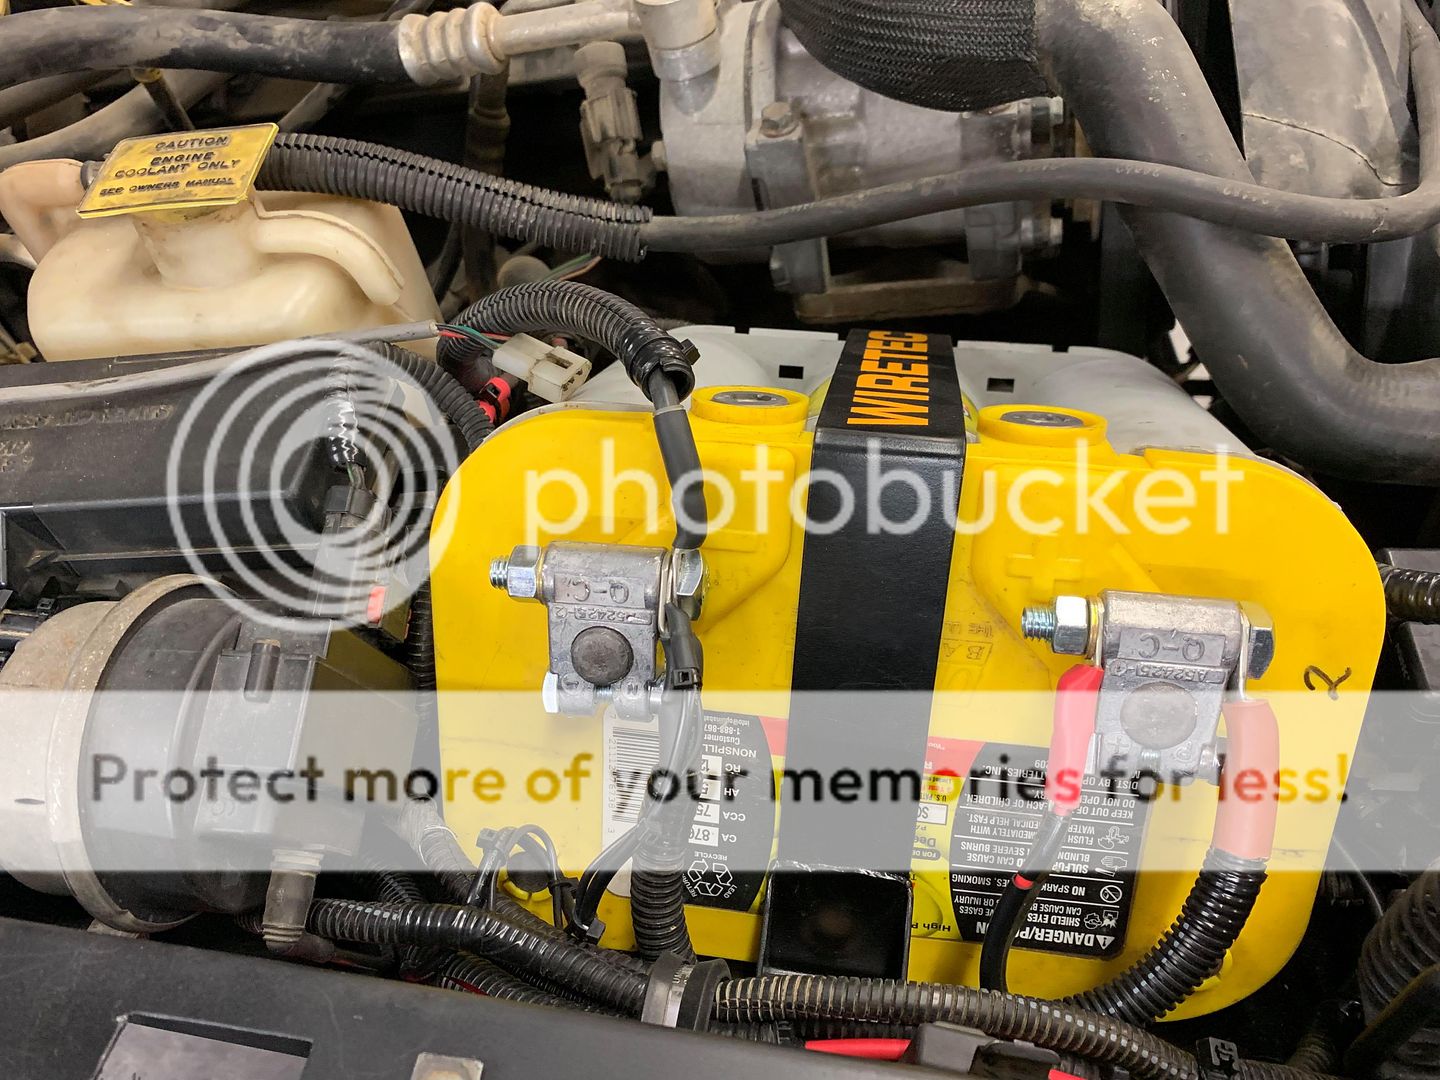
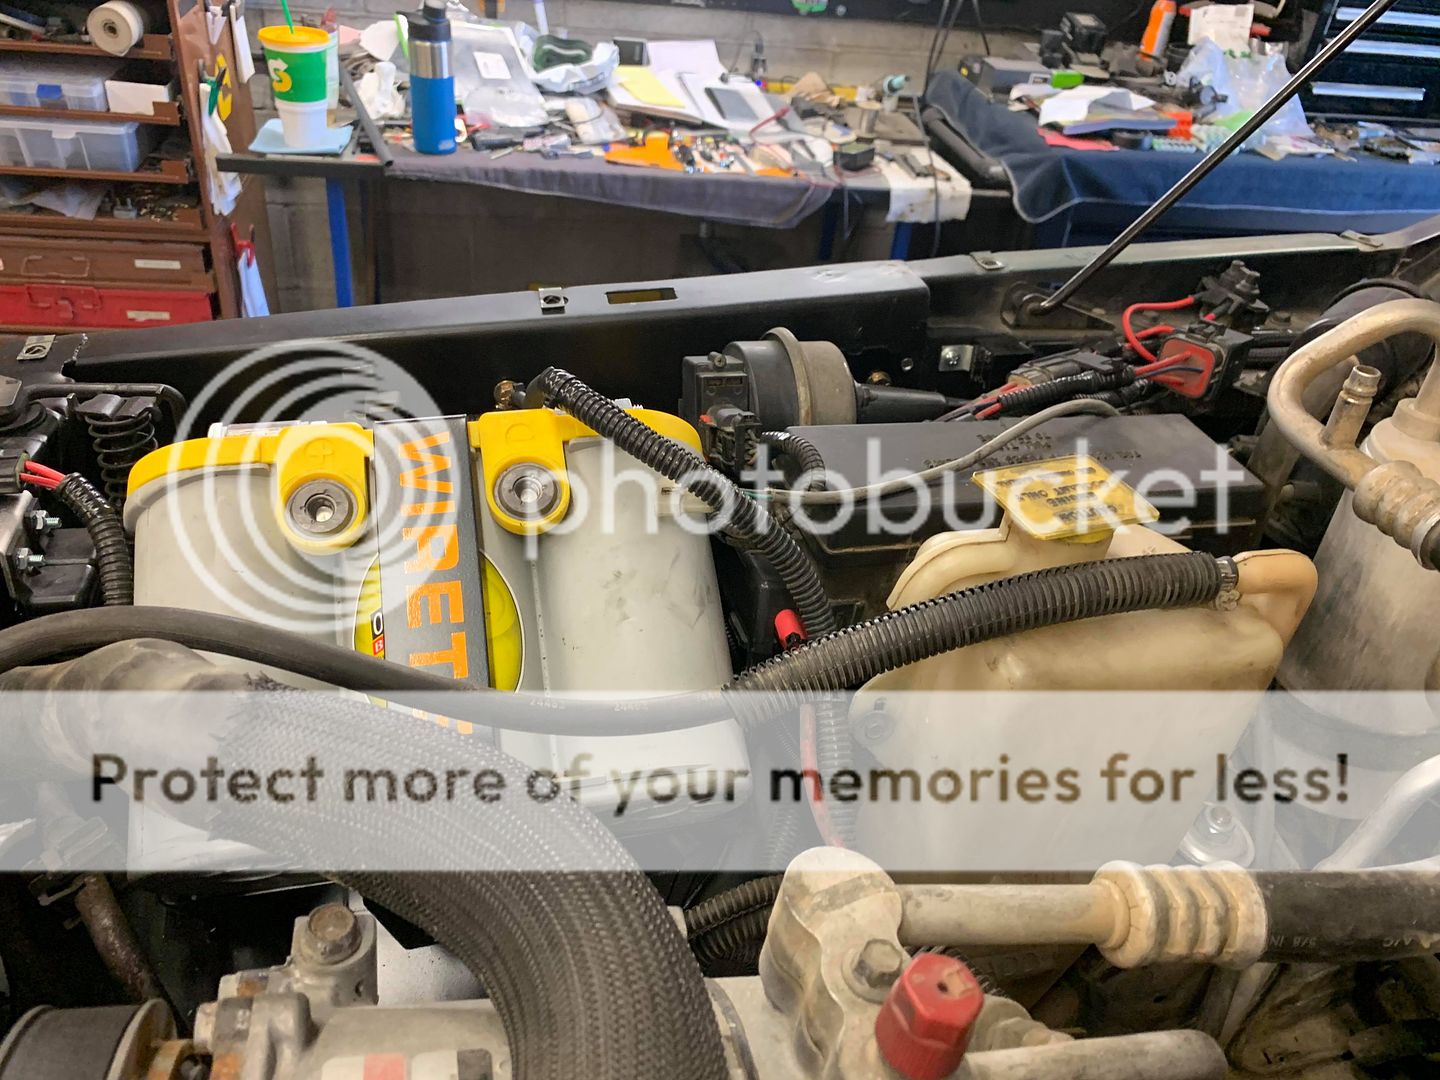
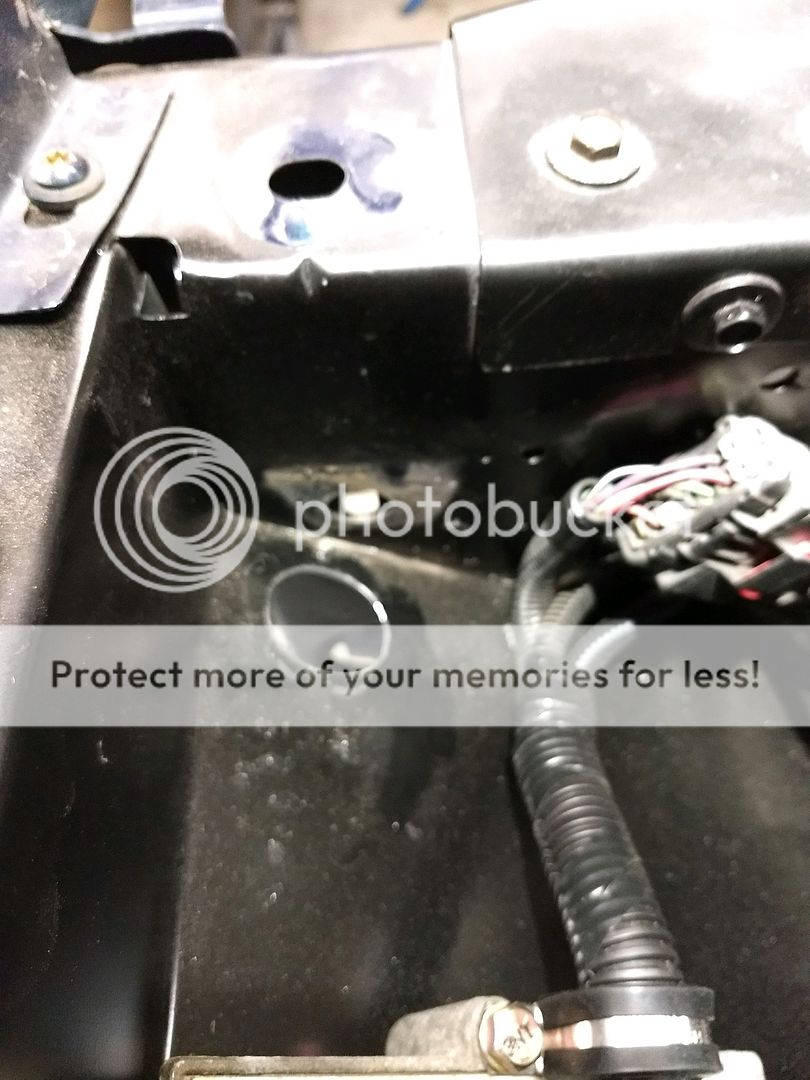
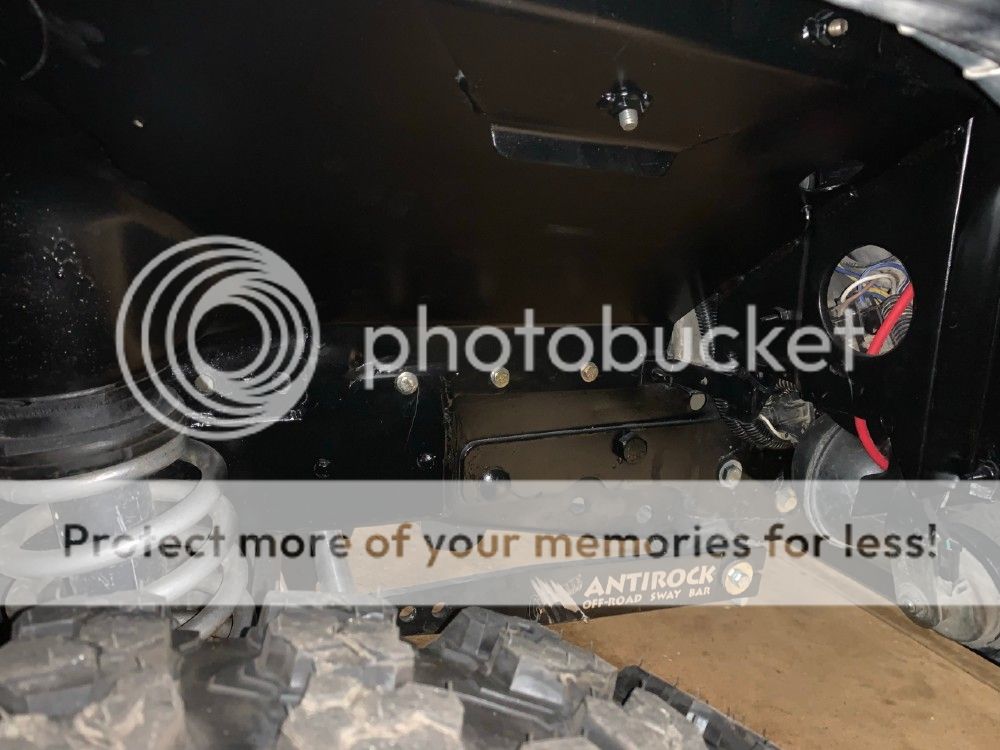
Inner fender off !
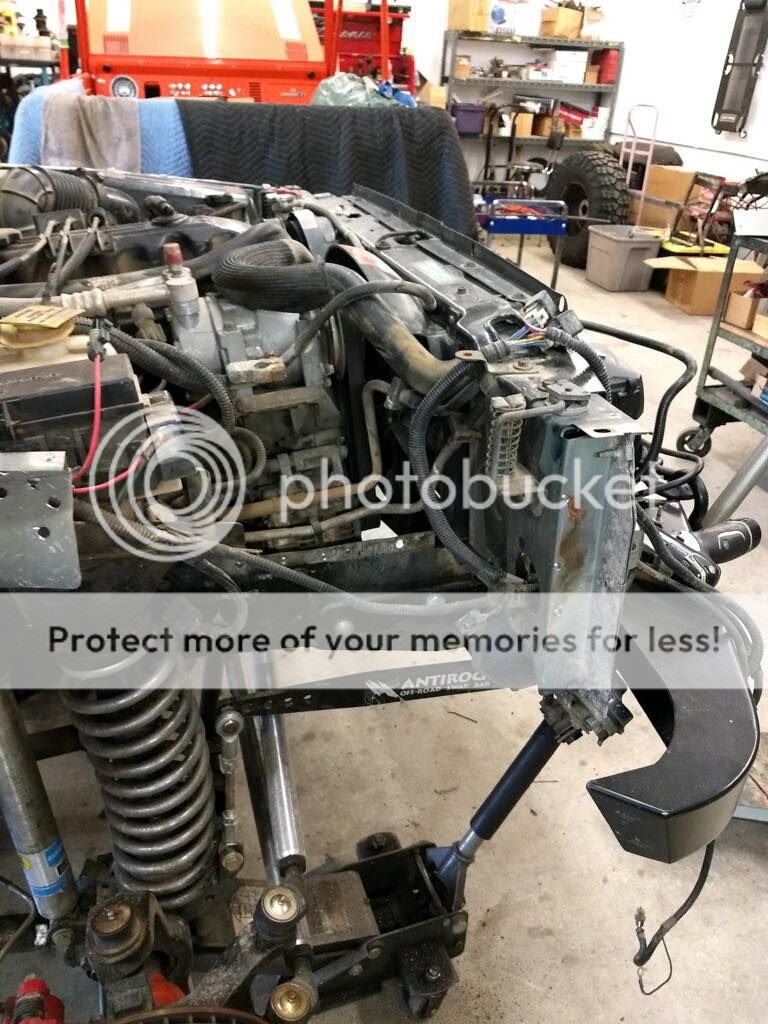
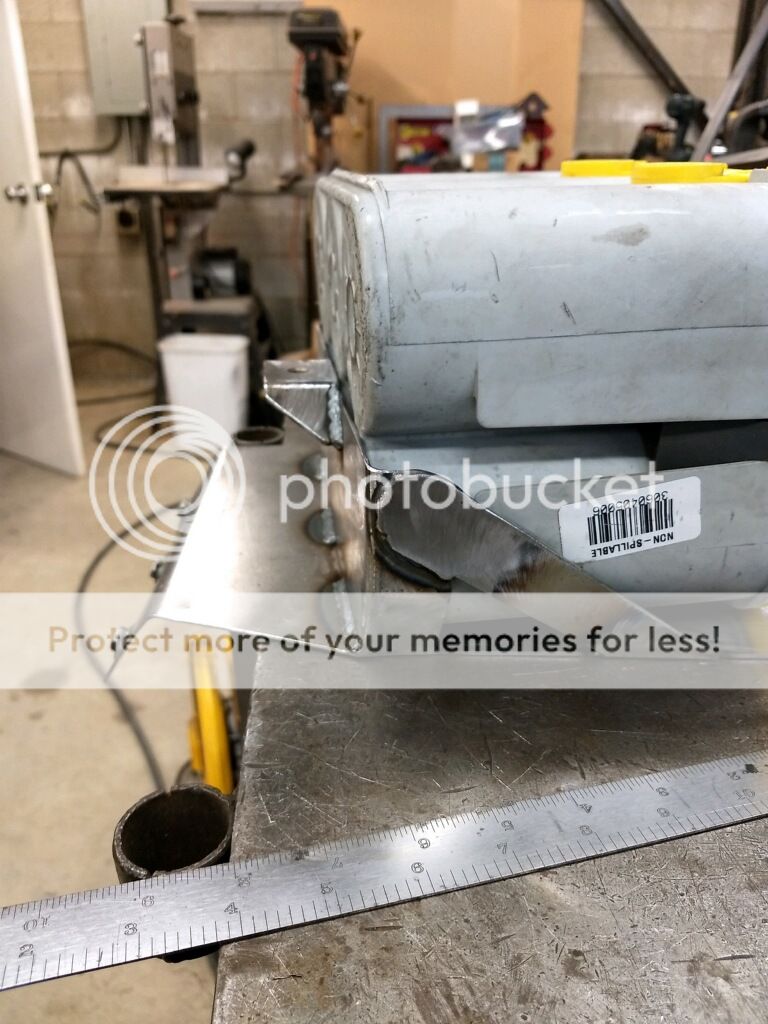
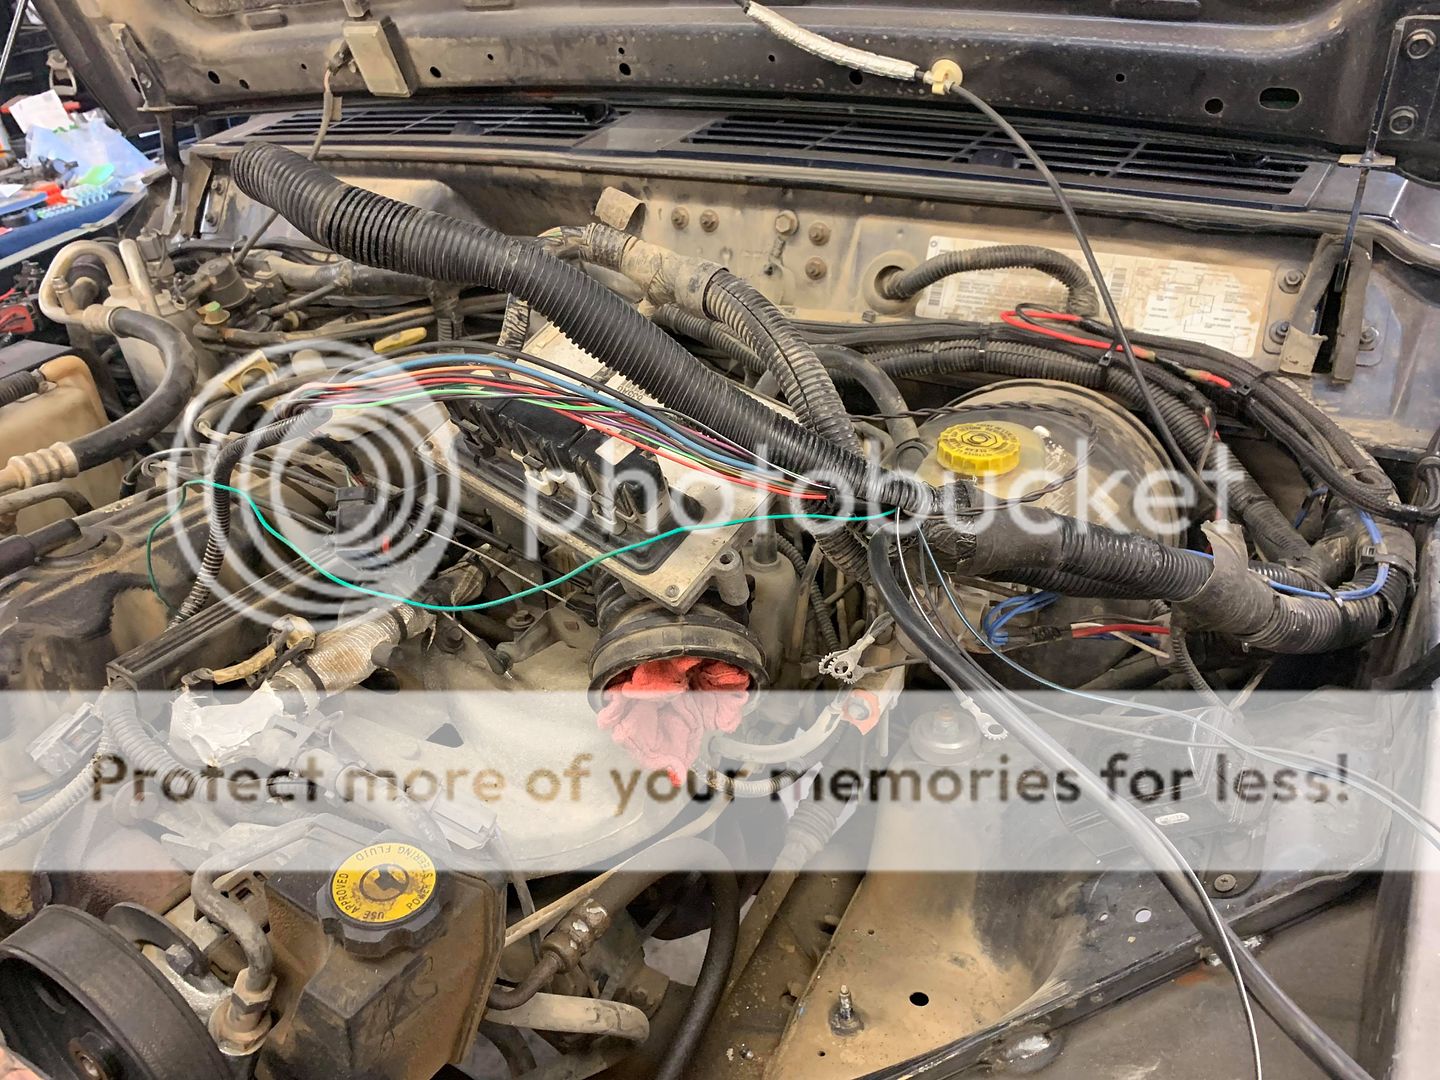
Mocking up new inner fender
Removing drivers side inner fender
Passenger side
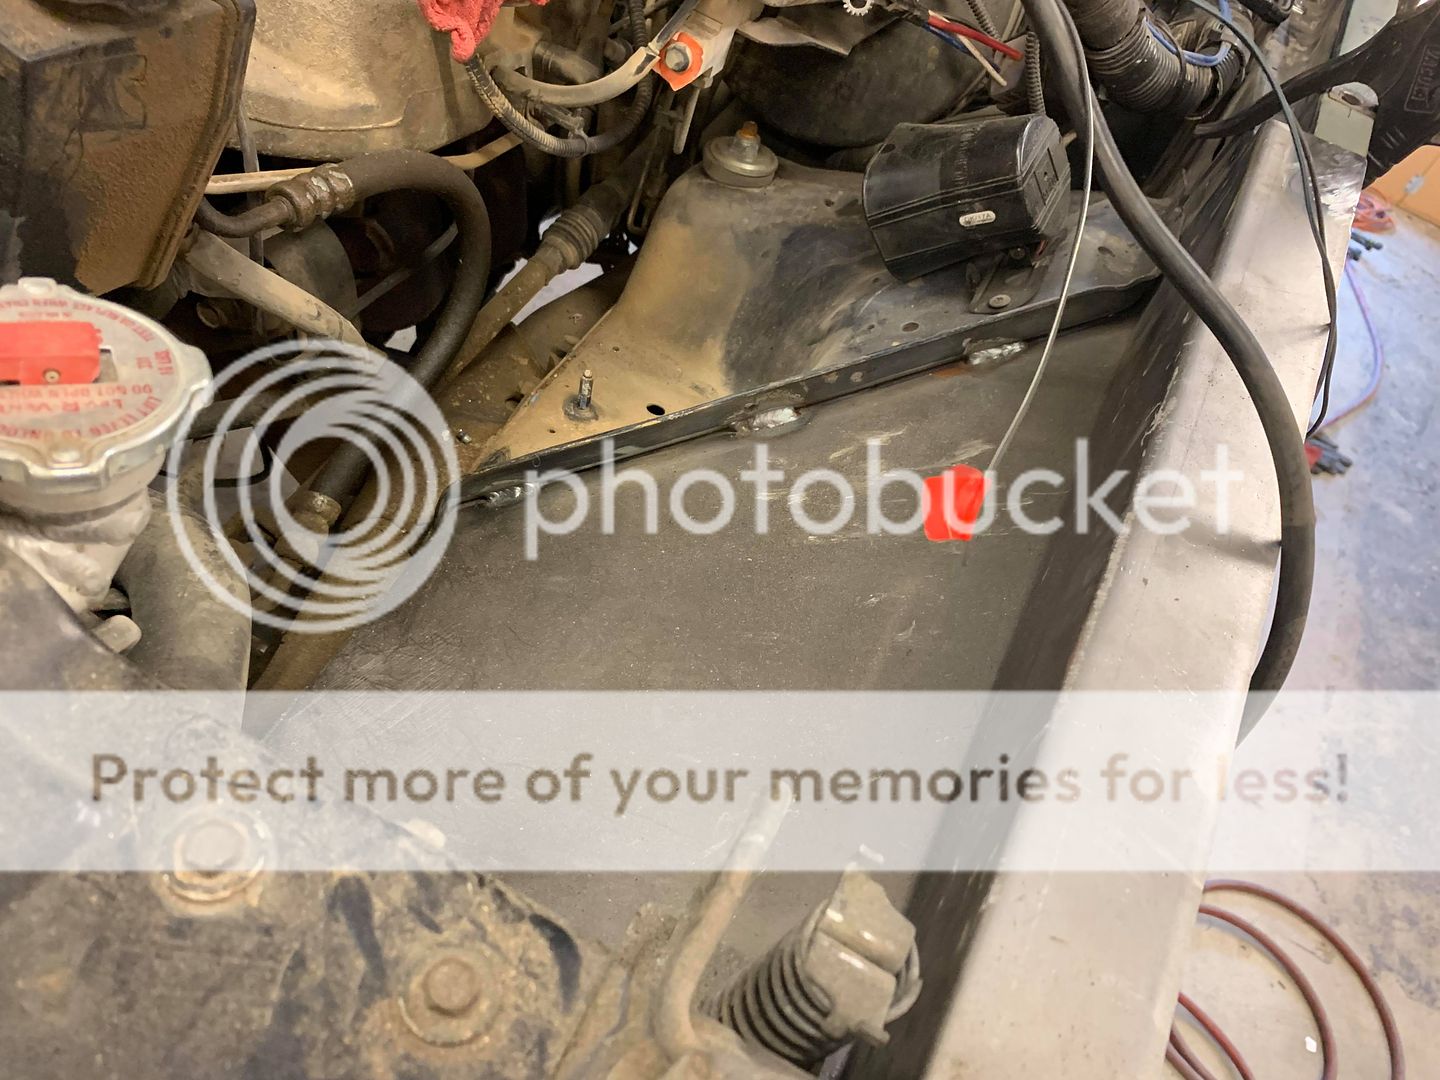
Inner fender off !
Mocking up new inner fender