• Welcome to the new NAXJA Forum! If your password does not work, please use "Forgot your password?" link on the log-in page. Please feel free to reach out to [email protected] if we can provide any assistance.

My rear bumper build thread type thing

tom11919

NAXJA Forum User
Location
Anchorage, Ak
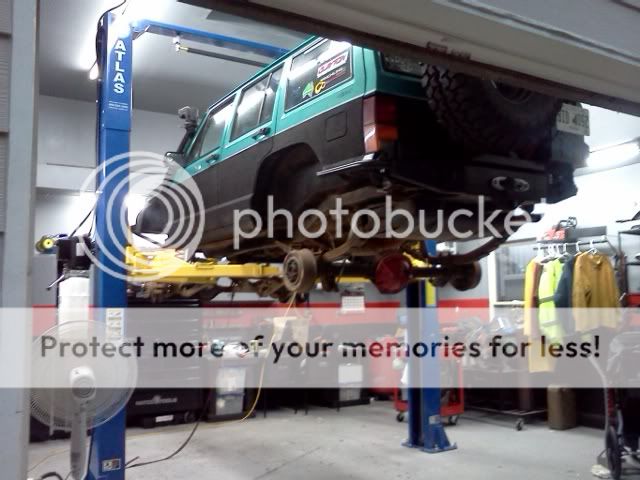
So here's where I plan to document my rear bumper build. I'm getting sick and tired of the 31" spare taking up room in the back of the XJ, and seeing as how I got a sweet little Lincoln MIG for my birthday this year and have some time on my hands, I figure I'll just whip one up. Here's the first concept drawing I've put together.

6686905637_f5eaea5dae.jpg


6686905737_6df3d1ac91_z.jpg


6686905815_82518e3003_b.jpg


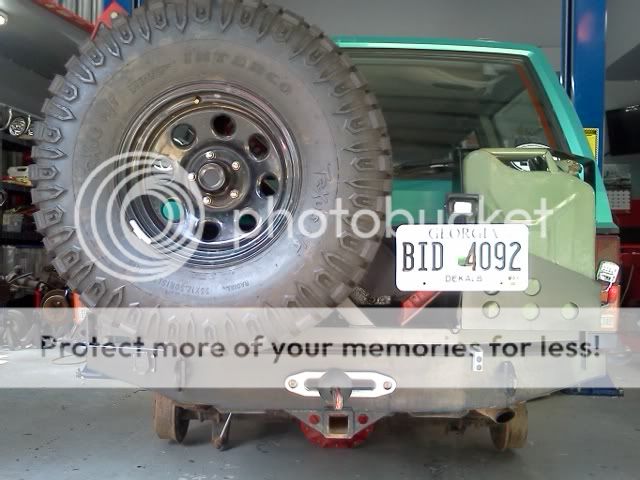
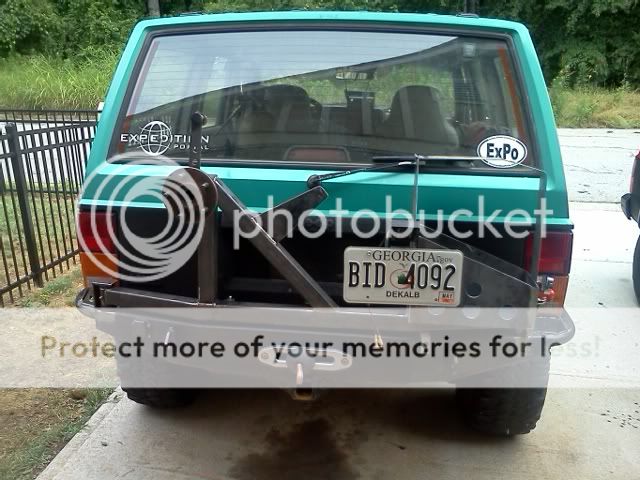
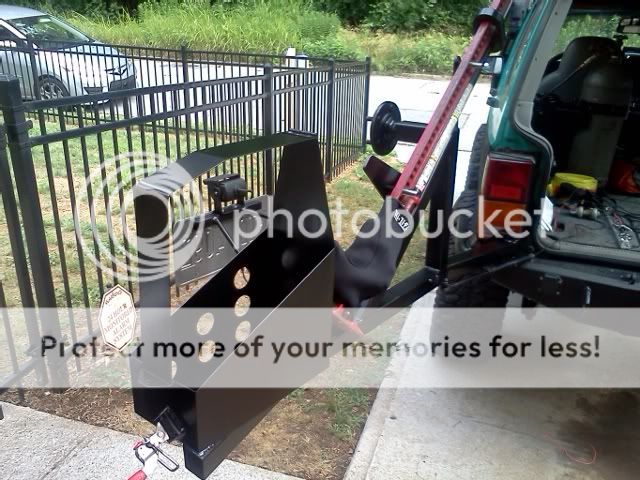
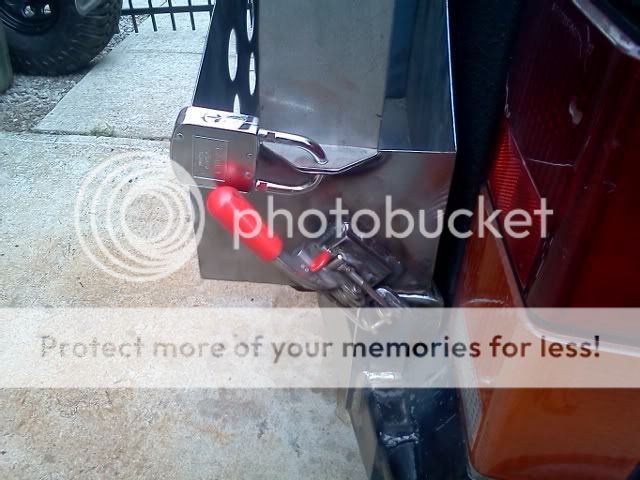
My biggest concern is rearward twisting flex in the swing arm. It'll have a 31x10.50, two 5 gal jerry cans (on the bracket on the left side of the arm), and a hi-lift. That's ~70 lbs of gas and cans right there on top of the weight of the tire and wheel and jack. I have some 2x2x11ga tubing from another project that I would like to use, but I'm not married to anything but the overall design. I will happily buy a stick of 1/4 or 3/16 wall tubing for the swingarm if that's what it'll take. The bumper itself along with the 'frame rail' inserts (not shown) will be 2x4x.250. I'll tie into the hitch mounting points and factory bumper mounts. The pivot is a 1750lb trailer spindle which I think should be alright. Anyway, tear my design apart.
 
Last edited:
11ga should be adequate. i'd look into using some flex joints instead of a spindle. the spindle will be the weak point in that design, that's what will be supporting all the weight.

there was some pics of one that a member on here made, it was in a rear tire carrier thread not too long ago. pretty slick how he did it.
 
Although it's not compact, i always wondered about using a cartridge bearing from the front of a d30. Use the stub from a 2wd axle to keep it together. Plenty of load capacity and that way you'd have a spare :)
 
I used a 1" bolt in double shear with a Delrin two piece bushing I made in the lathe. I used a ballistic fab DOM sleeve with a grease fitting. Works great, a very little sag, but with only one hinge point, thats almost unavoidable. I plan to add an additional hinge over the taillight once my Exo gets installed, and I have something to build off of.

IMG_20110701_112457.jpg


IMG_20110528_092741.jpg


IMG_20110528_100924.jpg


IMG_20110528_092732.jpg


IMG_20110528_092708.jpg


~ Stump

:clap: I got dibs on that thing when you build a new rear bumper! :D
 
I used a 1" bolt in double shear with a Delrin two piece bushing I made in the lathe. I used a ballistic fab DOM sleeve with a grease fitting. Works great, a very little sag, but with only one hinge point, thats almost unavoidable. I plan to add an additional hinge over the taillight once my Exo gets installed, and I have something to build off of.

IMG_20110701_112457.jpg


IMG_20110528_092708.jpg


~ Stump

Put your tire to the driver side like stump did. I put mine towards the passenger like your drawing and it sucks looking back cause the tire is right in the way. I plan on redoing mine and moving it too the driver side.

bumper005.jpg

Great build there guys. I wish I had the skills to do something of beauty like what is displayed in those pictures.
I love the hydralic gas struct.
 
yea, pretty sweet bumpers all around. i'll be taking some ideas from these for my own rear bumper build.
 
Yeah... It looked weird with it sitting on the floor. I had it on the lift swapping axles, and was too lazy to put the wheels on it when I lowered it down to the ground. I just dont feel comfortable leaving them up in the air when I am not there...

IMG_20110630_205053.jpg
 
So I modified the design a little and went ahead and did a cut-n-fold to the rear quarters while I was at it. It took the better part of a week, but here it is:


426131_2828069576545_1103240864_32432503_1773942154_n.jpg
 
Looks like Stump used the inline version of the clamp I used on mine. If so, it most likely came from McMaster Carr.

http://www.mcmaster.com/#latching-clamps/=gg0kj2

I used part number 5135A35 on mine, btw.

And that is a very nice bumper, Stump. I especially like how you did the license plate. I also just noticed that your in Dekalb county. I'm hanging out in Decatur with a buddy of mine for a couple more weeks until I head back up to Ak. We should get together and go for a trail ride or just grab a frosty beverage and compare notes on our bumpers. :cheers:
 
I need to find a better bushing setup for mine, I used two 3/4" ID bearings with a 3/4" bolt and I have a little bit of slop but once it's held in place it's in there pretty good. I can't complain, entire bumper set me back less than a $100 to build.
6c622f3e.jpg
 
Back
Top