• Welcome to the new NAXJA Forum! If your password does not work, please use "Forgot your password?" link on the log-in page. Please feel free to reach out to [email protected] if we can provide any assistance.

High Clearance Tube Bumper Build

Jeep450r

NAXJA Forum User
NAXJA Member
Location
Nor*cal
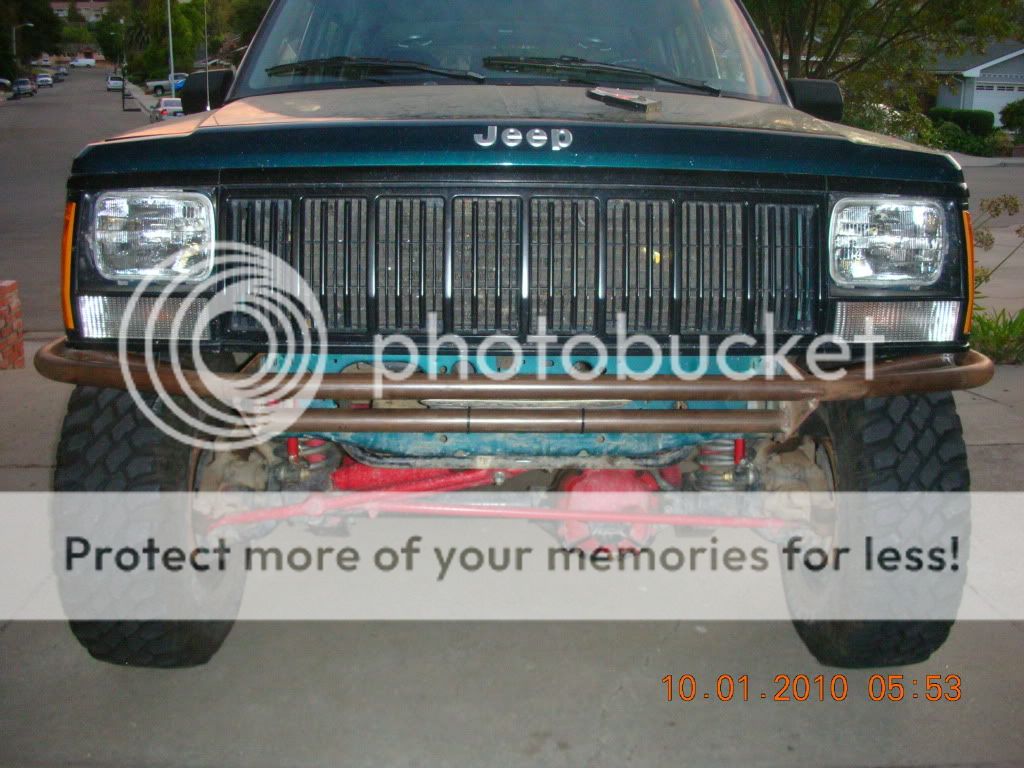
My most recent project has been a tube front bumper, capable of eventually holding a winch. Ive been working on it on and off for wayy too long, but I have learned a ton and have enjoyed doing it.

I started off with two pieces of 1/4" steel 5.5" wide, and 17" long. I notched the upper corners with a 1.5" hole saw to rest the tube in, and then cut a diagonal for clearance. I had to notch a bit off of the back end as well to fit around the sway bar.

DSCN3672.jpg


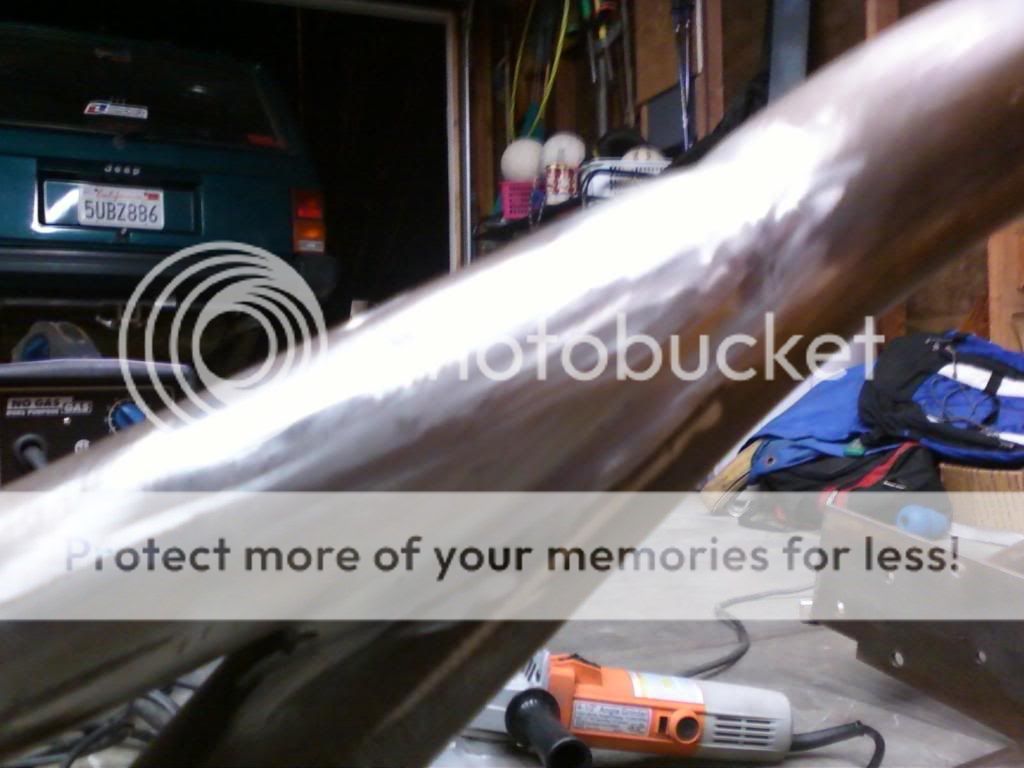
Cut a piece of tube. Can't remember how long off the top of my head.

DSCN3673.jpg


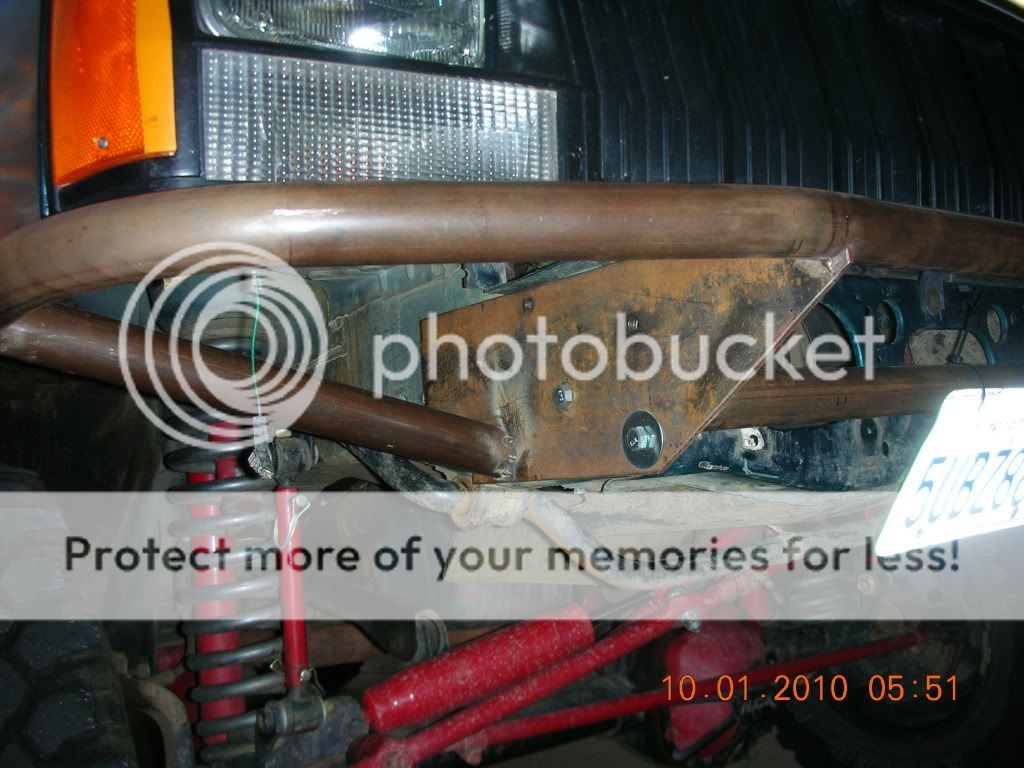
Welded up some side supports to prevent the main tube from bending in the event of dropping down on a rock.
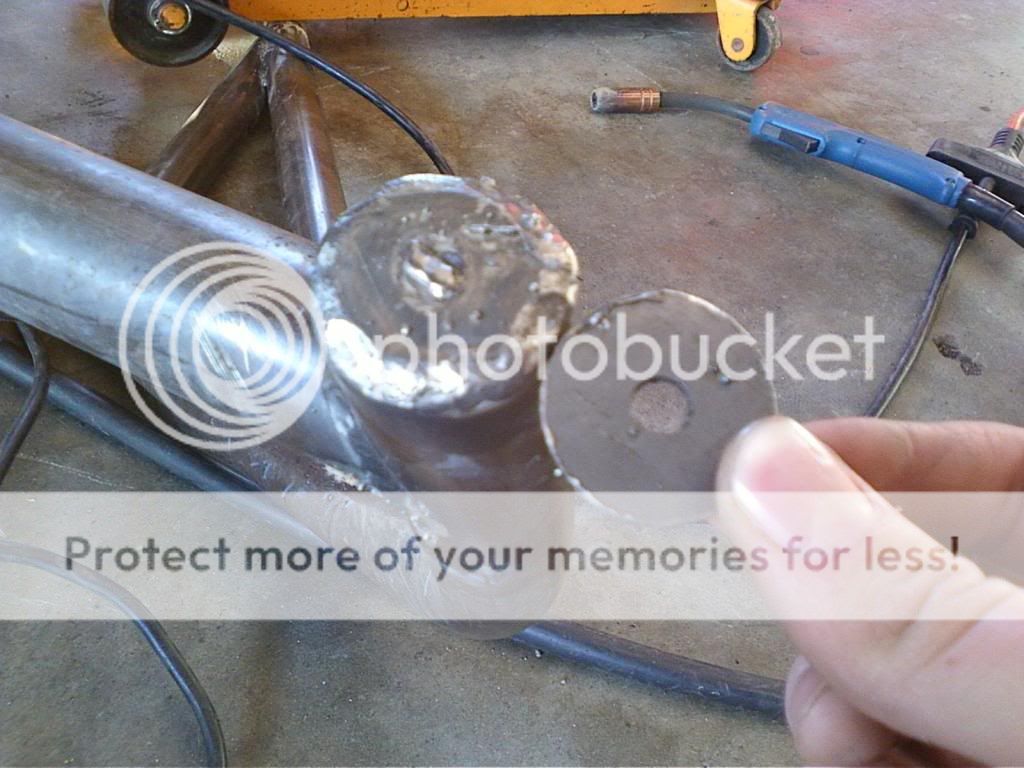
DSCN3677.jpg


Sexy Notch

DSCN3678.jpg


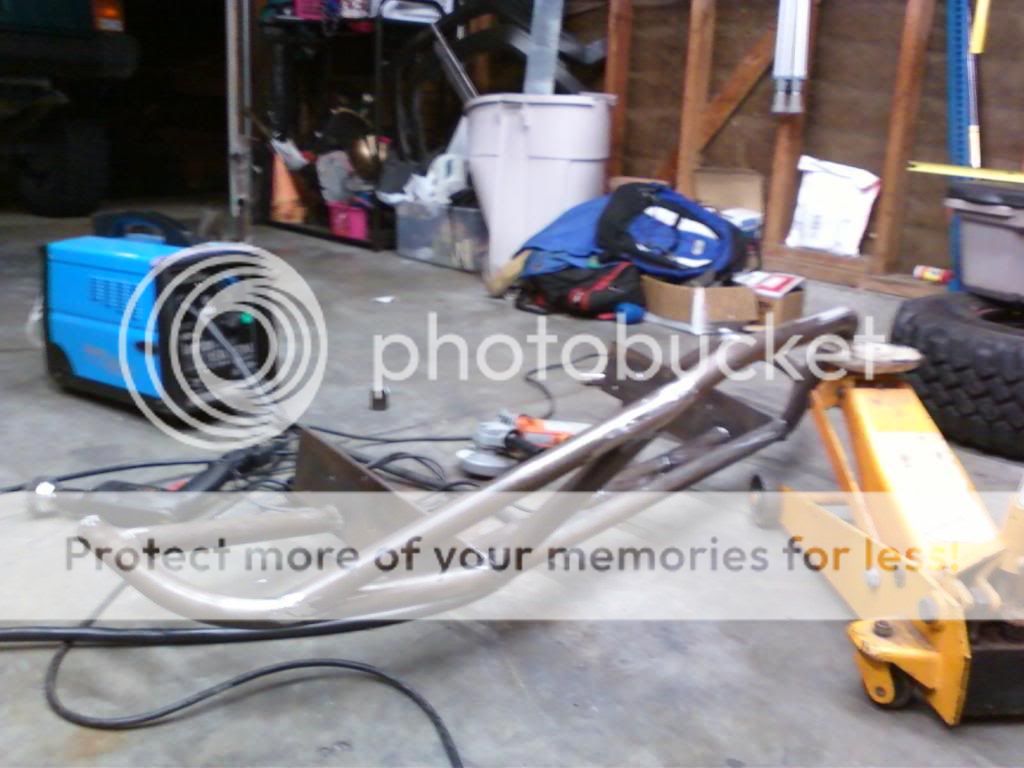
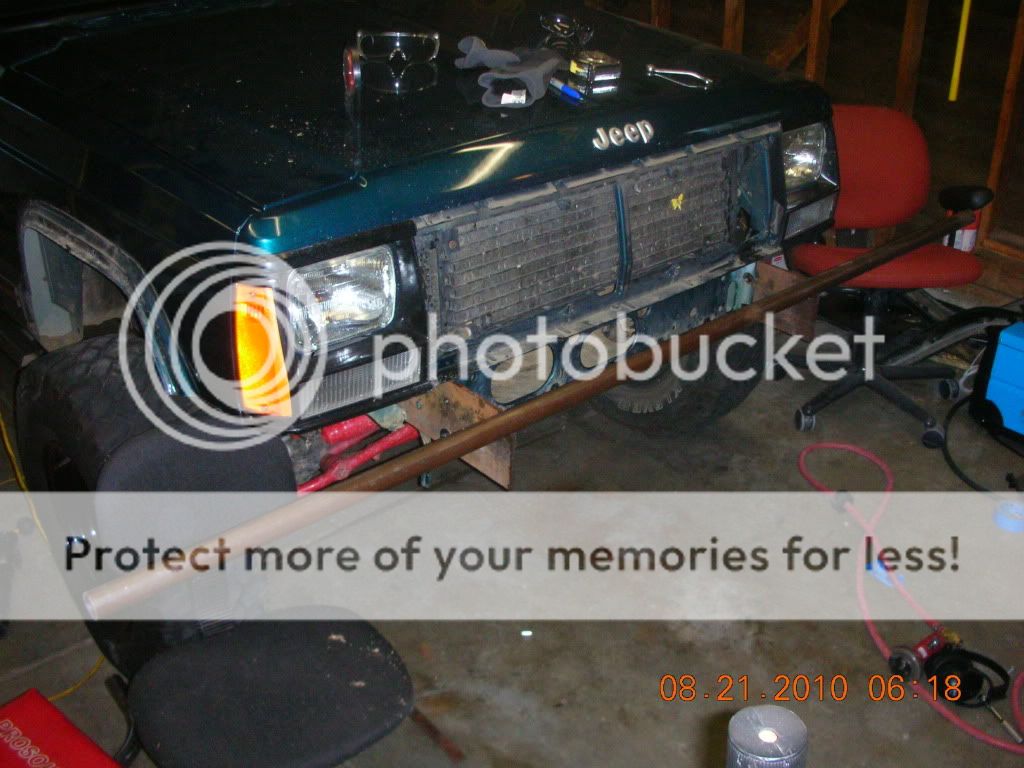
Then, we bent up the main bar. and cut a lower horizontal bar. It was mainly to hold the license plate at the time. It was finally starting to take shape.

DSCN3681.jpg


DSCN3683.jpg


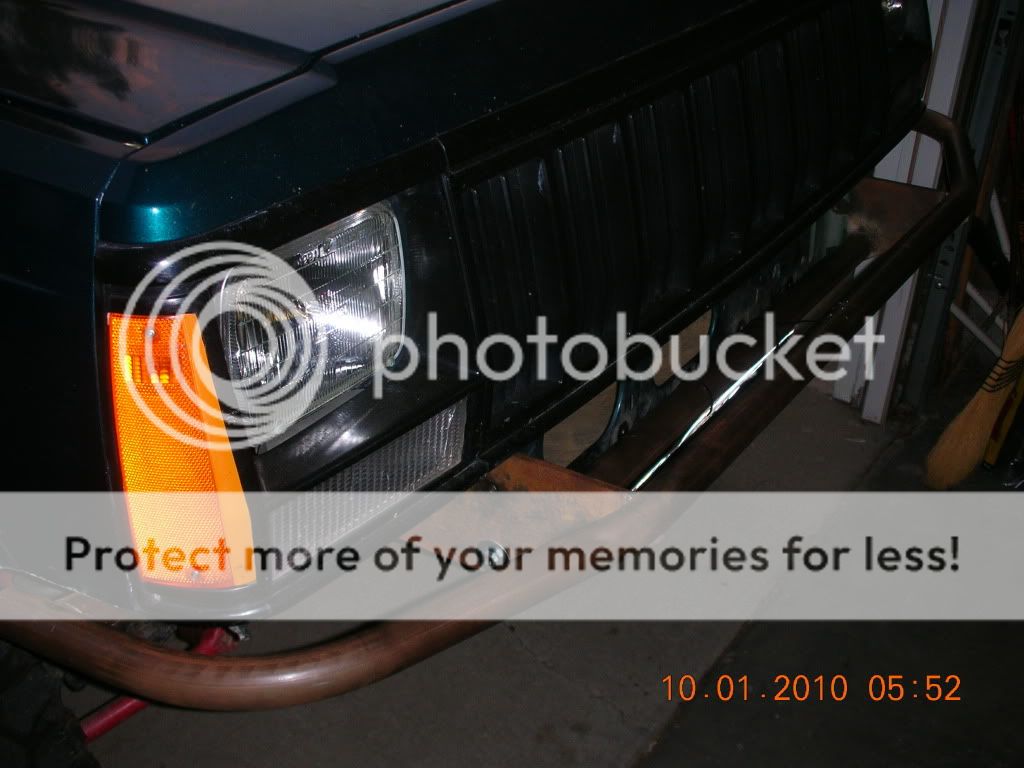
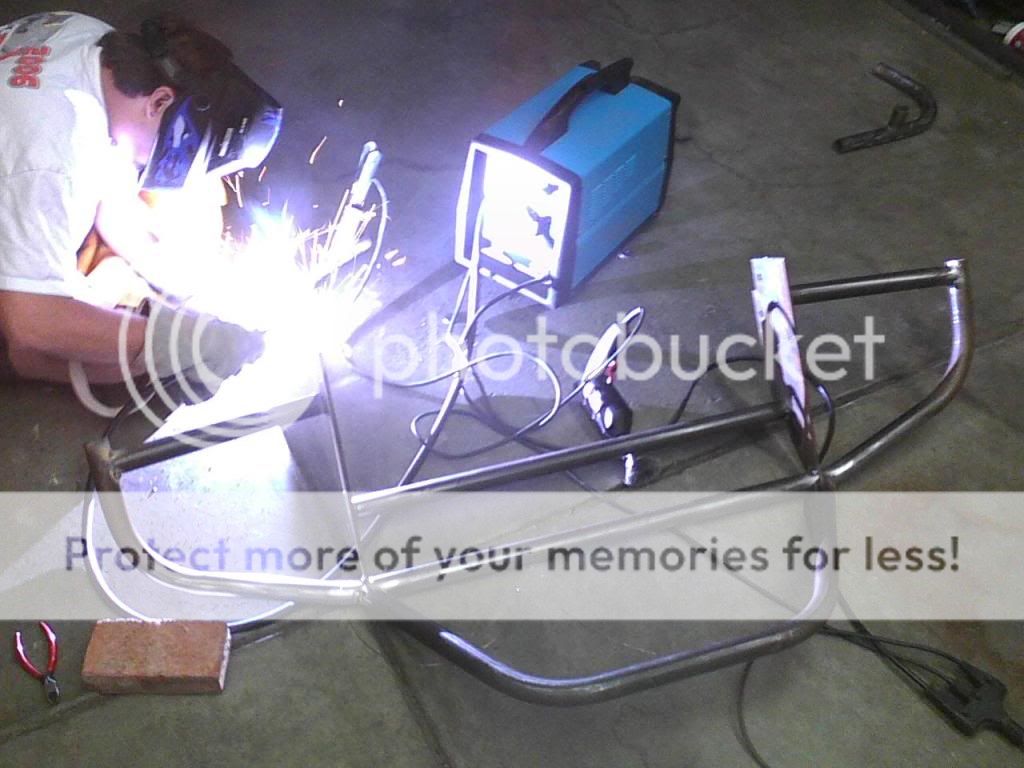
Then started tacking it all up.

Photo10012300.jpg
 
Last edited:
We ran out of welding wire, so I had to wait for another free weekend to roll around for me to work on it again. When a good weekend finally popped up, I added three vertical bars connecting the two horizontal ones for aesthetics and support. However, with my luck, the lower tube (with the 3 vertical pieces) was too close, and interfered with the crossmember. To fix this, I busted those 4 bars off with a BFH and re-notched the lower vertical pieces about 1/4" shorter. These new notches were much cleaner and straighter, and much much easier to weld.

Photo12301207.jpg


Next on the list was to cap the end of the bumpers. I previously cut out some circle with a 1.5" hole saw. Despite the hole in the middle of then, I fully welded them onto the end, and filled the drill hole.

Photo12301558_1.jpg


Finished up the other side, and then went back and attacked it with the grinder/flap disk.

Photo12301801_1.jpg


I wanted the transition from the hoop/stinger to the side support bars to be as clean as possible. To do this, I simply welded it up, and ground it smooth with the flap disk.

Photo12301801.jpg


All welded up, before paint:

Photo12301802.jpg


The next day, I took it outside and painted it up. Stupid me, I used some walmart spray paint I had laying around, and it is already peeling a tiny bit around the welds.

Then I drilled some 3/4" holes, and threw on some D-rings. I will go back some other time and weld a plate or two sandwiching the holes for more support (1/2" thick instead of 1/4" thick).

Heres some overall shots:

Photo01031655.jpg


Photo01031653.jpg


Photo01031653_1.jpg


Photo01031652.jpg


Ill have another shot or two coming in a few days.

All comments, questions, or concerns are more than welcome.
 
lookin great!, but id worry about a sideways impact just tweaking that to the side. to solve this i boxed my frame plates in, and eventually added a couple gussets to increase the sideways bearing surfaces....


looks good, but why didn't you make your plate go back farther to utilize all the mounting points you could? and i could be wrong but in your pics it looks like you only used the front most 3 mounting points. i'd want as much strenght as possible if i was using it as a tow/winch point, but thats just my opinion

got more pics of how you mounted it?

I believe I have 6 or 7 bolts through the unibody on each side. There was nothing further back for me to (practically) bolt through IIRC.

I'll try to snap some more pics of it Tomorrow for ya.
 
Looks good. Reminds me of my protofab bumper
 
I like it. I want to build something similar but with a winch mount in front of the crossmember.

I built this with plans to add a winch recessed into the grill. I will simply weld a 1/4" plate across the top of the upper horizontal tube, and the two bumper mounts along the frame rail, gusseted underneath. However I do not have the funds to purchase a winch at this time.
 
when i built mine it was a lot like how you did yours. i am not sure what tire size you are running but here is an issue i had and the simple solution:
at full compression, my 35" mtr kevlars would rub drastically on my support bar to the mounting plate. your support bar looks a little further back then mine was so it may be more of an issue for you, but simply cutting and moving the support toward the front some should alleciate that issue...

came out good tho

beat me too it. I was gonna say the same thing. WHEN!! you go bigger, i could see the tires rubbing on the support bar. I wonder if you could even put a bend in it?
 
Back
Top