• Welcome to the new NAXJA Forum! If your password does not work, please use "Forgot your password?" link on the log-in page. Please feel free to reach out to [email protected] if we can provide any assistance.

beater!

i used in my first car to clean it up. it was a 1992 taurus SHO. looked liked someone had gently sideswiped a yellow vehicle or a yellow vehicle gently sideswiped it. anyway, little rubbing compound took all the crap right off. it didn't hurt the paint at all.
 
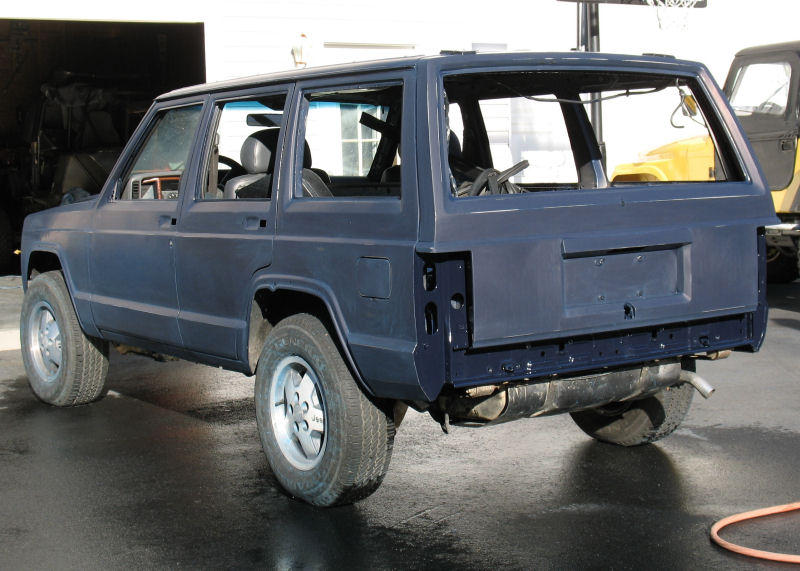
We had two days of 60ish weather so I got some work done on the paint.

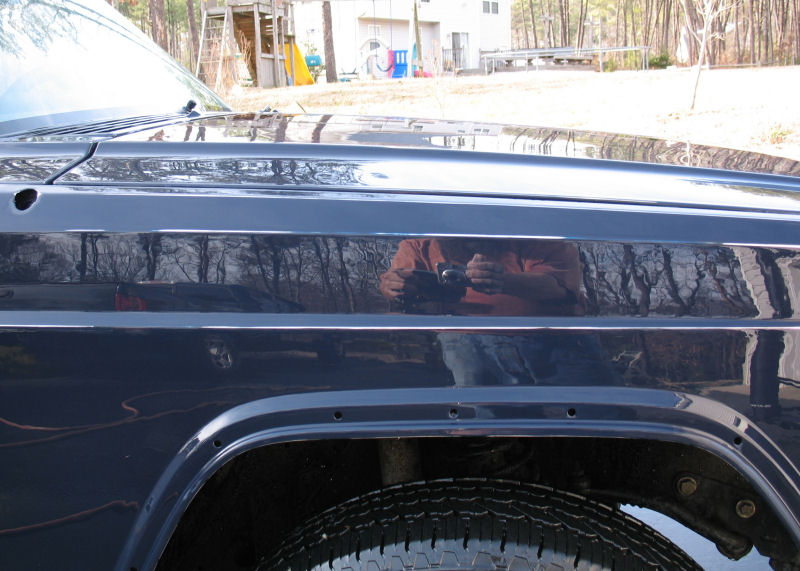
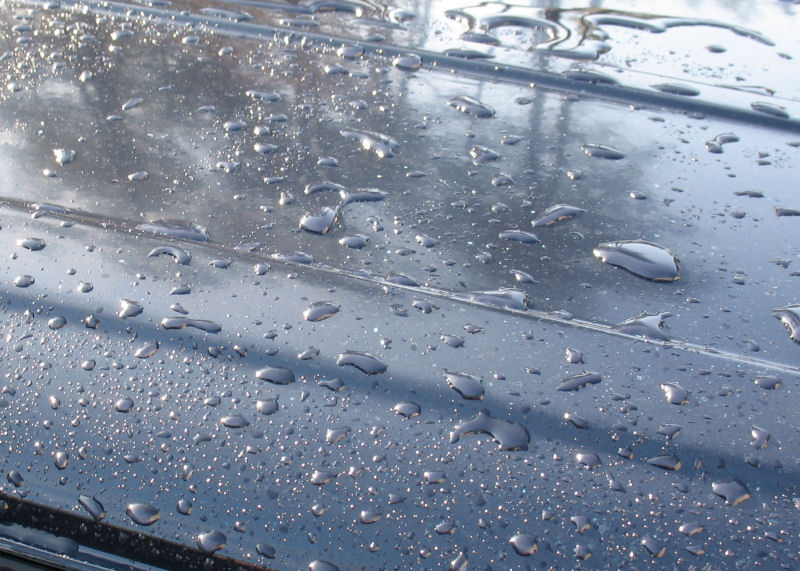
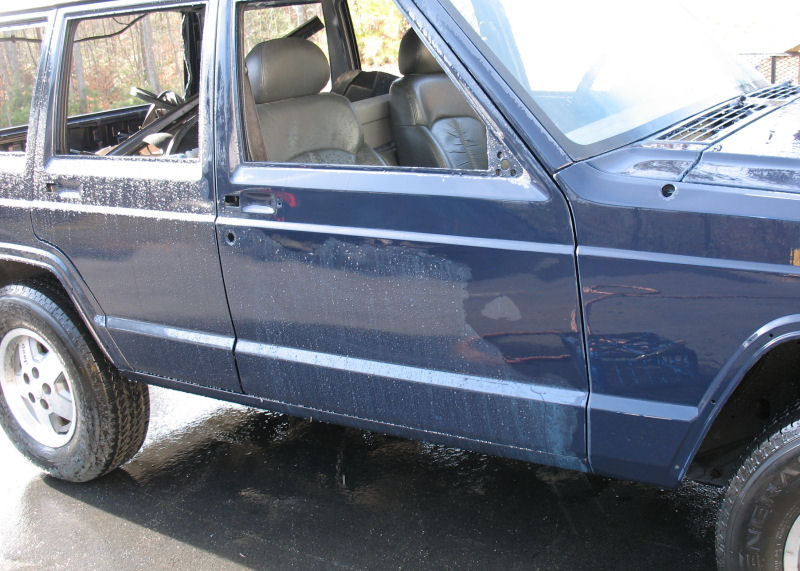
First thing to notice is that this paint sets up with a natural kind of wax finish, which makes it very smooth. See how water is beading up instead of sheeting?

Painted_30.jpg


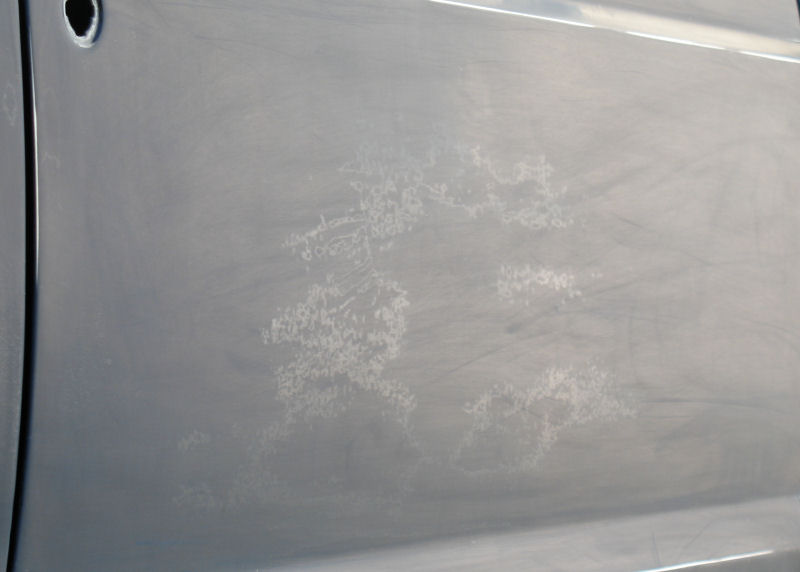
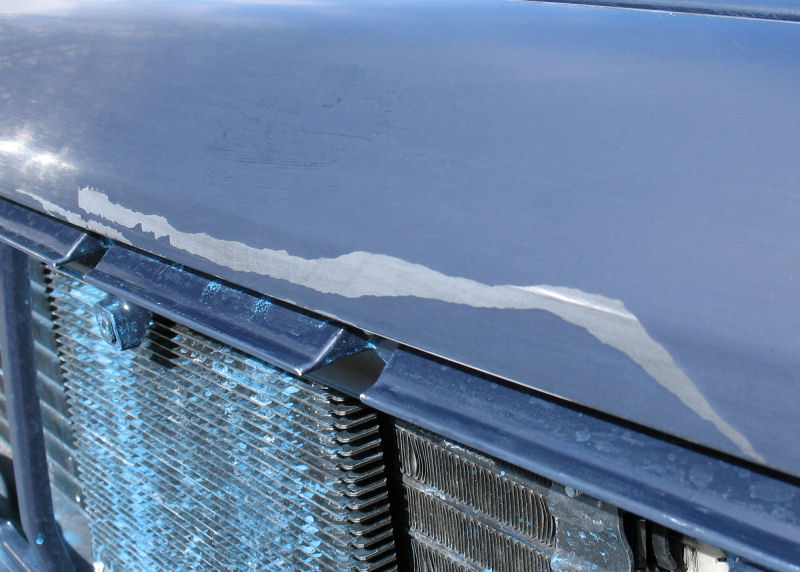
I don't know if it's just the rustoleum (never seen that before though) or if it's the Penetrol additive, or what. However, as soon as you touch it with any kind of abrasive the "wax" disappears and exposes orange peel underneath.

Wetsanding_19.jpg


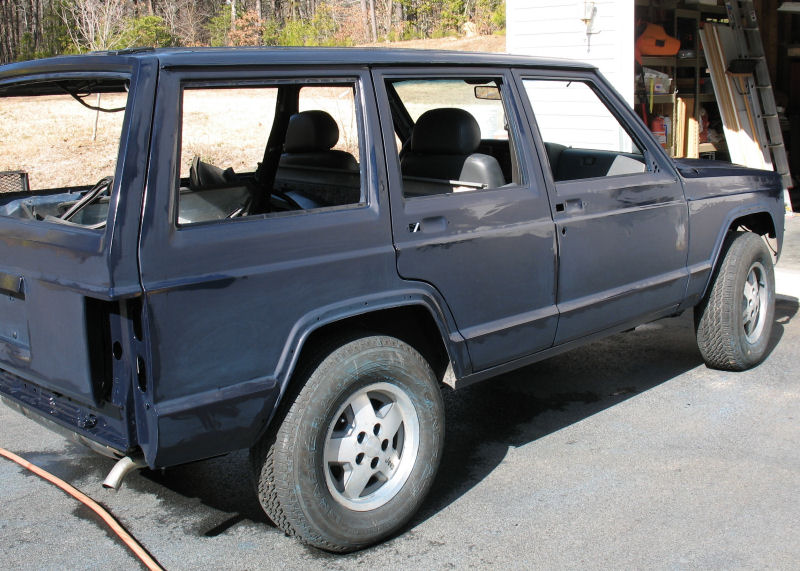
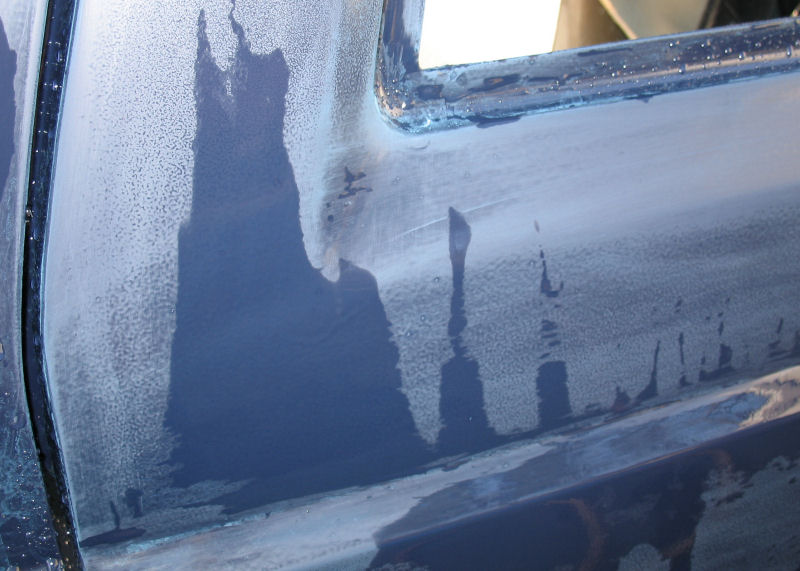
This all has to be wetsanded smooth. Last time I spent over a week wetsanding with 1200 and 1500 grit. I'm not interested in doing that again to get right back to the same place, so I am doing the whole thing with 800 grit for now. Once the "wax" has been removed and the goosebumps smoothed down, water starts sheeting off:

Wetsanding_18.jpg


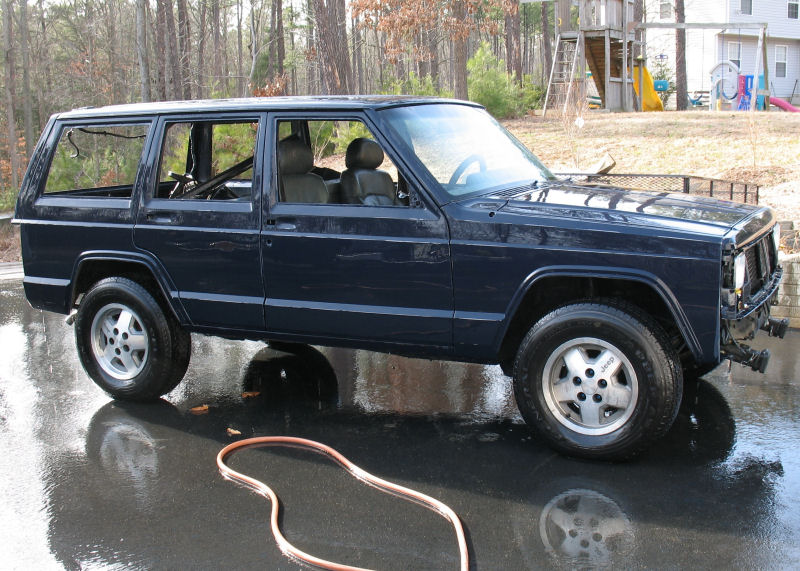
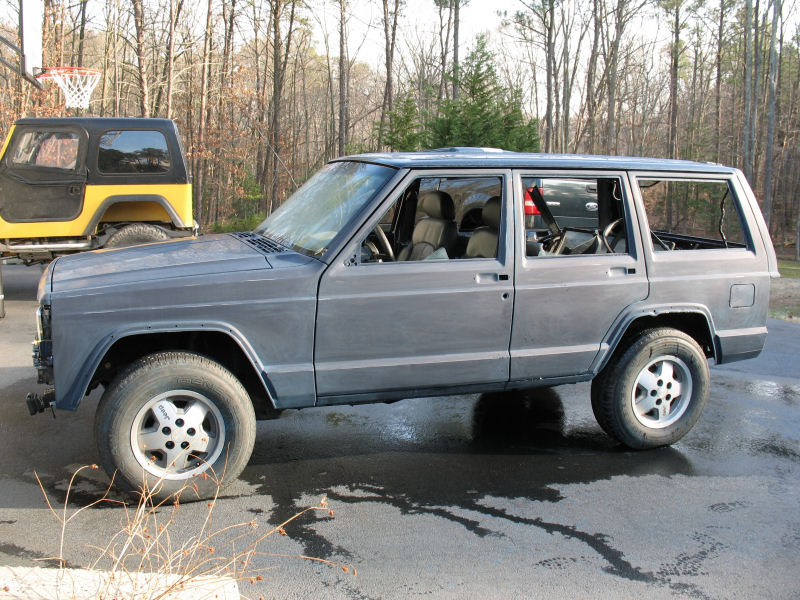
With 800 grit, it goes really fast. I got the left side yesterday and the right side today, and will do the roof and the hatch the next time the weather is above 40 (should be Friday).

Wetsanding_20.jpg


My current plan is to finish wetsanding with 800, then use a roller to touch up wherever I went too deep, let cure, wetsand the patches with 800, then start heading up to 1200 and 1500 and 2000, then polish.
 
Hang in there dude, you'll get it. Remember your not building a rock rig here but a very nice upgraded restoration.

I knew i didnt have the talent or patience to pull this off, my hats off to you Sir. :cheers:
 
I'm not restoring anything--that would be a real paint job instead of single-stage crap (whether Rusto or "real" paint). The goal is a work truck that is easy to work on, such as being able to apply touch-up paint and sand it into the surrounding paint without having to strip off the clear coat. Hopefully in the long run that will still be the payoff, but at this point the short term costs are already way way too high to justify it.
 
Finished wetsanding with 800 grit yesterday. Interesting to see how that compares to unmolested paint

Wetsanding_21.jpg


A few weird splotches showed up while wetsanding. I've no idea what this is from, although I suppose it's probably the enamel hardener. It didn't show up while wetsanding the first coat though. I'm just ignoring them for now.

Wetsanding_23.jpg


Today I did some spot sanding and cleaning then painted the seams and folds where I'd sanded through.

Painted_31.jpg


I used some cheap foam brushes and 50/50 rustoleum/acetone for the touch up. The acetone flashed really fast, and the paint tacked within about 5 minutes. I put two or three coats as needed in each area, and will leave it be for a couple of days, then will wetsand the touch-up paint flush.
 
I have decided that your insane now. :looney: Your jeep is gonna be the purdiest one here. I would have just given up after the first coat and sanding.
 
I have decided that your insane now. :looney: Your jeep is gonna be the purdiest one here. I would have just given up after the first coat and sanding.


i have to agree. your most of us would rattle can it and call it a day. you sire have to change the name from beater to somthing else.

this thing is goin to look killer
 
wet sand it smooth and buff it out-- you'll be surprised how good it looks. I've done it on a bunch of bikes (mostly rattle can) and a couple cars (Krylon and aluminum radiator paint) and every time, I'm convinced it will look like mookie stinks at the stage you're at. I haven't retreated anything with a roller, but with continued sanding it should blend and polish fine. Twenty bucks says you will change your tune when you finish buffing/polishing the first fender!! I'll pay up if you you will!!
 
The touch-up paint had a lot of brush marks in it, and also had that waxy glaze (it is coming from the paint since I did not use any additives for that pass). Once I wetsanded it into the surrounding paint, I had gone through it again.

Let me back up a bit and say that probably 97% of the paint looks great. Here is how it looks wet, which is pretty much how it would look after polish

Wetsanding_24.jpg


However I've gone into the primer in a couple of areas, and have gone to metal around some of the creases and folds. In this pic of the front fender, you can see the white stripes on the long folds, which is where I've gone through to metal

Wetsanding_25.jpg


The roller/brush idea didn't work so not sure what to do. I read something on the Internet once about putting masking tape down on each side of the problem area and spraying primer and paint in the gap so that it only gets on the problem and not all over the fender. I may try that tomorrow. Unfortunately I'm down to just a cup of paint. I think what I really need at this point is a couple more quarts of the stuff, a paint booth, and a professional painter to give it one run-free coat.
 
nah it's gonna look like shit

at this point it's like a horror movie that is really bad, but you've sat through watching it and are gonna stick it out to see the end

Don't be so hard on yourself. You have done a fantastic job getting to where you are and I've and many others have learned a ton. Keep plugging along and you will get it just the way you want it.

Getting something right never comes easy.

You are on the right track, just keep up the good work!
 
It's looking great! You've put tons of work into it enough to change the name of this thread to RESTO! You might be getting put off with the way the paint is coming out but just wait till spring and your progress will really go a long way.

The weather sucks...hang in there.
 
Forecast today was for 50f so I decided to try masking and patching where I'd sanded through the paint. I put down some tape, and lifted it off to move it, and the paint came off with it

Paint_Peeling.jpg


At this point there doesn't really seem to be anything left on this job. I'm going to have to strip everything off and shoot it with real automotive paint.
 
Back
Top