I didn't notice until after I'd paid for it, but the donor door had a fixed vent window instead of a movable one. My beater has vents, and I like having them (especially in the summer), so I had to swap the vent from the old driver's door to the donor. There are a couple of other write-ups on this floating around--
here's one that goes from movable to fixed, and
here's one for the YJ that is pretty similar.
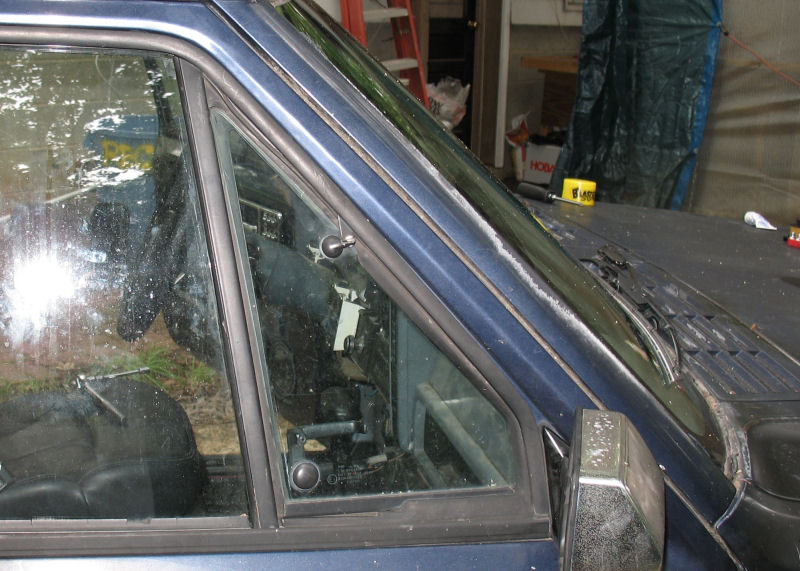
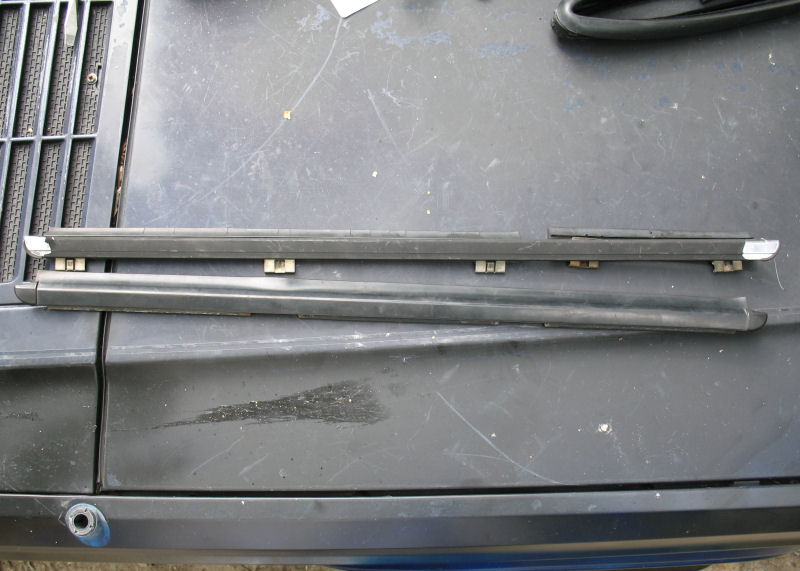
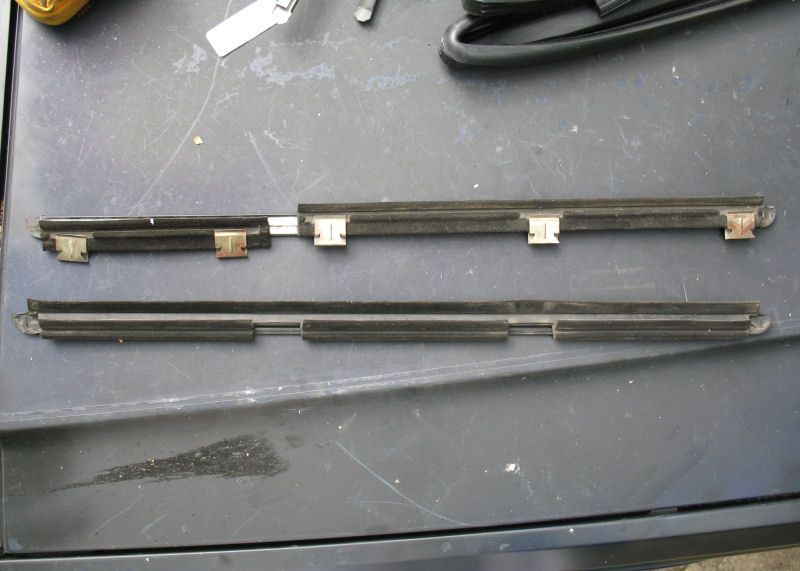
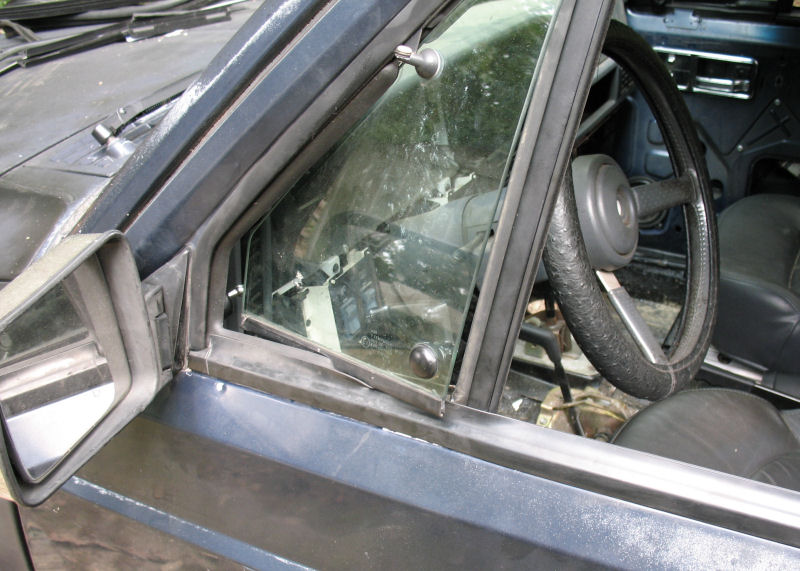
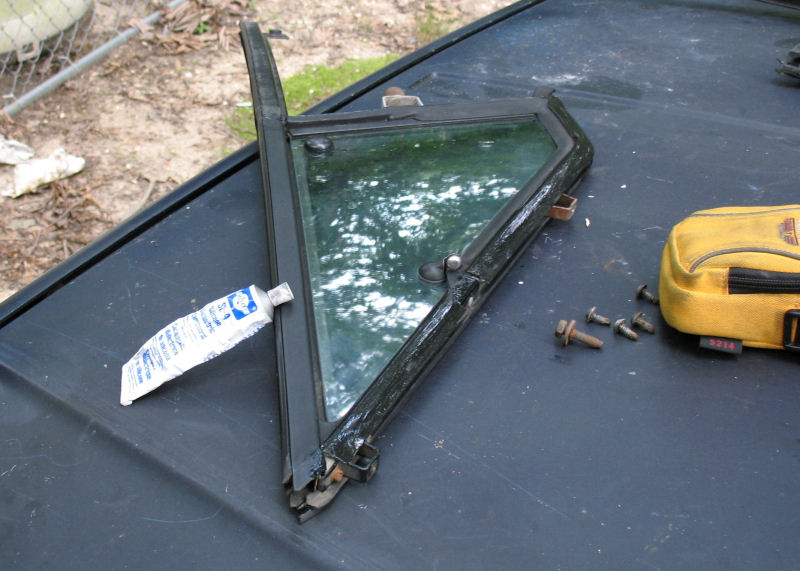
Here's what the fixed vs vent looks like
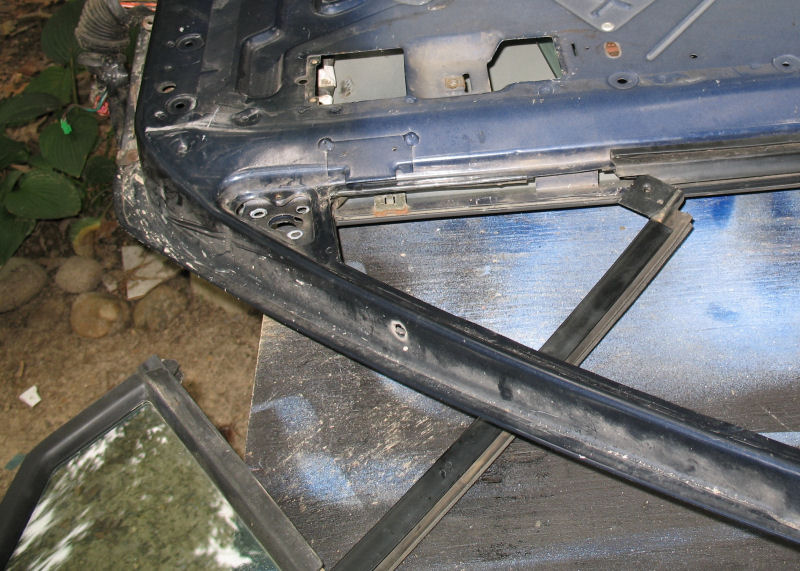
First step is to remove the door panels if they aren't off already. You will also need to lower the main window in order to get the vent window off. You may also find it helpful to remove the window seals from the door, although I did not have to.
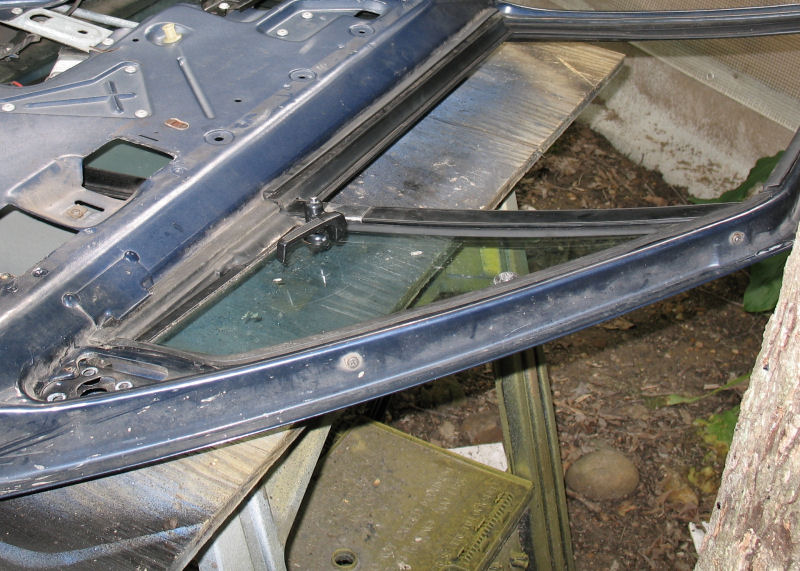
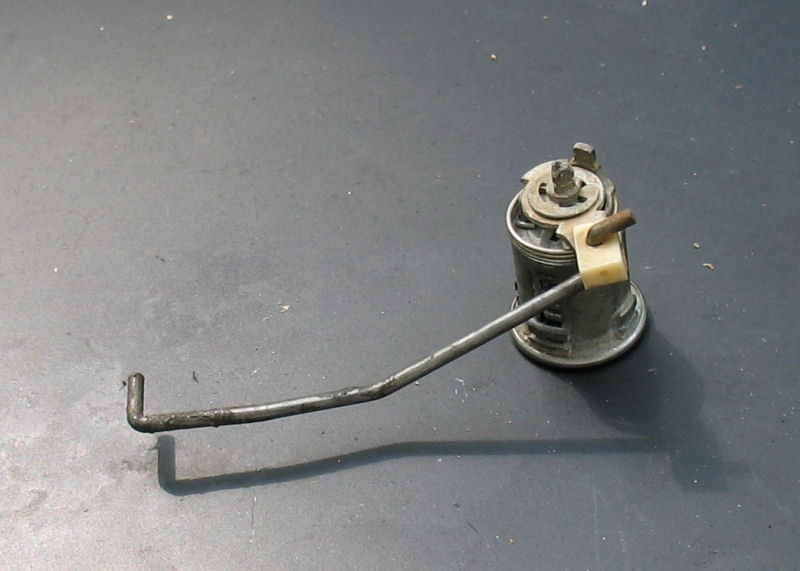
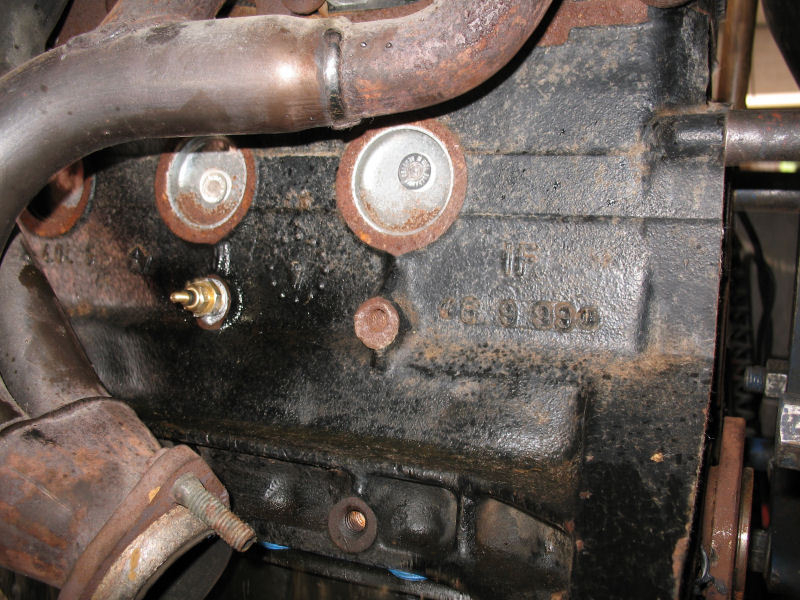
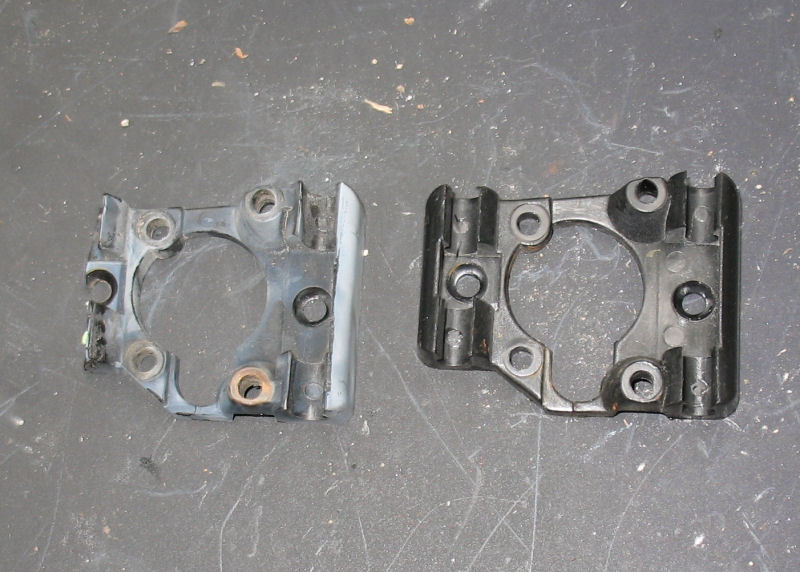
The vent is shaped in a figure-4 with the little vent being the upper triangle, while the long vertical leg runs all the way down in the door and serves as a guide for the main window when it's moved up and down. The assembly is held in place by two screws and a bolt. The bolt is at the very bottom of the vertical guide bar, while the screws are on the top front of the door frame.
In this pic you can see the vertical bar
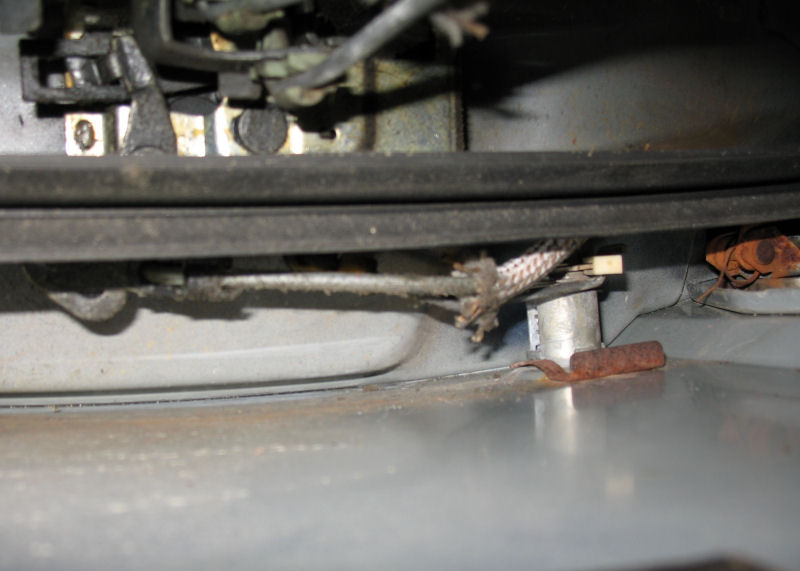
This pic shows the screws on top
Remove the bolt and screws, and then gently rock the window vent back and forth until the seals break free, then pull it backwards, leading it to the outside of the door
When it's almost all the way out, you'll have to rock it forwards to clear the tab for the bottom bolt. This is why you had to come to the outside--you will not be able to pull it straight if you are also having to bend it along the inside door frame.
That's all it takes to get the vent window out, so it's time to put a window back in there. Clean the replacement window seals really well with simple green or rubbing alcohol or whatever, something that won't damage the rubber. You want to get the dust and dirt off the seals before you install it. I also smeared silicon (dielectric) grease on the parts of the seals that make contact with the body. This makes it MUCH easier to install the window, and also helps to cut down on leaks. If you look at the windows you've got, they probably have a lot of dirt and crud on the seals, and that crap had to get up in there somehow, so cleaning and lubricating the seals is generally good. In my case I just put a thin even coverage with no large pools anywhere, and I only dressed the parts of the seals that make direct contact with the door metal. This is also a good time to PB Blaster the hinge springs if they need it.
Then install the vent in the same way you took it out. Start by working the tab into the frame, and then sliding the vertical bar down the side of the window at an angle. Once you get far enough to clear the angle, rock the vent into position. If you get a lot of resistance, look for the problem and fix it--you've probably got the leg going through the door's wiring harness, so back out and clear the wiring. Once you get the vent into position, make sure the rubber is all in the right place, then roll up the window to create the proper vertical seal, and then reinstall the bolts and screws. The silicone grease makes this go real fast and easy. Then sit back and enjoy your new window
Since this all went so easy, I decided to fix the passenger side vent, which had a couple of alignment problems. As you can see, the vent was not centered and was binding at the top corner, and the rubber seals were not making even contact either.
For this one I only had to remove the bolt and screws, rock it backwards, clean and lubricate the seals, and then reposition it so that the rubber made good contact. There is also a small adjustment screw in the top of the vent glass--just release the pressure on it, use a flathead to prop the glass into it's proper location, and tighten the screw again. After about 10 minutes, the passenger vent was centered and did not bind anymore, and I had good solid seal around the door.
This is kind of an intimidating project the first time, but it's really pretty easy, and after the third or fourth time all of the mystery is gone and it's pretty much cake.


")