bosco01xj
NAXJA Forum User
- Location
- Lebanon, TN
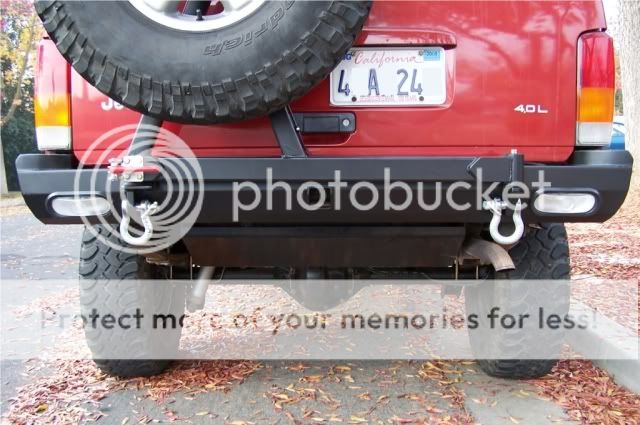
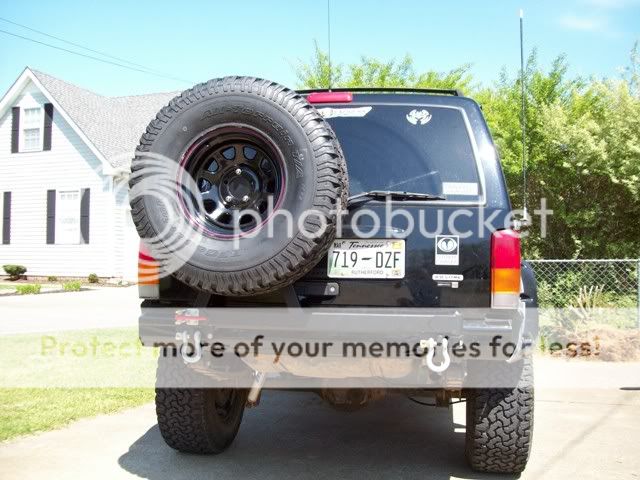
After I installed my tailbone I realized I would need to relocate my license plate due to a partially obstructed view from the tire. I went to Lowes and bought a 4 foot piece of flat steel. My fabrication skills aren't the best, but I think the finished product is great.
The main tools for this job are an angle grinder, spray paint (color of choice), and a flat head screwdriver (not pictured).
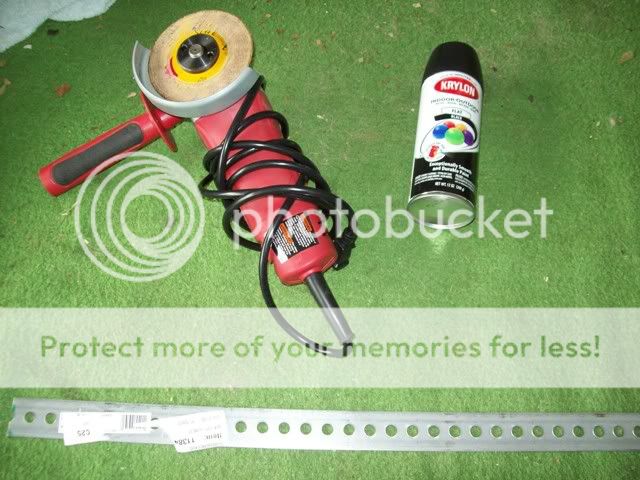
I measured the distance from screw hole to screw hole at 7 inches. I doubled this measurement to 14 inches which is how long I needed my steel brackets to be.

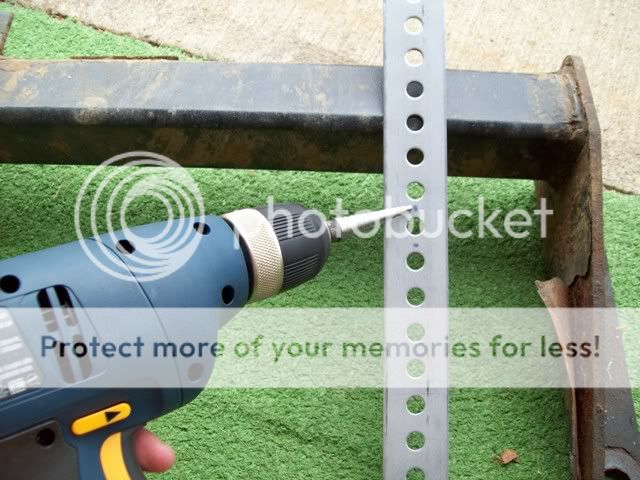
After cutting with the angle grinder, which is hella fun, I needed to drill two new holes due to an alignment issue with the already present holes. I lined up the steel and marked where I had to make my holes.

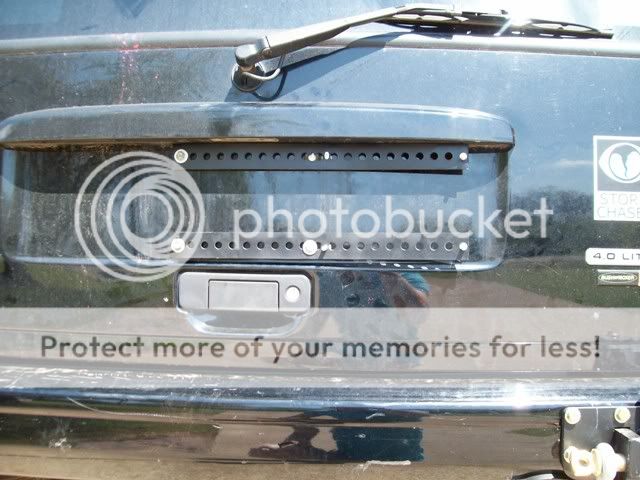
I did the same thing with the license plate. Lined it up, marked appropriately and thus commenced drilling. I drilled my holes to 1/4" with a step bit.

I spray painted after all the cutting and drilling was finished.

Here's the finished bracket without license plate
With license plate
The main tools for this job are an angle grinder, spray paint (color of choice), and a flat head screwdriver (not pictured).
I measured the distance from screw hole to screw hole at 7 inches. I doubled this measurement to 14 inches which is how long I needed my steel brackets to be.
After cutting with the angle grinder, which is hella fun, I needed to drill two new holes due to an alignment issue with the already present holes. I lined up the steel and marked where I had to make my holes.
I did the same thing with the license plate. Lined it up, marked appropriately and thus commenced drilling. I drilled my holes to 1/4" with a step bit.
I spray painted after all the cutting and drilling was finished.
Here's the finished bracket without license plate
With license plate