• Welcome to the new NAXJA Forum! If your password does not work, please use "Forgot your password?" link on the log-in page. Please feel free to reach out to [email protected] if we can provide any assistance.

Boatside Rockers

87xjco

NAXJA Forum User
Location
Denver, CO
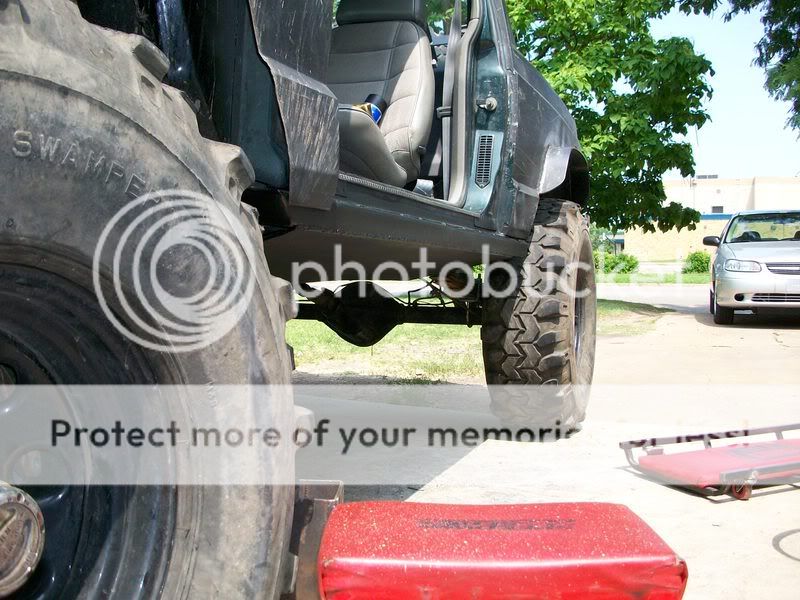
Well maybe they're semi-boatside rockers

Here's how I'm doing mine

First I cut out a section of my banged up rockers to see what it looked like inside

I decided I would cut at the black line on the top side
Dsc01112e.jpg


Then looking at the bottom, I decided to cut just inside of the pinch seam and I'll fold that lip up and weld the new 3/16" plate to it
Dsc01103.jpg


Here's what it looked like after the cuts were made
DSC01117.JPG


DSC01119.JPG


Then I ground off paint from the edges that I'll be welding to, and I put some holes in the top edge for the spot welds. I also pre-folded the lower lip to the correct angle for the plate to set flat against it. Once I weld the top edge, I'll apply some force inward on the lower edge to snug up the two panels before I spot weld the lower edge.

DSC01128.JPG


I drilled holes along the bottom edge of the 3/16" plate, then clamped it up in place and started spot welding the top edge.

DSC01130.JPG


DSC01129.JPG
 
I put the doors back on and they are very exposed on the bottom edge now, I'll have to do something about that later!

Dsc01134.jpg


Once I welded all the top spot welds, I then put a jack under the lower edge starting at the back, and pushed the plate up tight against the body
DSC01138.JPG


And here it is after all the spot welds are done
DSC01145.JPG


I started at the back and used the jack and a square piece of tube and kept moving it forward after every few holes were welded up. Some of those spot welds look better than others :oops:

DSC01135.JPG


Since those bottom welds fill the 3/16 plate, I can grind those flat and still have plenty of the weld strength left. The upper spot welds I'll just kind of knock down the rough edges and still leave a little mound of weld material.

DSC01141.JPG


It would be pretty easy to add a long piece the same width as this one, and tie the boatsides into the rails, but I'll wait until I decide if I want some sort of frame stiffeners. I also am not sure I want to add the weight. My goal all along has been to keep this rig light.

DSC01143.JPG


Here's a piece of the old rocker and it shows how much clearance I gained
DSC01147.JPG


I still have some work to do on the ends and the doors before I can start painting

More later
 
Terry,
I have been checking out rockfrogs.org for a few years now and have followed your build.Sorry about the wreck, but great job on the new xj. I have rotted rockers and have been grinding and cutting metal off of my xj for some time now. I just yesterday purchased a new Miller 180 and will be cutting out the floor and replacing it as well as some creative rocker re-inforcement due to rust. I like what you did. Keep up the great work and nice job! Thanks for the fresh idea.

Matt
 
Thanks Matt, I don't envy your rust problems!

I was pleased how clean these rockers were inside when I cut them open. Makes it almost like working with all new parts!

And the Xota will ride again someday, as a trailer queen this time :laugh3:
 
If you tie them in to the frame, that could take the place of rock rails. I don't know if there is any way for a home fabricator to do this but if you put some fluting or something into the sheets, I think they should add a lot of rigidity to the frame. You could add a boat bottom too... Glass bottom?!?!
 
Last edited:
looks pretty cool. i had thought of doing this recently... my previous plan was to also cut out my rockers, as they're very rusty like you said yours were and replace them with tubing and tie the slider into the "frame" somehow. your fab work looks good, but i'd be concerned with other stuff bending if you slammed on the boatside because it doesn't seem to be too well supported. go bash it on something and lemme know what you find :scottm:
 
Went to work on the rear door this morning

While it was still on the vehicle, I used a marker and followed the new edge of the rocker, and made a line on the door, the top edge of the tape is where that line is

Dsc01149.jpg


On the sides of the door, I wish I could cut at the black line, but that won't work because of the hinge, so I'm gonna have to cut where the red line is.

Dsc01148.jpg


The I cut the piece out of the door
DSC01150.JPG


In an effort to get a straight fold, I first clamped a piece of thick steel to the panel
DSC01151.JPG


Then I flipped the door over, I used a body hammer and also a sander along the fold area, that will heat up the panel a little and I'll keep pressure on it while I'm sanding and hammering on both sides of the fold
DSC01152.JPG


Used a couple of screws to hold the outer panel tight against the inner door frame, and then started welding it
DSC01153.JPG


Then I kept working that panel tight against the frame as I welded
DSC01156.JPG


Primed and sprayed the bottom with flat black paint, I'm glad my ugly welds are on the bottom :oops:
DSC01157.JPG
 
More ugly welds on the back end of the boatside, I 'll grind those down a little before paint
DSC01160.JPG


Then I hung the door back on
DSC01162.JPG


The back looks a little weird hanging out there, but not much I can do about it
DSC01164.JPG


Front side
DSC01165.JPG
 
Last edited:
Moving on to the front door, I need it to look like the back door
DSC01166.JPG


Cut it out and basically did all the same procedures as the back door
DSC01170.JPG


Got it finished and back on the vehicle, I also re-shaped the fender to match the door
DSC01172.JPG


Drilled and tapped a hole and used one of the original fender bolts
Dsc01173.jpg


A comparison shot of the finished left side and the stock right side
compare.jpg
 
A+ for creativity and nice fabwork. I like the way you solved the problem.

My personal opinion: I worry about the long term reliability simply due to the lack of firm support for the 3/16's plate. From the pics, it looks like a couple good hits and the sheetmetal around the plate will deform. Although pictures dont always tell the whole story, do they?


-jm
 
Terry- Beef those up now before they get used. I have 4 years on mine now (same design but skinned with 3/8" UMHW as well.) and they're getting pretty beat up. It starts with the rockers bowing then progresses to buckled B pillars. I wish I would have tied mine into the cage from the beginning.

100-0002_IMG.jpg


-Jon
 
Um. I guess I'm fooling myself, thinking I won't get into them much, but I'm sure I will.

Talked me into it though, I'll either add one big plate that ties them to the rails, or maybe 3 smaller plates.

Thanks!!
 
Kaczman said:
Terry- Beef those up now before they get used. I have 4 years on mine now (same design but skinned with 3/8" UMHW as well.) and they're getting pretty beat up. It starts with the rockers bowing then progresses to buckled B pillars. I wish I would have tied mine into the cage from the beginning.


-Jon

Whoa.. you were using your body as support for a slider?
 
THAT looks awesome and more what i was leaning towards... i plan on using 2x6 1/4 wall. super heavy but if i tie it in right it will act as a serious frame stiffener too.
 
winkosmosis said:
Whoa.. you were using your body as support for a slider?

Well I've been convinced to add support

My thinking was...

Using a 5' piece of 3/16" steel and welding it to a structure, even though the structure is thinner metal, really makes a triangle shaped truss, much stronger then the flat piece of steel itself. And since it's angled, it's gonna deflect off of rocks, much better then the stock rocker ever would.

After all, everything is the body on a unibody design. Seems to me that this truss has more support around it then the rails do, the support around the rails is only the floor panels, where as the rockers have pillars adding to the structural strength.

It seems in most of the wheeling I've done with this rig, I just have a few times where my rockers didn't quite clear, but it was close.

But my friends have pointed out that I do tend to try the hard lines and scrape or pound through wherever I can :eek: That's why my rockers are already beat up in only a few months of moderately difficult trails.

So now I'm starting to worry if tieing into the rails is enough, Im gonna go ahead and do that with another 5' piece of 3/16", but maybe it's time to start putting in a cage and figuring out a way to tie the cage into those boatsides too.
 
How about making a complete triangle so there is less stress on the thin part of the unibody? When the side pushes up, that would cause the floor between the sill and the "frame" to compress, but it would help if you have another piece parallel to the floor.

All these things make me uncomfortable, because they are like levers acting on points where they bolt/weld to the frame. If I was doing something like this, I would go all the way across the vehicle, so when a rock pushes up on the rocker/slider with 1000lbs of force, it's not pushing on the unibody with 5000lbs but instead acts like a seesaw so the force pulls downward on the other side. But I'd also want the steel to be as stiff as possible, especially in the middle. I don't know if you can add fluting or weld on square tube on top of it, or what.
 
Back
Top