CanMan
NAXJA Forum User
- Location
- Lake Tapps, WA
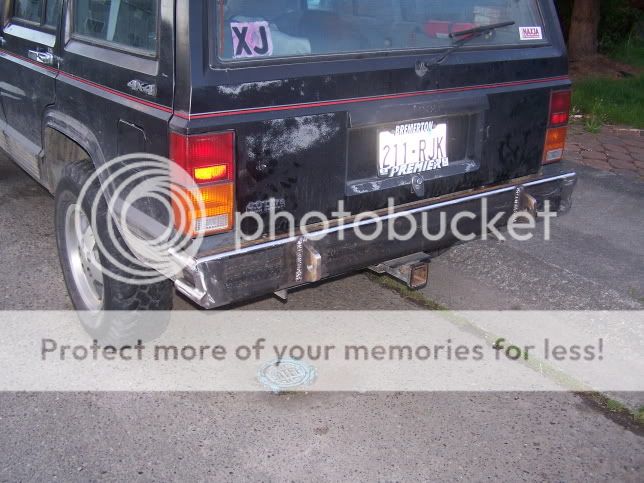
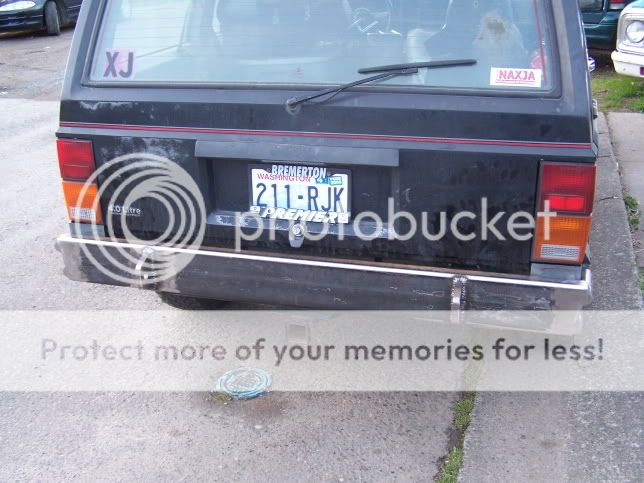
Well, since the stock rear bumper was fubar and ugly, I decided to do a little work and fab up one myself. A lot cheaper than buying one, but lots more work. It was a fun project, and thinking about selling them.
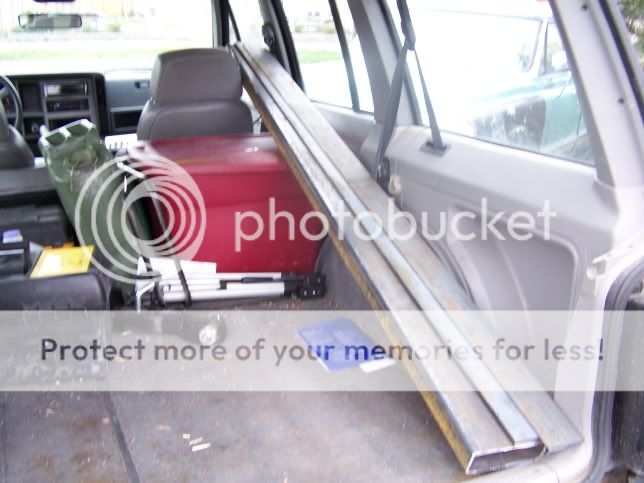
Started out buy buying some steel.
6"x2" 3/16" wall tubing
1/4"x4"x6' flat steel
1/8"x3"x6' flat steel
Ripped off old bumper.
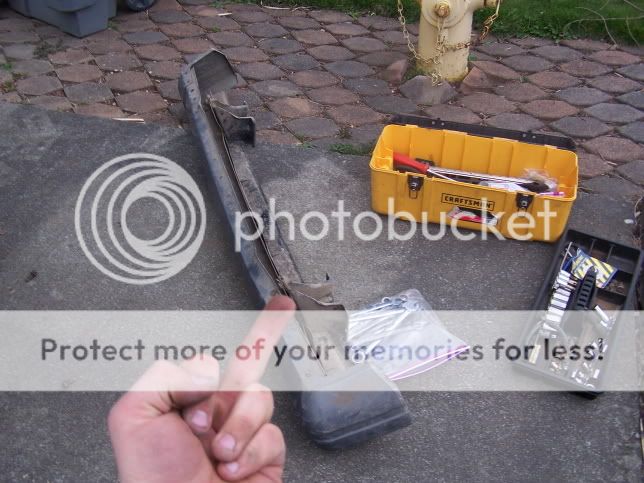
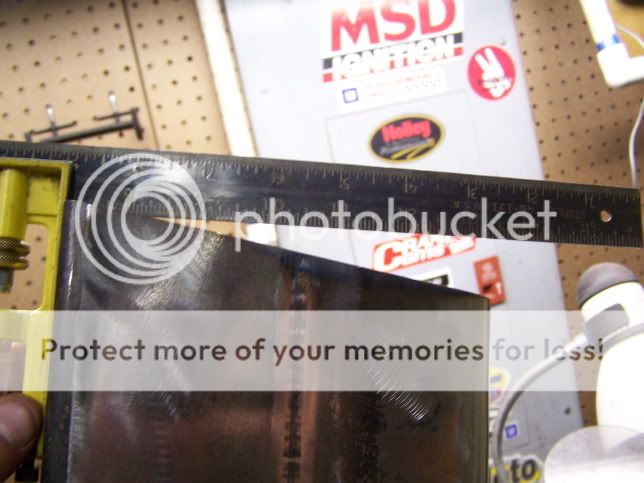
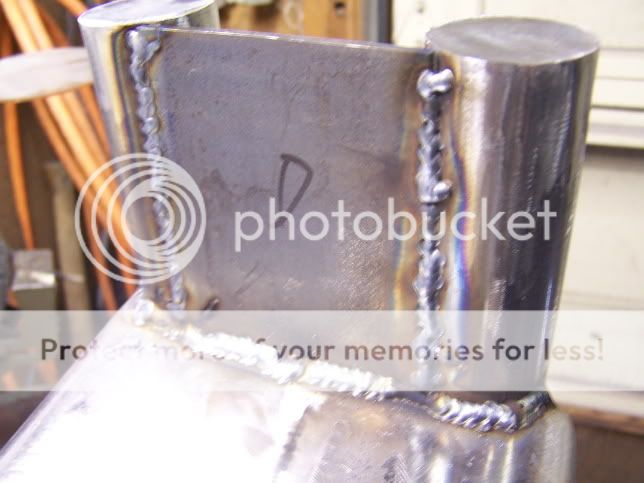
I cut out the mounts, that attact to the unibody. They are 7" long, by 1/4" thick.
I had to go get some more steel, so I picked up some 2"x3"x1/4" wall tubing. This went from the rear unibody mounts to the bumper. Cut them at 3 1/2" and welded them in.

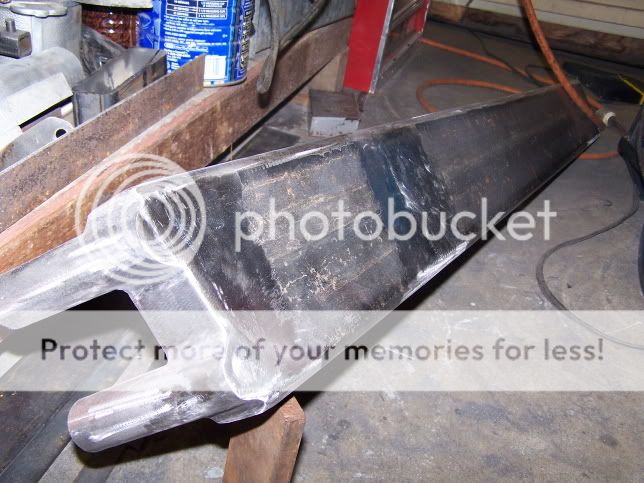
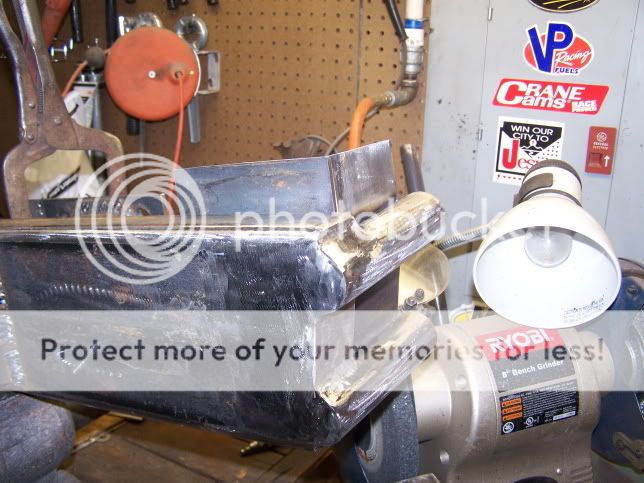
Next, I took the ends off with a 10* slope.
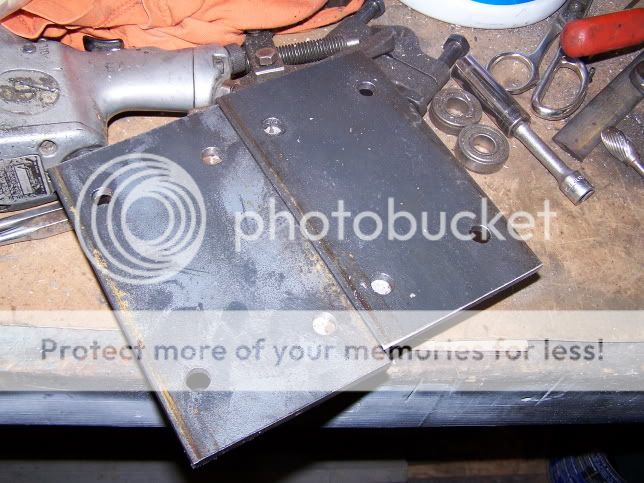
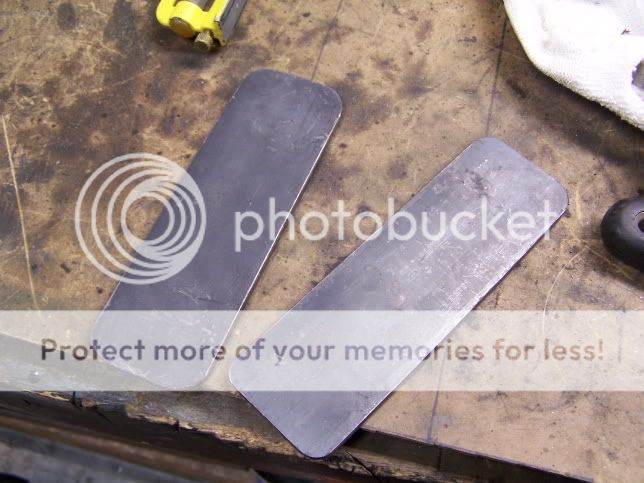
Then, cut out some 6"x2"x3/16" flat plate to cover the ends.
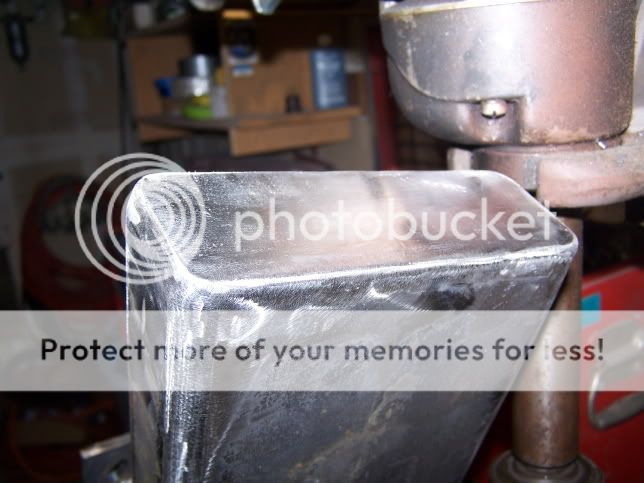
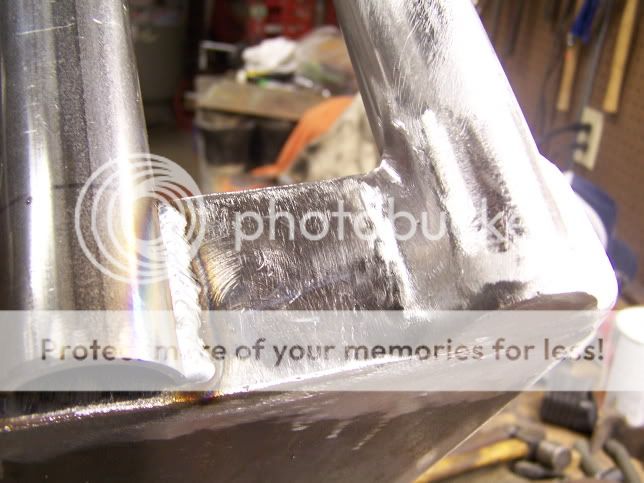
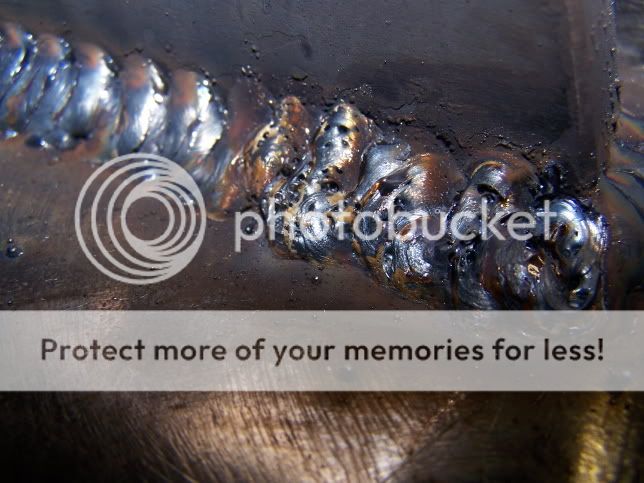
Here it is all smoothed out. The metal was V'd for good penetration and holding.
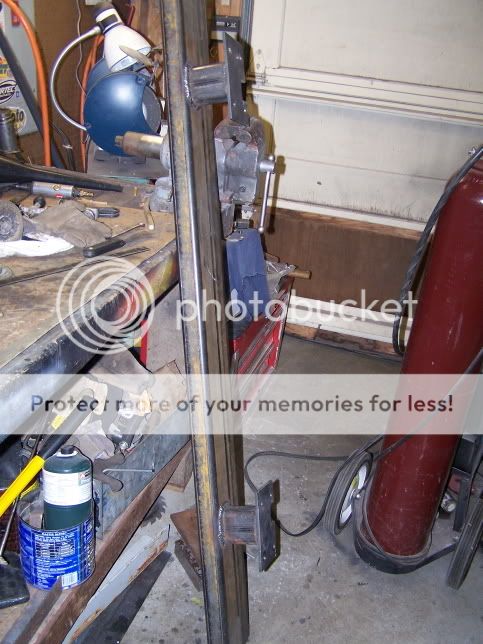
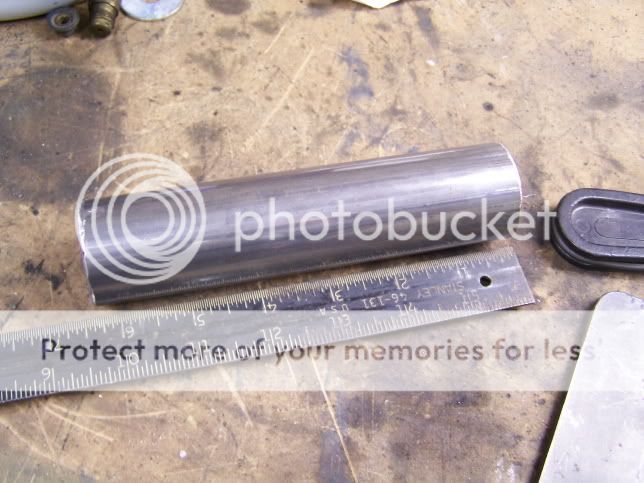
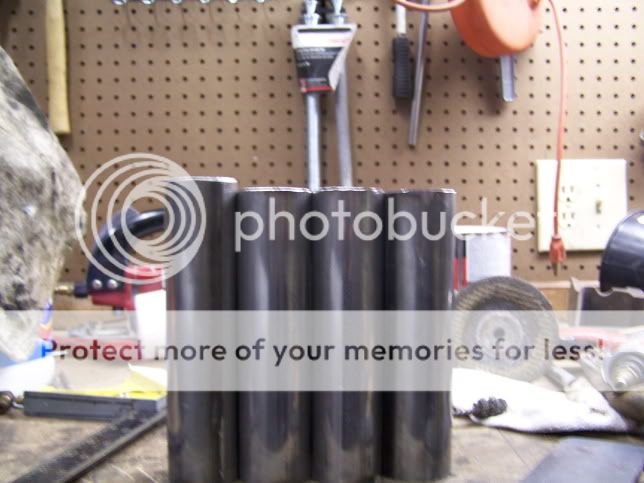
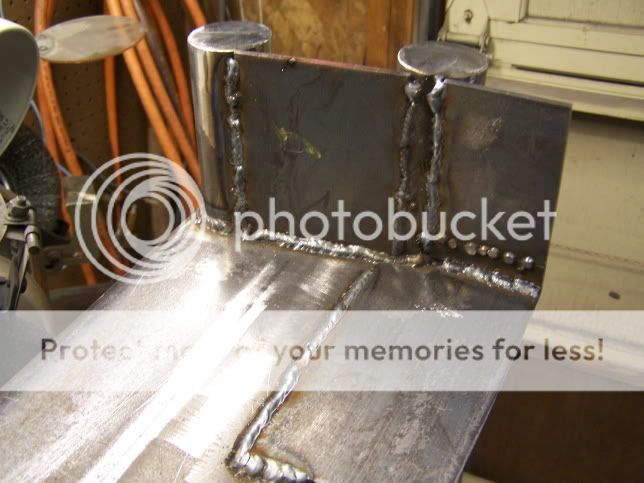
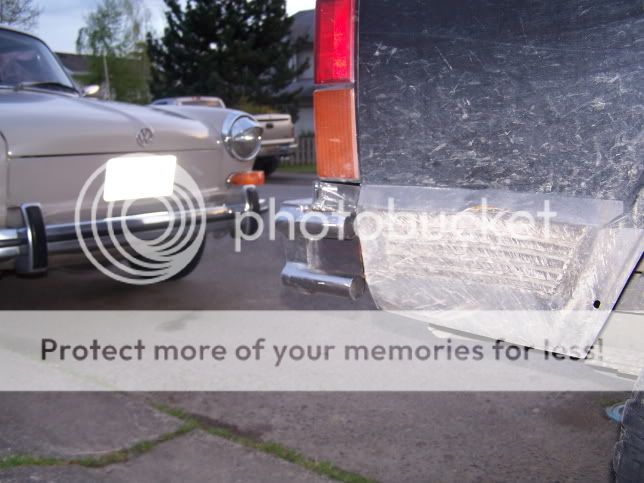
I cut out 4 tubes of 1/8" wall, 6" long, and 1.5" OD to fill in the gap between the bumper and the rear quarter.
Oops, one is just a 1/4" too tall.
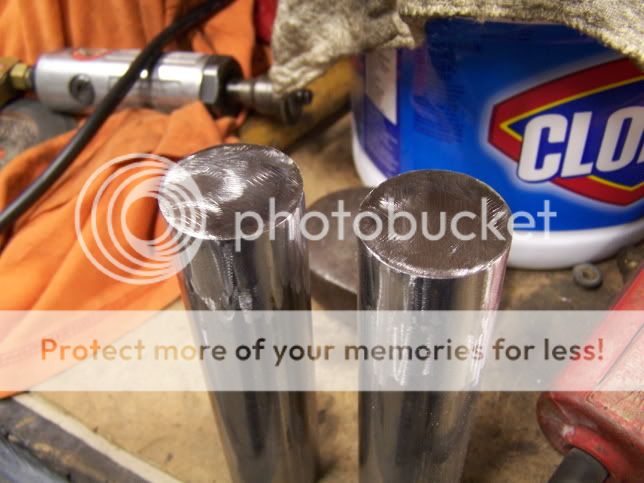
Capped off the ends, and smooted out.
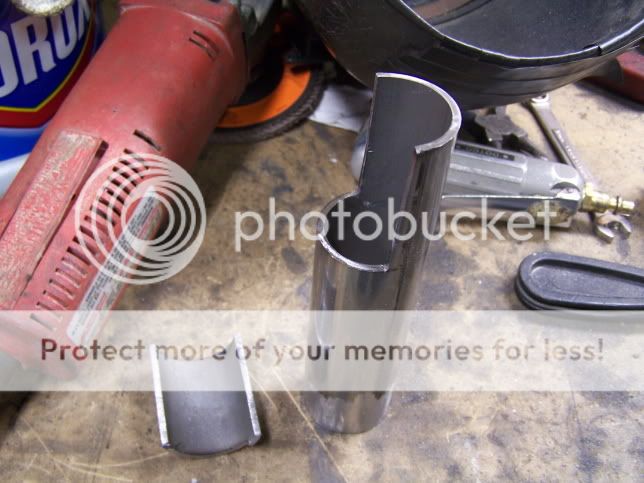
Notched it down the middle of the tube 2" then up to mount to the end of the bumper.

Started out buy buying some steel.
6"x2" 3/16" wall tubing
1/4"x4"x6' flat steel
1/8"x3"x6' flat steel
Ripped off old bumper.
I cut out the mounts, that attact to the unibody. They are 7" long, by 1/4" thick.
I had to go get some more steel, so I picked up some 2"x3"x1/4" wall tubing. This went from the rear unibody mounts to the bumper. Cut them at 3 1/2" and welded them in.
Next, I took the ends off with a 10* slope.
Then, cut out some 6"x2"x3/16" flat plate to cover the ends.
Here it is all smoothed out. The metal was V'd for good penetration and holding.
I cut out 4 tubes of 1/8" wall, 6" long, and 1.5" OD to fill in the gap between the bumper and the rear quarter.
Oops, one is just a 1/4" too tall.
Capped off the ends, and smooted out.
Notched it down the middle of the tube 2" then up to mount to the end of the bumper.


")