I just did mine yesterday so it's fresh in my head.

I just use a hammer and a drift - which is actually a D44 crosspin. I'll try to explain it:
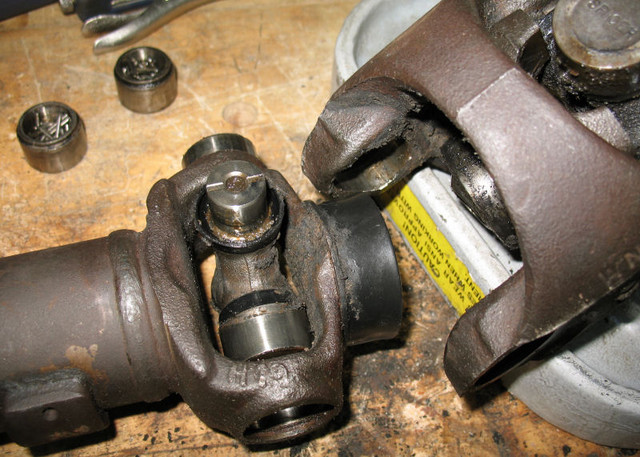
With the driveshaft mounted in a vice, vertically. If you push down on the piece that bolts to the t-case yoke, you'll find it has some movement and can be moved away from the u-joint slightly. In fact, just enough that you can get the caps past the small retaining tabs on either side. I usually wedge a small screwdriver in between the cap and that piece to get it started, and then lightly tap the cap off. The opposite side goes easier once one is removed.
The H-yoke is the piece that holds both joints. Once both caps are off, remove the clips in the H-yoke and you can knock the u-joint out like normal. In the one I did yesterday, I only had to push it through enough to remove one cap; once the cap was removed it had enough room to tilt the joint and bring it out of the H-yoke. Then you lift the first piece out of the assembly; watch for the spring inside. It might stay in the bottom piece or it might come out with the top piece.
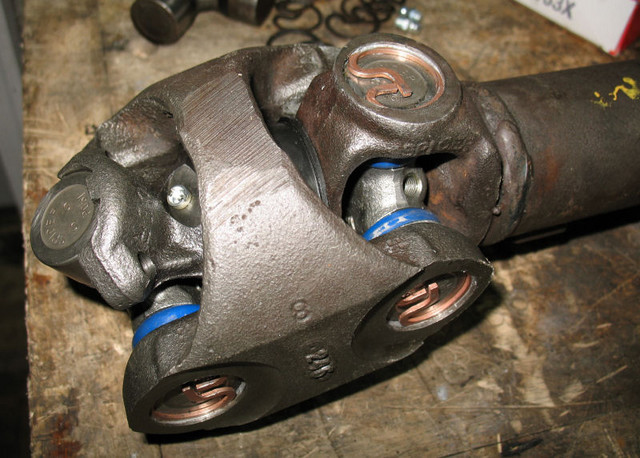
So now you've just got the H-yoke with only one joint left in it, connecting it to the driveshaft. I had good luck on this part yesterday but you might wanna let it soak with some PB Blaster for a while if the assembly is cruddy. Remove the remaining clips from the H-yoke and put the yoke solidly in a bench vise, with the caps oriented vertically, so the driveshaft is kind of dangling. It helps to have someone hold the driveshaft up so it's not flopping around. Then knock out the u-joint same as usual.
Once the H-yoke is off you should be able to remove the remaining u-joint cross from the driveshaft itself pretty easily...it's a pretty tight squeeze and you will have to remove both caps from it. As they say, "installation is the reverse of removal"...but here's the order of reassembly:
- u-joint into driveshaft end
- H-yoke
- reinsert the first piece into the driveshaft end (this is a good time to grease it, and watch the spring!)
- second u-joint into H-yoke
- last two caps onto second u-joint, again having to press down on that piece slightly.
Typed out, it sounds like a lot more work than it really is. Once you do a few of 'em it starts to make more sense.
The 153x joint is the greaseable 1310. Fine for the axle side but the CV assembly doesn't have enough clearance for the grease zerk. You need to get either the non-greaseable joints (I run these everywhere anyway) or there's a 1310 variant that has the a grease fitting in the end of one of the caps...this is likely what the OEM joints are.
I use Precision joints mostly, which is the "upgraded" line at Napa. The greaseable ones are Precision #369, the non-greaseable are #269, and the ones with the grease fitting in the cap are #280. Napa has these listed as PUJ369, PUJ269, and PUJ280 respectively and you should be able to cross-reference those at other stores as well.