Dozer11B
NAXJA Forum User
- Location
- Ft Polk, LA
Ok guys, I didn't really do this with my chopper, so I figured I wuld go ahead and document my Rock N Roll (my two daughters named it) Charokee, AKA the "Camping Truck".
A little background:
My Wife, three Daughters, and I have been stationed in Germany for the last three years, and recently made it to Clarksville, TN where I will be stationed for the next couple of years. You can ship only one family car there and back, otherwise you pay on your dime for anything else. Good thing motorcycles re counted as part of my household goods!!
Anyway, the girls are getting to the age where they can appreciate the value of spending time in the outdoors, so I started looking for a vehicle as I got closer to returning to the US. I wanted something to fit us all, and the dog for a weekend camping trip, plus have the ability to take me and some buddies into the farther reaches of America.
It needed to be relatively good on fuel too. The wife's car is a 2004 Jeep Liberty (2WD Renegade- go figure), but with a larger family now, we are looking at a Commander.
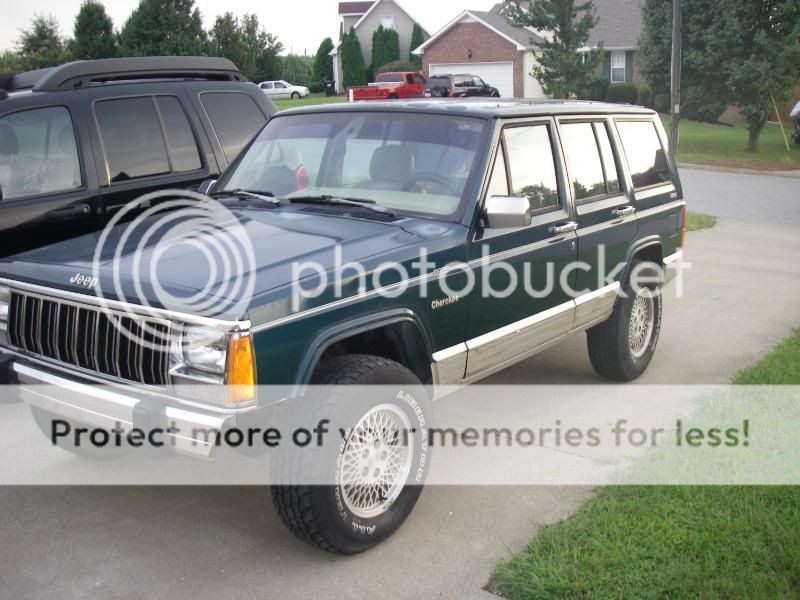
As luck would have it, I found a 1995 Country with the High Output I6 for the asking price of $2500. The truck was about 15 miles from my Father-In-Law, who is about 3 hours away from me in Clarksville. He went to check it out, said everything looked ok and ran great, so I bought it for $2400.
Here is how she looked when I bought her:


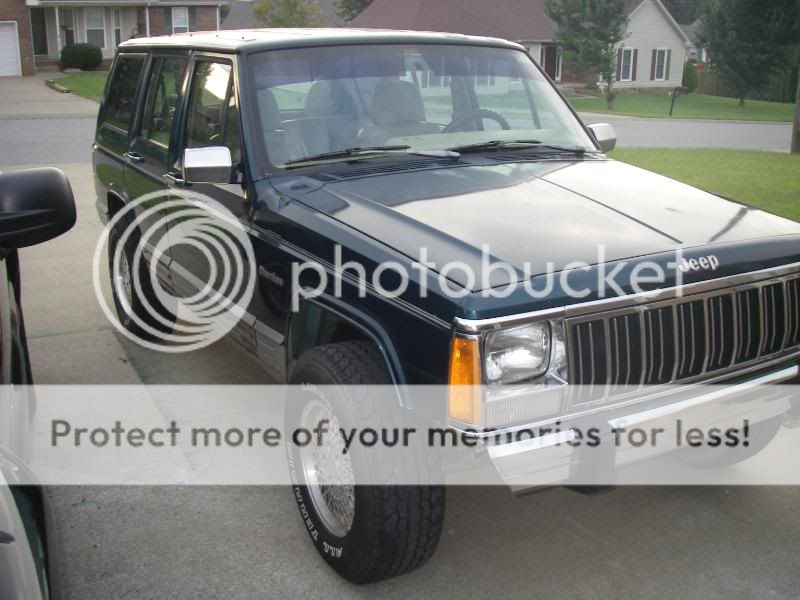
Where she is now:


As soon as I got it, I wanted to do some stuff to it. The first thing I did was spend the day peeling and degunking all the nasty tint the PO had on it. I left the strip over the top of the windshield there for the sun,and left the tint on the cargo area side windows as well. Not hard to take the tint down, the PITA was the residue left over.....
I drove it 163 miles up to Clarksville without a problem, and we have been staying i a motel until we close on our house. Since I didn't have any tools yet, and no place to really work on it, and it needed to be good to go NOW (it has been the "family car" for the last 2-3 weeks), I took it to Firestone for the following:
-Inspection
-Rear Diff drain/refill
-T-case drain/refill
-Brake System Flush
-Front brake pads and rotors
-Clean and adjust rear drums
-Oil Change
-Radiator flush
-New AC compressor (even though I know it was only the clutch)
-New Serp belt
I have since bought a few necessary tools and have done a few things to it myself:
-Removed OEM Roof Rack (I used clea RTV and the OEM mounting bolts to seal the holes in the roof)
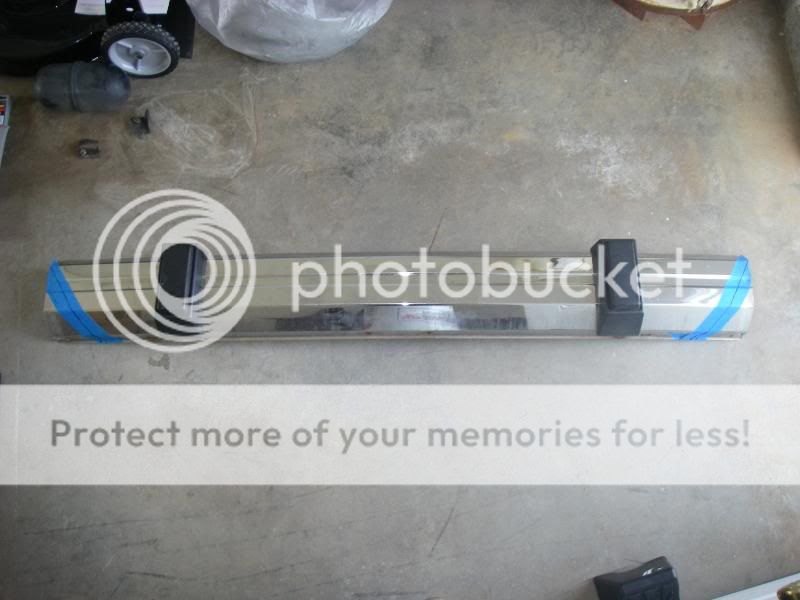
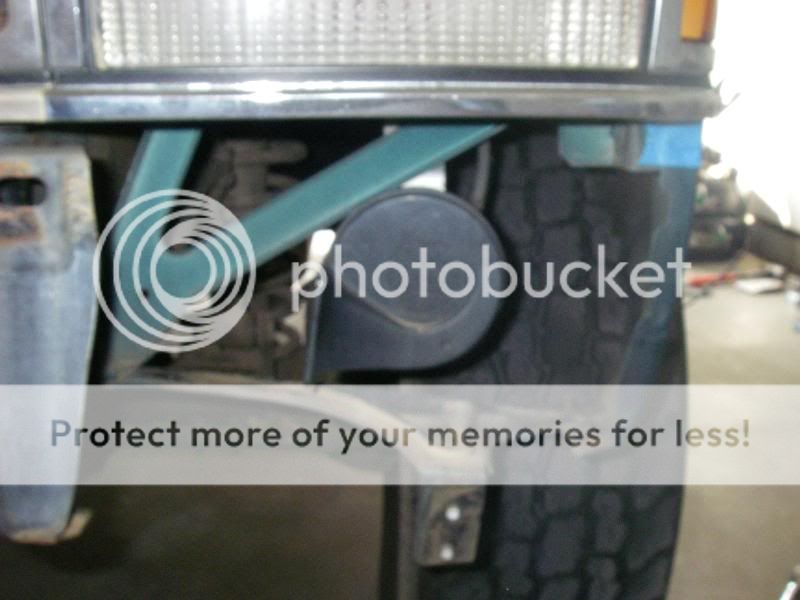
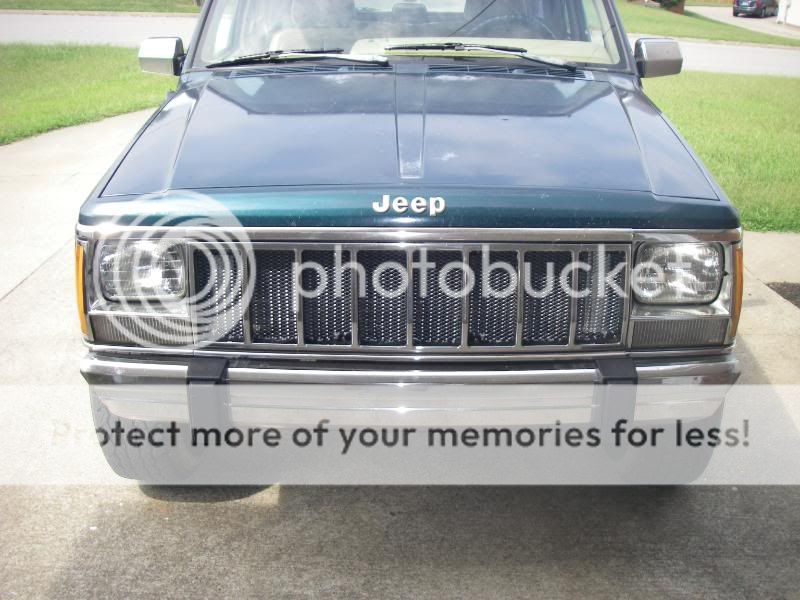
-Removed Bumper Caps
-Removed OEM "Air Dam"
-Velcroed a Walkie Talkie next to the shift lever (cheapo CB for me and the wife on the drive up here!)
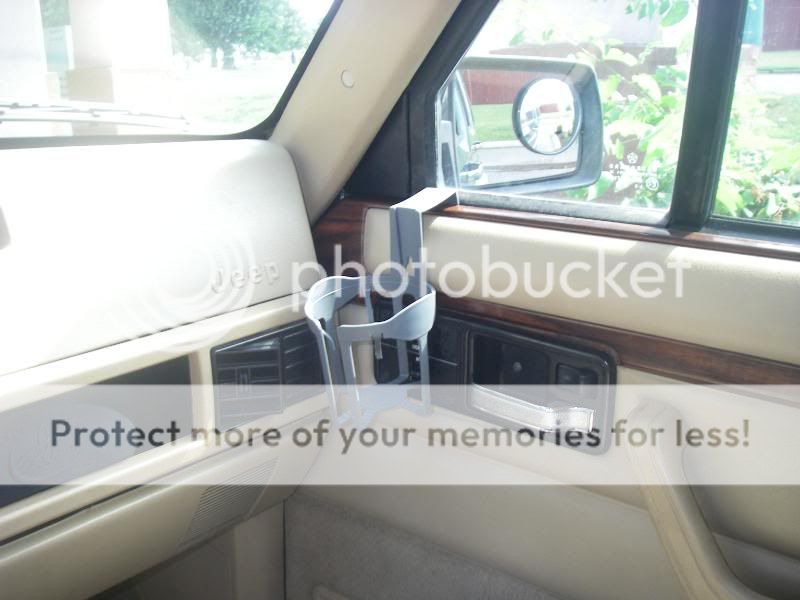
-"Installed" two cupholders from Wal-Mart
Here's a couple of pics of the inside:
Driver's cupholder from a bike water bottle holder (got the idea from a member!) Also the Walkie Velcroed down. This can be used for other things as well, like iPod or what not.

Passenger cupholder.......lol
Ok, so now here are the current issues I am working out and prepping for:
-Power Locks, Radio, and dome lights stopped working. Relays are good, so gonna hunt this down later. It doesn't keep me from driving it, so not a priority ATM.
-Drain and fill Front diff (didn't need to put in 4wd with the fam yet, so I wasn't gonna let Firestone charge me for it.)
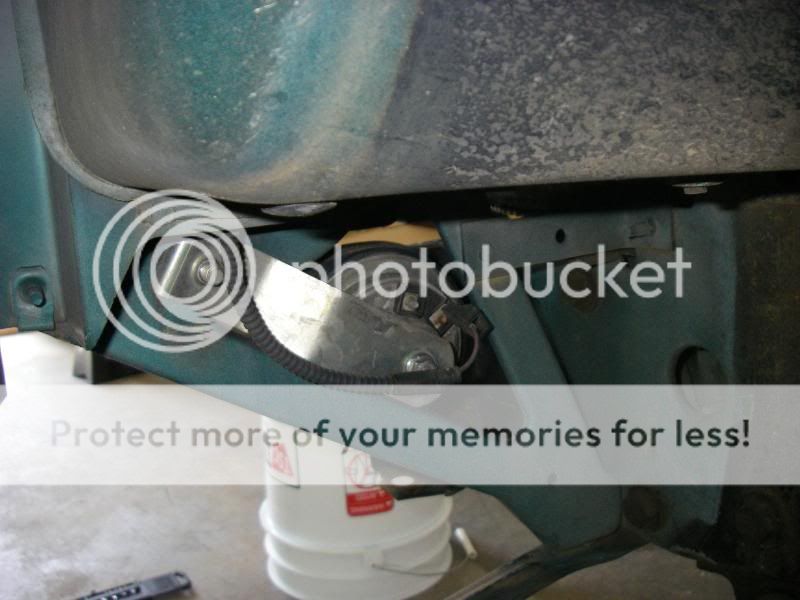
-Tranny needs to be flushed BAD. Gonna do a Poor Man's Flush. Here's my tranny fluid as of right now:

Also, here is a pic of my Trany Return line- Is this connection the "factory quick disco", which requires the spcial tool?

Or can I just undo the fitting and be ok??
And here is what I pan for the near future (money dependant!):
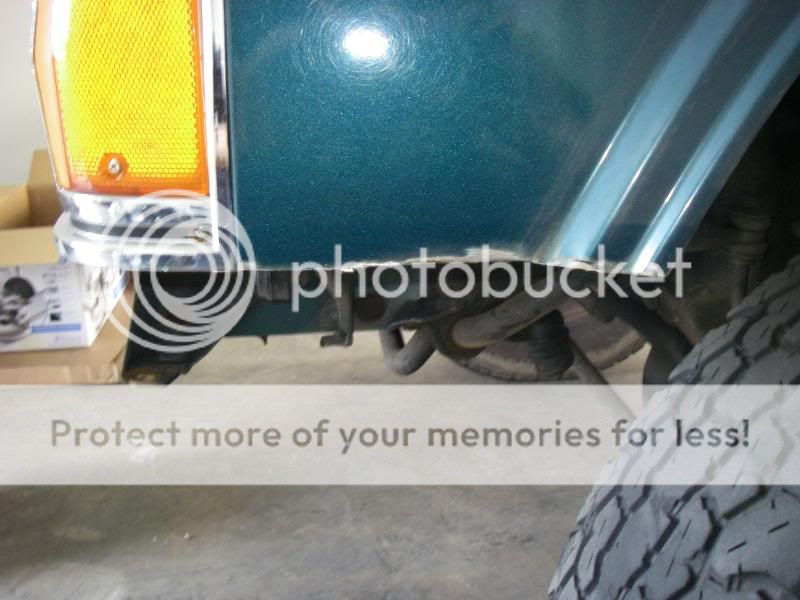
-Fender Trim- LOTS!
-OEM Bumpers trimmed and shaped (until I can afford a full winch bumper)
-Front recovery points
-Rear Sway bar removed
-Homemade front SB disco's (upgraded later)
-3 to 4.5 inches of lift.
-Steelies and Tires
-Roof Rack (all the fam's camping gear will go on top, dog in cargo area)
-Sliders and skids
-Winch Bumper
-Winch
-Rear Bumper w/ spare carrier, and fuel can carrier (may have to buy in stages)
-I also have an XJ D44 I bought from a member here on that I want to build up pretty stout.
There are a lot of other mods I have found here to play with, so I will post as I go. One thing I thought about was hood vents, but since winter is coming, it may wait a while for other stuff.
If anyone has any suggestions as I go, please feel free to chime in! Sounds like the South East Chapter is full of a bunch of good folks, and I have some members close by here in Clarksville to help out as well. Looking forward to getting together and riding some of the beautiful country around here!!
A little background:
My Wife, three Daughters, and I have been stationed in Germany for the last three years, and recently made it to Clarksville, TN where I will be stationed for the next couple of years. You can ship only one family car there and back, otherwise you pay on your dime for anything else. Good thing motorcycles re counted as part of my household goods!!
Anyway, the girls are getting to the age where they can appreciate the value of spending time in the outdoors, so I started looking for a vehicle as I got closer to returning to the US. I wanted something to fit us all, and the dog for a weekend camping trip, plus have the ability to take me and some buddies into the farther reaches of America.
It needed to be relatively good on fuel too. The wife's car is a 2004 Jeep Liberty (2WD Renegade- go figure), but with a larger family now, we are looking at a Commander.
As luck would have it, I found a 1995 Country with the High Output I6 for the asking price of $2500. The truck was about 15 miles from my Father-In-Law, who is about 3 hours away from me in Clarksville. He went to check it out, said everything looked ok and ran great, so I bought it for $2400.
Here is how she looked when I bought her:
Where she is now:
As soon as I got it, I wanted to do some stuff to it. The first thing I did was spend the day peeling and degunking all the nasty tint the PO had on it. I left the strip over the top of the windshield there for the sun,and left the tint on the cargo area side windows as well. Not hard to take the tint down, the PITA was the residue left over.....
I drove it 163 miles up to Clarksville without a problem, and we have been staying i a motel until we close on our house. Since I didn't have any tools yet, and no place to really work on it, and it needed to be good to go NOW (it has been the "family car" for the last 2-3 weeks), I took it to Firestone for the following:
-Inspection
-Rear Diff drain/refill
-T-case drain/refill
-Brake System Flush
-Front brake pads and rotors
-Clean and adjust rear drums
-Oil Change
-Radiator flush
-New AC compressor (even though I know it was only the clutch)
-New Serp belt
I have since bought a few necessary tools and have done a few things to it myself:
-Removed OEM Roof Rack (I used clea RTV and the OEM mounting bolts to seal the holes in the roof)
-Removed Bumper Caps
-Removed OEM "Air Dam"
-Velcroed a Walkie Talkie next to the shift lever (cheapo CB for me and the wife on the drive up here!)
-"Installed" two cupholders from Wal-Mart
Here's a couple of pics of the inside:
Driver's cupholder from a bike water bottle holder (got the idea from a
member!) Also the Walkie Velcroed down. This can be used for other things as well, like iPod or what not.
Passenger cupholder.......lol
Ok, so now here are the current issues I am working out and prepping for:
-Power Locks, Radio, and dome lights stopped working. Relays are good, so gonna hunt this down later. It doesn't keep me from driving it, so not a priority ATM.
-Drain and fill Front diff (didn't need to put in 4wd with the fam yet, so I wasn't gonna let Firestone charge me for it.)
-Tranny needs to be flushed BAD. Gonna do a Poor Man's Flush. Here's my tranny fluid as of right now:
Also, here is a pic of my Trany Return line- Is this connection the "factory quick disco", which requires the spcial tool?
Or can I just undo the fitting and be ok??
And here is what I pan for the near future (money dependant!):
-Fender Trim- LOTS!
-OEM Bumpers trimmed and shaped (until I can afford a full winch bumper)
-Front recovery points
-Rear Sway bar removed
-Homemade front SB disco's (upgraded later)
-3 to 4.5 inches of lift.
-Steelies and Tires
-Roof Rack (all the fam's camping gear will go on top, dog in cargo area)
-Sliders and skids
-Winch Bumper
-Winch
-Rear Bumper w/ spare carrier, and fuel can carrier (may have to buy in stages)
-I also have an XJ D44 I bought from a member here on
that I want to build up pretty stout.There are a lot of other mods I have found here to play with, so I will post as I go. One thing I thought about was hood vents, but since winter is coming, it may wait a while for other stuff.
If anyone has any suggestions as I go, please feel free to chime in! Sounds like the South East Chapter is full of a bunch of good folks, and I have some members close by here in Clarksville to help out as well. Looking forward to getting together and riding some of the beautiful country around here!!
Last edited: