SeeingSpots
NAXJA Forum User
- Location
- Bend, OR
Being from Colorado, where all plastic dries out and cracks, I wanted to share with you guys a little trick that I learned on how to repair it. This is applicable for car parts or anything plastic, really...
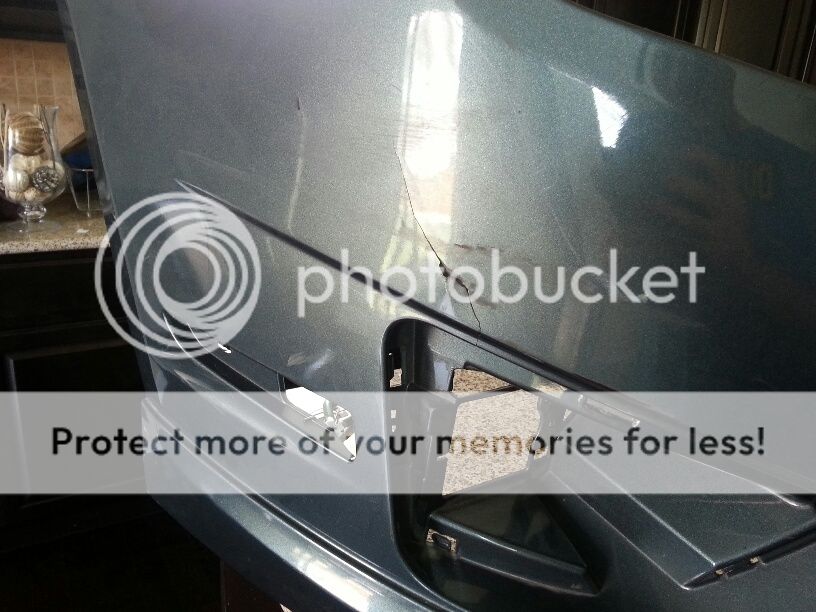
So I had to replace the front fascia on my Ford Fusion, on account that I had a run-in with a parking lot stopper. The new one I got had a 5" crack over the fog light. I practically got it for free so I wasn't too pissy when I saw it.
So the tools that you'll need for this project are pretty basic. You'll need a pair of needle nose pliers, a torch, metal spatula, and a heat gun (optional).

And the secret ingredient to all of this is.......
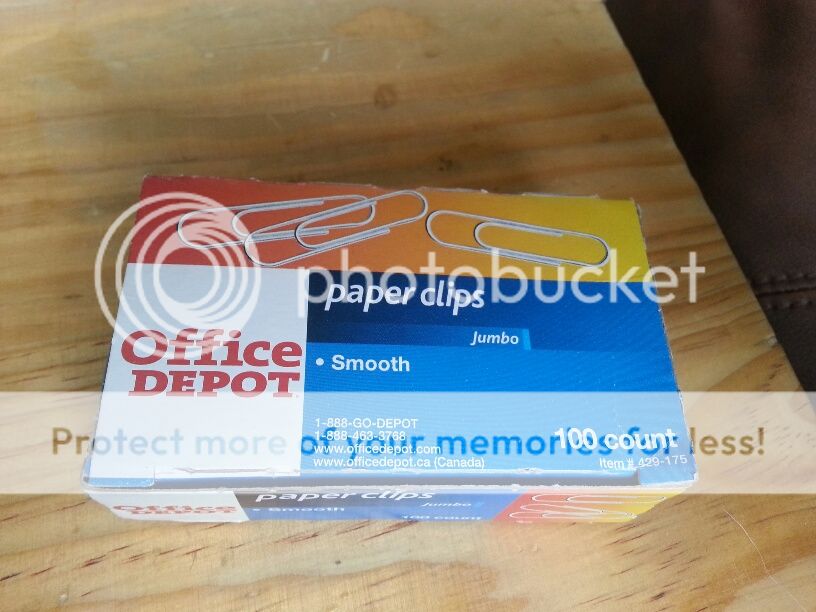
That's right, regular old paperclips. Now you'll want to get the Jumbo sized ones because the regular sized clips are too thin and flimsy and they won't give you the structural integrity that you'll need - especially if you want this to last.
So your first step is to bend the clip into a square.
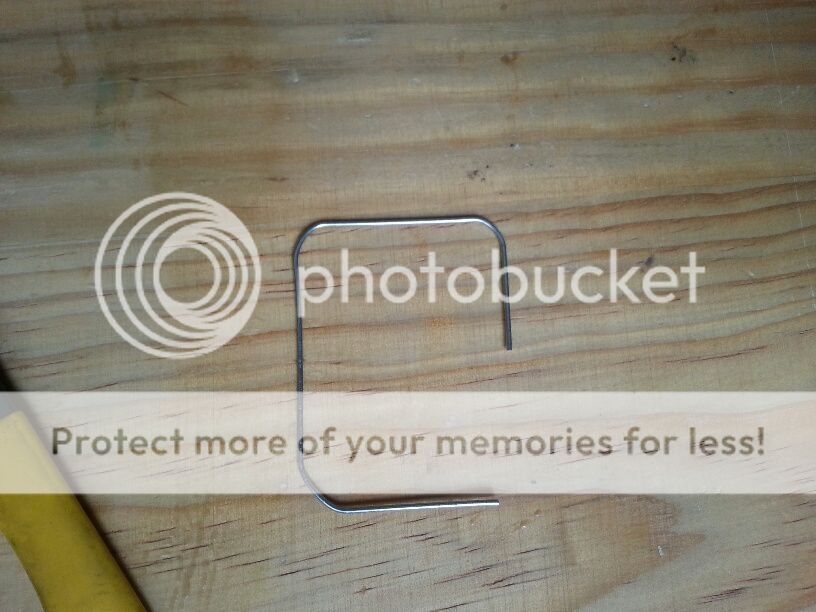
Then you'll want to cut the oblong end parallel to the other side, making both ends even. This is very important.
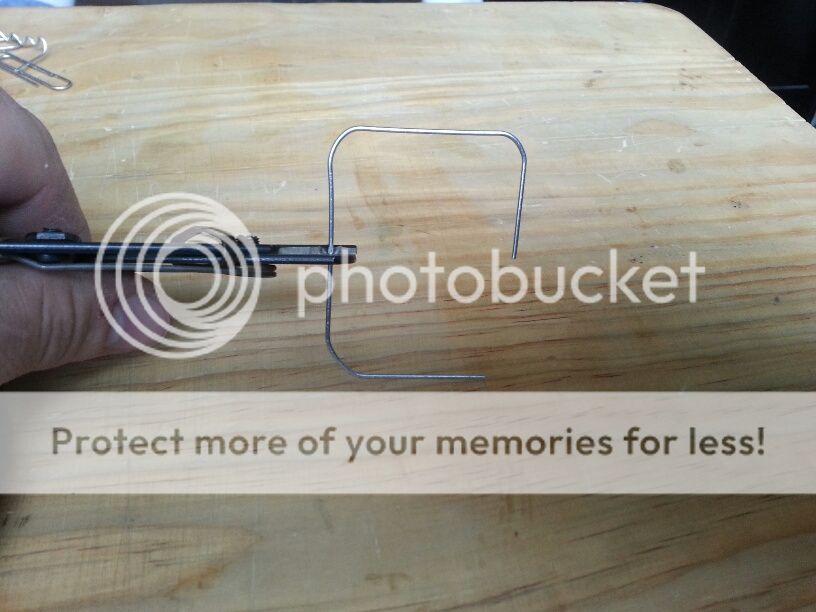
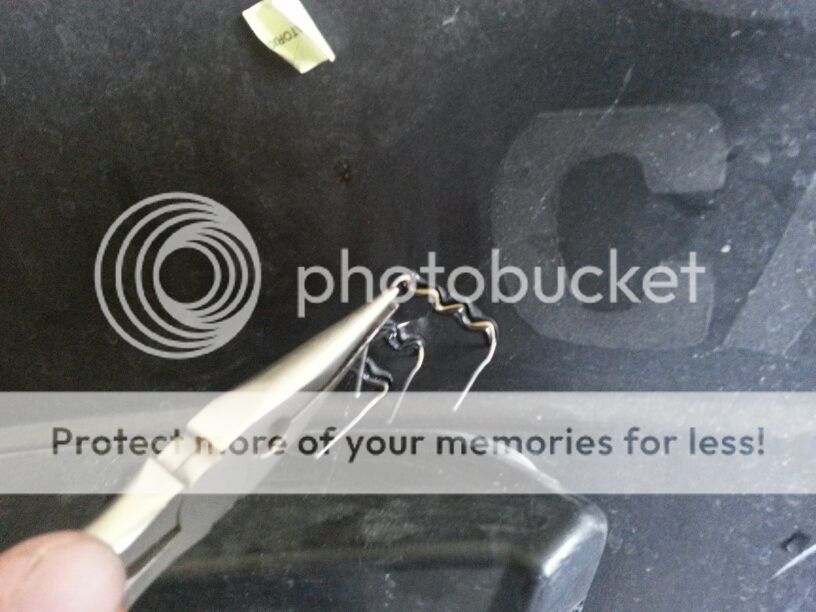
Next you'll take your needle nose pliers and start to bend the paperclips in 90* increments to form a wave pattern. Make all different lengths depending on the size of the crack.

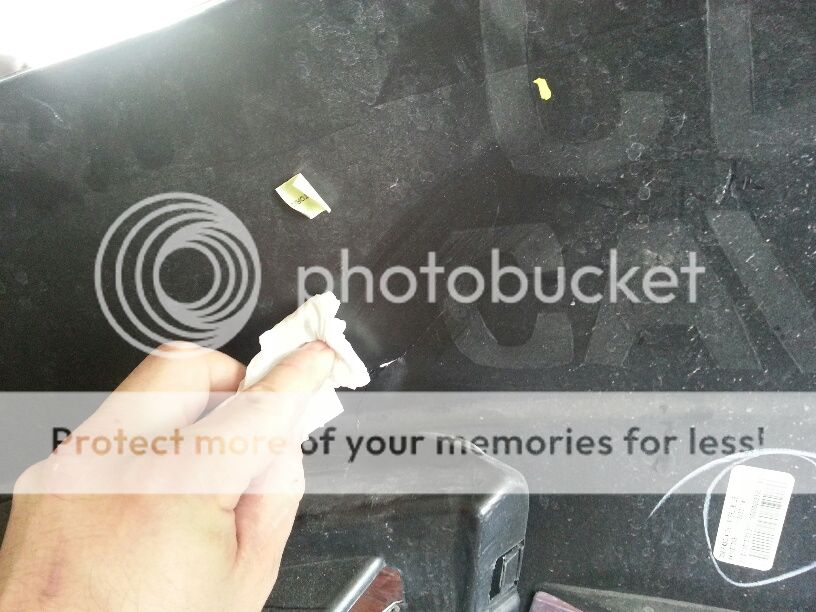
Next step is to clean the back part of the fascia with some windex to make sure there isn't any dirt or road grime on there.
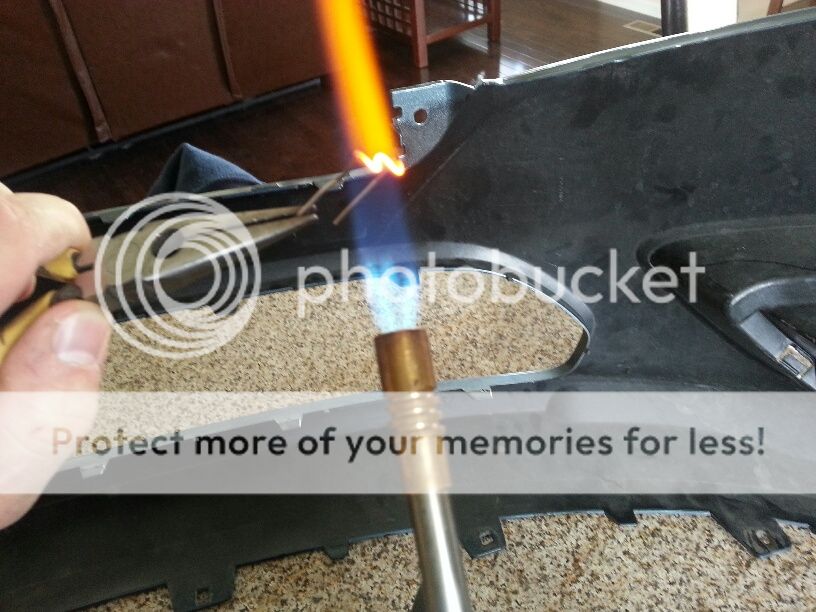
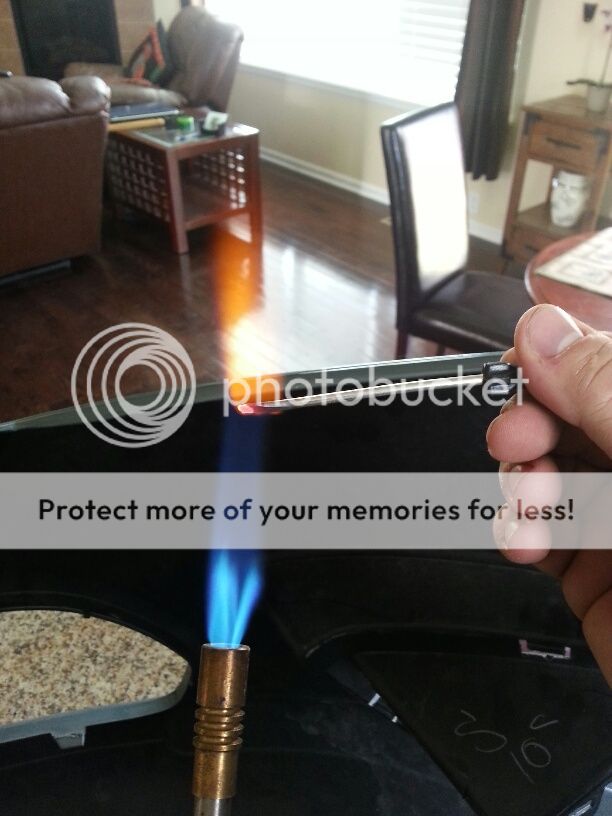
Now with your torch, get the bent paperclip nice and hot.
And carefully, as to not push the hot paperclip through the whole piece of plastic, plunge it into the fascia about 50%. You'll want to keep the crack directly of the middle of the clip to hold it all together.
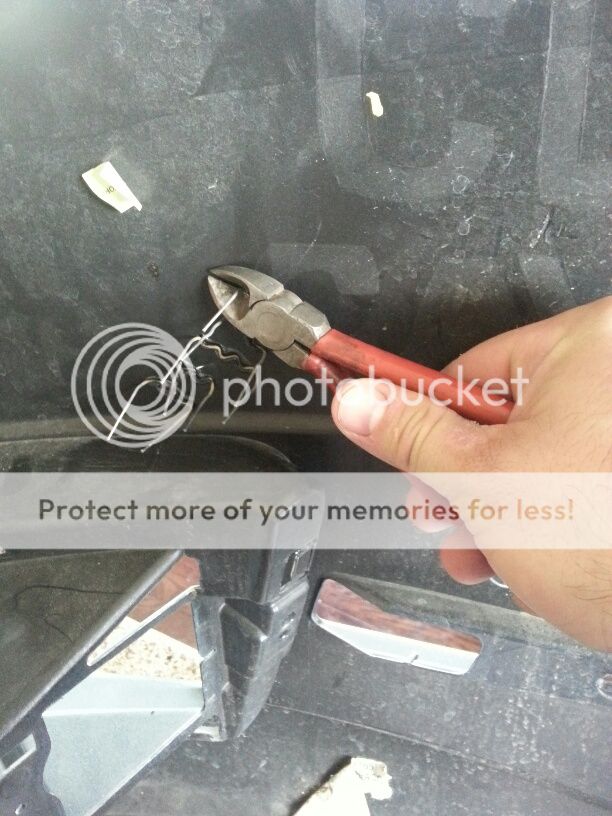
Get your clips out and snip off the ends of the clips.
Now take the metal spatula (I used a small screwdriver) and get it hot with the torch.
Use the spatula to melt/smear the plastic over the backside of the clips to secure in. Make sure you give it a little 'lovin' so that it stays in there.

Keep heating the spatula with the torch and move to the other side of the piece. Just be careful that you don't melt right through it, and just fill the gap with the melted original plastic.

And that it's! This piece can now be sanded, filled, and painted. Now they sell kits through Eastwood for like $200.00 - and once I stopped laughing at the price, I remembered this old trick that I learned many years ago from a coworker.
I hope this helps. Don't go burning yourselves now....
Jim
So I had to replace the front fascia on my Ford Fusion, on account that I had a run-in with a parking lot stopper. The new one I got had a 5" crack over the fog light. I practically got it for free so I wasn't too pissy when I saw it.

So the tools that you'll need for this project are pretty basic. You'll need a pair of needle nose pliers, a torch, metal spatula, and a heat gun (optional).

And the secret ingredient to all of this is.......

That's right, regular old paperclips. Now you'll want to get the Jumbo sized ones because the regular sized clips are too thin and flimsy and they won't give you the structural integrity that you'll need - especially if you want this to last.
So your first step is to bend the clip into a square.

Then you'll want to cut the oblong end parallel to the other side, making both ends even. This is very important.

Next you'll take your needle nose pliers and start to bend the paperclips in 90* increments to form a wave pattern. Make all different lengths depending on the size of the crack.

Next step is to clean the back part of the fascia with some windex to make sure there isn't any dirt or road grime on there.

Now with your torch, get the bent paperclip nice and hot.

And carefully, as to not push the hot paperclip through the whole piece of plastic, plunge it into the fascia about 50%. You'll want to keep the crack directly of the middle of the clip to hold it all together.

Get your clips out and snip off the ends of the clips.

Now take the metal spatula (I used a small screwdriver) and get it hot with the torch.

Use the spatula to melt/smear the plastic over the backside of the clips to secure in. Make sure you give it a little 'lovin' so that it stays in there.

Keep heating the spatula with the torch and move to the other side of the piece. Just be careful that you don't melt right through it, and just fill the gap with the melted original plastic.

And that it's! This piece can now be sanded, filled, and painted. Now they sell kits through Eastwood for like $200.00 - and once I stopped laughing at the price, I remembered this old trick that I learned many years ago from a coworker.
I hope this helps. Don't go burning yourselves now....
Jim
Last edited: