• Welcome to the new NAXJA Forum! If your password does not work, please use "Forgot your password?" link on the log-in page. Please feel free to reach out to [email protected] if we can provide any assistance.

TJ Flares are done.. Pics

P1atinum

Aerodynamically Challenge
Location
Orlando, Florida
I got the TJ flares done the other day and took some pictures to show the progress. I think I am going to do a full write up but for now here are some teaser pics. :D

Front done
100_0121.jpg


Rear done
100_0116.jpg


I cut 3 inches in the front and about 1.5 in the rear
Before
100_0097.jpg


Durring
100_0111.jpg


After
100_0103.jpg


Some other pics
100_0115.jpg


100_0120.jpg


100_0123.jpg


100_0122.jpg


This will have to tide you over until the full write up is done.

P1
 
Sorry, I'm not willing to wait...

Why the camelhump in the cutout on the front flare?

Robert
 
Does look nice! Was planning on the doing the same soon. Definitely one of the best finish jobs I've seen on TJ flare mods.

Does doing the small cuts first make it easier to keep a straighter cut?
Did you finish the edges after the cuts?

Oh, I've seen aftermarket TJ flares at JC Whitney for $150
 
That's a pretty decent TJ flare job, coincidently I just got mine in the mail today and they friggin dwarf my tires, it looks like I could fit 34"s :-x What size lift and tires you got? You guys should check out ebay, I got mine from a place called Collins Bros for $50 + $20 shipping, better than I could find on any forum. If you guys wanna see a great job with all around rear TJ flares, check out Rkitsomething on JU.

- Kevin

PS what did you use to mount them?
 
I got my flares from quatratec for $100, the clearance they let you have is well worth the price. I am running 36's on 5" of lift. The rear is where it gets tricky if you want to take full advantage of the flare.
 
The rear is where it gets tricky if you want to take full advantage of the flare.

This is the truth. If you cut more then 1.5 to 2 inches you will need to weld or be very creative. Since I don’t know how to weld (yet) I stuck to the just the lip. But the clearance for what I am running now is fine. We will have to see when I go with bigger meats.

Does doing the small cuts first make it easier to keep a straighter cut?
Did you finish the edges after the cuts?[/qoute]

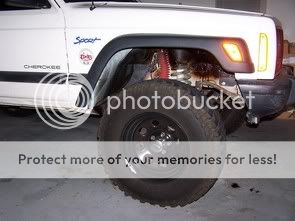
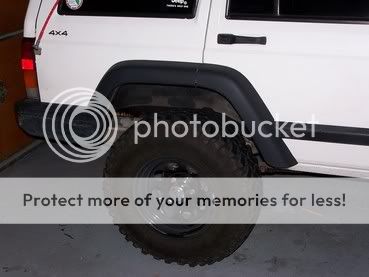
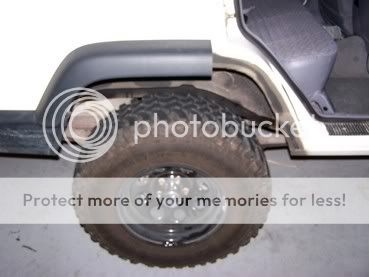
On the rear the small "slice" cuts you see actualy are bent under the quarter if you cut this off all the way the inner and outer wheel well seperate, thus you would have to push the inner well up and re-weld. To finish I sanded the loose paint away, sealed, painted and then sprayed with under coating. should keep it safe for now.

What size lift and tires you got? [/qoute]

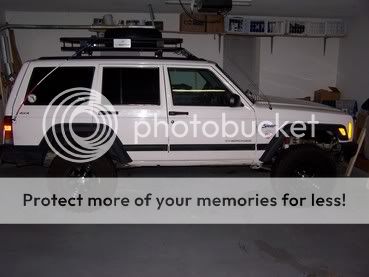
Right now it's a RE 3.5 and 31's. after I regear I will go to 5-6 and 33's the front will have all kinds of room the back may need a bit more work.. Guess I need to learn to weld

[qoute] what did you use to mount them?[/qoute]

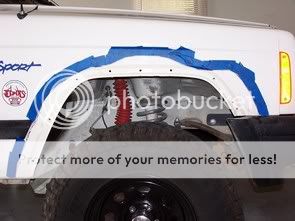
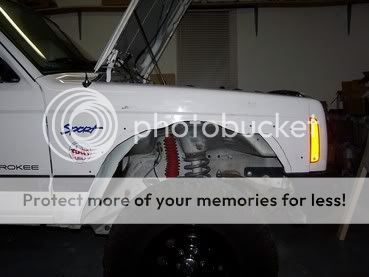
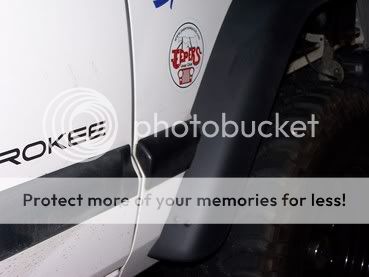
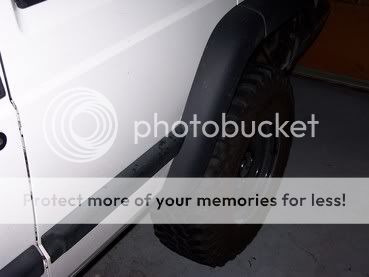
For street I am using bolts. With the curve of the body slightly differnet the then TJ it helps the look to suck in the edges. I played around with some differnent fastener but didn't like the look of them. they all left a small gap between the body and the Flare. I am sure the first time I rip one of these things off I will switch to something different.

Thanks for the words. Really I took my time, about 12 hours total with all the detail work, to finish this up. If you didn't care about the fit around the molding it would be about half that. RkitOut did a great job on his, when you get a chance check them it out.

look around to find flares, I got mine from a local guy that put a set of Bushwackers on this 2004 Tj, With less then 4000 miles. hehehe.. wont tell ya the price.

Later
P1
 
Back
Top