P1atinum
Aerodynamically Challenge
- Location
- Orlando, Florida
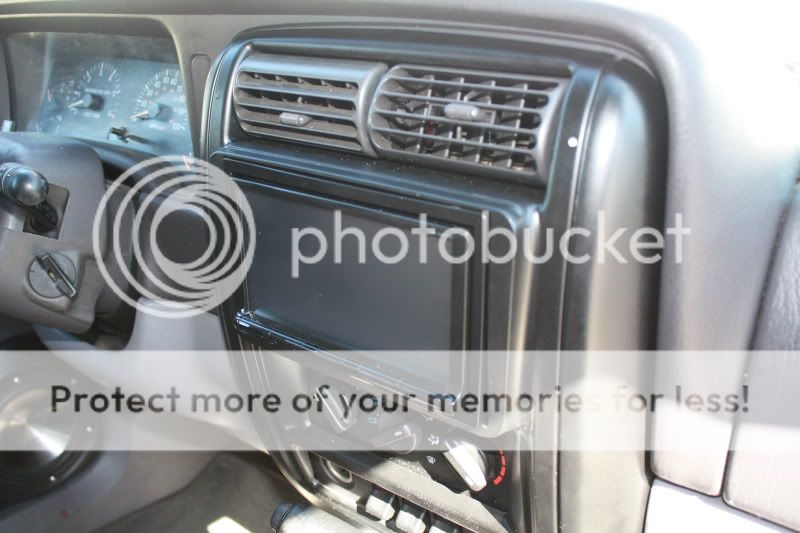
I got tired of the old flip up monitor I have had for awhile now and as a Technoligy junkie I wanted more flexibility to run external media, like a Hardrive, Ipod, Topo Navigation Etc.
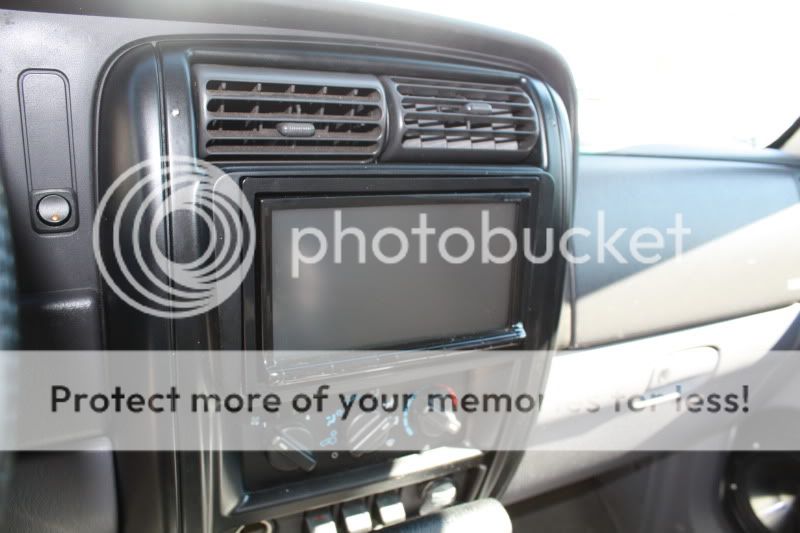
For the price I decided on the JVC AVX720, Low price and lots of features (USB port support WMA, MP3, JPEG, MPEG2 etc, Bluetooth, Ipod Audio and Video controls, Video input and output)
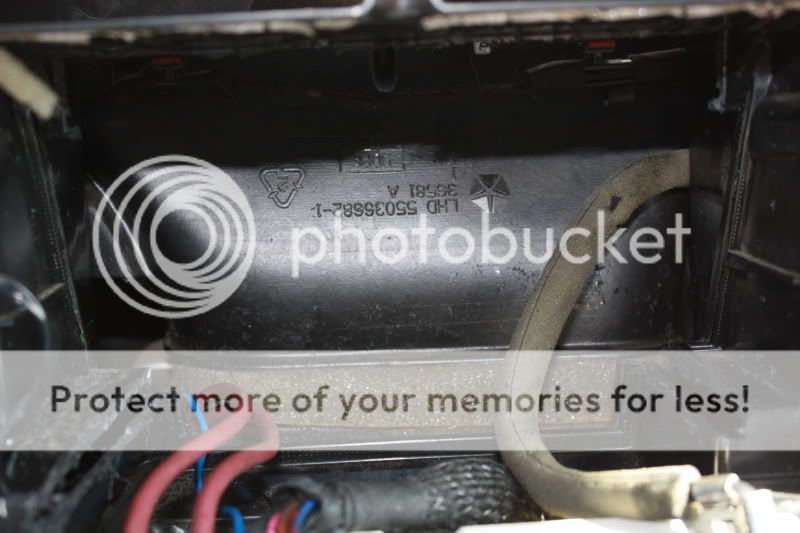
First I started cutting behind the dash. I didn’t take any before picture but there is a lot of air vent support that needs to but cut away, most of this support is was to join two molded pieced of vent together, after this is cut you will want to use some tape to help seal the gap between the rear and forward vent tube. Once that was done I needed to notch the two lower shelf support, these supports are for the Stock Stereo. I used a Air Saw and a right Angle die grinder with a small cut off bit. The fit was nice and tight to help support the weight of the deck.

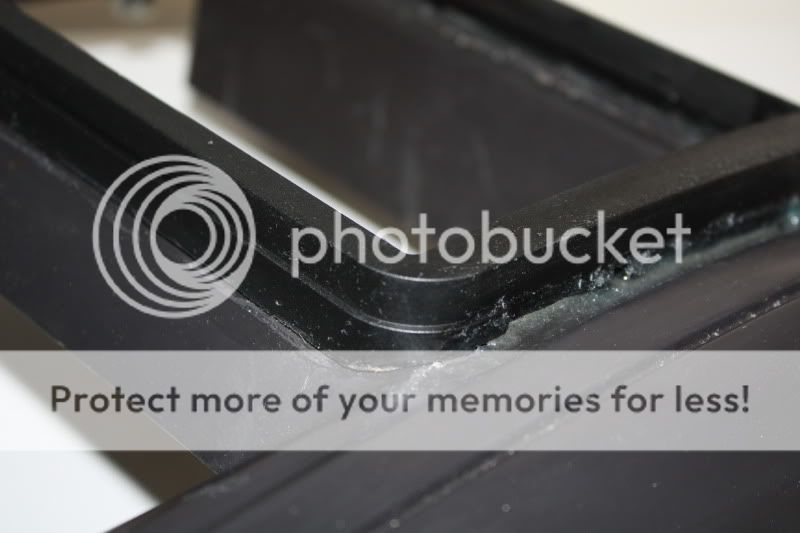
Next I Cut the dash to fit the JVC can, As you can see there is a large gap on the sides of the Can where the stock stereo/or an aftermarket single DIN dash kit would normally fill. I knew I really wanted to have a stock look even with the after deck so custom work was going to be needed but I didn’t want to build the dash from scratch. I found a 2DIN dash kit I liked from a Scoshe 2000 VW Jetta Kit (VW2317B) that I liked the look of and I could still mold into the dash.
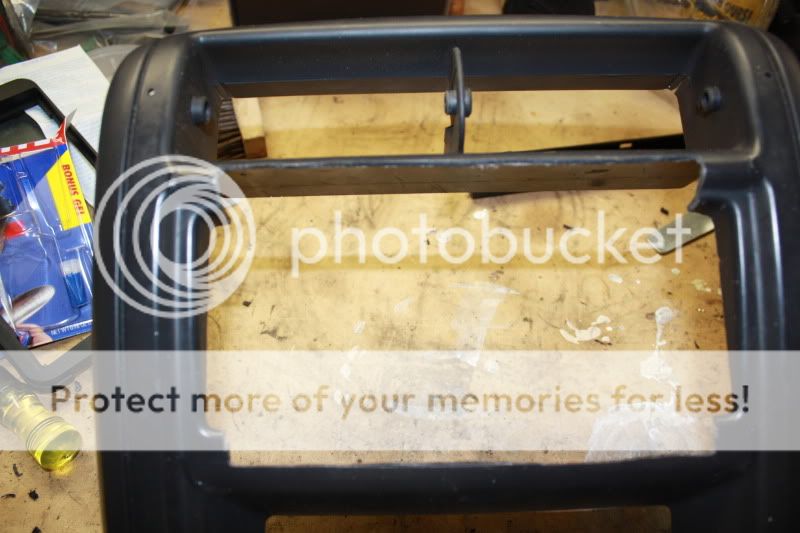

Trimmed the Kit down to fit the contours of the dash and bonded it in place using 2 part epoxy.

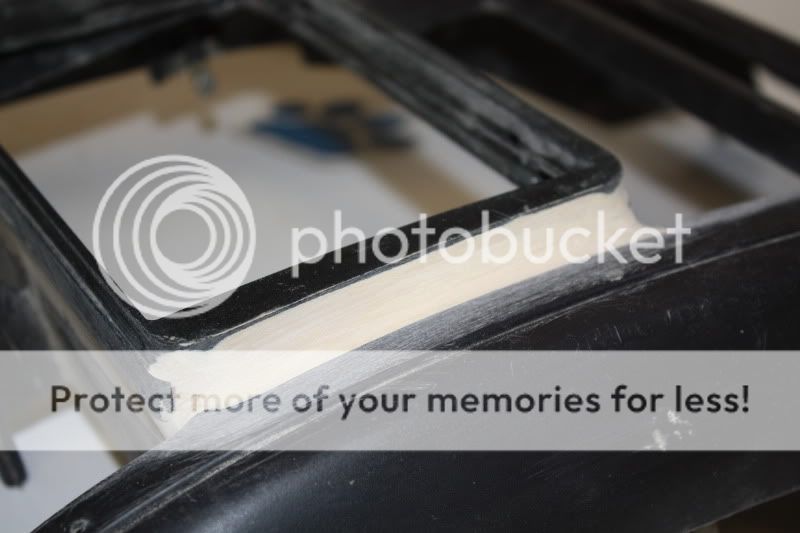
Went to town with the filler to build up between the kit and dash, I ended up with 6 layers before I started the finish blending, I ended up sand it down to 1000 Grit but didn’t go beyond that. If I were doing a show car I would have sent it off to a pro at this stage to finish sand and paint but with this being mine I can live with small imperfections in the finish.
Starting to blend


Almost done after two coats of Satin black paint.
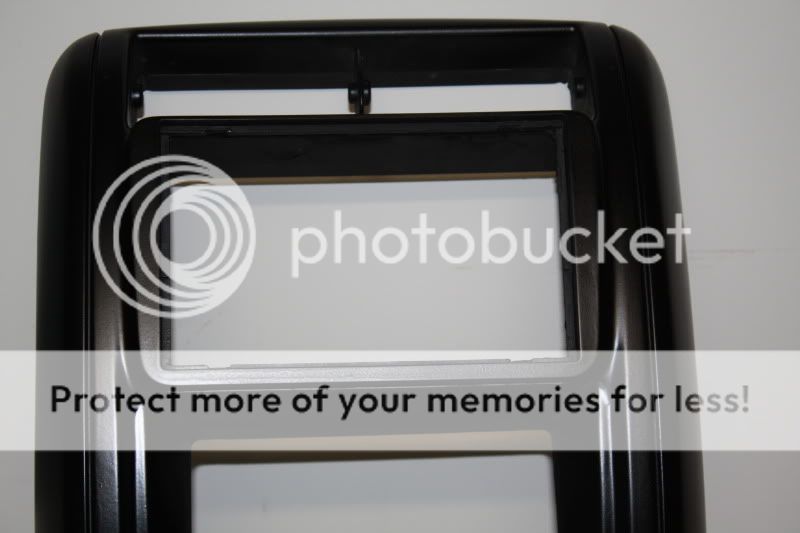


The good thing about the 97+ XJ dash is the bezel is not completely smooth nor does it have a heavy texture. (Texture is a PITA to duplicate)
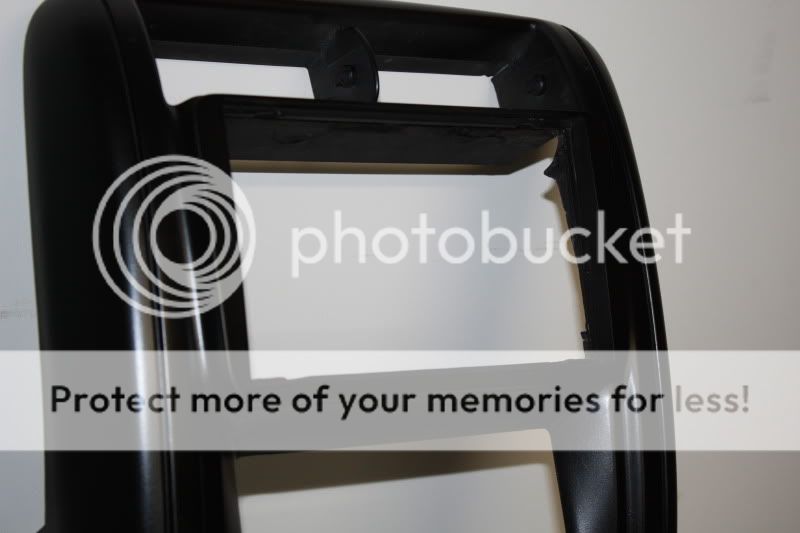
I will do a couple more coats then let the paint cure before I install. I haven’t compared the center piece to the rest of the dash yet but I am thinking the finish may still be a bit too glossy.
All and all I like the outcome, More pics to come once installed.
For the price I decided on the JVC AVX720, Low price and lots of features (USB port support WMA, MP3, JPEG, MPEG2 etc, Bluetooth, Ipod Audio and Video controls, Video input and output)
First I started cutting behind the dash. I didn’t take any before picture but there is a lot of air vent support that needs to but cut away, most of this support is was to join two molded pieced of vent together, after this is cut you will want to use some tape to help seal the gap between the rear and forward vent tube. Once that was done I needed to notch the two lower shelf support, these supports are for the Stock Stereo. I used a Air Saw and a right Angle die grinder with a small cut off bit. The fit was nice and tight to help support the weight of the deck.
Next I Cut the dash to fit the JVC can, As you can see there is a large gap on the sides of the Can where the stock stereo/or an aftermarket single DIN dash kit would normally fill. I knew I really wanted to have a stock look even with the after deck so custom work was going to be needed but I didn’t want to build the dash from scratch. I found a 2DIN dash kit I liked from a Scoshe 2000 VW Jetta Kit (VW2317B) that I liked the look of and I could still mold into the dash.
Trimmed the Kit down to fit the contours of the dash and bonded it in place using 2 part epoxy.
Went to town with the filler to build up between the kit and dash, I ended up with 6 layers before I started the finish blending, I ended up sand it down to 1000 Grit but didn’t go beyond that. If I were doing a show car I would have sent it off to a pro at this stage to finish sand and paint but with this being mine I can live with small imperfections in the finish.
Starting to blend
Almost done after two coats of Satin black paint.
The good thing about the 97+ XJ dash is the bezel is not completely smooth nor does it have a heavy texture. (Texture is a PITA to duplicate)
I will do a couple more coats then let the paint cure before I install. I haven’t compared the center piece to the rest of the dash yet but I am thinking the finish may still be a bit too glossy.
All and all I like the outcome, More pics to come once installed.
 uke:
uke: