• Welcome to the new NAXJA Forum! If your password does not work, please use "Forgot your password?" link on the log-in page. Please feel free to reach out to [email protected] if we can provide any assistance.

My bumper build: Re-sizing a 1971 ford F100 bumper for an MJ

88manche

NAXJA Forum User
Location
Portland, Oregon
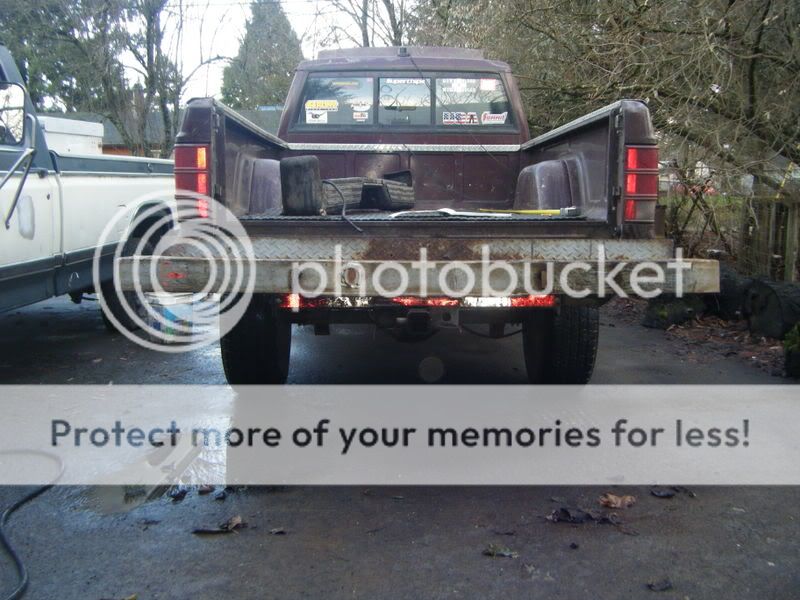
I know this will be irrelevant to most here, as it is going on an MJ and not an XJ, but oh well. Anyway, this is my first build.


Well, I decided that I didn't like my old flimsy stock bumper, and I had an old bumper from a hot rod project. I got a welder for Christmas and I was bored, so things clicked. Heres my build.

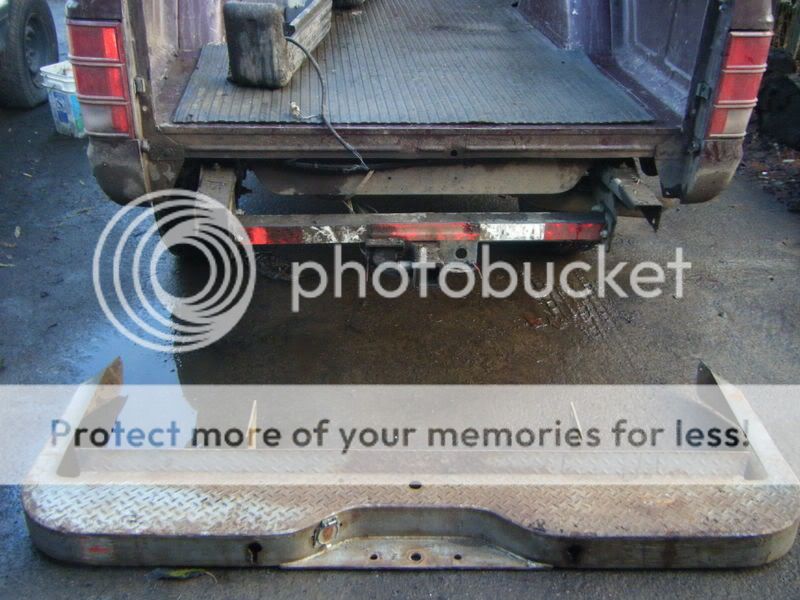
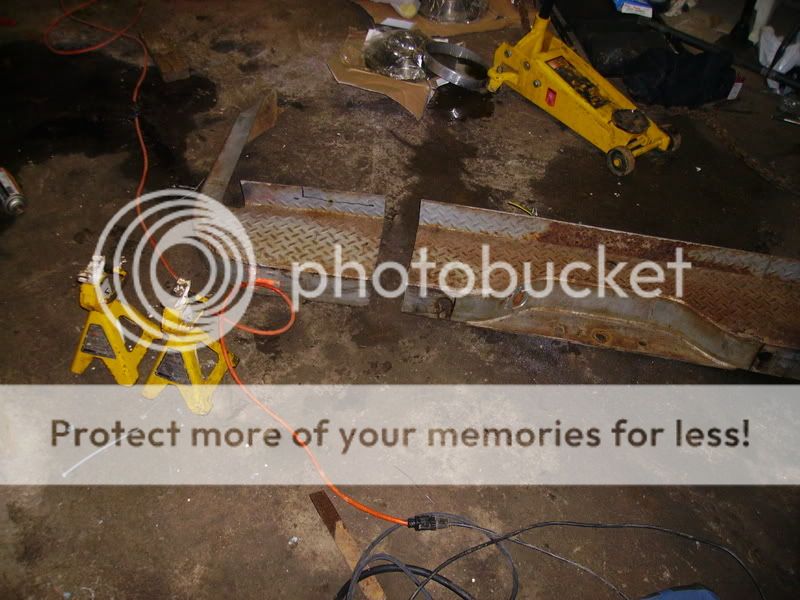
Heres the bumper. Outside width is 74'' wide, about 10'' wider than the stock MJ bumper. Most of that was the extra metal. The bumper brackets needed to be cut out and replaced. I needed to cut down the bumper a total of 5'' (2.5'' each side) to make it fit. It is made out of 1/8’’ and 3/8’’ plate steel. THIS WILL NOT BE A LOAD BEARING BUMPER. That is what ii have a trailer hitch for. Nothing will ever be connected to it.

DSCF0072.jpg


DSCF0071.jpg


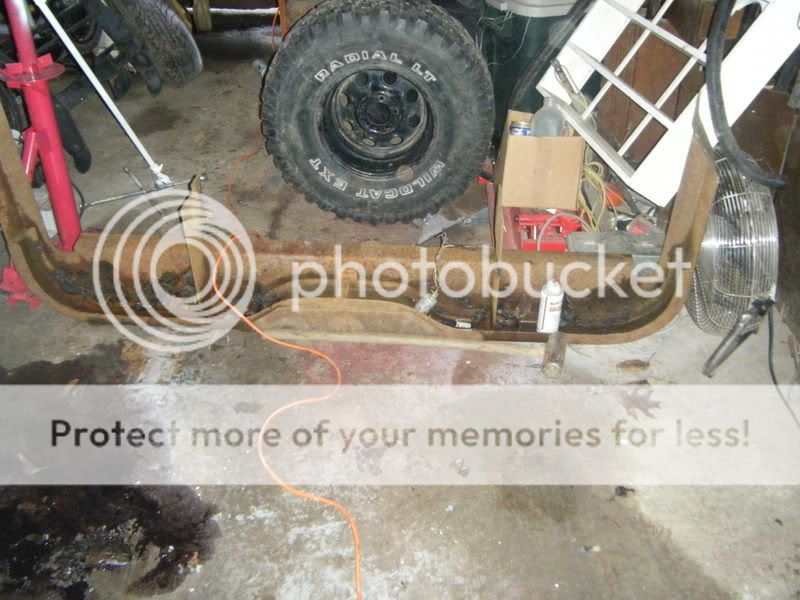
Pictures of brackets
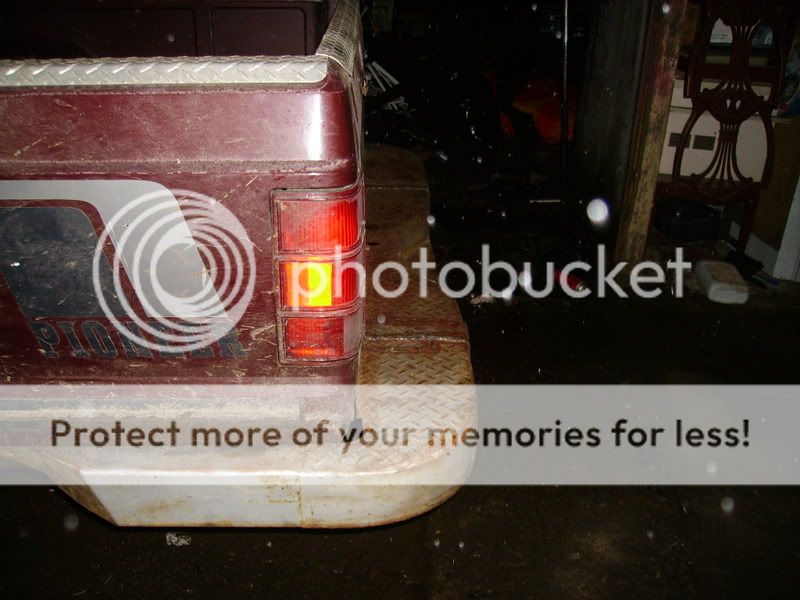
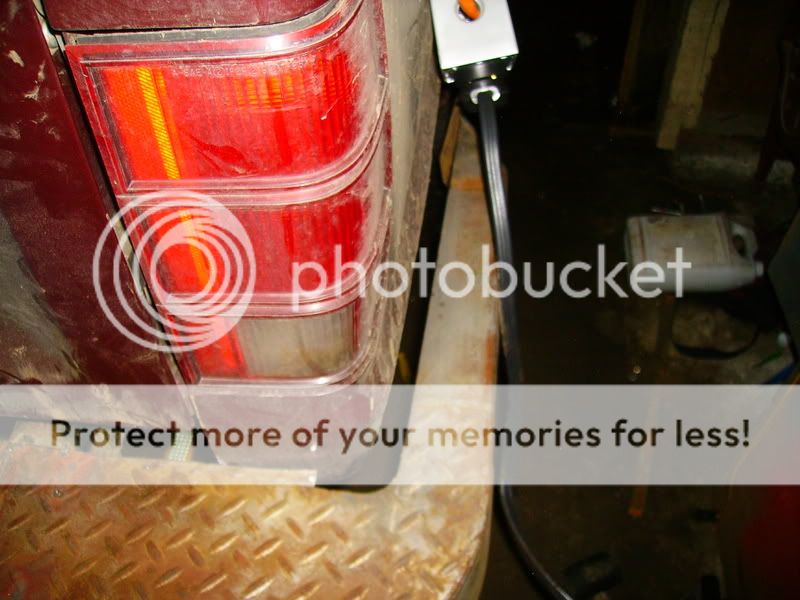
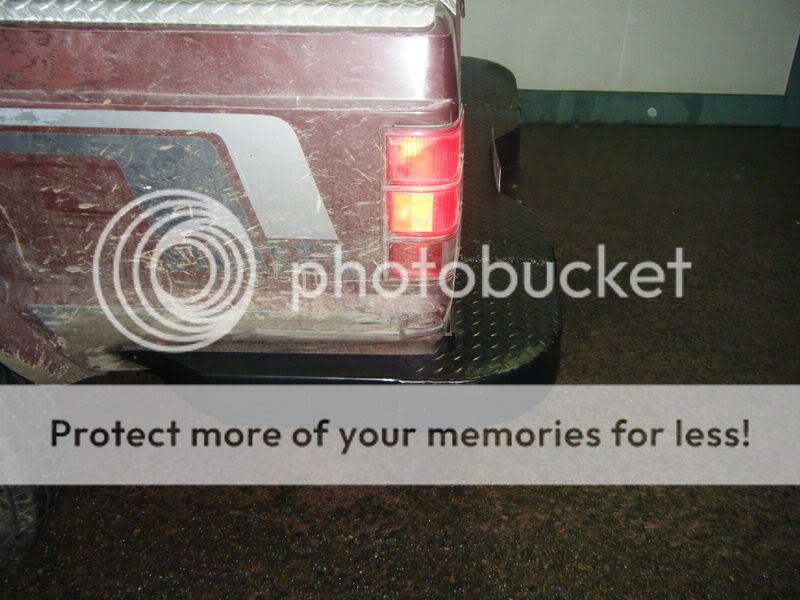
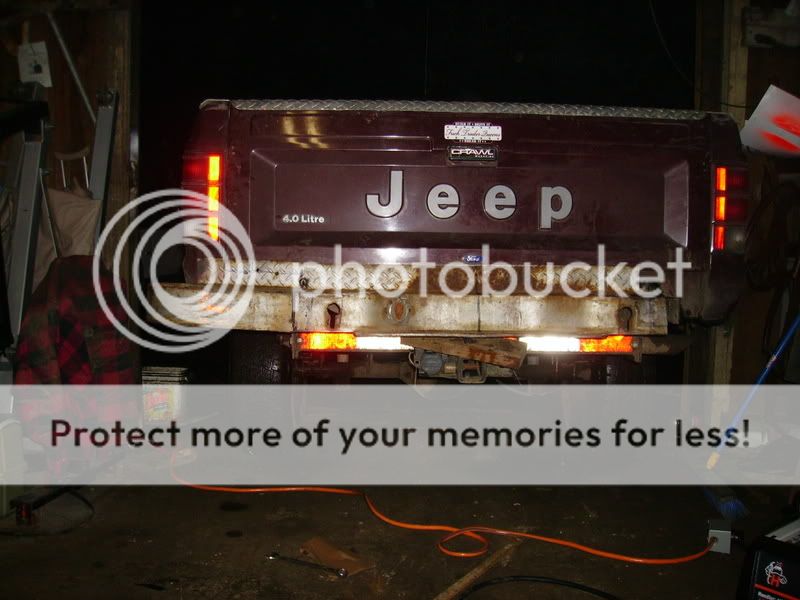
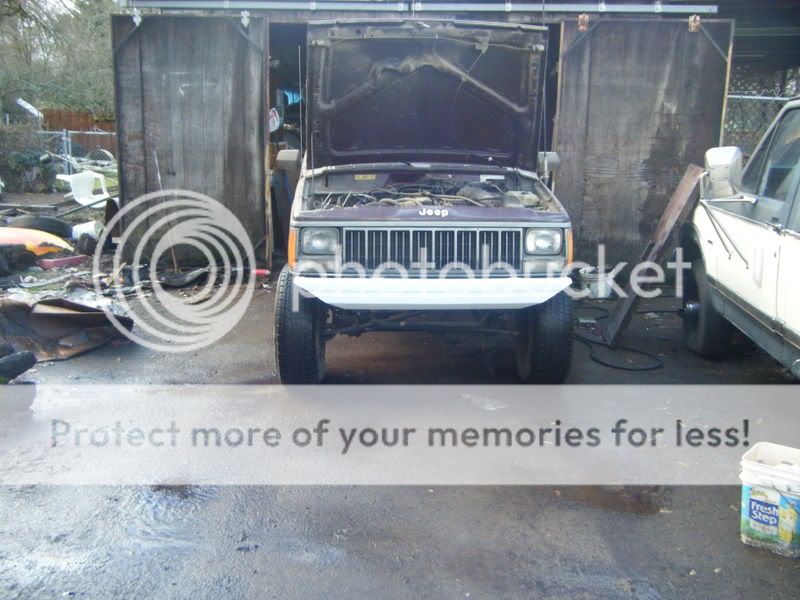
DSCF0068.jpg


DSCF0069-1.jpg


Test fits

DSCF0072.jpg


DSCF0073.jpg


DSCF0074.jpg


DSCF0075.jpg


DSCF0076.jpg


DSCF0077.jpg


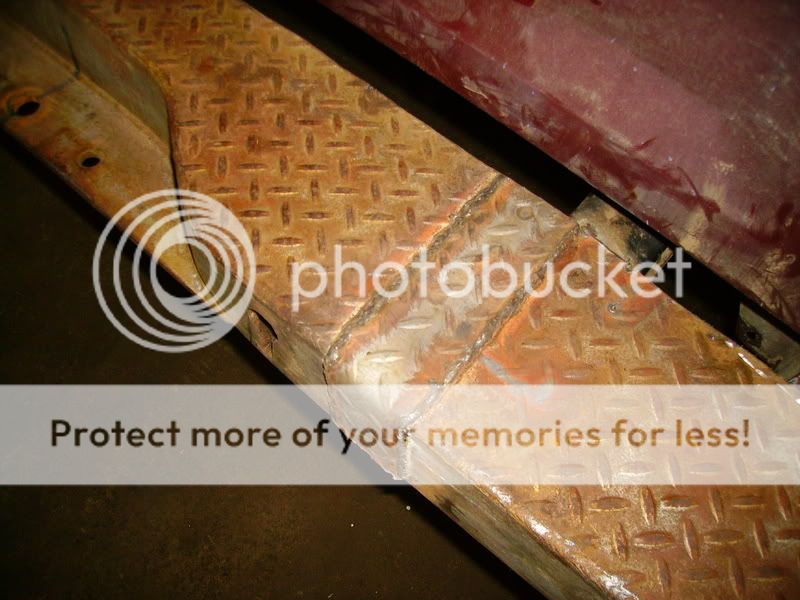
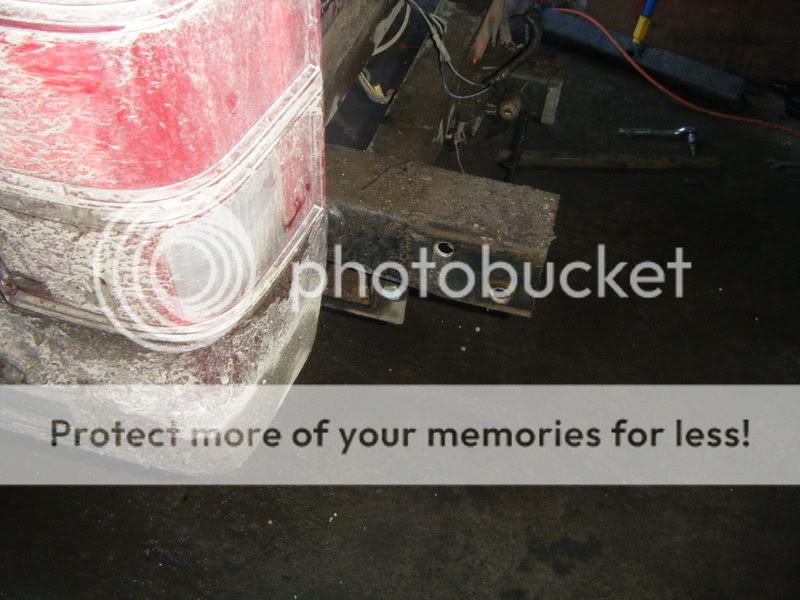
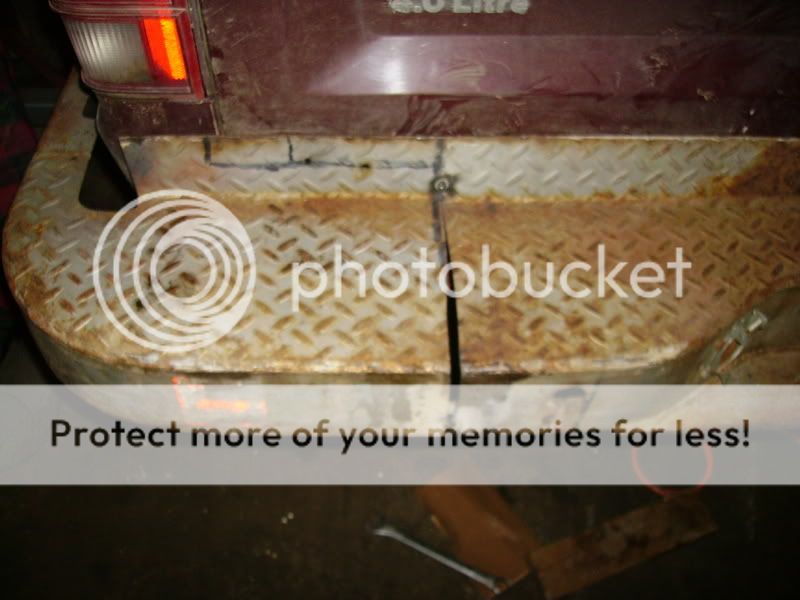
Start to cut. I didn’t think about where I was cutting so I cut a little further in than I wanted. I guess I should have measured. Oh well.

Heres one side cut.

IMGP3211.jpg


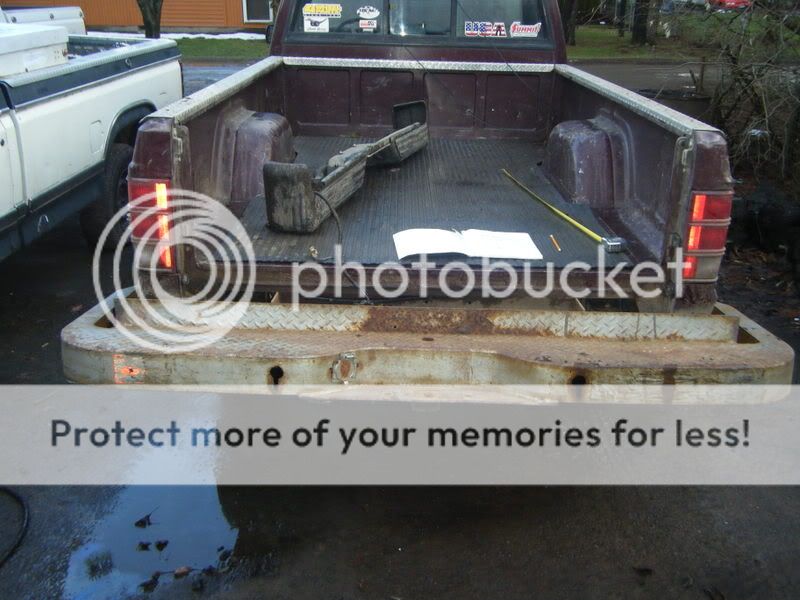
I didn’t take pictures of the other side cut. I took 2.5 inches out of each side.

IMGP3212.jpg
 
One side tacked back on.

IMGP3213.jpg


IMGP3214.jpg


IMGP3215.jpg


This shows how far the bumper sits below the bed.

IMGP3216.jpg


IMGP3217.jpg


IMGP3218.jpg


This shows the side where it will be bolted to the bed. I will use a rubber bushing on each side of the bed and a washer between it and the nut on the inside of the bed.

IMGP3219.jpg


Other side tacked on.

IMGP3220.jpg


IMGP3221.jpg


I have a little bit of a gap in between where I cut. My sawzall skills are lacking. I’m using the metal that I cut out of the bumper for form “straps” over the gaps, then welding that on the outside and inside.

IMGP3222.jpg


IMGP3223.jpg


That’s my rear bumper build, Hope ya’ll liked reading it. I still need to do the final welding, and cut the piece that sticks up in front of my tailgate down so i can use my tailgate again.


I also cut my friont bumper at an angle like just about everyone else. Heres pics.

DSCF0063.jpg


DSCF0064.jpg
 
Well your skills will become better as you do this kind of stuff. And IMO it looks awesome. Love the fact that SOME people like myself like to be out of the ordinary when building. Keep up the good work and post pictures when it is all done.

-PJ-
 
That's one Helluva departure angle. It is something different though, nice job making use of an otherwise worthless bumper.
 
Yeah I never realized how wide the sumbitch was untill I took that picture. Makes a good step and seat though.

And JR, I may have to take you up on that. I think I may build a front one though.
 
Well as promised, here are some painted pics. I decided to get rid of the metal piece that stock up infront of the tailgate. Somethings gonna go there eventually.
DSCF0095.jpg
DSCF0096.jpg


It really doesn't stick out THAT far.
DSCF0097.jpg


I made it so that the sides that wrap around stick out about even with the stock flares.
DSCF0099.jpg


It hangs down about an inch or less below the body. I tried to tuck it up as far as I could.
DSCF0098.jpg
 
Dude... You Painted the Blingtastic Diamond Plate... You need to take it off and go have it chromed.. you also need to polish the diamond plate on the bed rails... Make it shine..:D

Then it will look good. I am getting ready to fab up a front. One Idea I had was to tack on a couple of 3 inch rings to the flat areas for Can Holders. :) That Bumber will make a good seat.. you should add a place for your beer. :D or Soda as it may be.
 
I realized i could have cut it a bit more to suck it in after i welded it to the brackets... D'oh.

I was actually thinkin maybe some 3 ID'' pipe and a 3 1/8'' hole saw, weld a strap across the bottom and have the pipe go down about 2''....

Thanks for the complements guys.
 
Back
Top