tugalo
NAXJA Forum User
- Location
- easley, sc
I recently posted a request for help in removing the bulkhead connector/fuse block and was gratified by the responses, especially those from GSequoia, very helpful. Anyway, got it done today and thought I would pass on what I learned in case someone else has a similar problem.
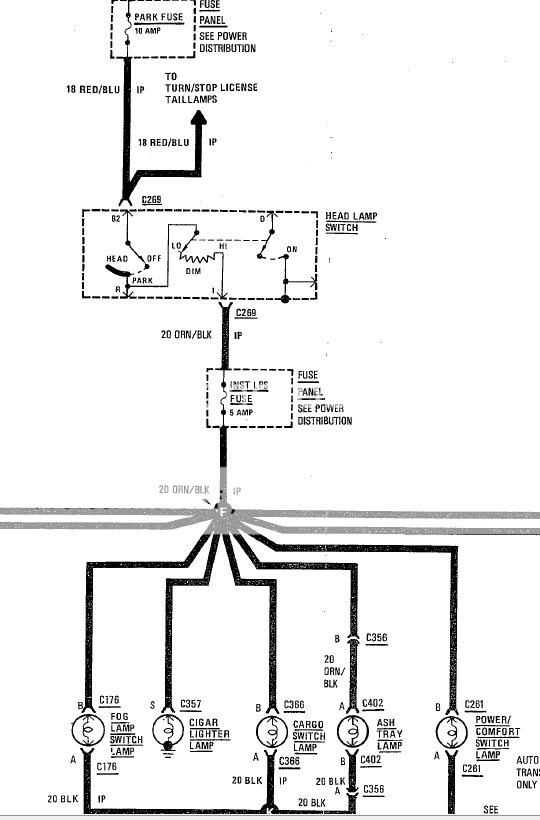
While towing a boat trailer with my 88 MJ, i smelled smoke and shut her down. Found the park/tail-light fuse melted but not blown. Previous owner had installed a 20 amp fuse in the socket and it melted the fuse and the block. Chilton's calls for a 20A, FSM calls for a 10A.
Installed an inline fuse to restore the circuit, but then the parking lights stayed on. Removed the headlight switch and found two wires melted together. In the process, i wiggled the bulkhead connector and lo and behold, I then had a no start condition.
Speculate that in wiggling the connector (which is very similar to the infamous C101). some of the black tar got between the contacts. Making a long story short, I removed the connector and fuse block and cleaned the contacts, works good now.
Some tips to pass along......
1. Remove the lower instrument panel faschia. Remove the washer bottle. Loosen the 6.5mm bolt between the two bulkhead connectors. It is a long captive screw.
2. Remove the dust covers on the connectors above and below the center bolt. Push in on the sides of the covers to release the locking tabs.
3. Remove the lower connector first, then the upper connector will come out, it is held captive till the lower is removed.
4. Remove the fuse block, two phillips screws
5. Remove the steering wheel braces to gain working slack on the interior harness (two 15mm bolts and one 15mm nut)
6. Use a solvent to clean out the black tar, I used Xylol and carb cleaner. Repair damaged wiring
7. Re-assemble by LOOSELY installing the fuse block. If you tighten the block at this stage, you will not have clearance to re-insert the connectors from the engine side.
8. Slide the upper connector into the retaining shell from the rear before pushing both connectors into place and tightening the center bolt. If you install the lower connector first, and then try to install the upper, it will not go...
Tighten everything down and check her out.....
On a side note, I have always had an uncontrollable high idle and a lazy O2 sensor, now she idles fine at 750 and I think the O2 sensor will be more effective....
First time thru, it's about a 4 to 5 hour job, depending on number of beer breaks.

