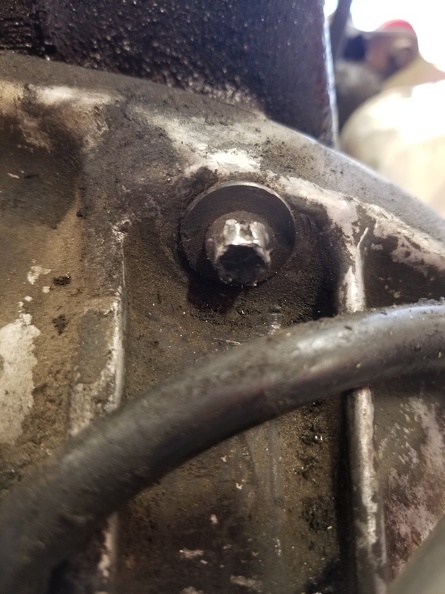
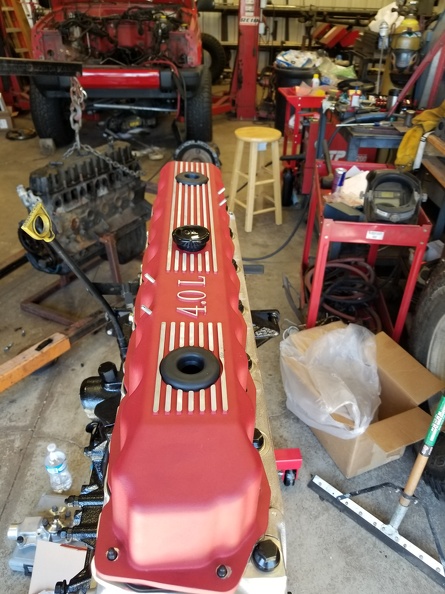
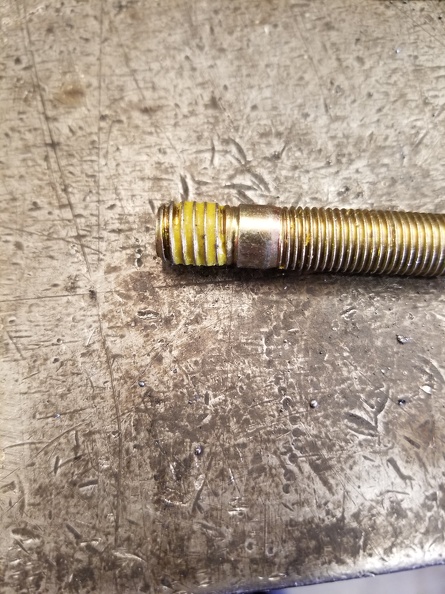
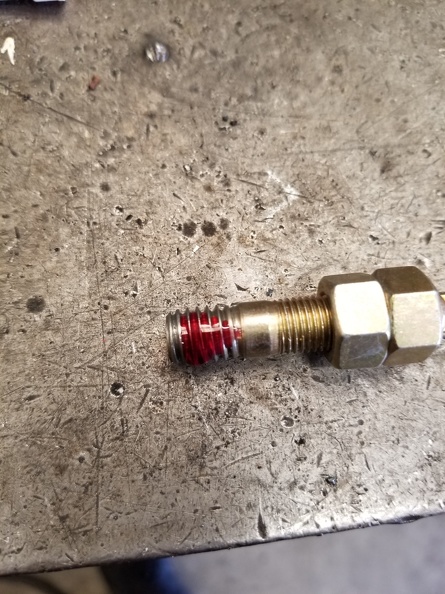
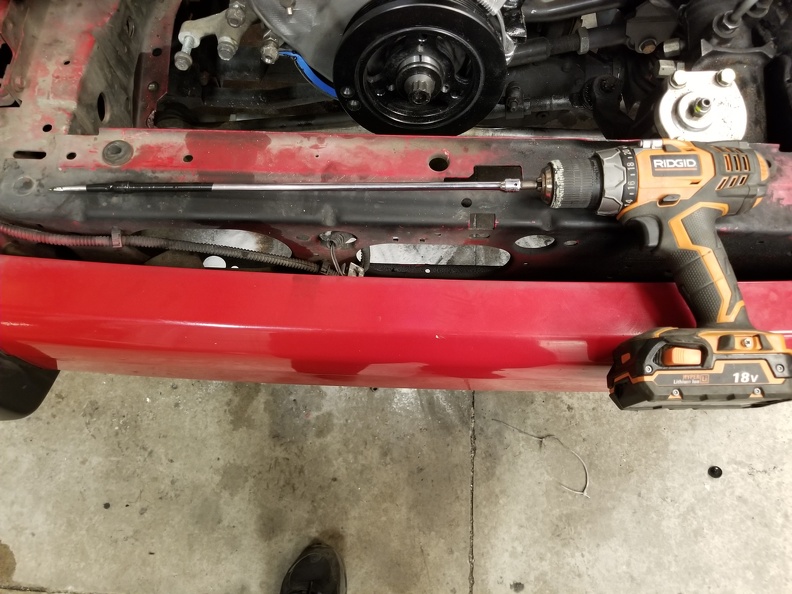
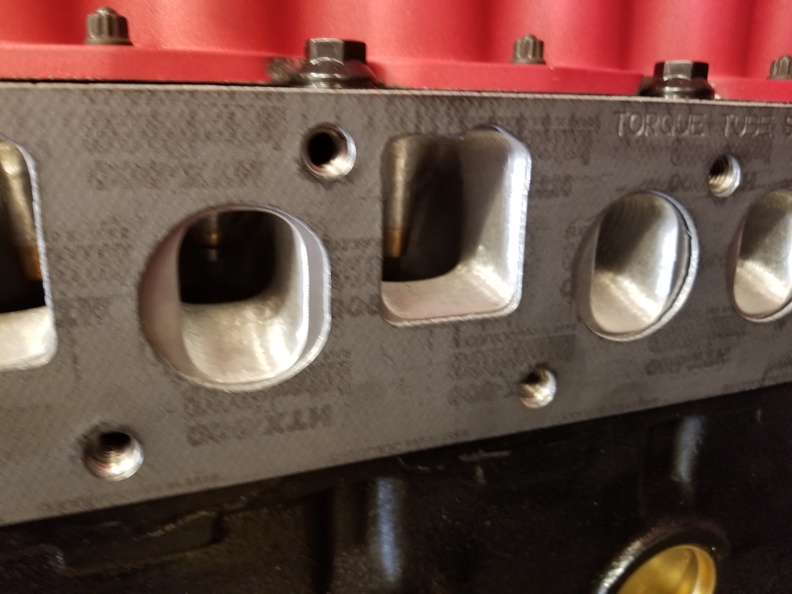
trippled
NAXJA Forum User
- Location
- colorado springs, co
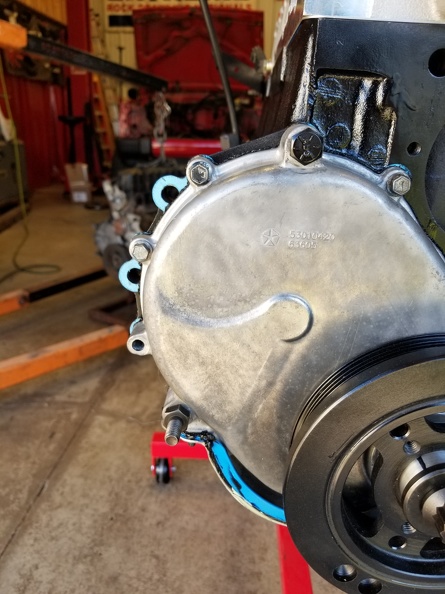
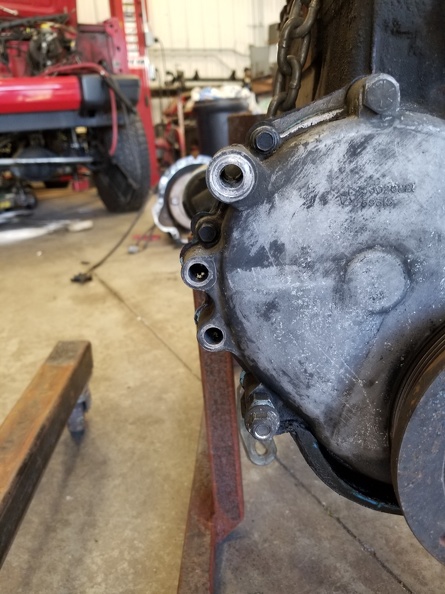
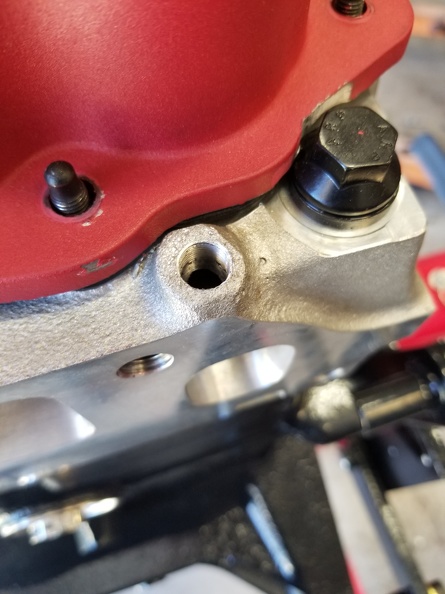
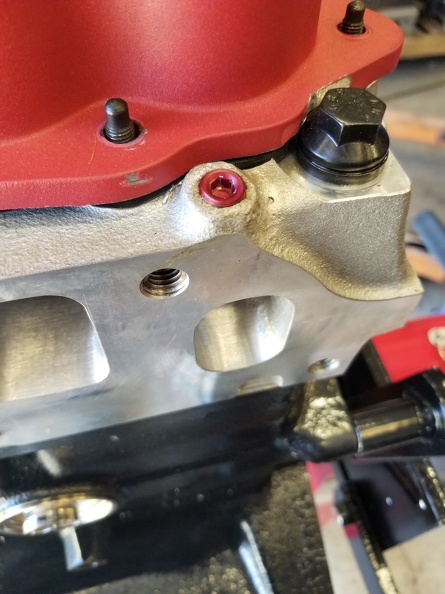
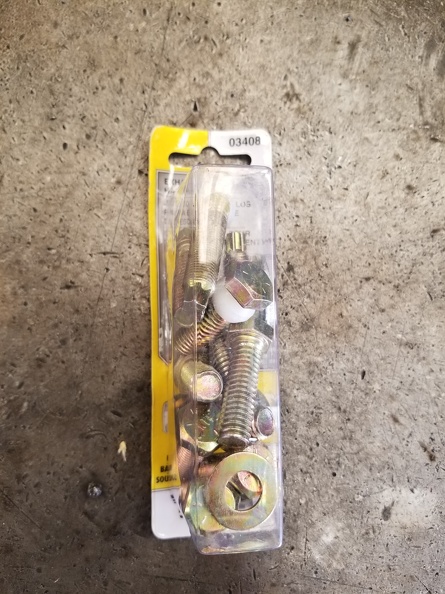
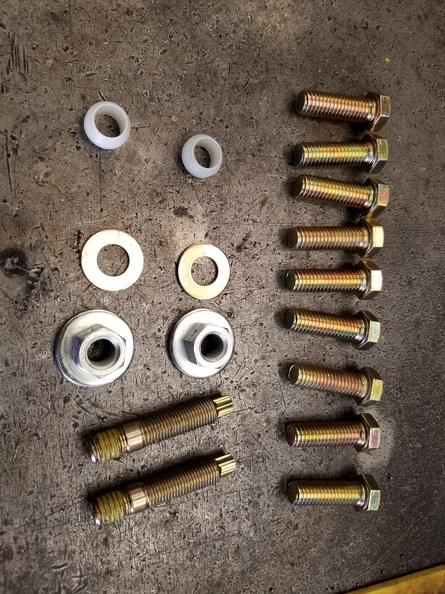
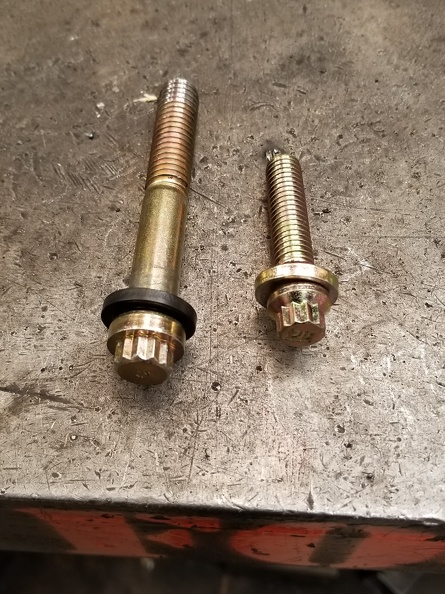
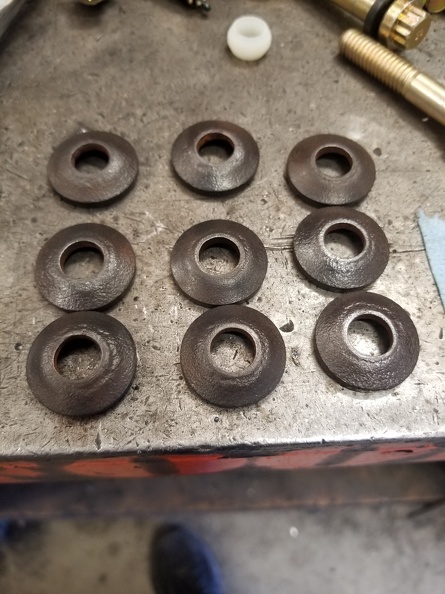
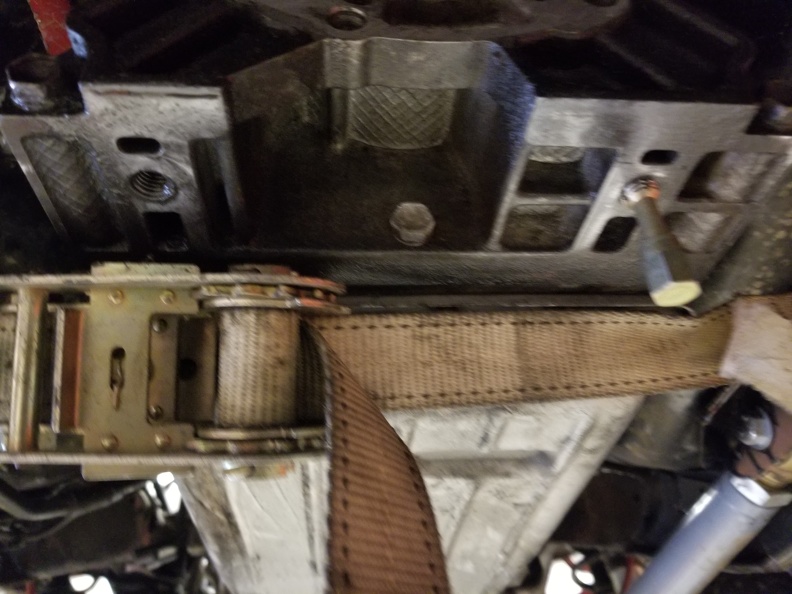
Yup I did the same thing. I think I hammered a 3/8 socket on it and was able to get it out. Replaced them with grade 8 bolts. Excited to hear how this engine runs.
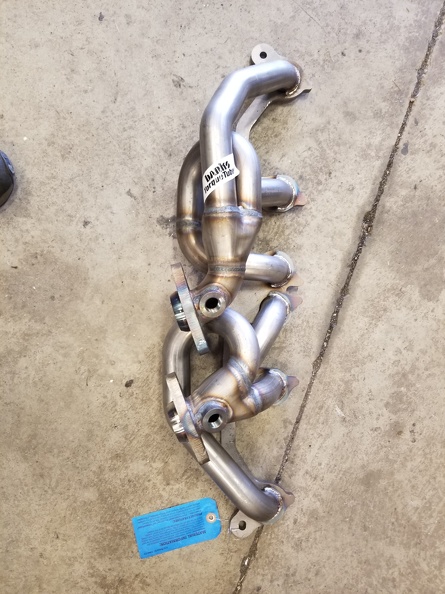
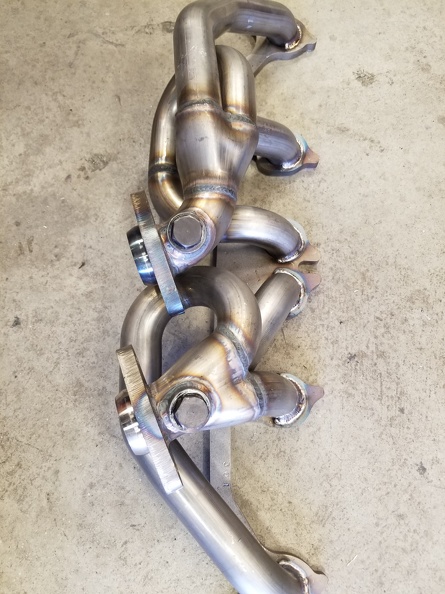
Did you mention the exhuast setup you are going to run? Ima start (another) thread about it... But curious what the BEAST is gonna exhale with
You can always call.
I'll probably reject the call, but you can try..")
Yup I did the same thing. I think I hammered a 3/8 socket on it and was able to get it out. Replaced them with grade 8 bolts. Excited to hear how this engine runs.
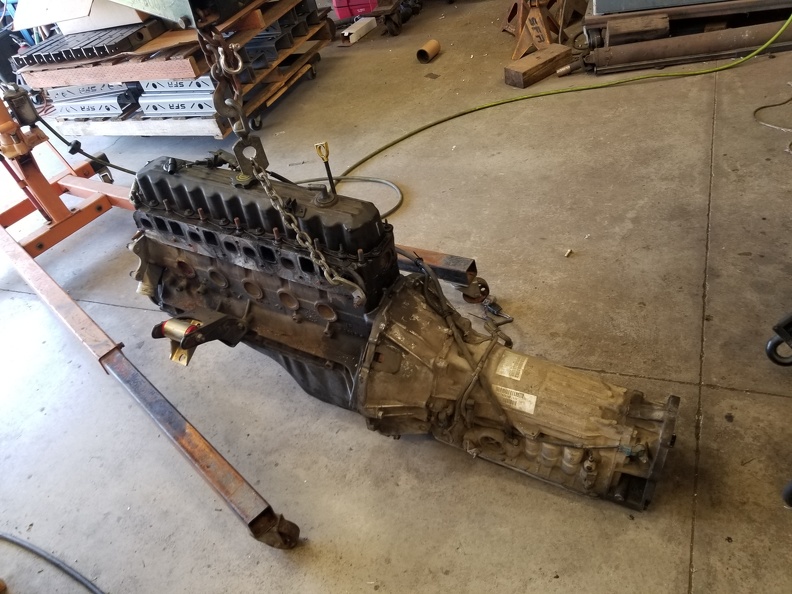
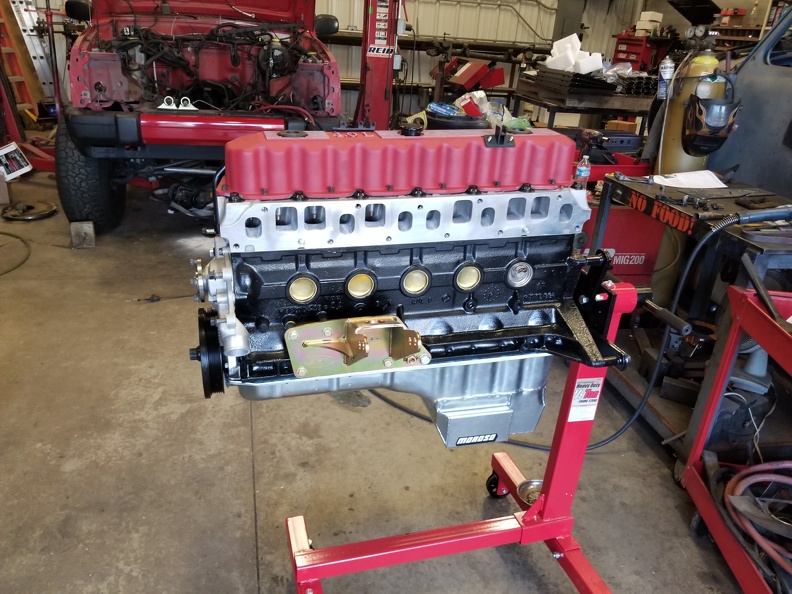
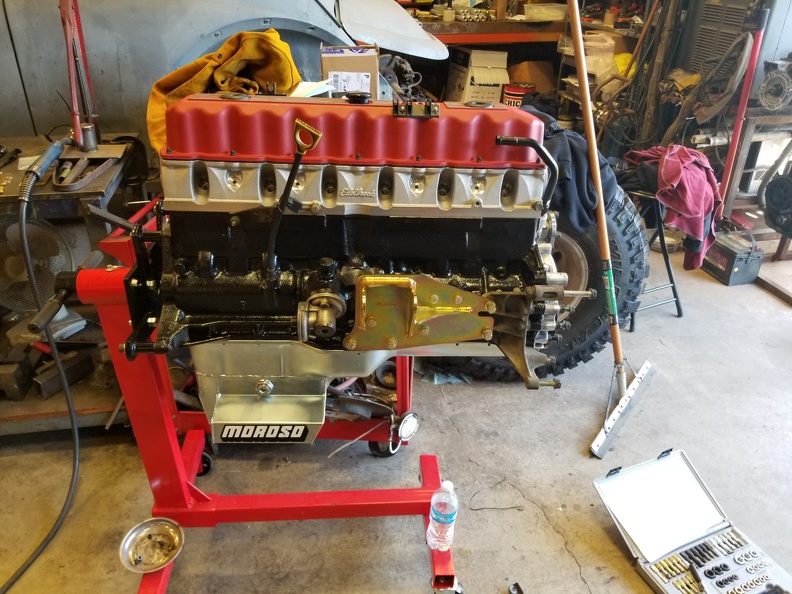
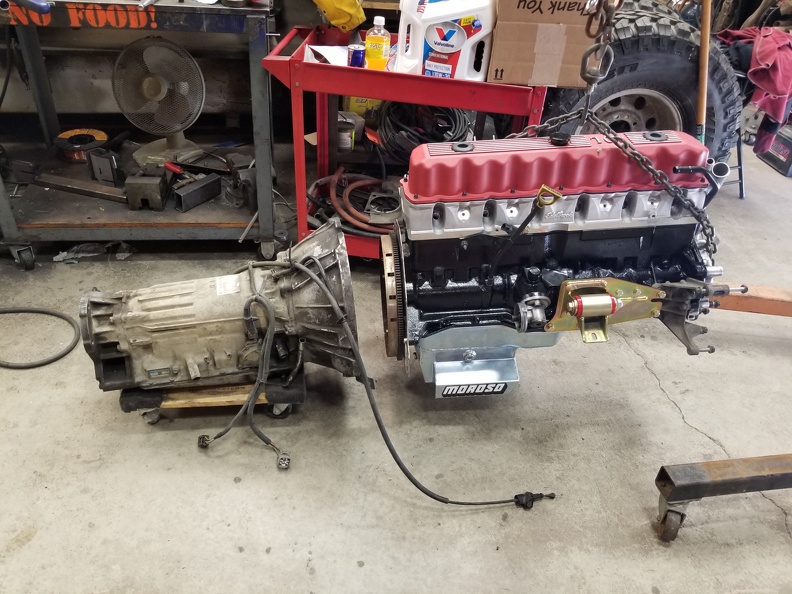
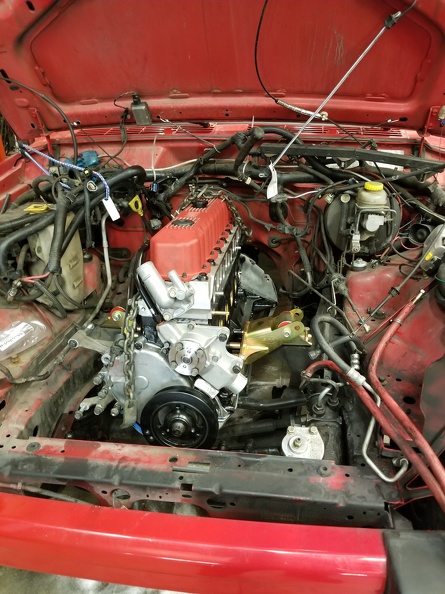
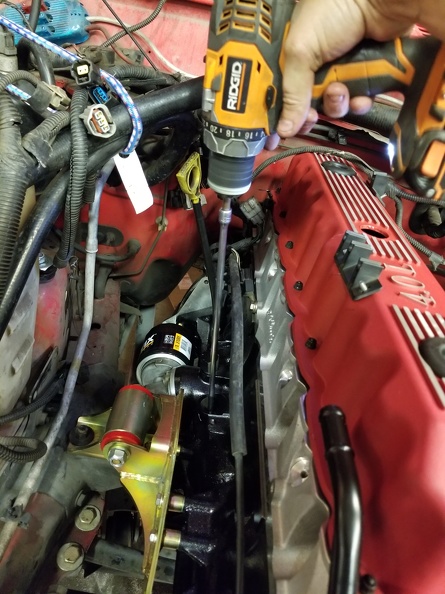
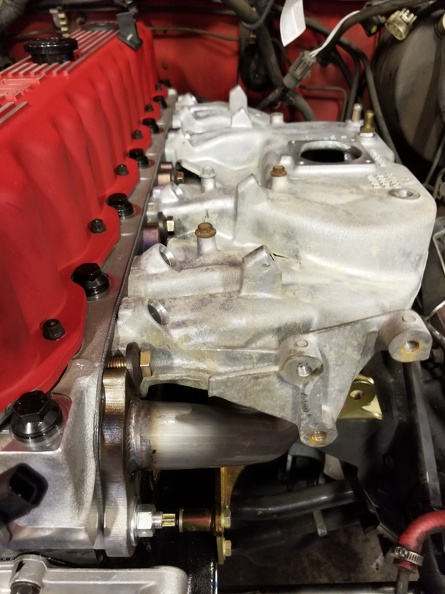
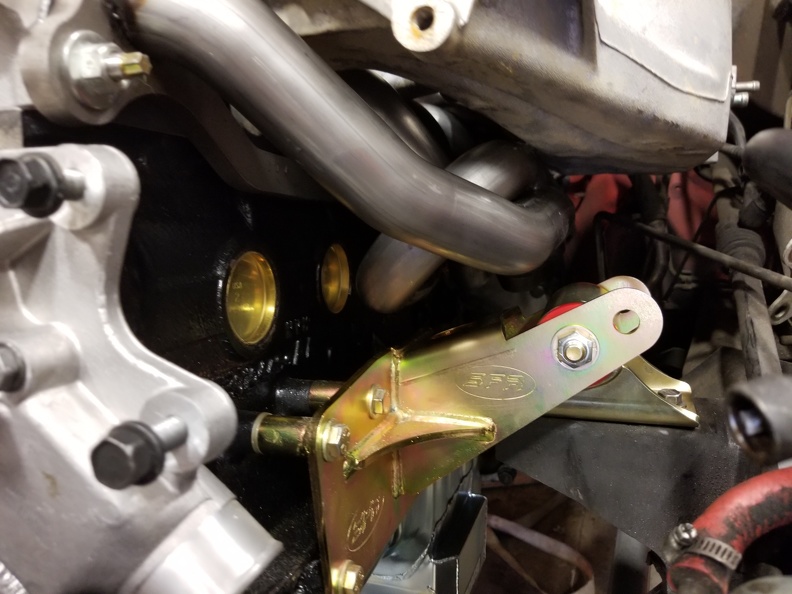
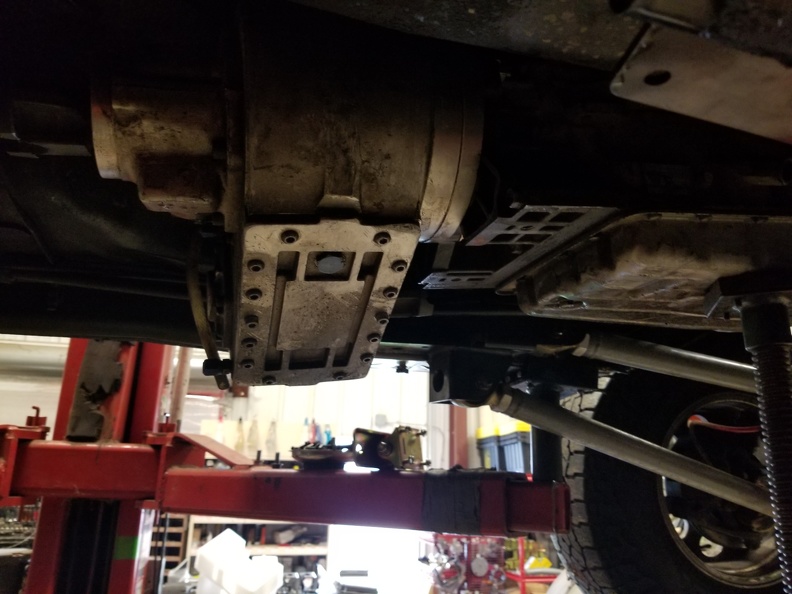
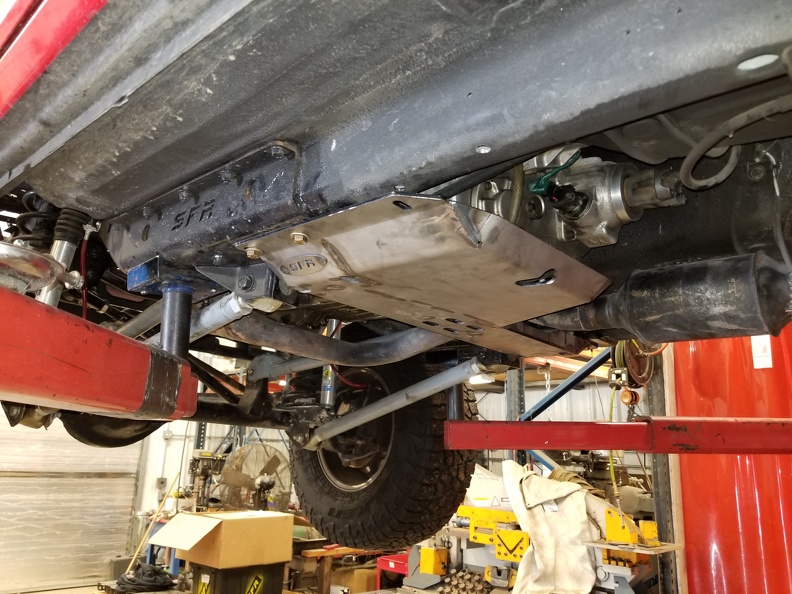
Banks header and the factory exhaust for now. I'll do something sexy in 2.5 down the road, but I'm over budget and 3 years in, still don't have functional 4 wheel drive.
I did not know the XJ Banks had dual outlet. I assume they will fit the 1996 model year.
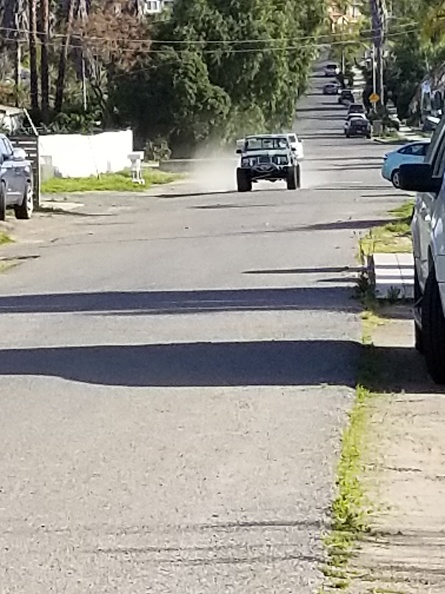
I want this rig so bad...
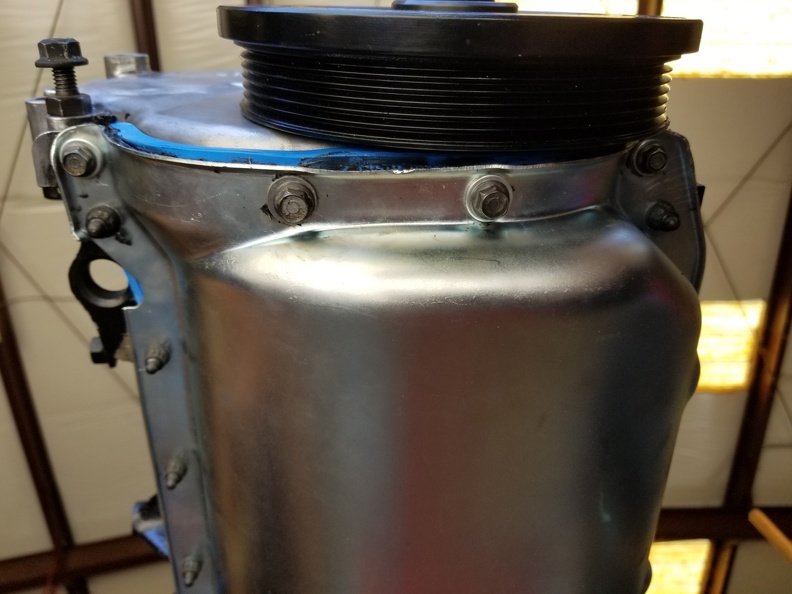
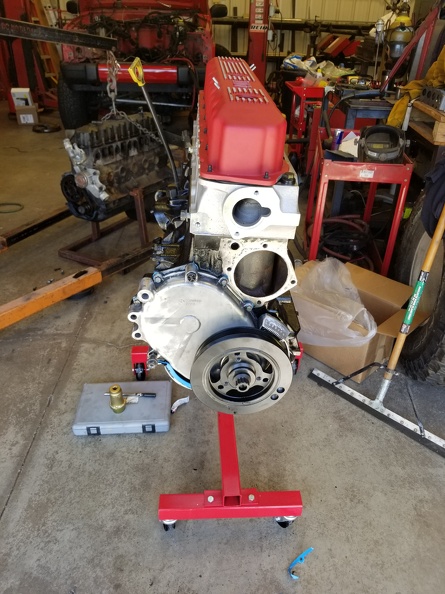
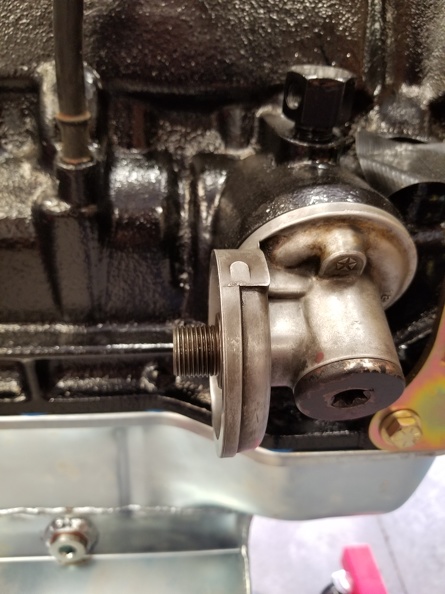
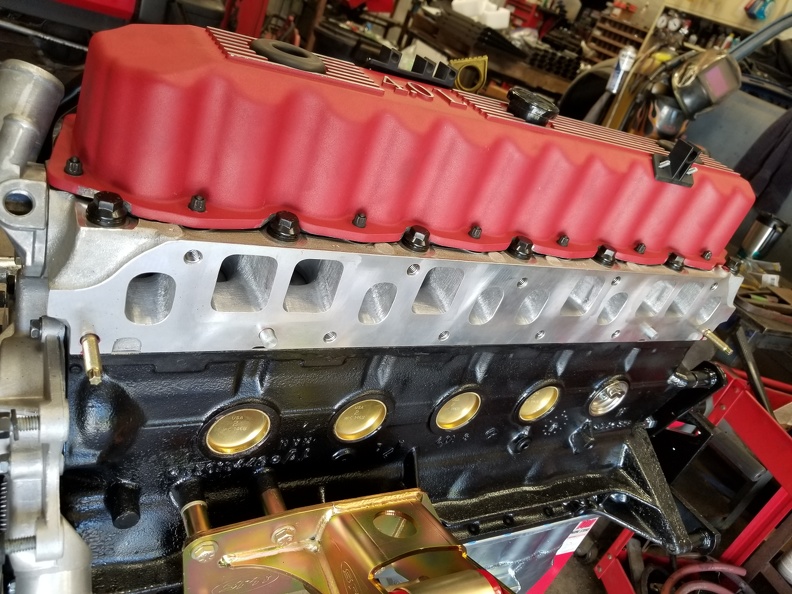
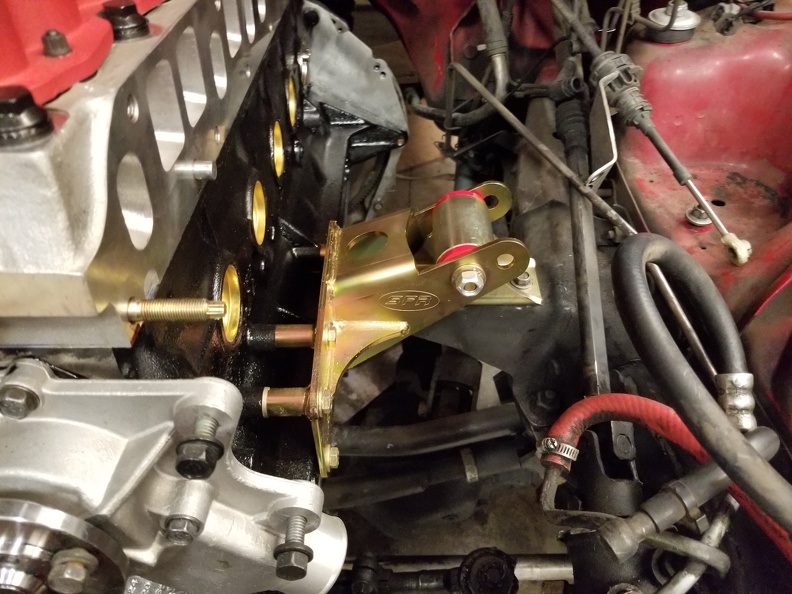
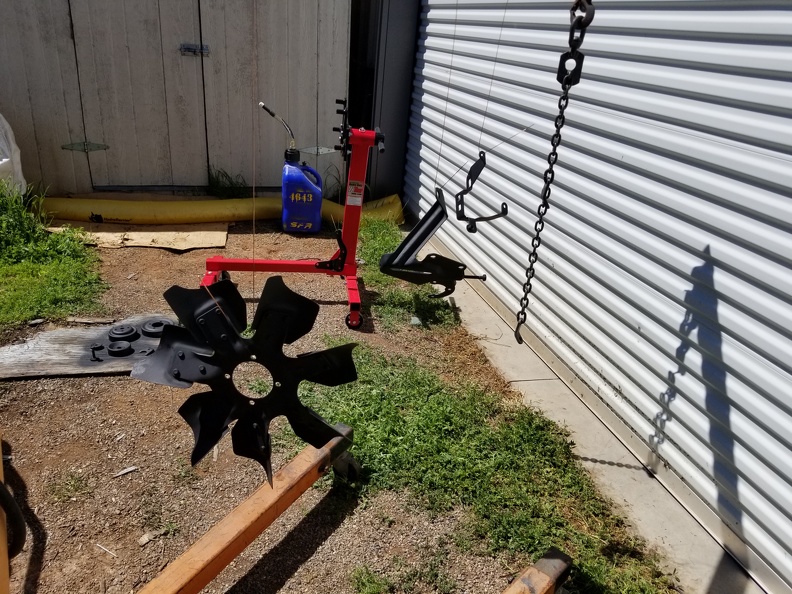
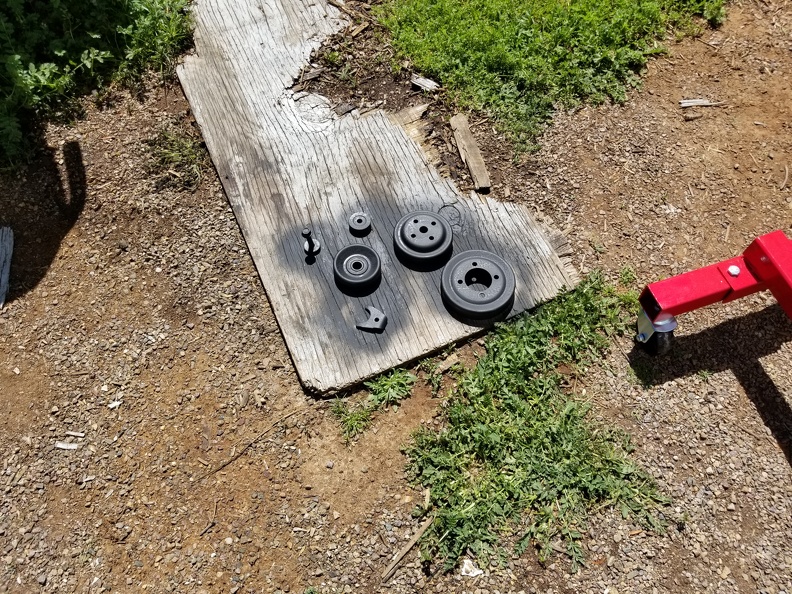
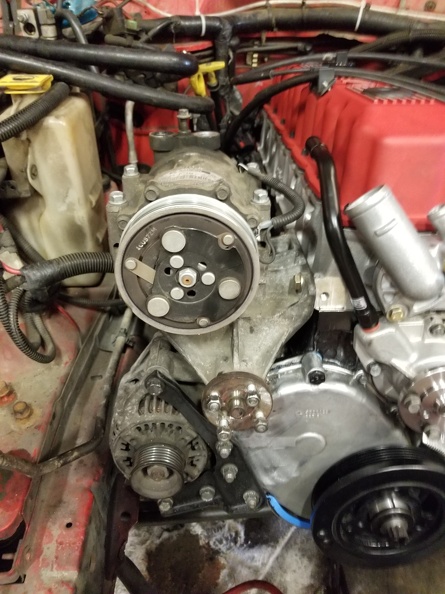
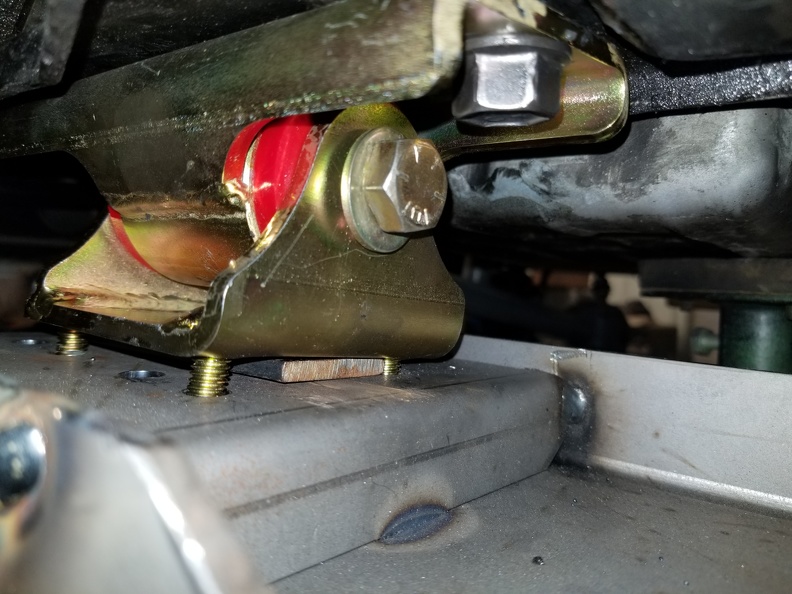
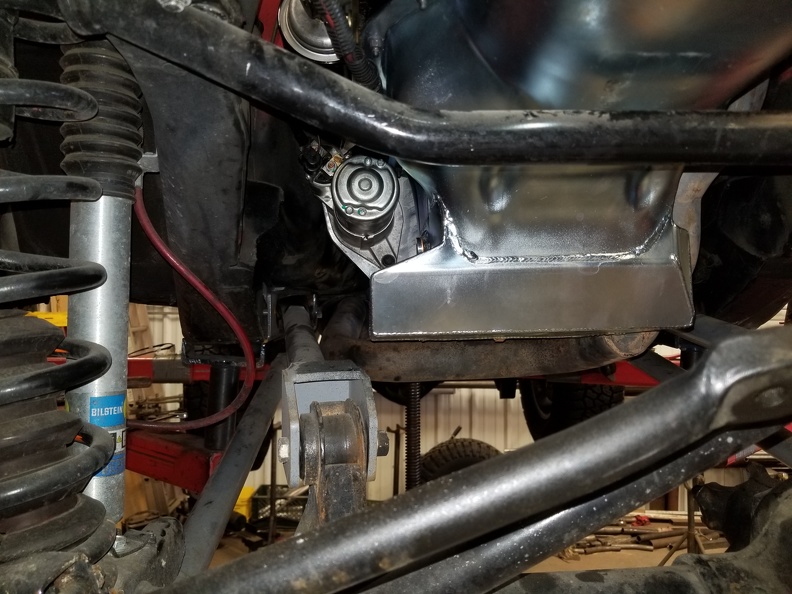
I use to wonder how it takes 3 years to build a rig. Now I just go look at my "race jeep" and I know. I like the thread Cal especially the AC fan clutch.... on a side note I have a cooper and brass radiator in Ghost. Put it in about 8 years ago I believe. So far so good. Looking forward to seeing you get that motor put in.....
Is this an upgrade to the oe ac clutch? Or are we talking about removing the fan?
Is this an upgrade to the oe ac clutch? Or are we talking about removing the fan?
Go back to post 124 in this very thread and start reading.
Should be around page 3-4 or so.
Page 9. I was going to multi quote the actual posts but its documented too well and would clutter the thread.