Overland
NAXJA Forum User
- Location
- The Chihuahuan Desert
I bought a complete 90 Laredo a few years back for $150 but never really did anything with it until I was compelled to get a title on it. I had built a nice rig out of one with a lien on it, and I was going to get a title on something, so this was it.
The initial idea was to build the truck with the bad title in this body, but when I found it needed freeze plugs, and thus I was pulling the engine, I ended up building a two door instead which was sitting useless with a 2.8 and no transmission. Rather than pull two 4.0s and find a home for both, I pulled one and put the 2.8 on the ground.
Good place for it.
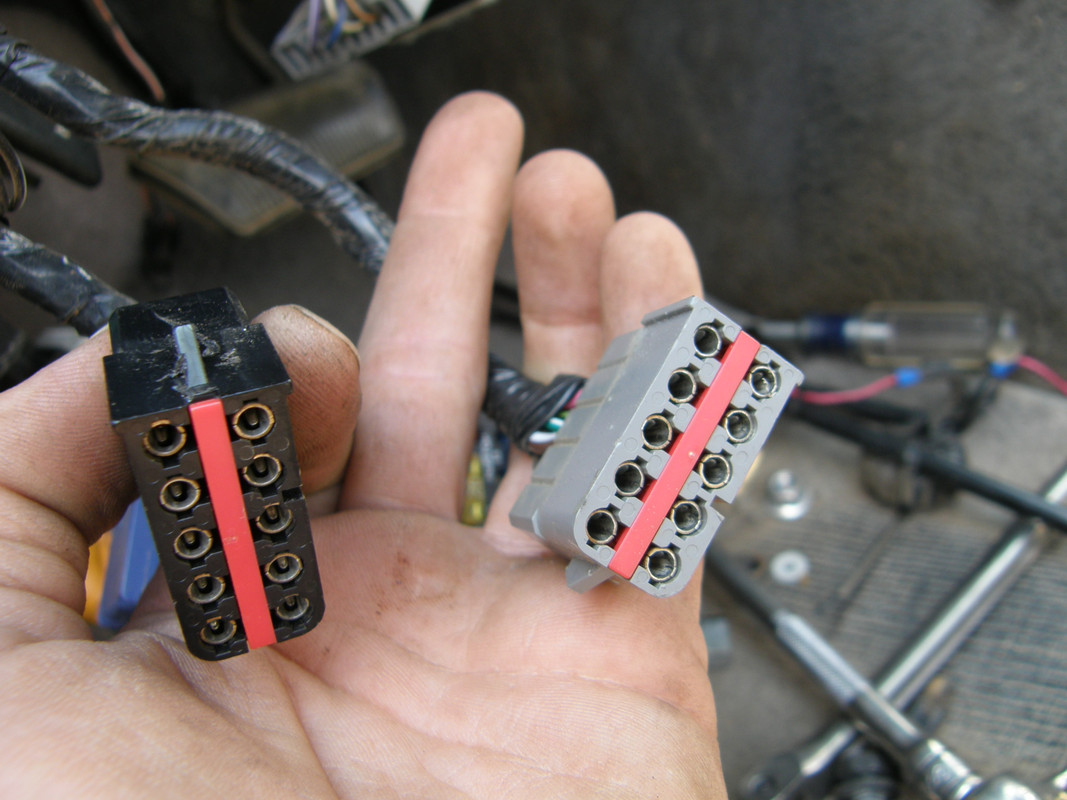
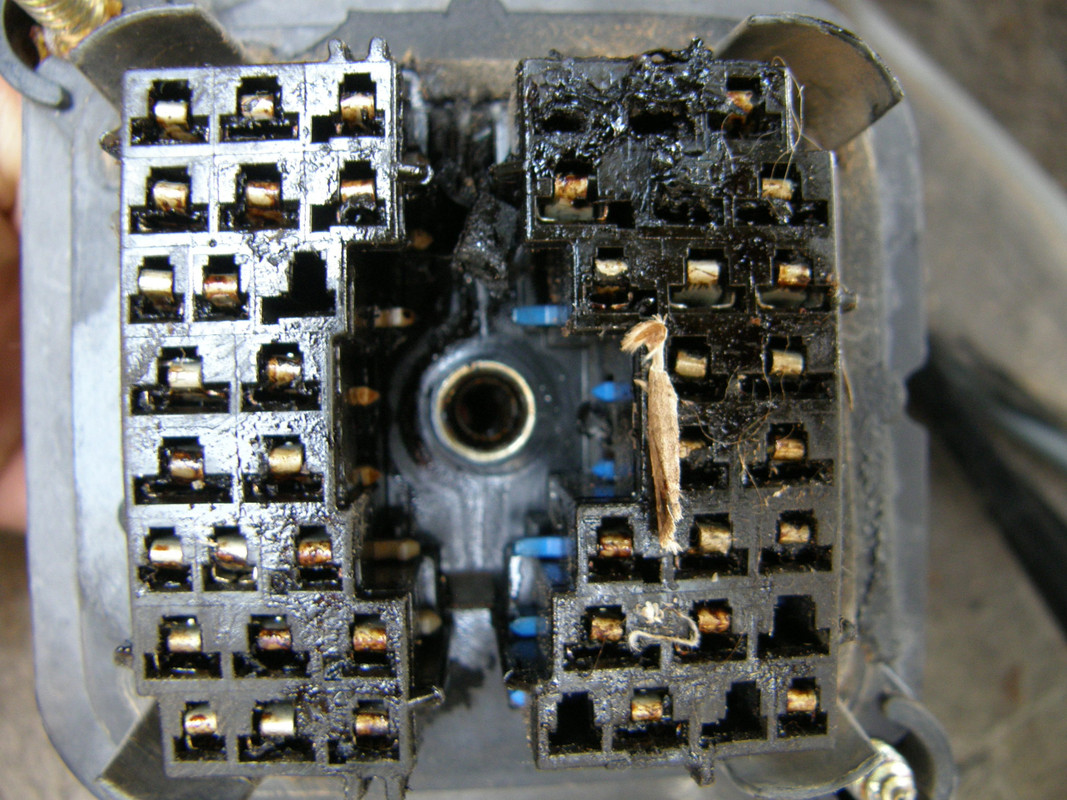
So now I'm back to this one. In swapping in a regular booster/master cylinder, and getting rid of all the Bendix 9 parts I could get to, I realized it was integrated with the rest of the wiring harness as opposed to being added on the side. I couldn't just leave all that in there, so I figured on using another 90 Renix harness I happen to have in order to get rid of it entirely. Then I realized that for all that work, I could put a later model harness in it with newer manifolds, etc. Nothing wrong with Renix, just not my favorite.
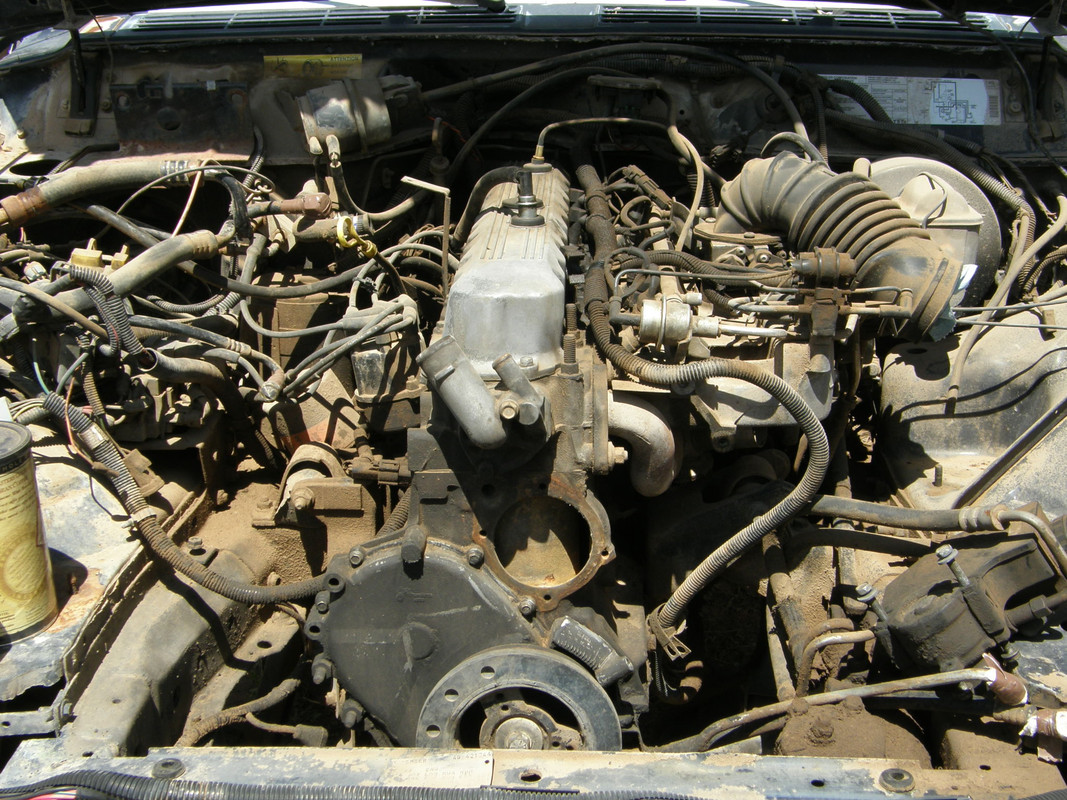
For the price of a box of cigars, I picked up a 91 Laredo. The engine sounds terrible, but it's complete under the hood. It's a 4.0/AW4/231 with everything intact underneath, including a good front drive shaft. Sucks it has the D35 out back, but I already swapped a 92 8.25 under the 90 when I built the leaf springs. It has 5-6" of lift now, I'll probably tone it down to 4.5 before it's all said and done. It'll probably be towed behind the next project, a lifted 4x4 short bus turned RV, but that's another forum. I'll add pictures as the project progresses with good weather and time off.
Some people collect stamps, I build Jeeps on a shoestring.
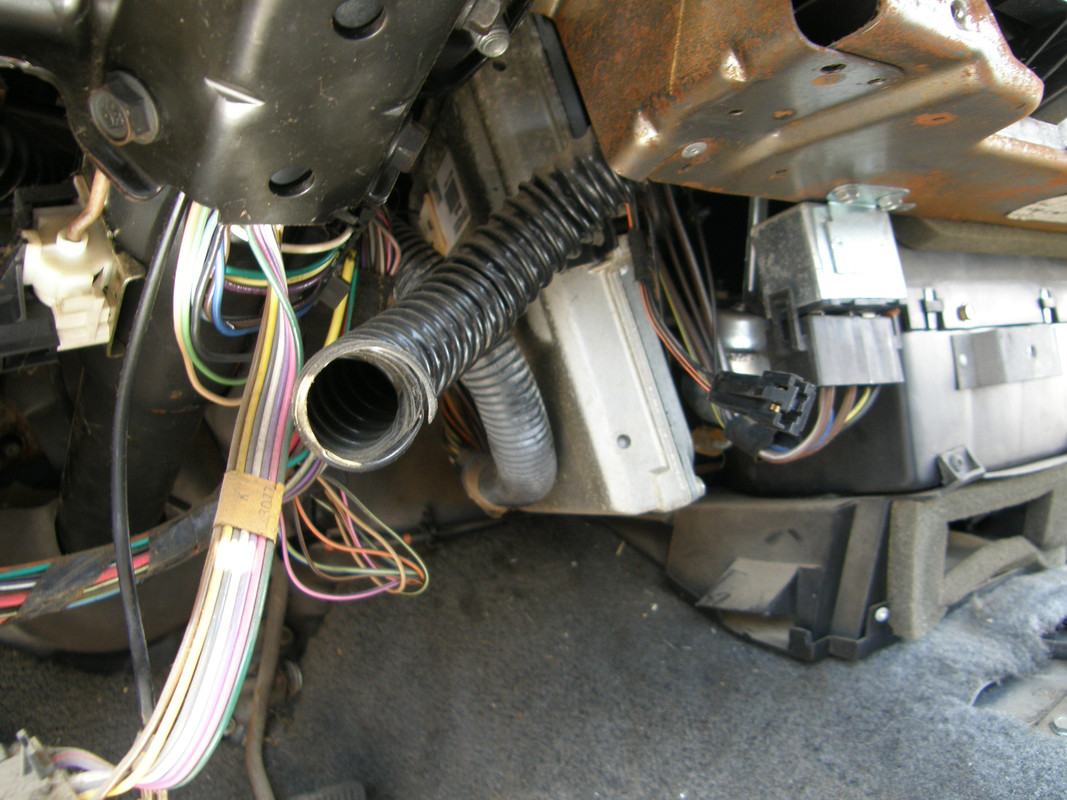
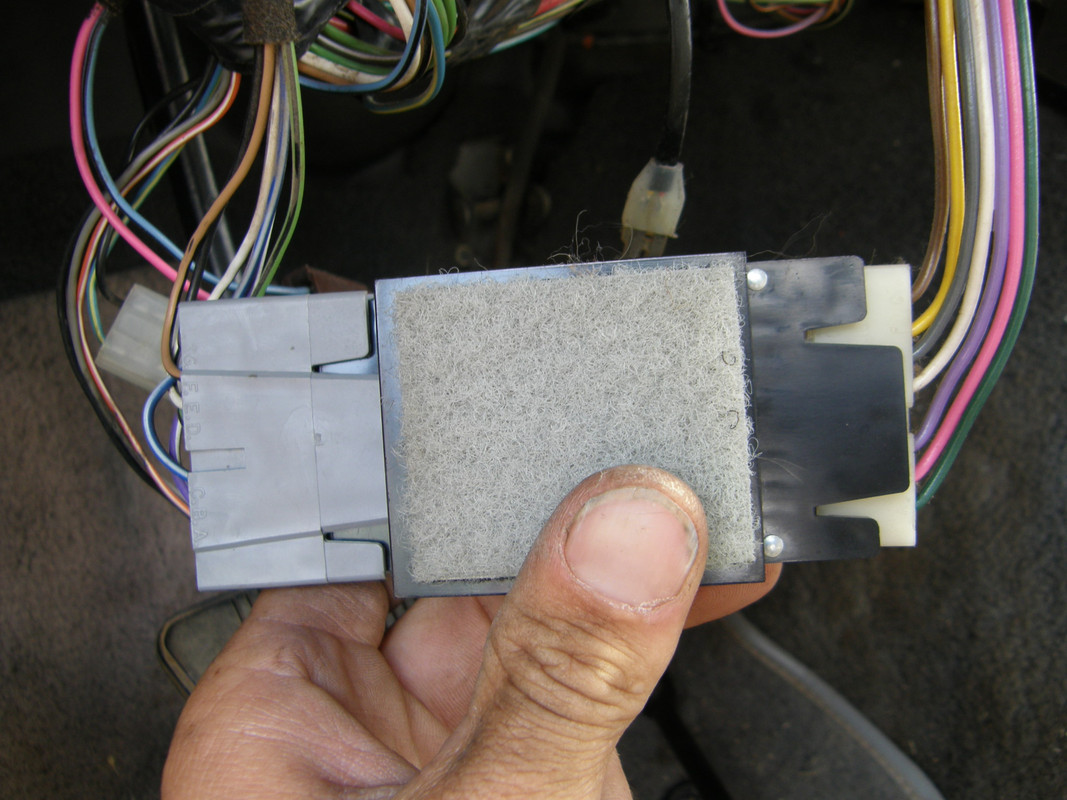
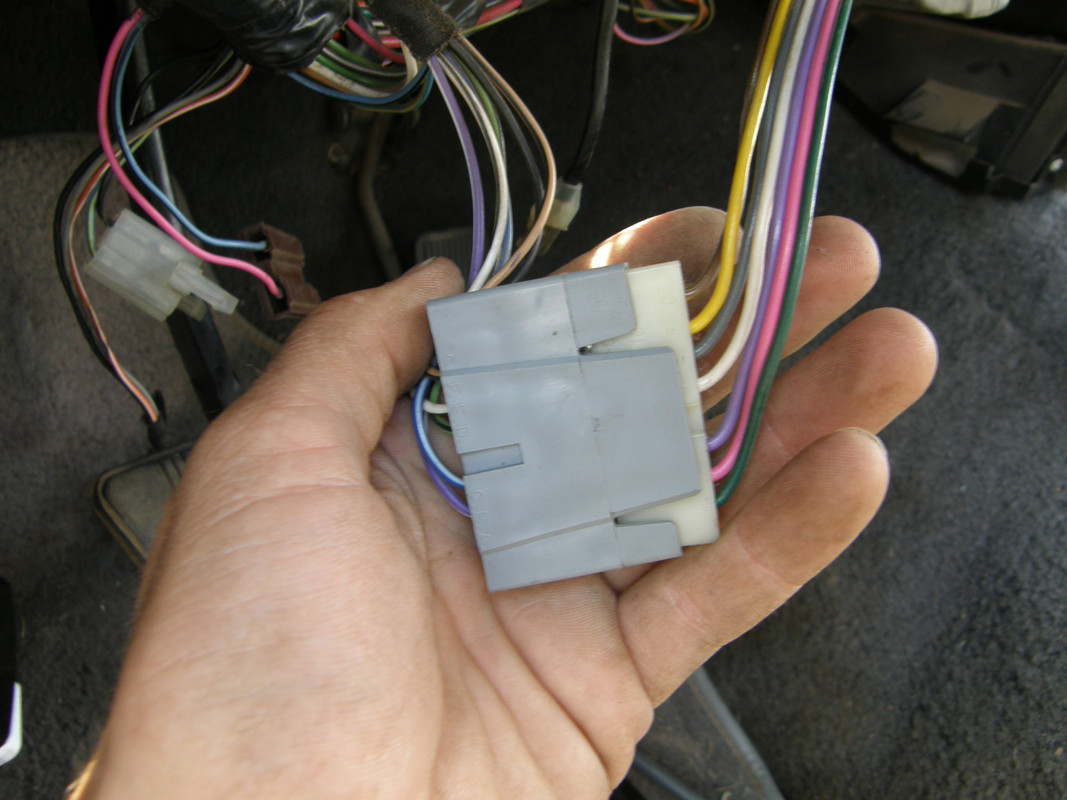
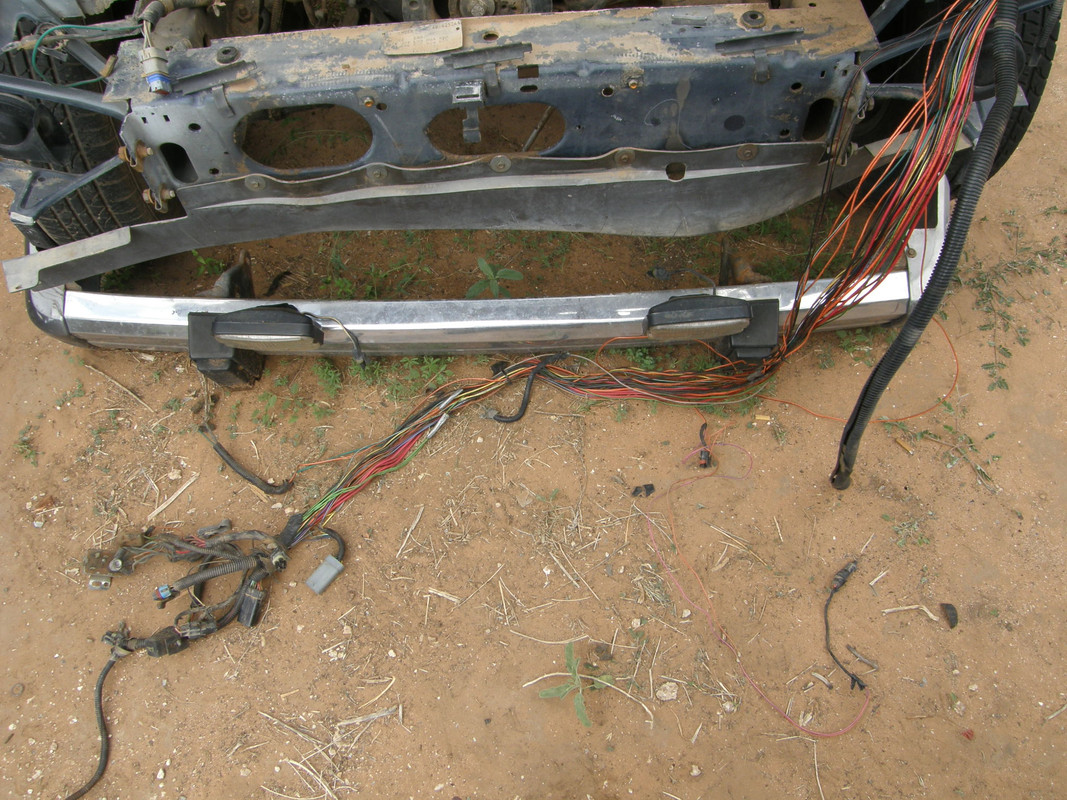
First step from this point is removing the harness. I still have to pull the engine for freeze plugs, and I expect to build the AC system mostly from an 01 donor, so everything up front is already out. However, the donor doesn't have an overhead console and I want my compass and ambient temperature display, so I cut that circuit out of the original harness.
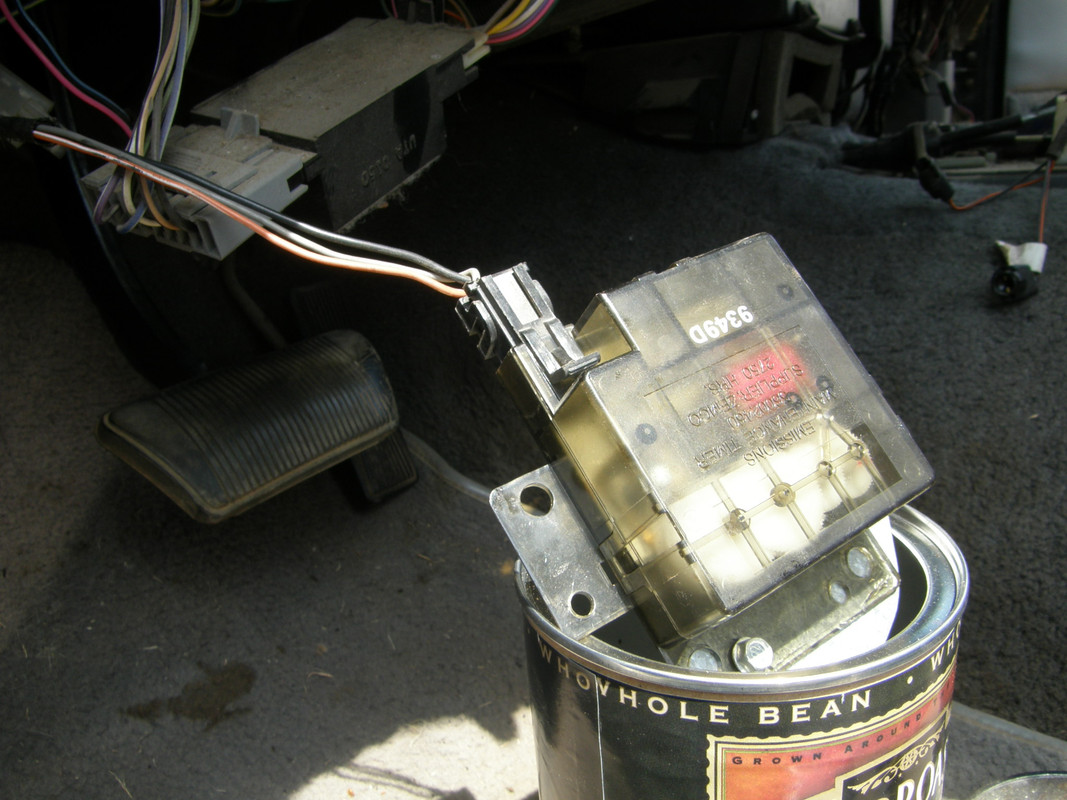
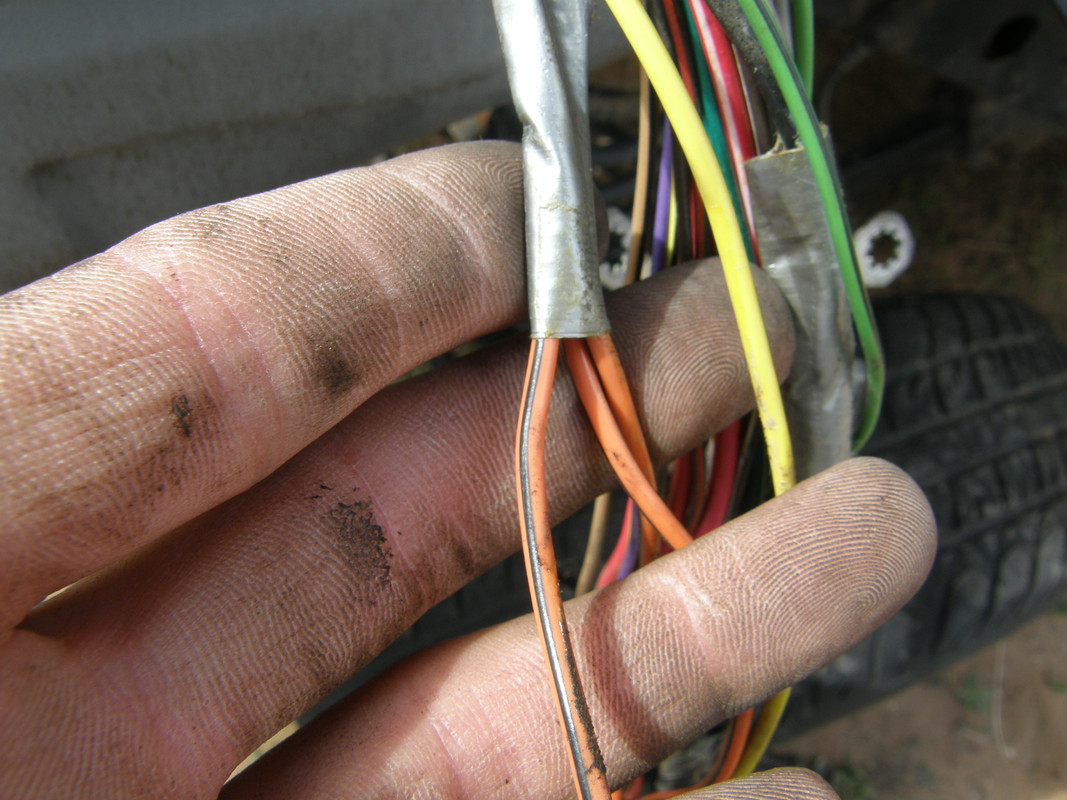
I followed the orange and black wire up to a splice wrapped in duct tape, where I cut it out.
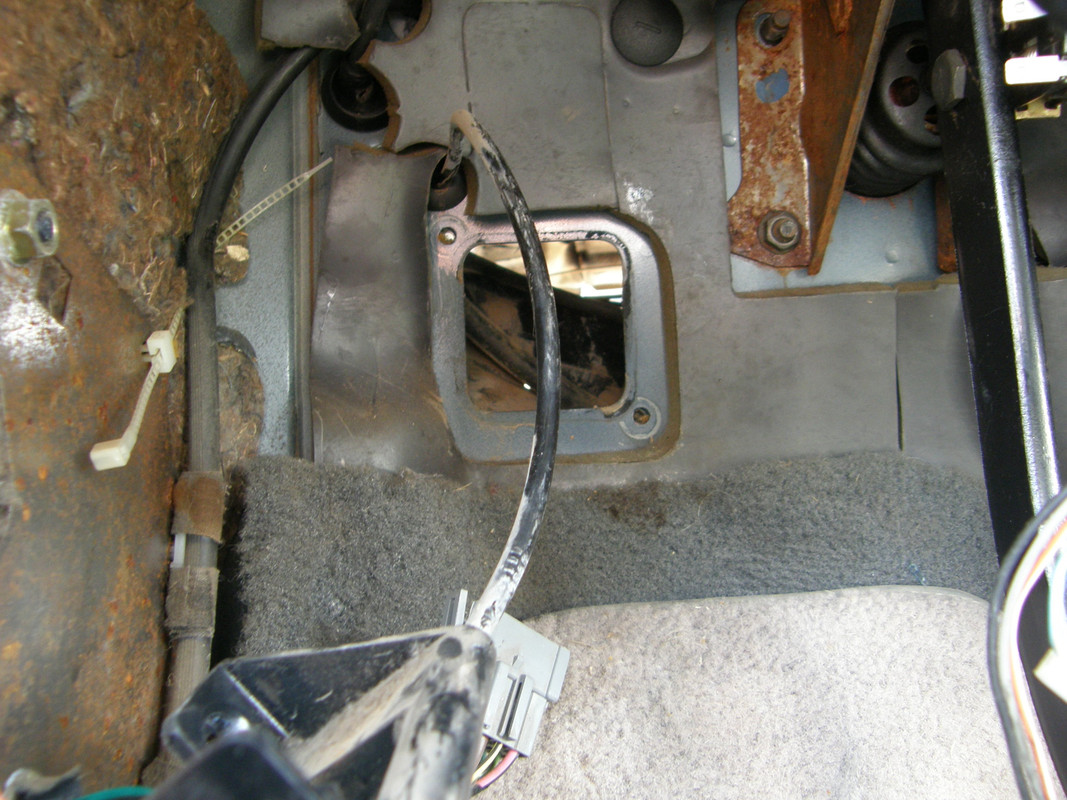
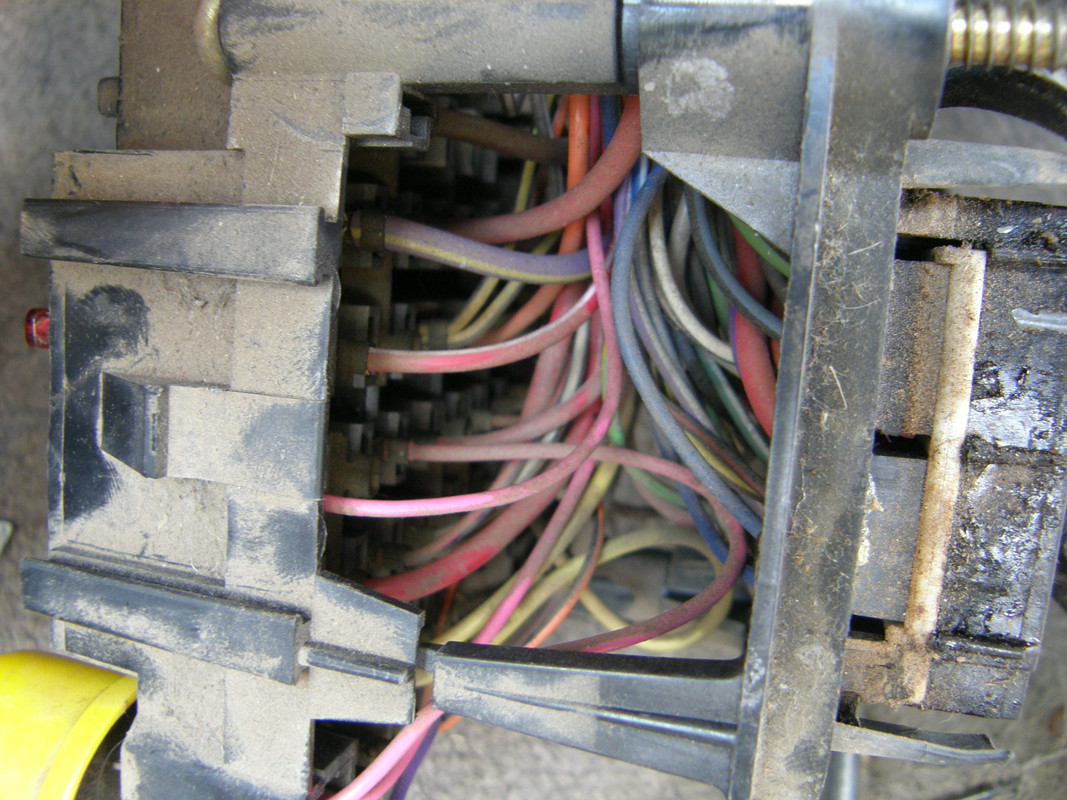
The other side of the circuit follows the remainder of the harness through a hole in the firewall that the 90 doesn't have. When it's finished, I'll keep this circuit routed through this hole if I can manage it cleanly enough, but the engine harness is going to come mostly from the bulkhead connector in the end.
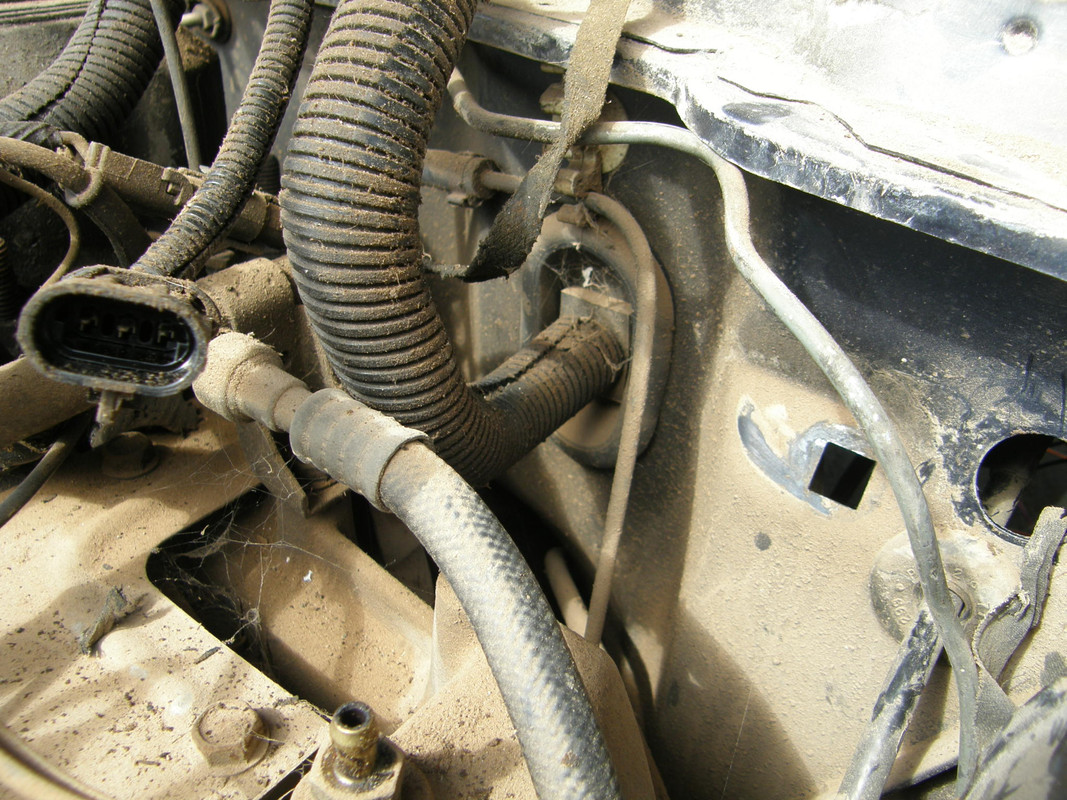
The other holes visible in that picture will be capped, as it's not going to need any of the cruise vacuum system or a speedometer cable when it's finished. The caps are easy enough to find with a good eye walking through a junkyard.
The initial idea was to build the truck with the bad title in this body, but when I found it needed freeze plugs, and thus I was pulling the engine, I ended up building a two door instead which was sitting useless with a 2.8 and no transmission. Rather than pull two 4.0s and find a home for both, I pulled one and put the 2.8 on the ground.
Good place for it.
So now I'm back to this one. In swapping in a regular booster/master cylinder, and getting rid of all the Bendix 9 parts I could get to, I realized it was integrated with the rest of the wiring harness as opposed to being added on the side. I couldn't just leave all that in there, so I figured on using another 90 Renix harness I happen to have in order to get rid of it entirely. Then I realized that for all that work, I could put a later model harness in it with newer manifolds, etc. Nothing wrong with Renix, just not my favorite.
For the price of a box of cigars, I picked up a 91 Laredo. The engine sounds terrible, but it's complete under the hood. It's a 4.0/AW4/231 with everything intact underneath, including a good front drive shaft. Sucks it has the D35 out back, but I already swapped a 92 8.25 under the 90 when I built the leaf springs. It has 5-6" of lift now, I'll probably tone it down to 4.5 before it's all said and done. It'll probably be towed behind the next project, a lifted 4x4 short bus turned RV, but that's another forum. I'll add pictures as the project progresses with good weather and time off.
Some people collect stamps, I build Jeeps on a shoestring.
First step from this point is removing the harness. I still have to pull the engine for freeze plugs, and I expect to build the AC system mostly from an 01 donor, so everything up front is already out. However, the donor doesn't have an overhead console and I want my compass and ambient temperature display, so I cut that circuit out of the original harness.
I followed the orange and black wire up to a splice wrapped in duct tape, where I cut it out.
The other side of the circuit follows the remainder of the harness through a hole in the firewall that the 90 doesn't have. When it's finished, I'll keep this circuit routed through this hole if I can manage it cleanly enough, but the engine harness is going to come mostly from the bulkhead connector in the end.
The other holes visible in that picture will be capped, as it's not going to need any of the cruise vacuum system or a speedometer cable when it's finished. The caps are easy enough to find with a good eye walking through a junkyard.