Throttle
NAXJA Forum User
- Location
- A tree fort
So the weather finally cooperated with me long enough for me to install my drop brackets I got from Rough Country. FYI, my truck has a 4.5" RE lift with 2" coil spacers. My control arms weren't designed for the extra 2" of lift, so my axle sat a little too far back in the truck and my coils were curved forward. I decided it was time for drop brackets.
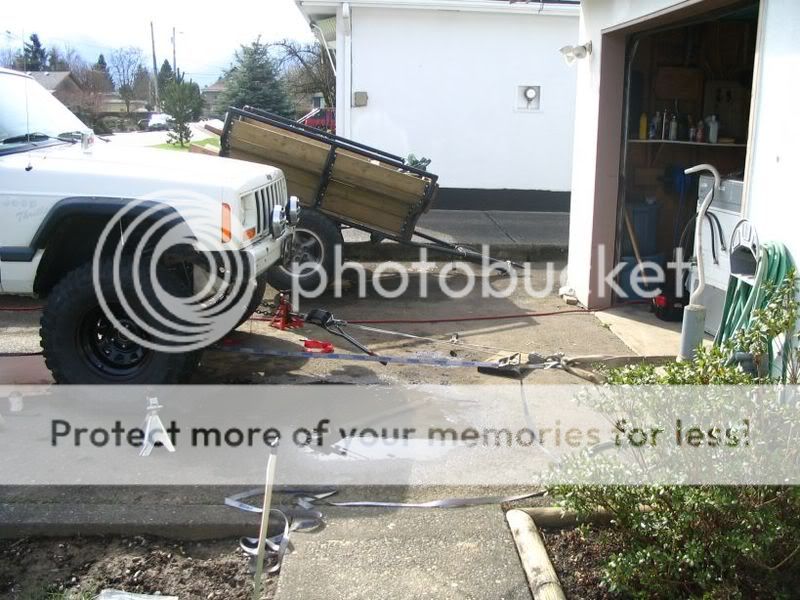
I started by removing the driver side control arms and installing the bracket on that side first. What I didn't think of, was how was I going to pull the axle far enough forward to re-install the control arms. The drop brackets seemed to want to move my axle about 2"-2.5" forward from where it was before. So luckily I had a steel, concrete filled post that is placed infront of my gas meter for protection that I could tie to.

Once I had the driver side LCA in, it was a real bitch to get the UCA in. What I realized was that I would have to remove all the control arms before installing them into the brackets, due to the fact that the axle would twist if I put one side in at a time. Another thing I came across, was that I must have hit my alignment shoe stud on a rock, and while trying to remove the nut, the stud broke :confused2 so a quick trip to Pick A Part and $1 dollar for the part, i was back to business. :cwm30:
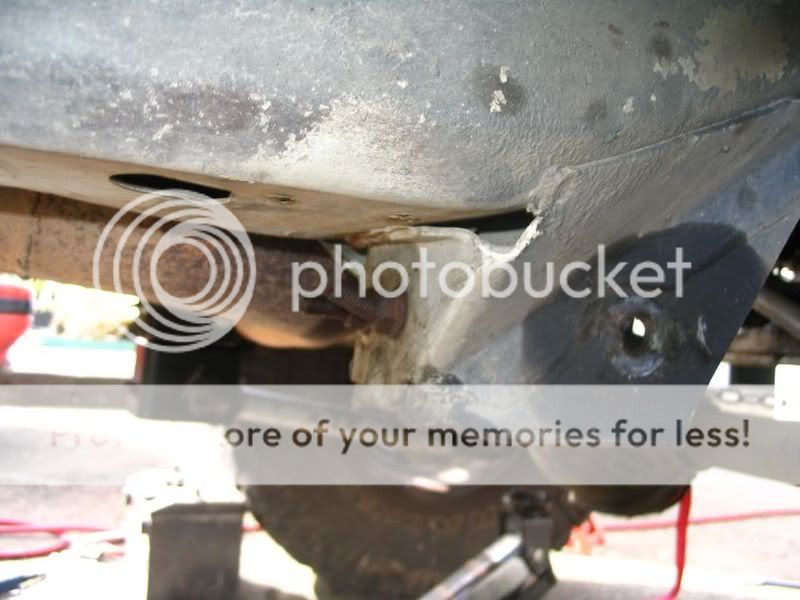
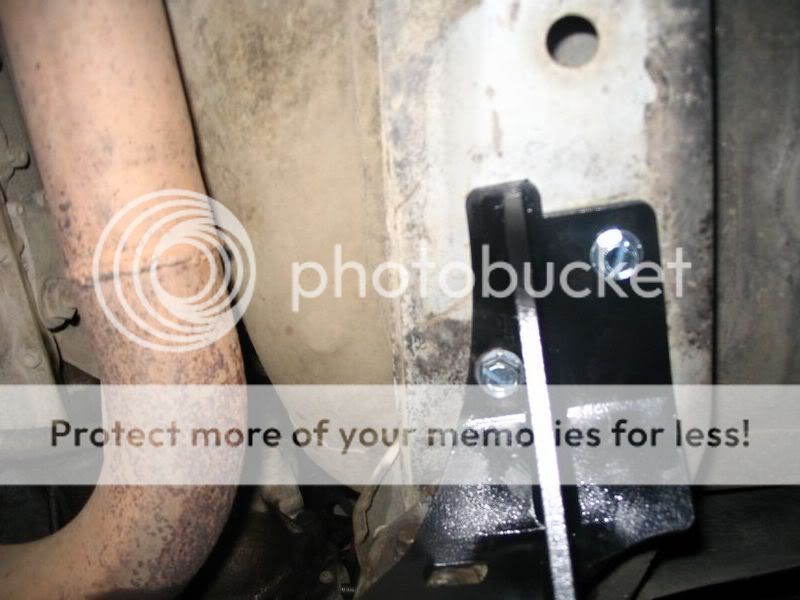
installing the actual brackets were really easy. They mated up with the truck really nice, and it didn't seem like they cheaped out on design. What I did find was that the original alignment shoe locations where they supply you with new grade 8 bolts to install, you need to reverse them so the bolt head is on the back side of the bracket, otherwise the outside one interferes with the brace that gets bolted to the back (not shown in these pictures, as I hadn't test fit the braces yet.)
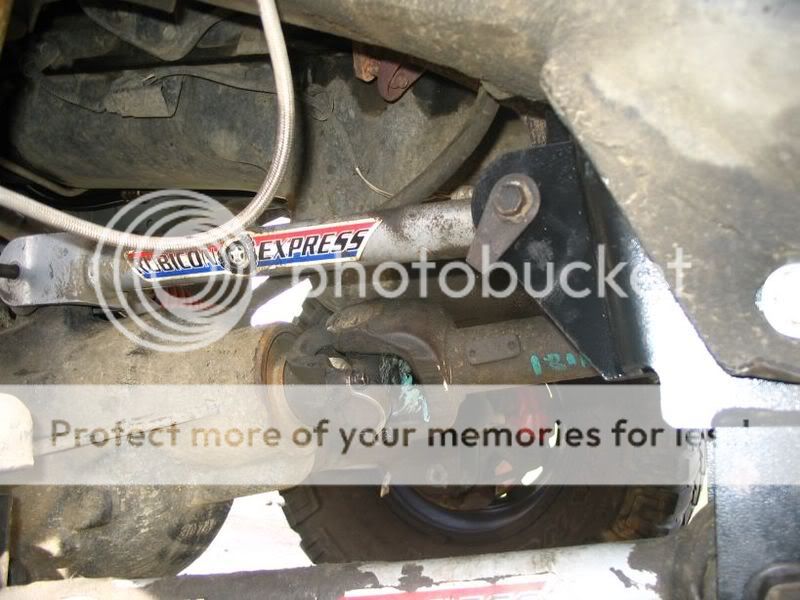
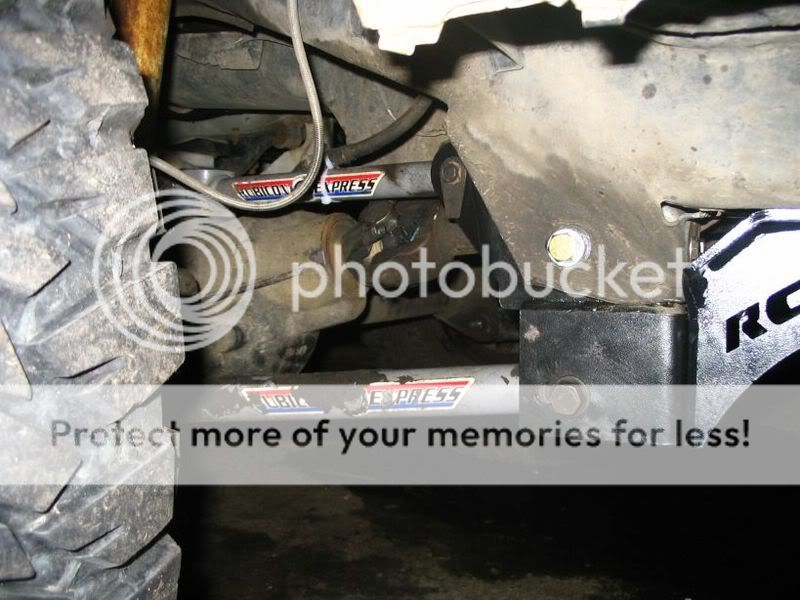
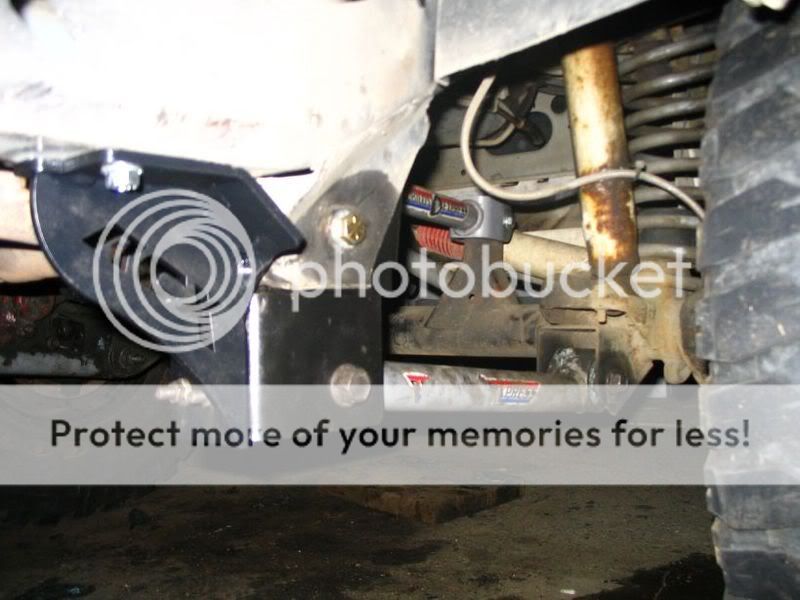
As you can see my control arms are near LEVEL!

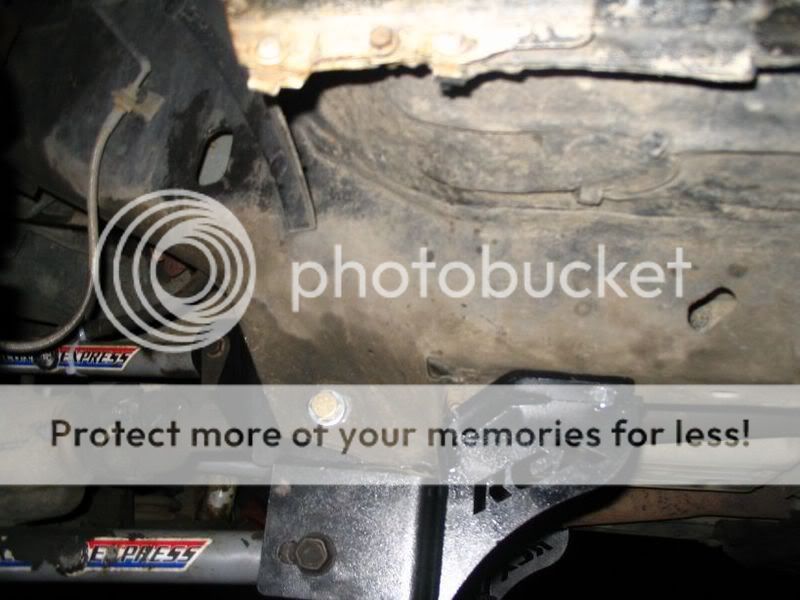
Once the UCAs, LCAs and brackets were all tight (no torque specs given with brackets ), I bolted the braces to the brackets to figure out where I was going to drill into the unibody. I managed to drill one 11/32" hole in the frame before my cordless Coleman drill quit on me :cwm36: . So 1/2 an hour, and two beer later my friend came over with his cordless to finish off the job. Within another 15 minutes they were drilled and bolts installed. So here's the final install views.
So far I've replaced the front two wheel/hub bearings, axle U-joints, axle shaft seals, and drop brackets. I'm starting to really itch to drive this again!!! Next is battery cables, then off to the alignment shop to get her all fixed up then off to the trails!!!! (And maybe some new shocks.....)
I started by removing the driver side control arms and installing the bracket on that side first. What I didn't think of, was how was I going to pull the axle far enough forward to re-install the control arms. The drop brackets seemed to want to move my axle about 2"-2.5" forward from where it was before. So luckily I had a steel, concrete filled post that is placed infront of my gas meter for protection that I could tie to.
Once I had the driver side LCA in, it was a real bitch to get the UCA in. What I realized was that I would have to remove all the control arms before installing them into the brackets, due to the fact that the axle would twist if I put one side in at a time. Another thing I came across, was that I must have hit my alignment shoe stud on a rock, and while trying to remove the nut, the stud broke :confused2 so a quick trip to Pick A Part and $1 dollar for the part, i was back to business. :cwm30:
installing the actual brackets were really easy. They mated up with the truck really nice, and it didn't seem like they cheaped out on design. What I did find was that the original alignment shoe locations where they supply you with new grade 8 bolts to install, you need to reverse them so the bolt head is on the back side of the bracket, otherwise the outside one interferes with the brace that gets bolted to the back (not shown in these pictures, as I hadn't test fit the braces yet.)
As you can see my control arms are near LEVEL!
Once the UCAs, LCAs and brackets were all tight (no torque specs given with brackets
), I bolted the braces to the brackets to figure out where I was going to drill into the unibody. I managed to drill one 11/32" hole in the frame before my cordless Coleman drill quit on me :cwm36: . So 1/2 an hour, and two beer later my friend came over with his cordless to finish off the job. Within another 15 minutes they were drilled and bolts installed. So here's the final install views.
So far I've replaced the front two wheel/hub bearings, axle U-joints, axle shaft seals, and drop brackets. I'm starting to really itch to drive this again!!! Next is battery cables, then off to the alignment shop to get her all fixed up then off to the trails!!!! (And maybe some new shocks.....)