- Location
- Thornton, CO
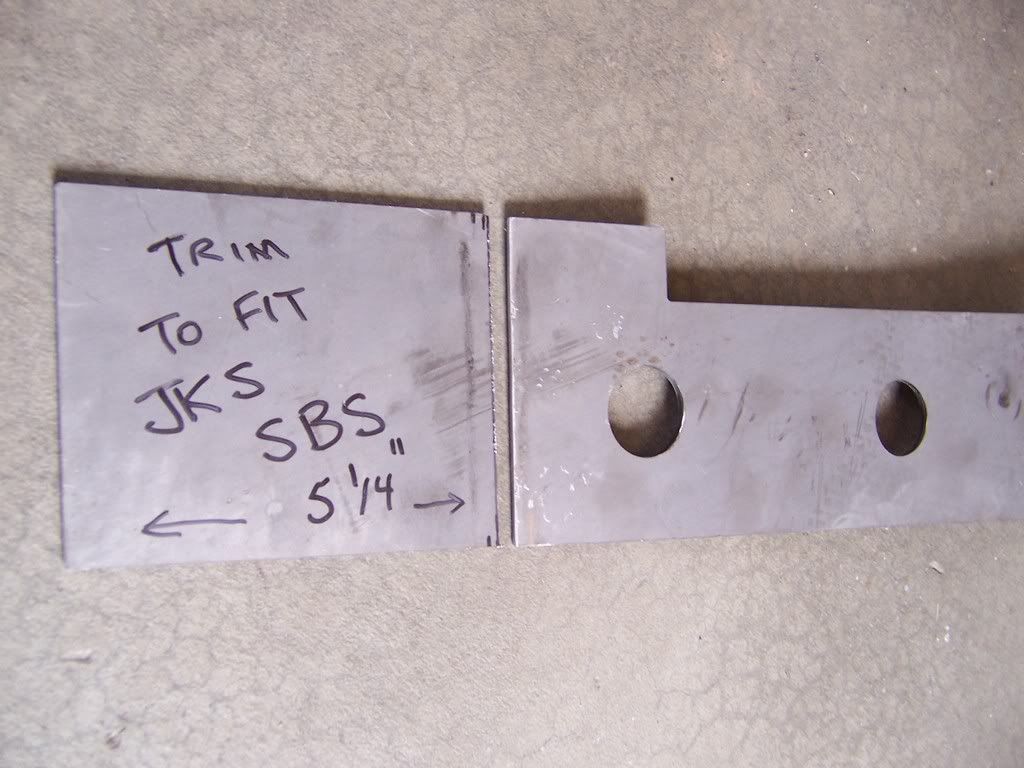
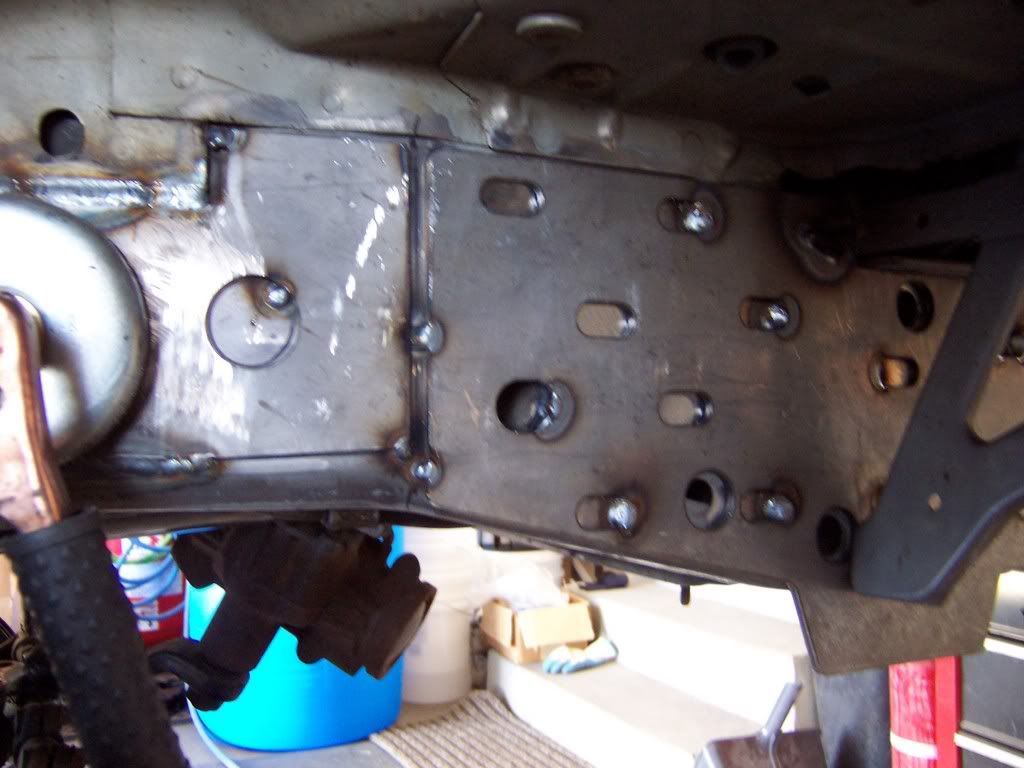
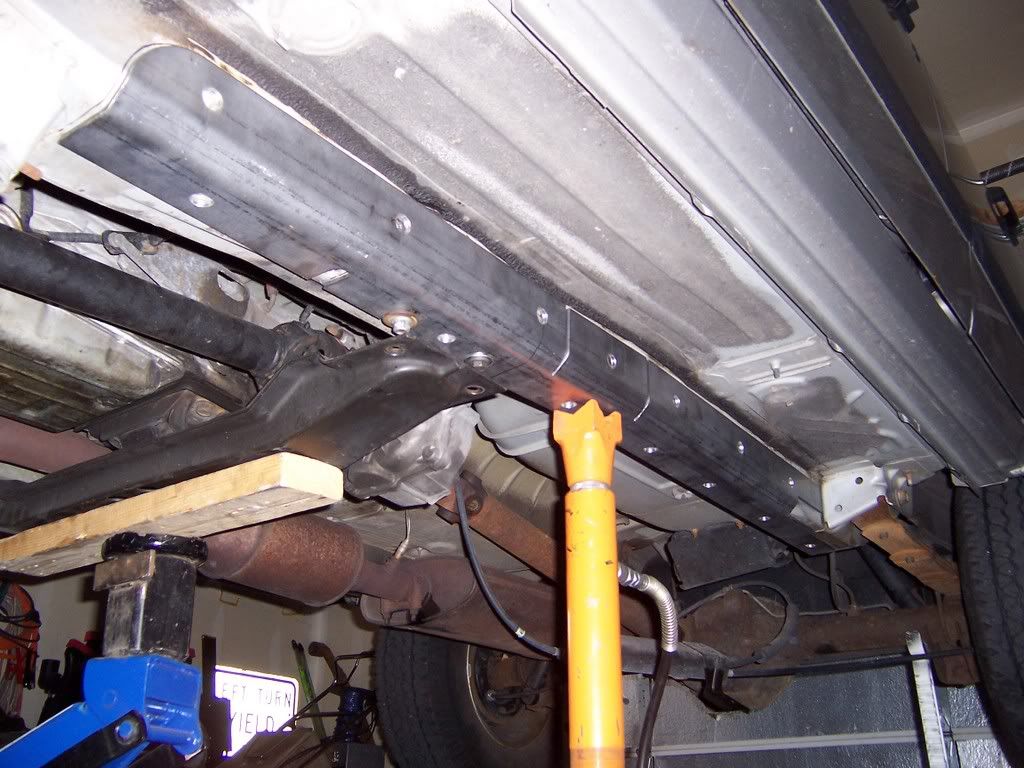
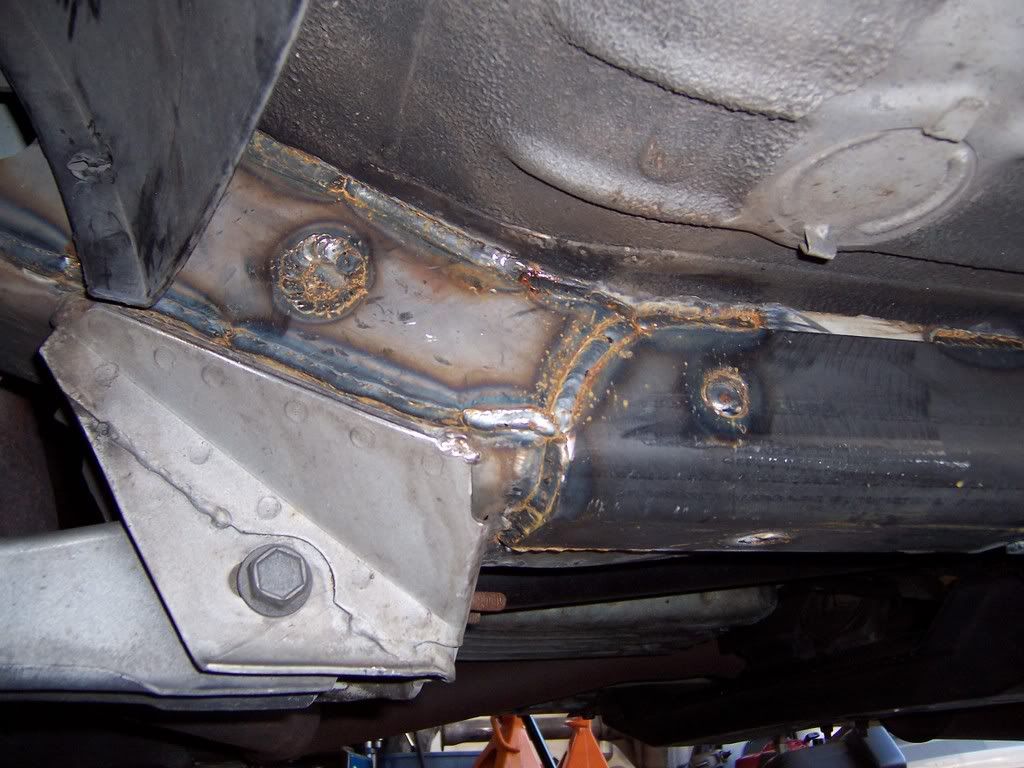
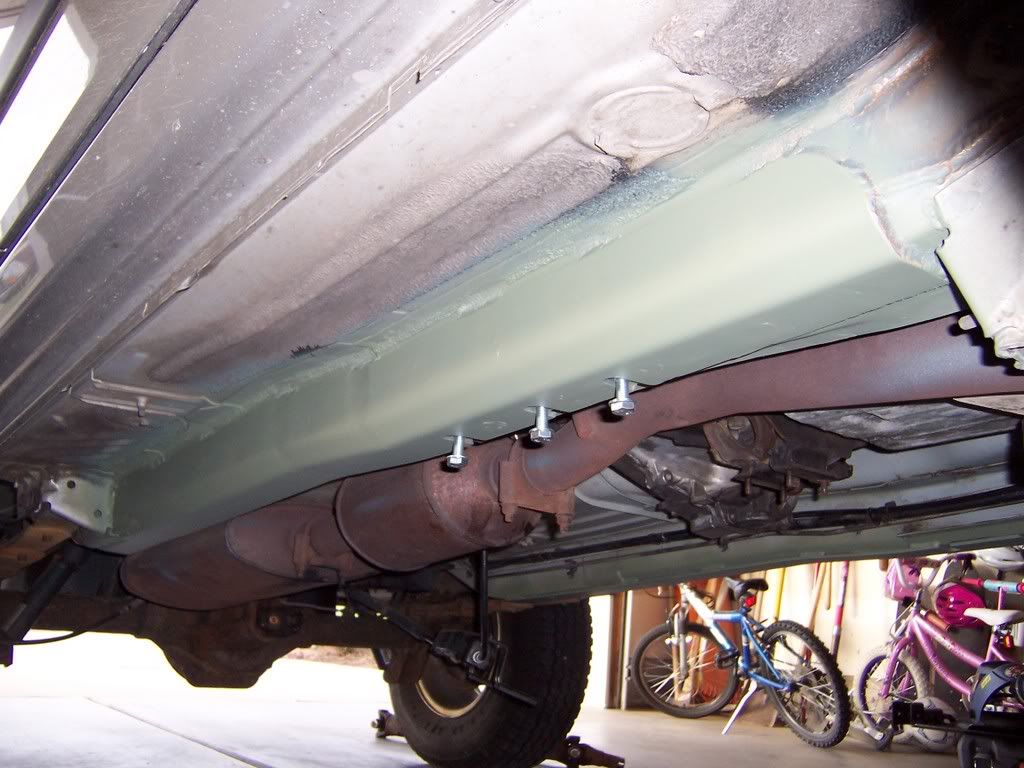
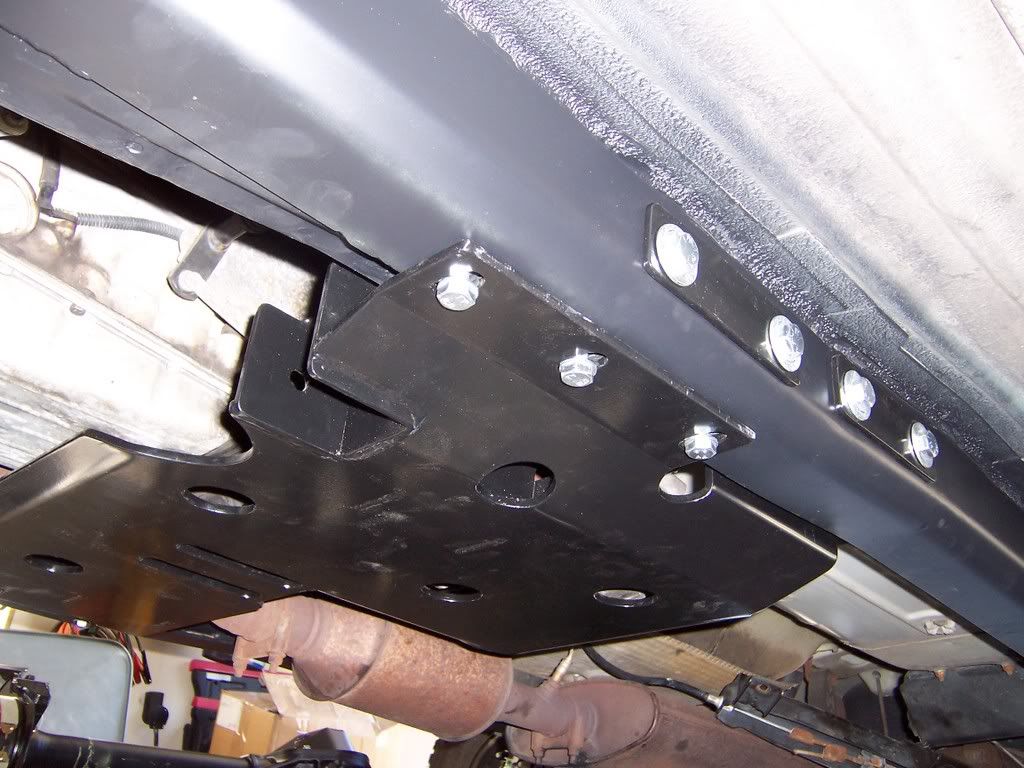
XJEEPER said:The TMR plates come long on each end to trim to your liking, I trimmed mine to line up with the T&T unirail stiffeners and will do the same up front to fit around the SBS. I'll have some pix this weekend to clarify.
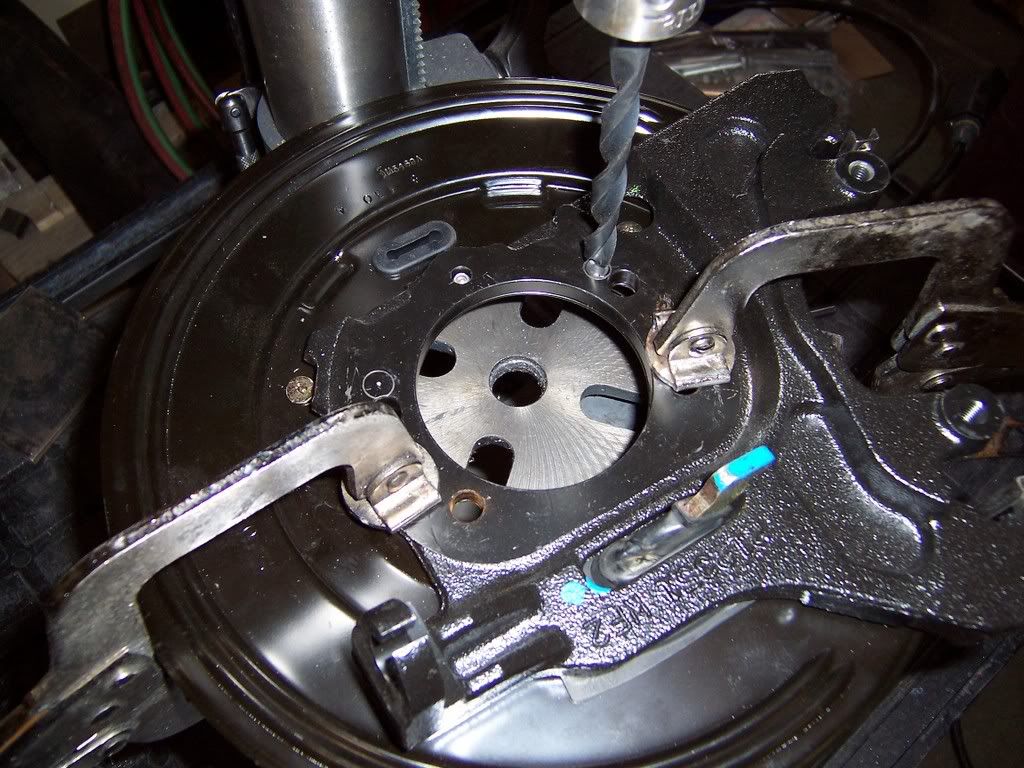
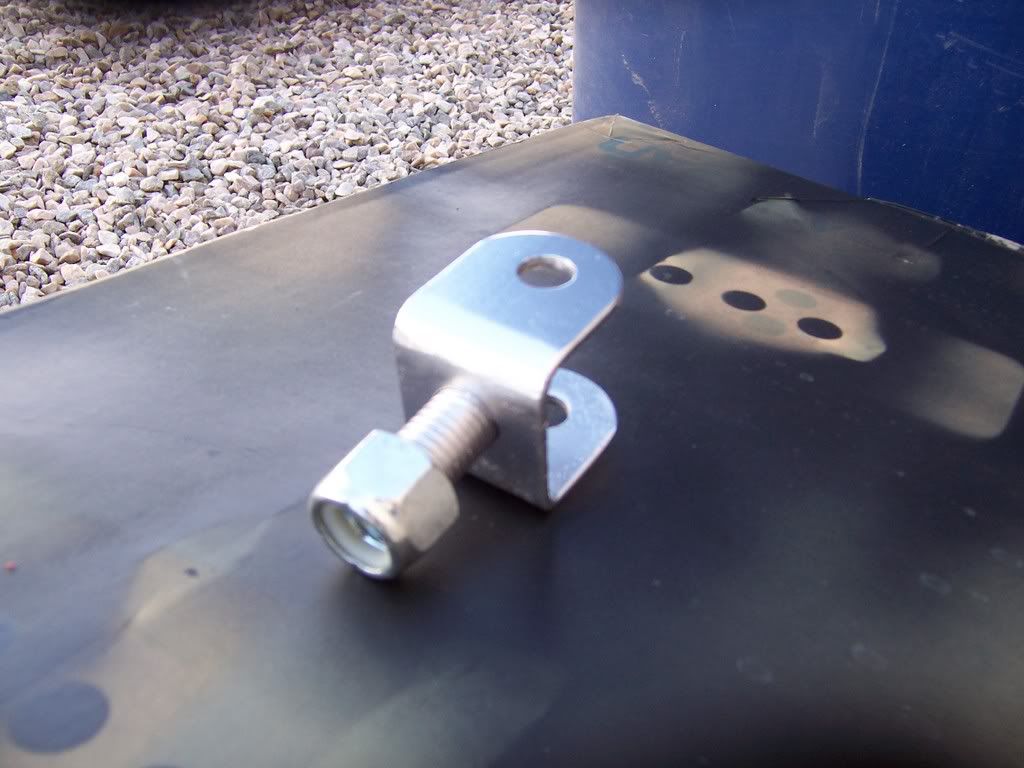
Putting some holes in the TnT plates?