- Location
- San Jose
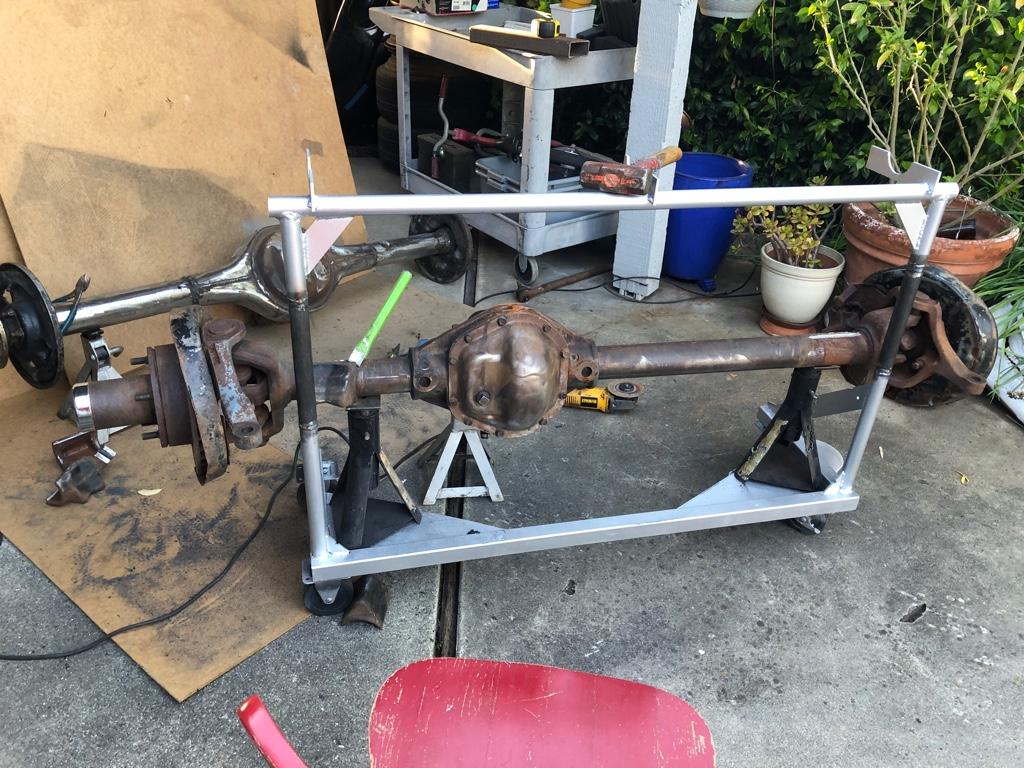
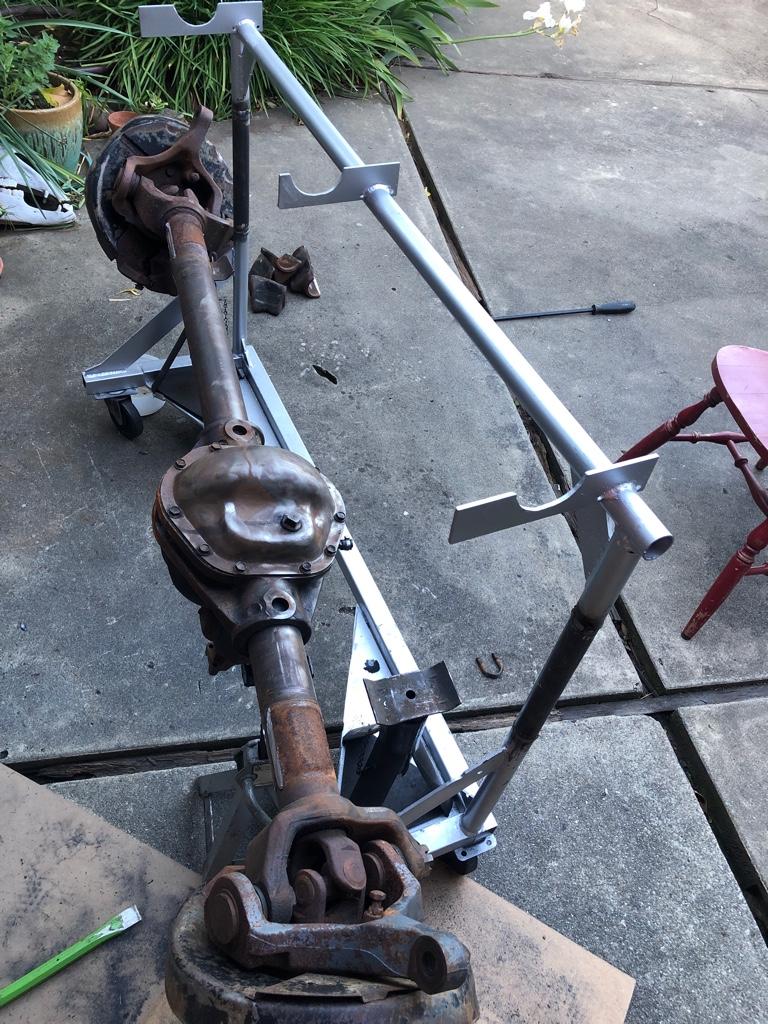
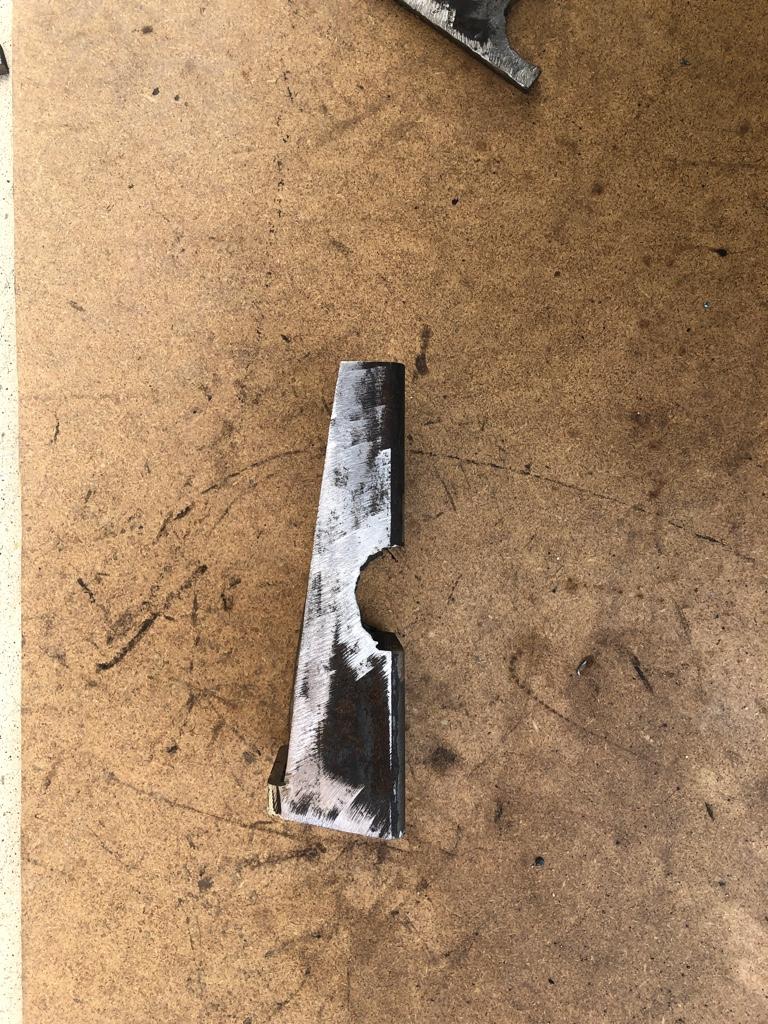
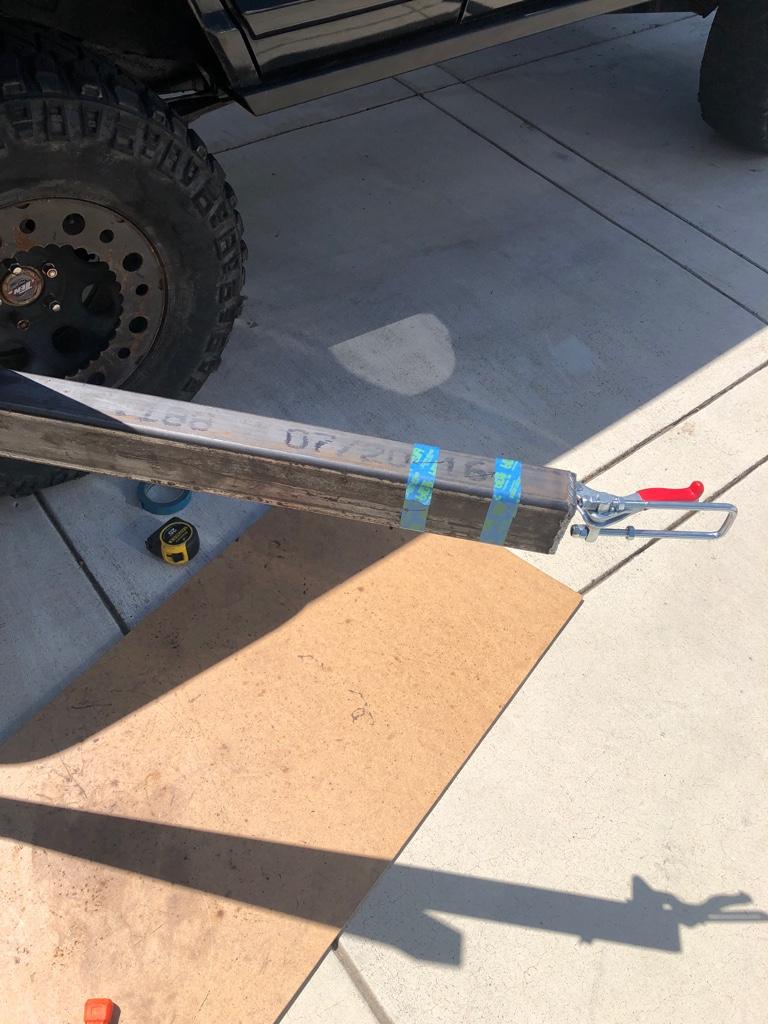
Looking back, I would like to get one more on each side. I thought I’d only have enough material for two on each side but I might have enough for another.
Sent from my iPhone using Tapatalk
Sent from my iPhone using Tapatalk