• Welcome to the new NAXJA Forum! If your password does not work, please use "Forgot your password?" link on the log-in page. Please feel free to reach out to [email protected] if we can provide any assistance.

Homemade crossmember

buzzbombxj

NAXJA Forum User
Location
lake chabot
I ended up building a crossmember for a few reasons.
1. I wanted a strong one to mount my skid plates off of.
2. I wanted more ground clearance.
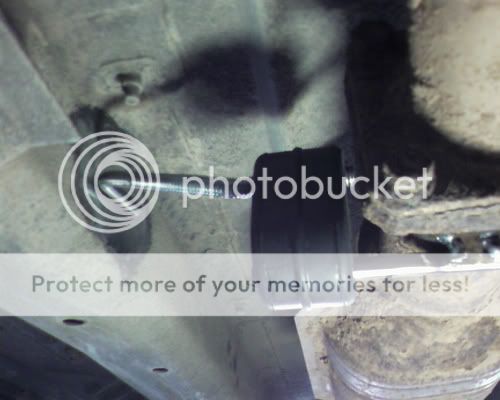
3. My old one was dented up pretty bad.
4. I will never buy anything I think I can build.
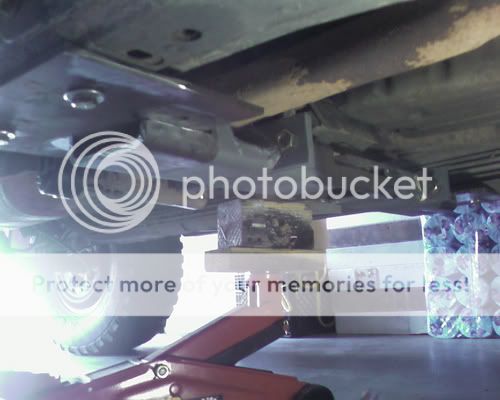
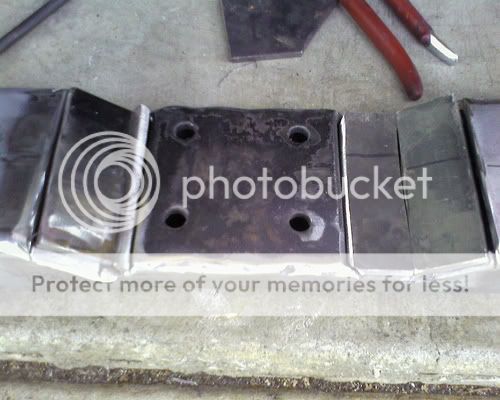
My old crossmember;
1.jpg

2.jpg

3.jpg

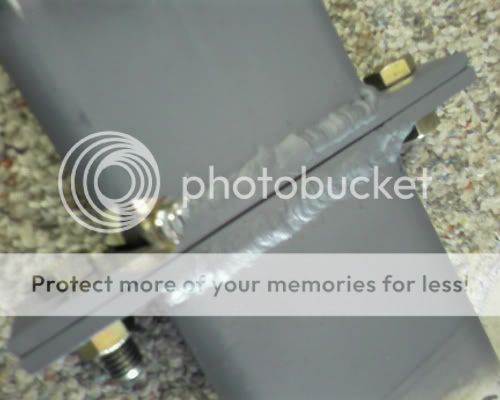
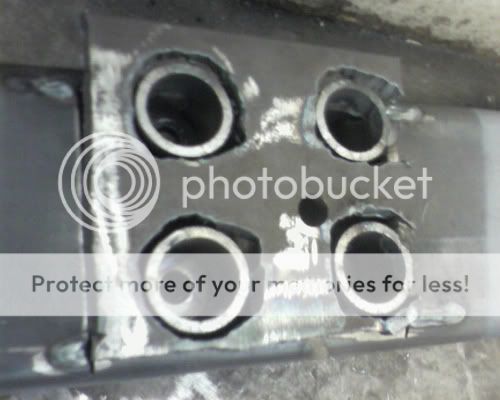
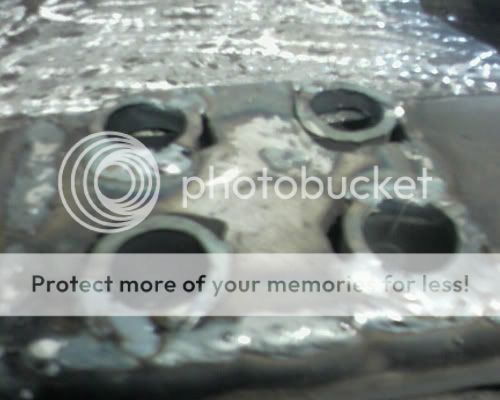
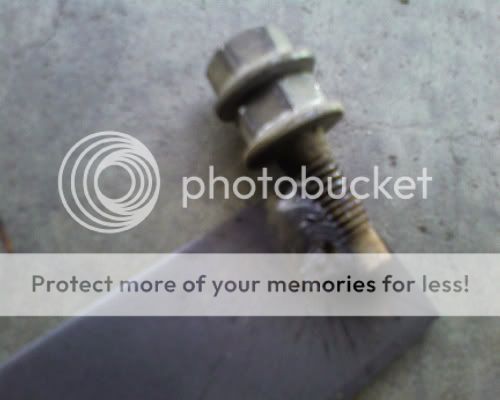
First I took out the studs and replaced them with grade 8 bolts
4.jpg

5.jpg

6.jpg

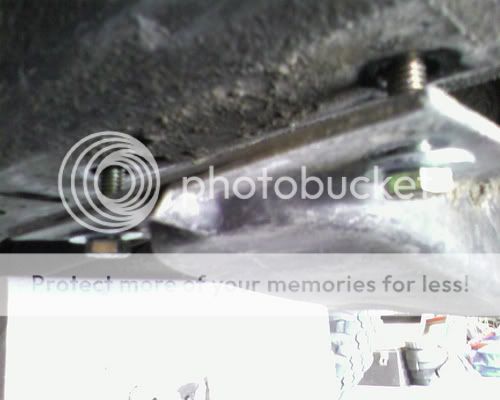
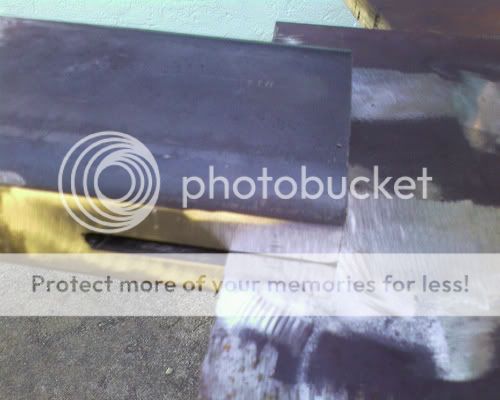
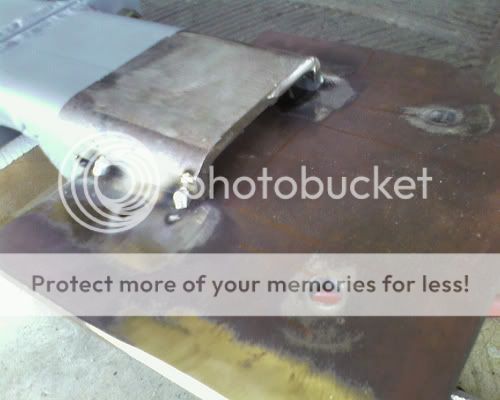
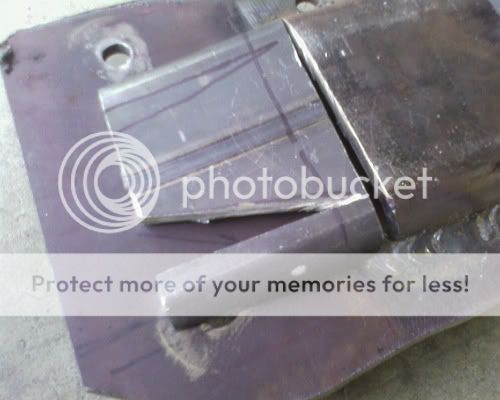
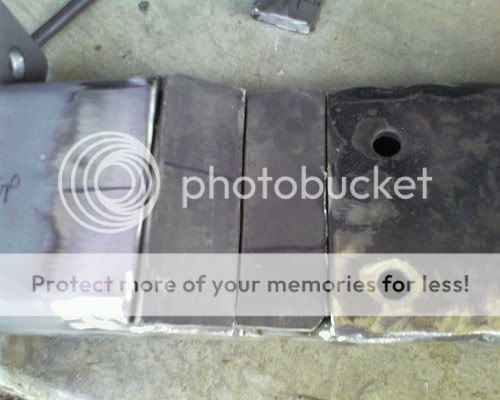
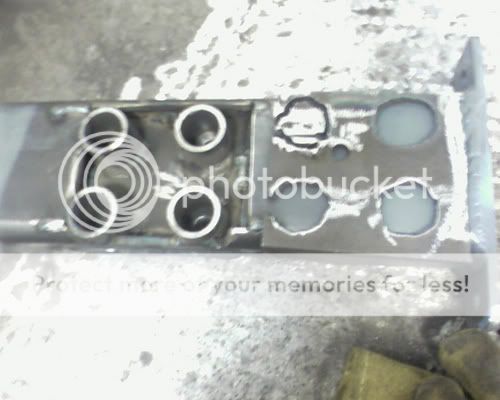
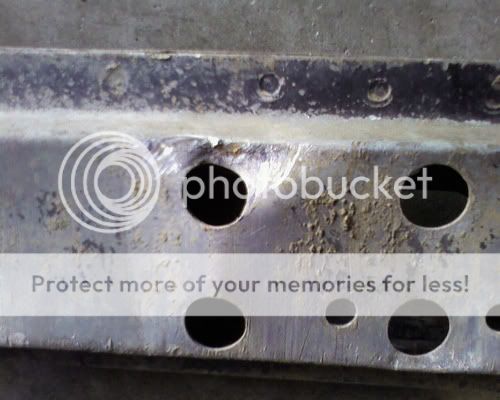
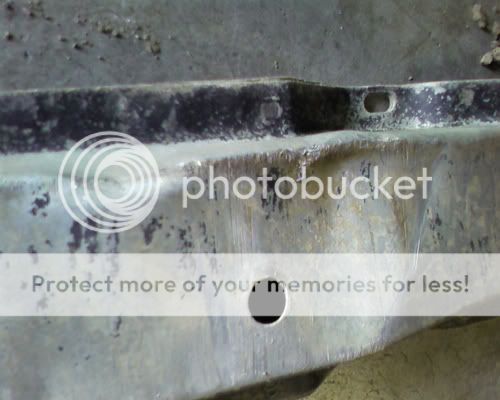
Next, I made some plates for the mounts
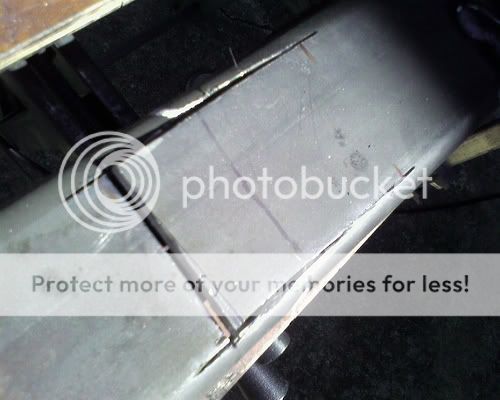
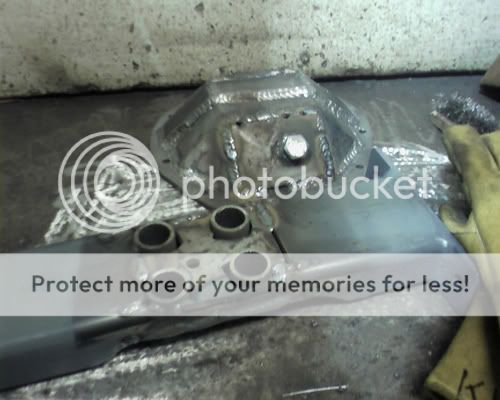
7.jpg

8.jpg

Tranny mount
11.jpg

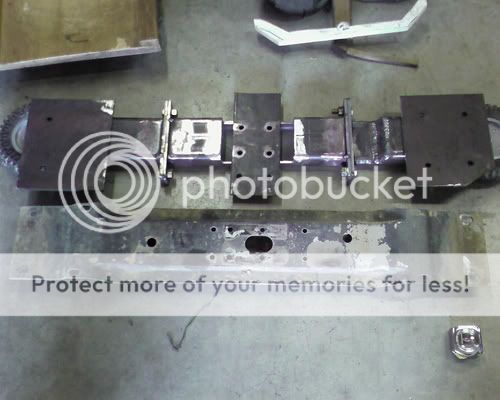
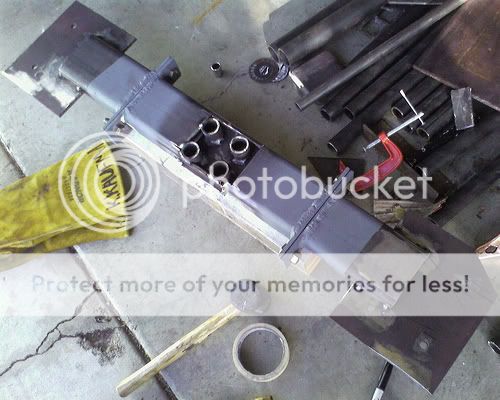
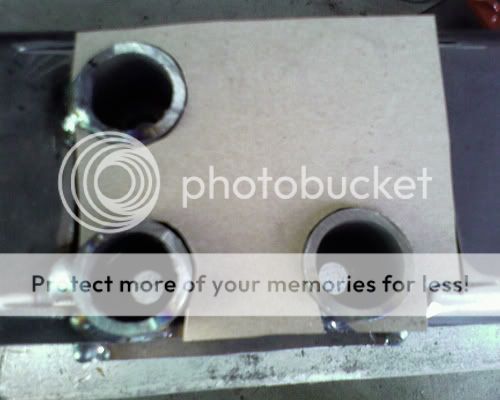
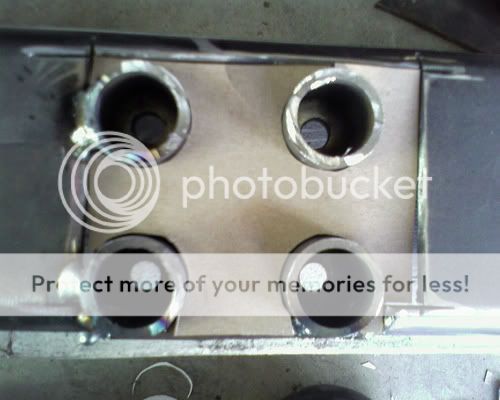
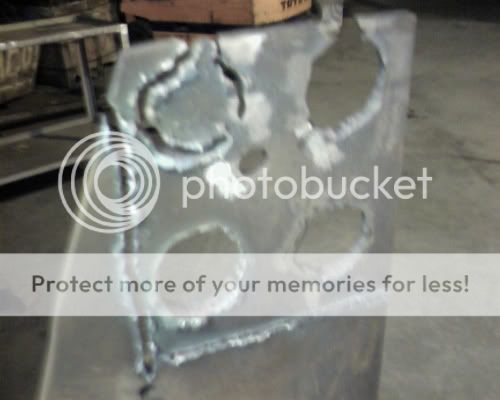
Now for some reason I got it in my head that I wanted to make the center section removable. It has its plusses and it was not hard to do so I am glad I did it. Check out my fancy jig
10.jpg
 
The old exhaust mount came off the crossmember, so I had to make a new one. I wish I would have plated the frame there, but someday I want to plate the whole inside there and do not want to have to work around it
12.jpg

Starting to take shape
13.jpg

I cut some slots in the box tube for where the mounting plate goes in
14.jpg

15.jpg

16.jpg

Had to cut out the bottom where the nuts thread on the studs
17.jpg

Did some welding at school
18.jpg

19.jpg

Not on the driver’s side though
20.jpg

I stuck it in place
22.jpg

Tacked it where I wanted it
23.jpg

Fitting the little tubes in the 2x4 was a little tight
24.jpg

More coming!
 
I made a cardboard template for patching the hole
26.jpg

27.jpg

28.jpg

Old and new so far
29.jpg

Now for the first time ever, the new crossmember actually holding up the transmission. At this point, I could see the light at the end of the tunnel, and know it actually fit and everything made all the little stuff next much more fun
30.jpg

That is, I felt great about it until I realized that I had perfectly located the flange where the center part of the crossmember bolts to the driver’s side piece directly under the front driveshaft
31.jpg

Not one to be easily dissuaded by unimportant things like driveline clearance, I forged on. Next, I made some pieces to add weld and box in the outside pieces
33.jpg

34.jpg

35.jpg

36.jpg
 
Then it was time to start boxing in the center section
32.jpg

37.jpg

38.jpg

Looking good
39.jpg

Lots of stuff to weld on the 220 machine
40.jpg

Squirting it all together
41.jpg

42.jpg

I had this plate all drawn up for a buddy of mine to punch the holes out for me at the shop he works at.
44.jpg

I waited for a while, so I cleaned up what was already done
45.jpg

Then I got sick of waiting, so I grabbed the plasma at school and boogered me out a plate
46.jpg

Cleaned it up
47.jpg

Fits well
48.jpg
 
Welderd it all up
49.jpg

50.jpg

Can see my diff cover in there too
51.jpg

52.jpg

53.jpg

54.jpg

Finally done!
55.jpg

56.jpg

Am I happy with it? Yes, kinda. Originally, I wanted it to be flush with the frame rails. As it is I cut the 2x4 down to 1.25” tall in two places to clear stuff, and the transfer case/transmission has 1/8th of an inch of clearance from the floor. If I did it again I would have run the structure of the crossmember around the sides of the mount to get clearance there, but you still would have issued with the driveshaft and exhaust. Now I have a crossmember that is made entirely of .250 wall steel and has ¾ of an inch better clearance.
 
Back
Top