• Welcome to the new NAXJA Forum! If your password does not work, please use "Forgot your password?" link on the log-in page. Please feel free to reach out to [email protected] if we can provide any assistance.

My home made HD brake: Dual purpose floor press

muddyrocks

NAXJA Forum User
Location
Zebulon,NC
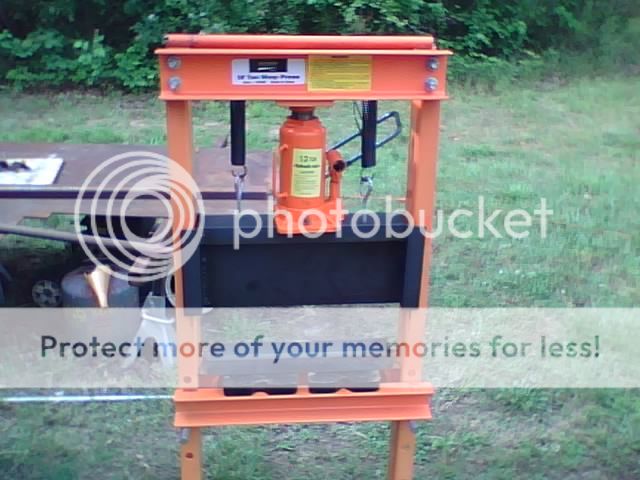
This was my first welding attempt 3 years ago.

05-05-09_1401.jpg


Between raindrops today I busted it back out, reconfigured it from it's normal configuration, and used it to bend up some 3/16" for my belly pan.

Back when I thought of it and made it, it was new to me (I had not seen one made like this) and I thought, "dang, this is cool", but at this point I feel sure you have seen this before.

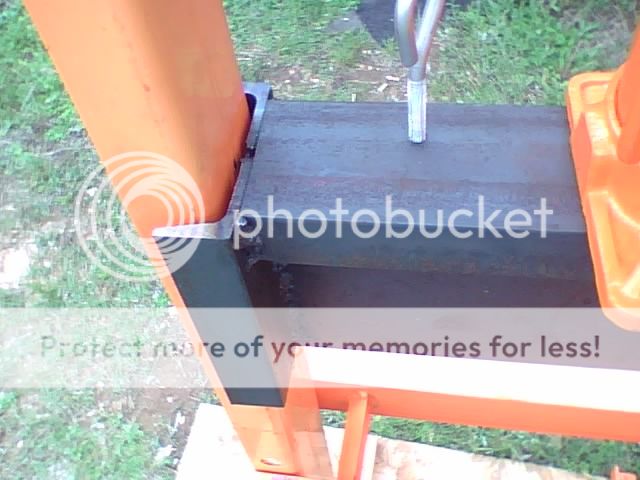
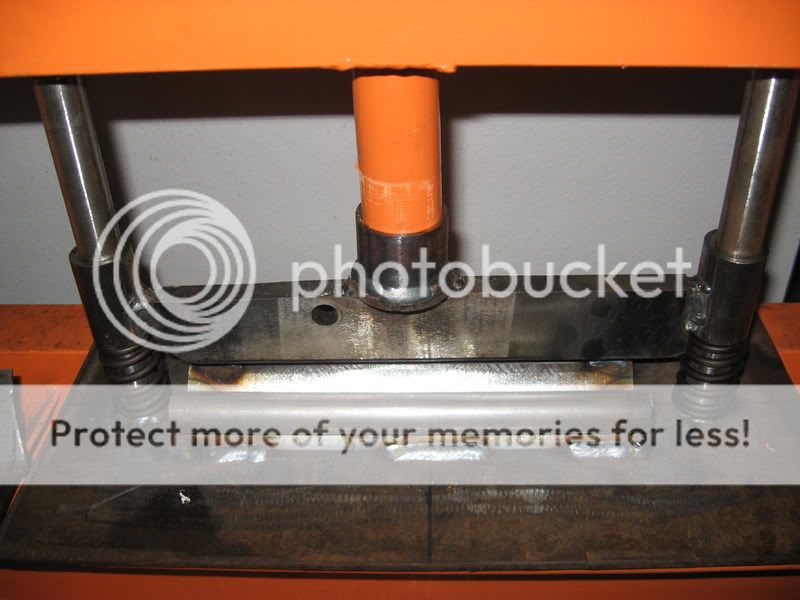
Bending 3/16"x11" plate:
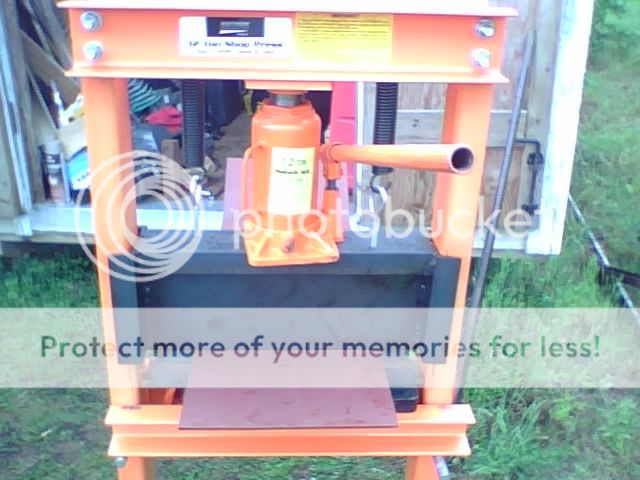
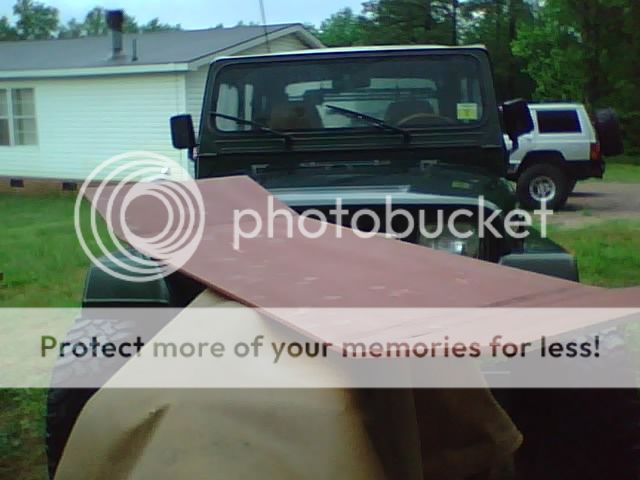
05-05-09_1432.jpg


Plate formed!
05-05-09_1807.jpg


I've bent 3/16"x 16" and 3/8" material 2" wide; I'm not anxious to find the limits but the machine has handled all I've put in it.
 
not bad. i need a press. wonder if theres a way i can make one to do both. pess and press brake hmmmmmm my lil wheels are turning now.
 
Your speaking of the item above: I remove the four bolts on top and the top beam comes off along with the press bed and pump. I insert my brake blade and reinstall the pump and top beam and it's mounting bolts. Takes about 5 minuets to convert.
 
So that is the YJ you were talking about in the other thread... nice condition. You need to take it out and put some dents in it!

Clever set up... perhaps I had not looked, but this is the first time I´ve seen one.
 
That's the one. She has a few 'badges' all from School Bus/Guardrail.

I cant remember seeing one, but knowing this group I figured it might be old hat...
 
The blade is 3/8" with a round edge. The receiver is 3" channel as is the pump base/blade top. The guides are cut from the same 3" channel but needed to be wider so I cut 4 lengths and welded them to the blade sides.
 
My pops made one like that but an upside down version of yours. He just used some old dies they were getting rid of at his work but really you dont even need a die. I like the way you did it.
 
ok, got it, I considered that approach but my use of angle iron for the dies would have left room for improvement. ie: 90 degree, or less, bends.
 
ok, got it, I considered that approach but my use of angle iron for the dies would have left room for improvement. ie: 90 degree, or less, bends.
Most dies I have seen can only do 90* unless they have an offset top like __/
 
cool deal, looks similar to the one I made a while ago from scraps, 4.0L valve springs, the top punch is made from my old pro tools bender arm I ruined. Works great!
IMG_1637.jpg
 
I knew there was another one out there... seems when one person thinks something another person has the same thought. Nice piece.
 
Here are some additional pics that I was asked for... sorry it has taken so long. :)

A pic of the press including the top beam. It is a Northern Tools 12 ton press. I would like to do this to a 50 ton press to gain the extra width but it isn't high on my priority list right now.
05-16-09_0955.jpg

Note in the above pic that the receiver channel, the channel on the bottom, has been clearenced on the ends to allow the blade full downward travel. This could also have been achieved by removing material from the guides on the blade but I saw this as the easiest way.

A pic of the channel attached to the blade. I gave the blade enough room so that there would be no binding during travel.
05-10-09_1129.jpg


I built this on the fly and as such there are no plans for it. Simply measure the press frame you intend to make a break-blade for, frame width and support width, and allow at least an 1/8" inch play all around.
 
Last edited:
Back
Top