DanMan2k06
NAXJA Forum User
- Location
- Damascus, MD
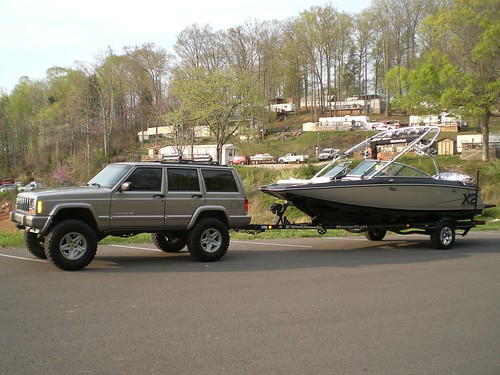
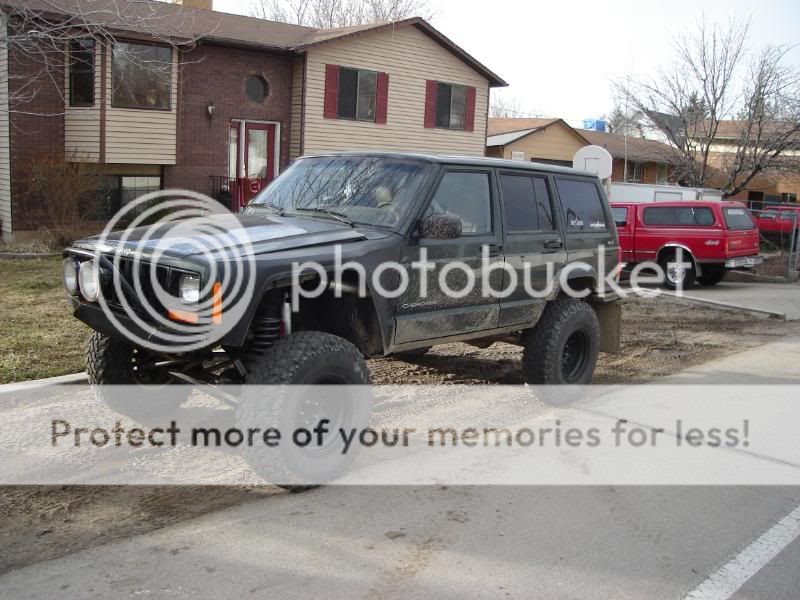
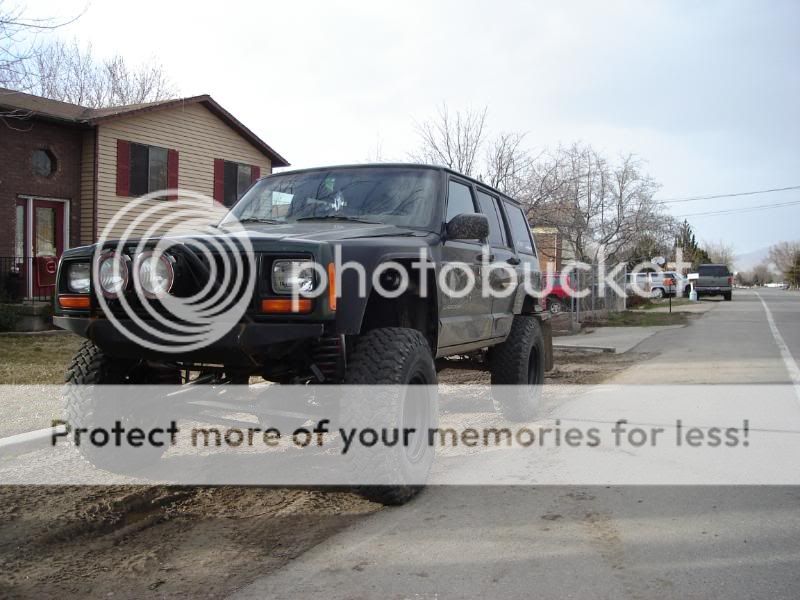
I have always been a huge fan of the AEV Bridger wheels, But blowing $179 a pop just isn't economical or sane. So I set out to find a set of wheels that looks similar, and much cheaper. The Moab wheels seemed to be pretty close, but were a little too "squared off", and EVERYONE seems to be running them. Also, even in 16's they seem to be around $80-120 a piece. 17's are around $60 a piece, but then you need new tires, and spacers which again is just too expensive. Then I came across the Icon's. The seems to be a great match, but had an extra raised rib in the middle of each spoke. Whatever, close enough. I scored a set of 5 for $195 at the local yard.
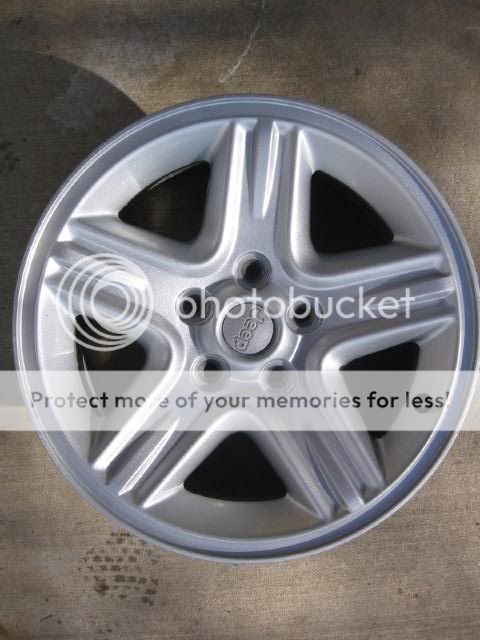

If they had come in gunmetal, half of my trouble would have already been over. Unfortunately they were the Limited silver, not Classic gunmetal. So it was time to paint.
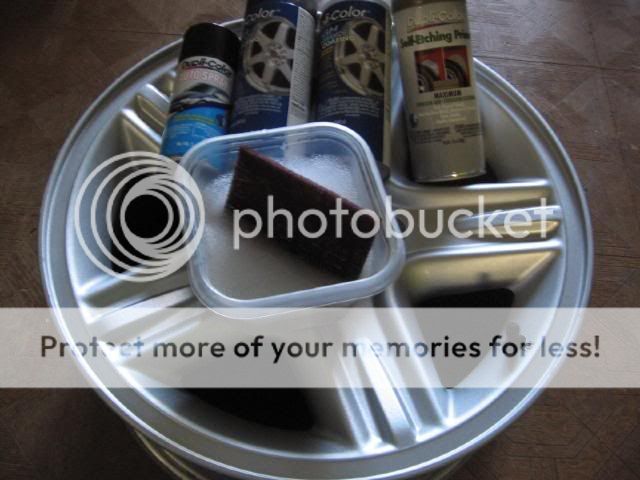
Here is everything you'll need. 220 or 320 grit sandpaper, self-etching primer, gunmetal wheel paint, and clear wheel paint. I also bought a little can of metallic black for the centercaps.
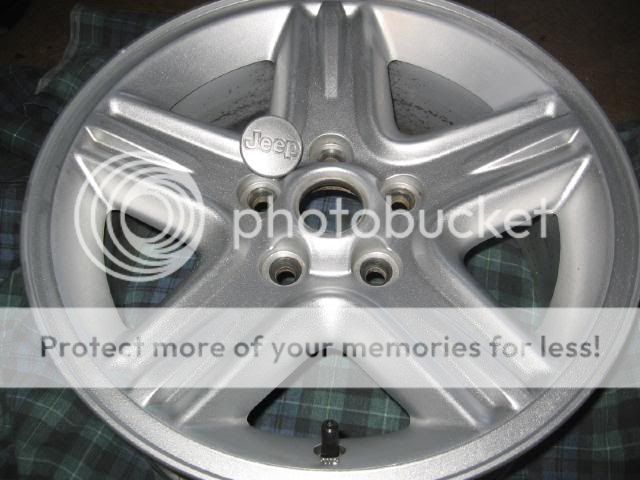
Start by removing the centercaps. These pop out easily from the back with a little screwdriver.
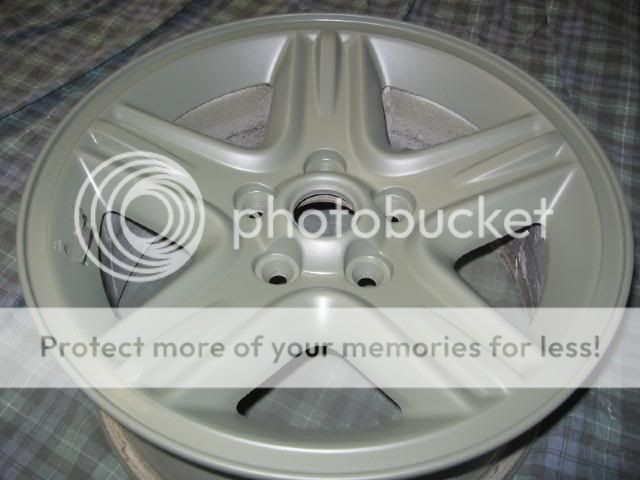
Then start sanding away. This is easily the most important step. I used a 220 grit sanding pad from 3M. Worked great, but took a lot of effort. Make sure to get into every little crevice and nook. The lip and corners of the spokes seemed to be the trickiest. Keep at it until everything is no longer glossy.
In a couple places around the bottom of the spokes I went through to the aluminum. This is no big deal, as the self etch primer will take care of it.
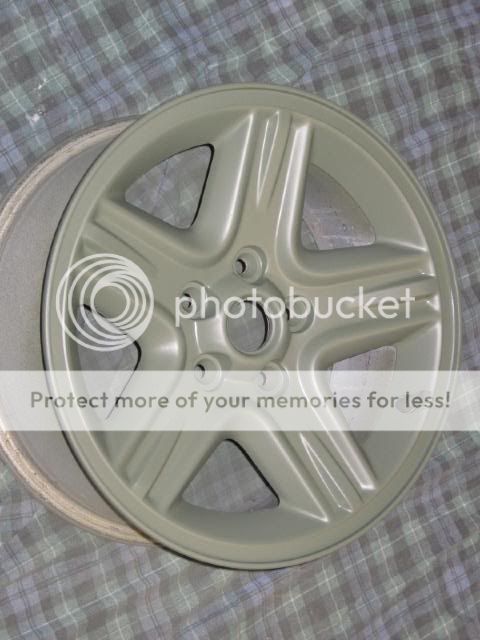
Next comes priming. TAKE YOUR TIME. I did 1 extremely light coat, let it tack for about 5 minutes, followed by 2 more medium/light coats. I let that set up for about an hour, and then came back with one last medium/heavy coat. Make sure it does not run. Be sure to get around the wheel lip on the inner side, as well as the lug holes.
Next it's time for paint. For this, each coat I did was a little heavier. 1 super light dusting, just to get a tacky surface. Then a light coat with full, even coverage. Let it sit for about 5 minutes. Did another medium/light coat, waited 10 minutes, and finished with one last heavy coat. The last coat was super thick, and I laid it down as thick as I possibly could without runs.
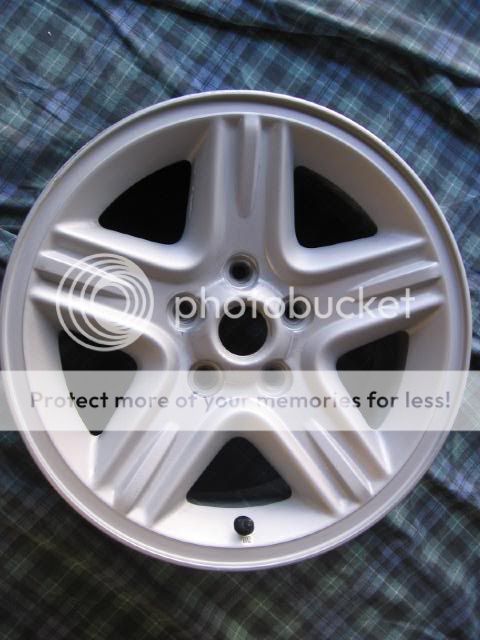
Here is after the first light coats.
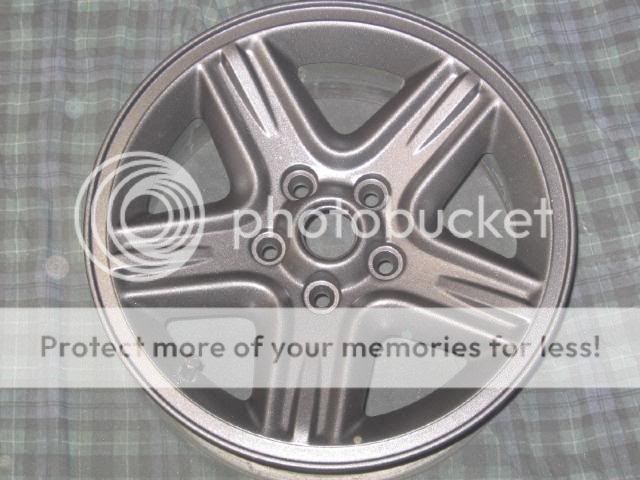
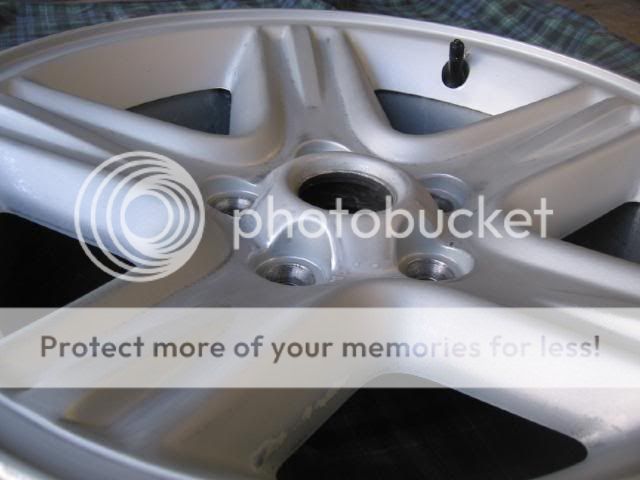
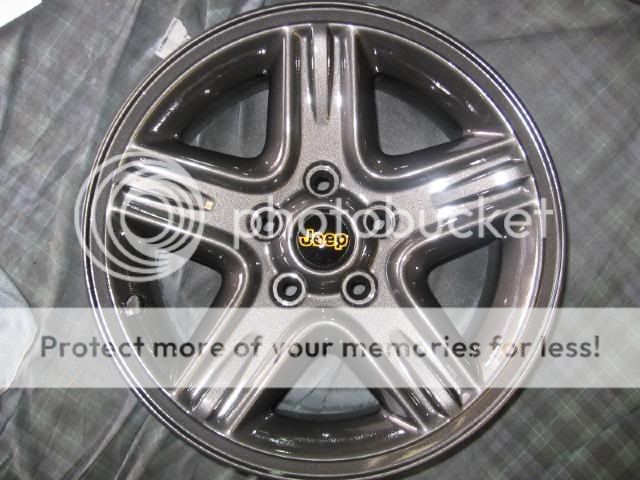
And after the last 2 heavy coats. Very glossy.
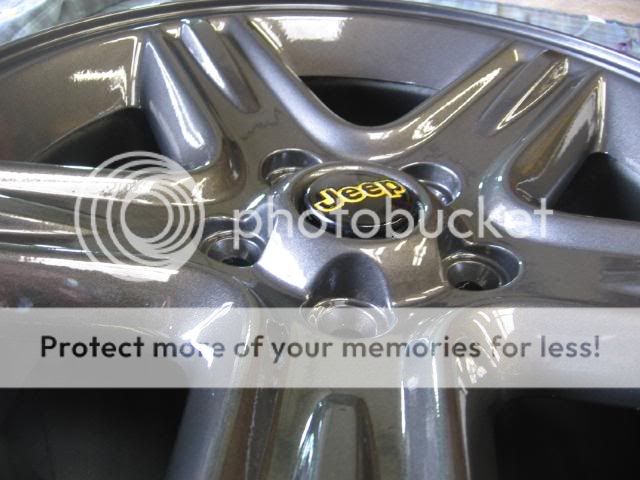
Here are the centercaps. The AEV's have a yellow bull or some little logo in the middle, so I decided to paint the engraved surround yellow, and the rest black. I had to spray the black on SUPER thick. Then use a brush to get the yellow in the grooves, and finally sand down the black with 1500 to remove any rogue yellow. Then cleared them.

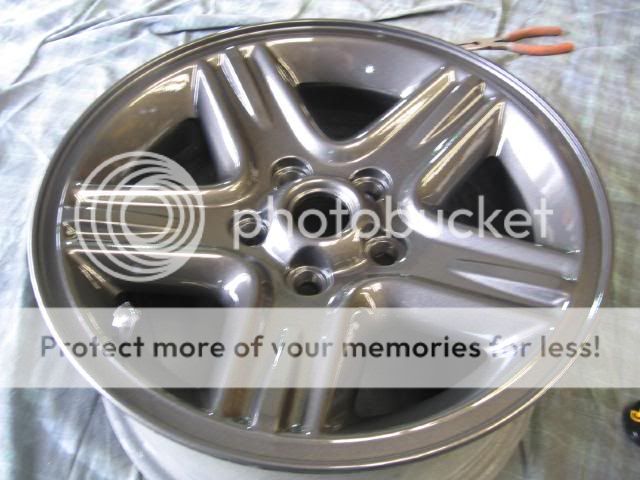
Next came the clearcoat. I did 1 light coat once again for tack, followed by 2 extremely heavy coats. Both very thick, but NOT runny or sagging. I'm going to let them cure for at least a week before I put the tires back on. After all this work I'm not going to rush anthing. Here they are complete. Extremely glossy. Pretty good, I think")
Edit: BAH!!! After all that typing I put it in the wrong forum. Mods move to Paint/Body if necessary.
If they had come in gunmetal, half of my trouble would have already been over. Unfortunately they were the Limited silver, not Classic gunmetal. So it was time to paint.
Here is everything you'll need. 220 or 320 grit sandpaper, self-etching primer, gunmetal wheel paint, and clear wheel paint. I also bought a little can of metallic black for the centercaps.
Start by removing the centercaps. These pop out easily from the back with a little screwdriver.
Then start sanding away. This is easily the most important step. I used a 220 grit sanding pad from 3M. Worked great, but took a lot of effort. Make sure to get into every little crevice and nook. The lip and corners of the spokes seemed to be the trickiest. Keep at it until everything is no longer glossy.
In a couple places around the bottom of the spokes I went through to the aluminum. This is no big deal, as the self etch primer will take care of it.
Next comes priming. TAKE YOUR TIME. I did 1 extremely light coat, let it tack for about 5 minutes, followed by 2 more medium/light coats. I let that set up for about an hour, and then came back with one last medium/heavy coat. Make sure it does not run. Be sure to get around the wheel lip on the inner side, as well as the lug holes.
Next it's time for paint. For this, each coat I did was a little heavier. 1 super light dusting, just to get a tacky surface. Then a light coat with full, even coverage. Let it sit for about 5 minutes. Did another medium/light coat, waited 10 minutes, and finished with one last heavy coat. The last coat was super thick, and I laid it down as thick as I possibly could without runs.
Here is after the first light coats.
And after the last 2 heavy coats. Very glossy.
Here are the centercaps. The AEV's have a yellow bull or some little logo in the middle, so I decided to paint the engraved surround yellow, and the rest black. I had to spray the black on SUPER thick. Then use a brush to get the yellow in the grooves, and finally sand down the black with 1500 to remove any rogue yellow. Then cleared them.
Next came the clearcoat. I did 1 light coat once again for tack, followed by 2 extremely heavy coats. Both very thick, but NOT runny or sagging. I'm going to let them cure for at least a week before I put the tires back on. After all this work I'm not going to rush anthing. Here they are complete. Extremely glossy. Pretty good, I think
Edit: BAH!!! After all that typing I put it in the wrong forum. Mods move to Paint/Body if necessary.