- Location
- Lafayette, CA
Since the tech is a bit lacking around here, I thought I would spice it up.
Several companies make frame stiffeners that go from the lower control arm mount, to the spring hanger. These are becoming a common addition for the average wheeler, and considerably help the strength of the unibody.
Now what about the front of the unibody, going from the lower control arm mount forward to the front bumper? And, do you really need this?
At some point I plan on adding a cage, and I wanted to weld my track bar brace to my “frame” but didn’t want to weld it to the thin stock frame rail. A plate stretching from my TnT stiffeners to my front bumper would help the front end keep some structural integrity, allow for cage mounting locations, and also give me a solid mount for my track bar bracket.
Temper-Metal Racing, or TMR, seems to be the only company to make frame stiffeners that go in the front. Those can be bought here:
http://www.temper-mentalracing.net/services.htm
But since I had time, a 4’x6’ sheet of 1/8’’ steel, and some time, I decided to make them myself and save $100. So here I go, off to build me some frame stiffeners.
First I sat down and figured out where I wanted the plating to go. My plan was to go from my front bumper, back to the TnT stiffeners I already had installed a couple years ago.
Step 1: Pull the front wheels off, and lower frame onto jack stands.

Step 2: Remove engine, transmission, transfer case, and front suspension.
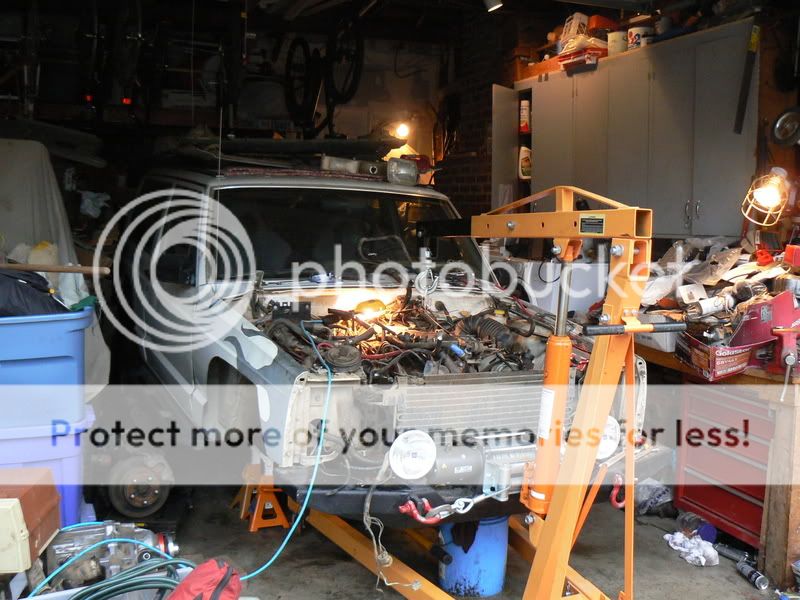

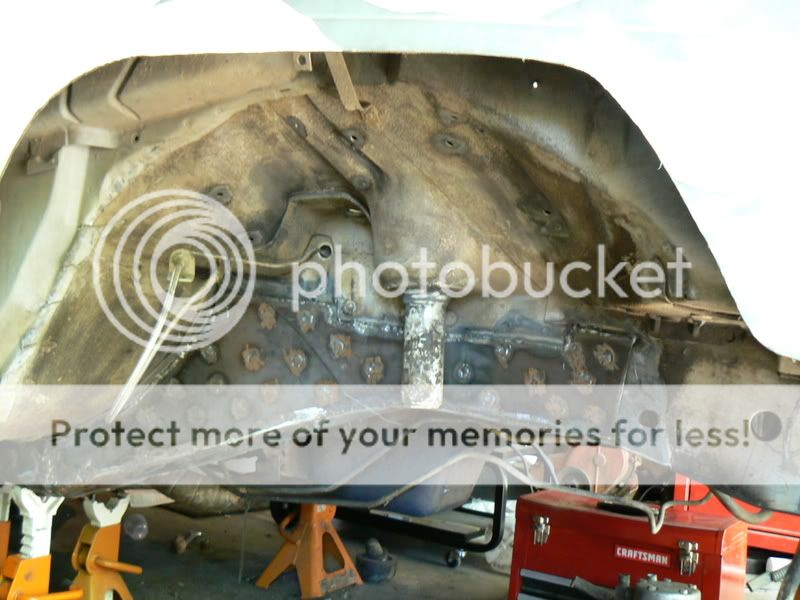
Step 3: Take a look at what you are starting with.
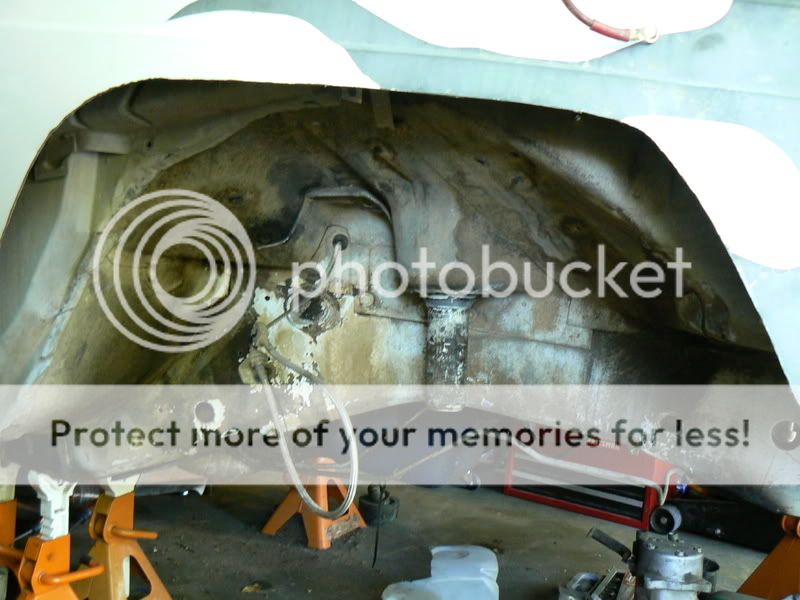
Step 4: Grind off the paint, mud, dirt, and anything else you can get off to get down to bare metal.

Step 5: Take your preferred brand of cereal, and eat until you have a box that you can cut into a template. Make said template, transfer it onto your sheet of metal, cut out, and look at your handy work.
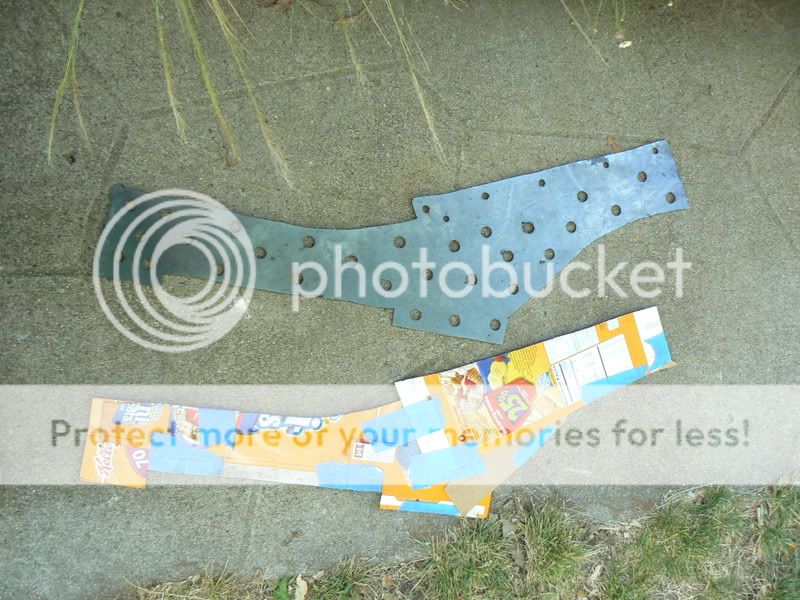
Step 6: By now it has taken me about an 1.5 hours. I then figure I should drill some ½’’ holes for plug welds. I think I went a bit overboard with them, and it took me another 2 hours just to drill all those freaking holes with our hand drill and dull bits.
Step 7: Admire your handiwork, and set those things up there. A bit of love from the grinder, and they fit like a glove. I used a C clamp to get the stiffener as close to the frame as possible, and then tacked it in place.
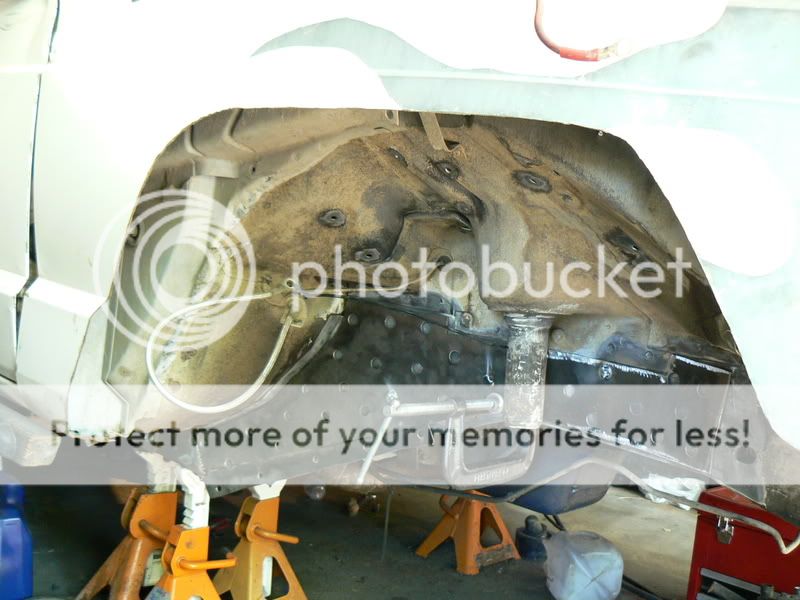
Step 8: Weld it in! There are many different ideas on what is best, and I am far from an expert, but I ended up welding the entire outside, and all of the plug welds. It took me about 2 hours to weld each side. Alternating spots, letting it cool, and coming back and doing different sections.
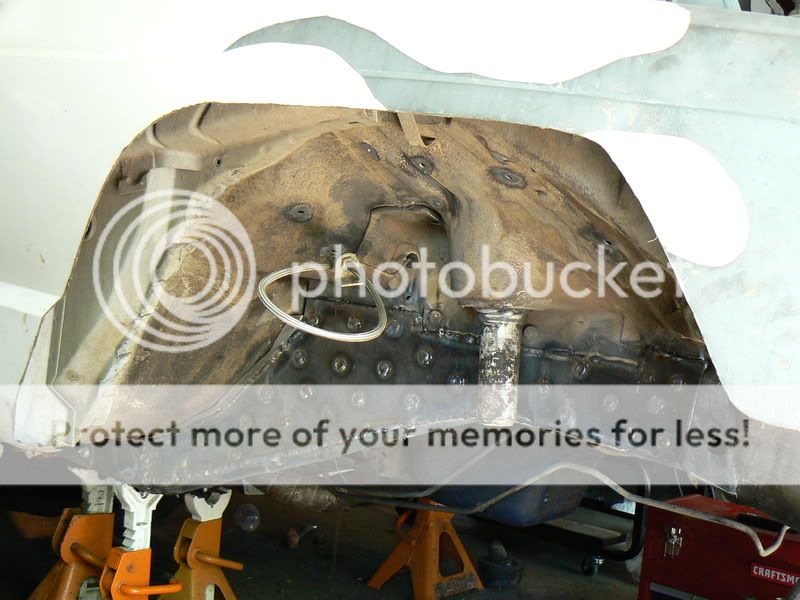
Step 9: Grind down all the plug welds to make it look better.
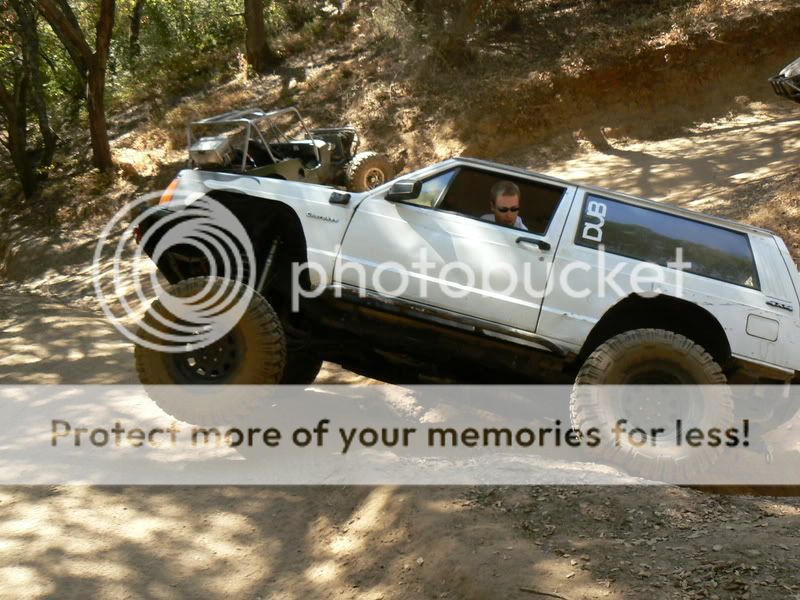
Step 10: Paint, reinstall motor, engine, tranny, and tcase. Then go test them out.
Notes:
-I ended up cutting the plates so that I could get my bumper on. I have a homemade bumper, and I made it tight enough that I couldn’t get a 1/8’’ (1/4’’ total) plate on each side. Unwilling to rework the bumper, I just made the plate fit to the bumper. At some point Ill be building a new bumper, and incorporate a plate that will go all the way to the front of the frame.
-I have no idea if I properly welded them on, or not. There is a lot of debate about the proper way to weld on a unibody, so proceed at your own risk.
-Step 1 and 2 are optional, but not having to deal with the coil spring and shock sure helped.
-My winch bumper build:
http://naxja.org/forum/showthread.php?t=968021
-Don’t burn down your house, and always wear protection!
Several companies make frame stiffeners that go from the lower control arm mount, to the spring hanger. These are becoming a common addition for the average wheeler, and considerably help the strength of the unibody.
Now what about the front of the unibody, going from the lower control arm mount forward to the front bumper? And, do you really need this?
At some point I plan on adding a cage, and I wanted to weld my track bar brace to my “frame” but didn’t want to weld it to the thin stock frame rail. A plate stretching from my TnT stiffeners to my front bumper would help the front end keep some structural integrity, allow for cage mounting locations, and also give me a solid mount for my track bar bracket.
Temper-Metal Racing, or TMR, seems to be the only company to make frame stiffeners that go in the front. Those can be bought here:
http://www.temper-mentalracing.net/services.htm
But since I had time, a 4’x6’ sheet of 1/8’’ steel, and some time, I decided to make them myself and save $100. So here I go, off to build me some frame stiffeners.
First I sat down and figured out where I wanted the plating to go. My plan was to go from my front bumper, back to the TnT stiffeners I already had installed a couple years ago.
Step 1: Pull the front wheels off, and lower frame onto jack stands.
Step 2: Remove engine, transmission, transfer case, and front suspension.
Step 3: Take a look at what you are starting with.
Step 4: Grind off the paint, mud, dirt, and anything else you can get off to get down to bare metal.
Step 5: Take your preferred brand of cereal, and eat until you have a box that you can cut into a template. Make said template, transfer it onto your sheet of metal, cut out, and look at your handy work.
Step 6: By now it has taken me about an 1.5 hours. I then figure I should drill some ½’’ holes for plug welds. I think I went a bit overboard with them, and it took me another 2 hours just to drill all those freaking holes with our hand drill and dull bits.
Step 7: Admire your handiwork, and set those things up there. A bit of love from the grinder, and they fit like a glove. I used a C clamp to get the stiffener as close to the frame as possible, and then tacked it in place.
Step 8: Weld it in! There are many different ideas on what is best, and I am far from an expert, but I ended up welding the entire outside, and all of the plug welds. It took me about 2 hours to weld each side. Alternating spots, letting it cool, and coming back and doing different sections.
Step 9: Grind down all the plug welds to make it look better.
Step 10: Paint, reinstall motor, engine, tranny, and tcase. Then go test them out.
Notes:
-I ended up cutting the plates so that I could get my bumper on. I have a homemade bumper, and I made it tight enough that I couldn’t get a 1/8’’ (1/4’’ total) plate on each side. Unwilling to rework the bumper, I just made the plate fit to the bumper. At some point Ill be building a new bumper, and incorporate a plate that will go all the way to the front of the frame.
-I have no idea if I properly welded them on, or not. There is a lot of debate about the proper way to weld on a unibody, so proceed at your own risk.
-Step 1 and 2 are optional, but not having to deal with the coil spring and shock sure helped.
-My winch bumper build:
http://naxja.org/forum/showthread.php?t=968021
-Don’t burn down your house, and always wear protection!
