- Location
- Southern Maryland
After I got the floorpan covered with Herculiner, the carpeting on the rear seat started making problems. It's easy to stain and I can't rinse it off, the carpet is thick so the back of the rear seat is higher than the rear floorpan, and it just looks wrong too.
I got to thinking about ways to make it work better, and eventually came up with the idea of putting Herculiner and netting on the back of the thing. I had bought a replacement rear leather seat through classifieds, so I had my old cloth seat to play with. After stripping it down, I found the seat back to be pretty sturdy stamped steel, so I decided to attach some nuts to the that, and then put Herculiner on a piece of sheet metal that would then be bolted to the seat.
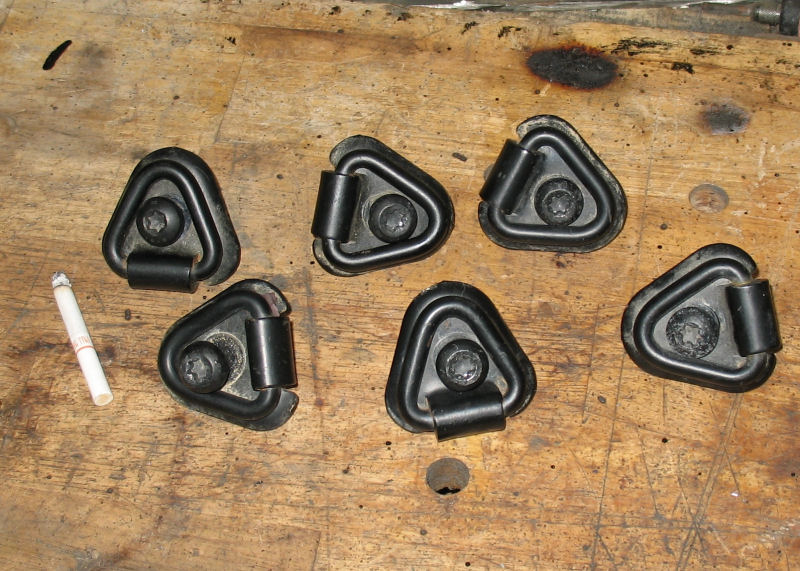
I went to the local truck junkyard and scavenged up a bunch of the heavy duty tie-downs from the later-90s Tahoe and an S-10 Blazer. I also have some of these bolted to the rear floorboard, btw, and they are awesome.
I also found an envelope style "convenience net" in a Tahoe, which would work perfectly.

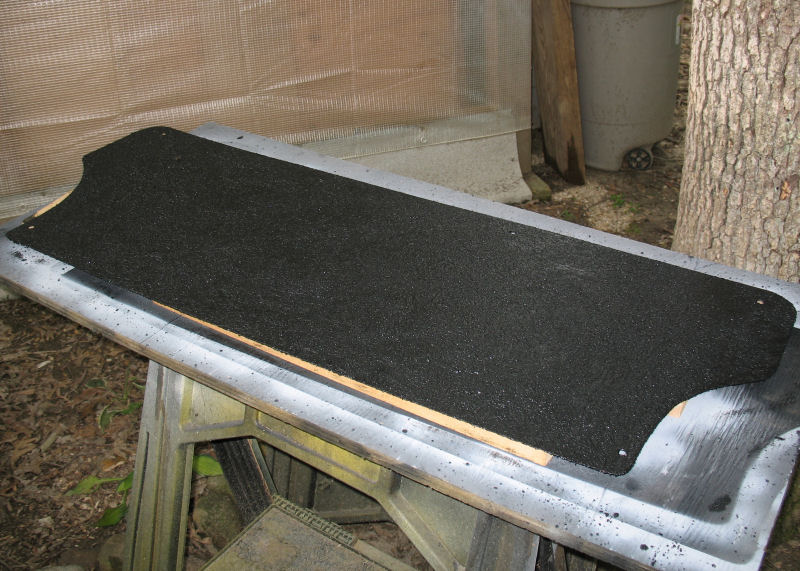
Then I went to a local HVAC/sheet metal place and bought some 22 guage galvanized steel. They even cut it to shape for me with their nibbler tool. After matching the holes, I primed it and covered both sides with Herculiner (it took one full quart for two full coats).
was able to weld down some nuts pretty easily.
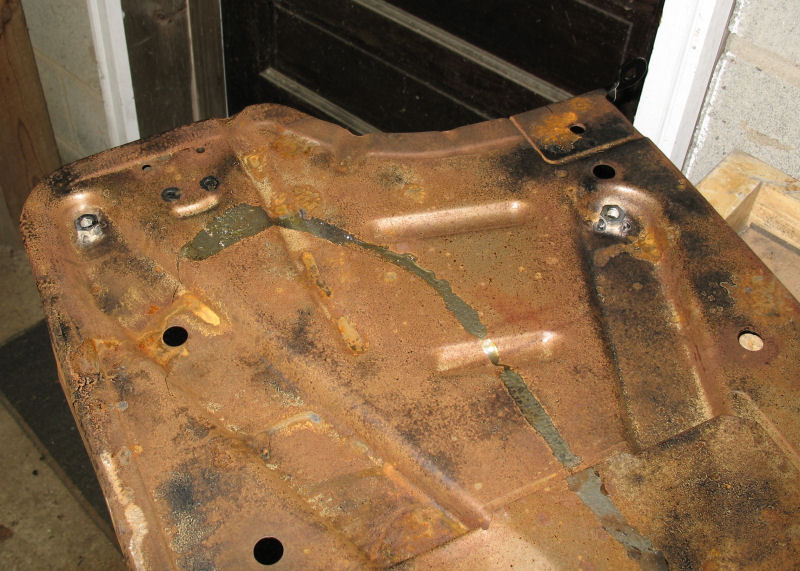
Another issue was that the seats tend to warp out in the center, and putting load on the back would make this worse, so I also welded some strips of small angle iron to the inside of the seat back, which should help to keep it from folding. I also cleaned and painted the shell.

Here is a pic of the modified seat back with all the parts assembled.

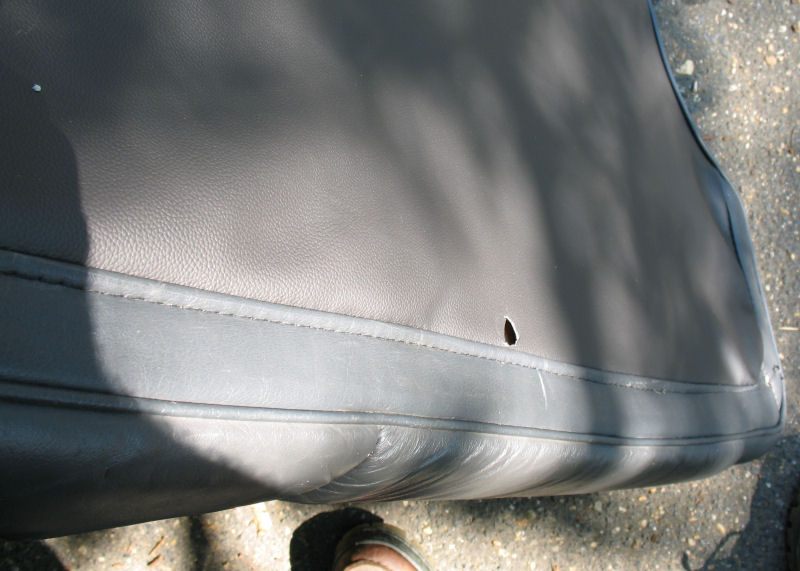
Next I took the seat back to a local upholstery shop and had them replace the carpet with plain old vinyl. I had hoped they would stitch or grommet the holes, but they didn't.
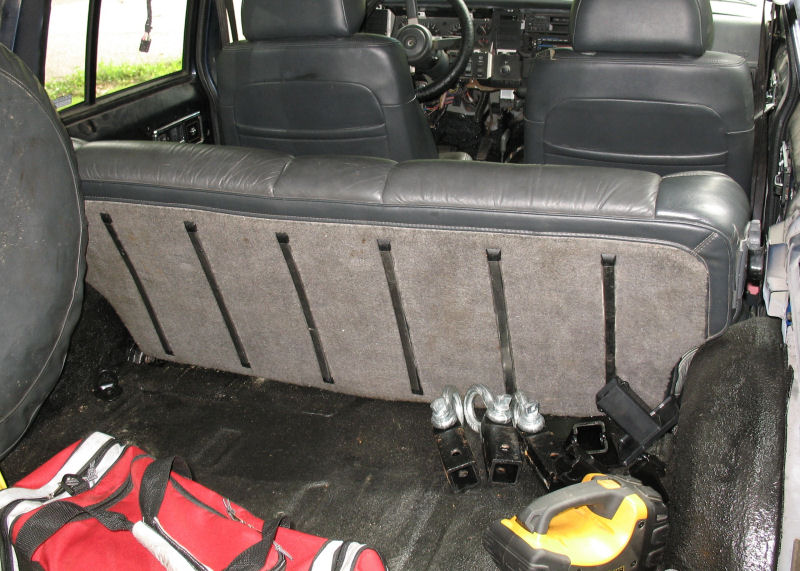
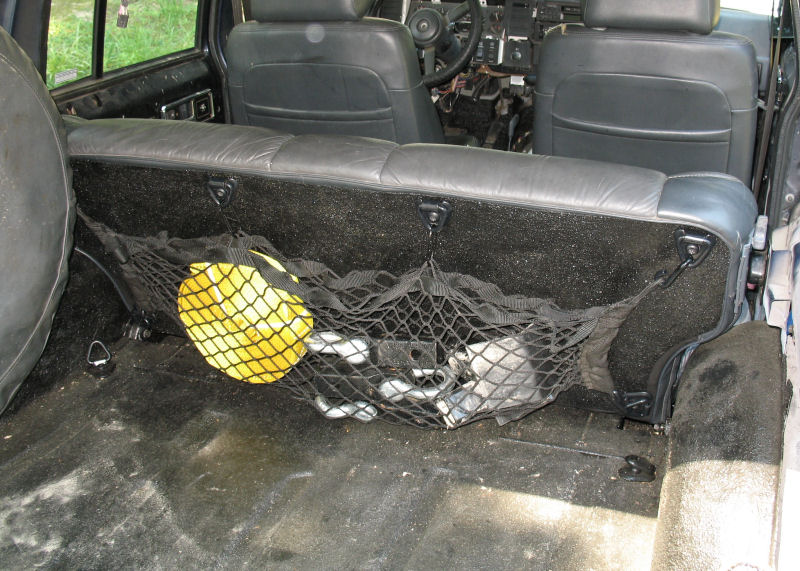
The seat installed with the netting full of my recovery parts
Here is a shot of the seat laying down. As you can see the seat is still a little higher than the floor, but it's not nearly as bad as it was.

I plan to do something similar for the rear hatch inside panel, basically cutting some sheetmetal to size, attaching some nuts to the hatch innards, and bolting it to the hatch (bypassing the plastic push-pins), but I want to get a replacement hatch before I do that.
I got to thinking about ways to make it work better, and eventually came up with the idea of putting Herculiner and netting on the back of the thing. I had bought a replacement rear leather seat through
classifieds, so I had my old cloth seat to play with. After stripping it down, I found the seat back to be pretty sturdy stamped steel, so I decided to attach some nuts to the that, and then put Herculiner on a piece of sheet metal that would then be bolted to the seat.I went to the local truck junkyard and scavenged up a bunch of the heavy duty tie-downs from the later-90s Tahoe and an S-10 Blazer. I also have some of these bolted to the rear floorboard, btw, and they are awesome.
I also found an envelope style "convenience net" in a Tahoe, which would work perfectly.
Then I went to a local HVAC/sheet metal place and bought some 22 guage galvanized steel. They even cut it to shape for me with their nibbler tool. After matching the holes, I primed it and covered both sides with Herculiner (it took one full quart for two full coats).
was able to weld down some nuts pretty easily.
Another issue was that the seats tend to warp out in the center, and putting load on the back would make this worse, so I also welded some strips of small angle iron to the inside of the seat back, which should help to keep it from folding. I also cleaned and painted the shell.
Here is a pic of the modified seat back with all the parts assembled.
Next I took the seat back to a local upholstery shop and had them replace the carpet with plain old vinyl. I had hoped they would stitch or grommet the holes, but they didn't.
The seat installed with the netting full of my recovery parts
Here is a shot of the seat laying down. As you can see the seat is still a little higher than the floor, but it's not nearly as bad as it was.
I plan to do something similar for the rear hatch inside panel, basically cutting some sheetmetal to size, attaching some nuts to the hatch innards, and bolting it to the hatch (bypassing the plastic push-pins), but I want to get a replacement hatch before I do that.