• Welcome to the new NAXJA Forum! If your password does not work, please use "Forgot your password?" link on the log-in page. Please feel free to reach out to [email protected] if we can provide any assistance.

Bumper Build...

JoshDes

NAXJA Forum User
NAXJA Memorial Lifetime Member
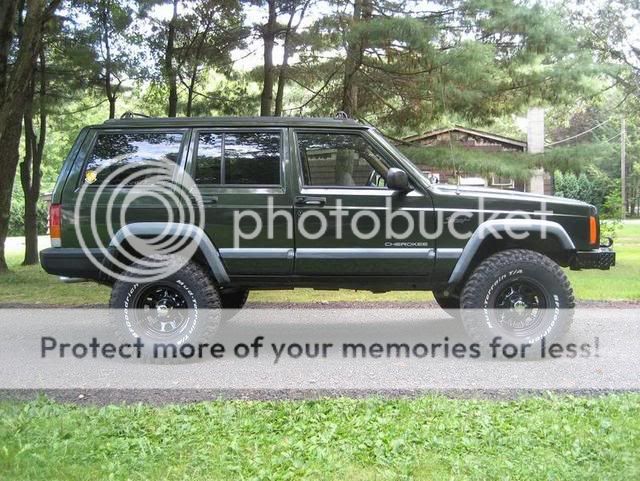
Alright, so a month or so ago i picked up a 98' xj. The ink wasnt even dry on the check before i had plans for a custom front bumper in my head. I bounced some ideas off my old man and we had a plan. We started by getting rid of the old bumper/brush guard combo.

P7170008.jpg


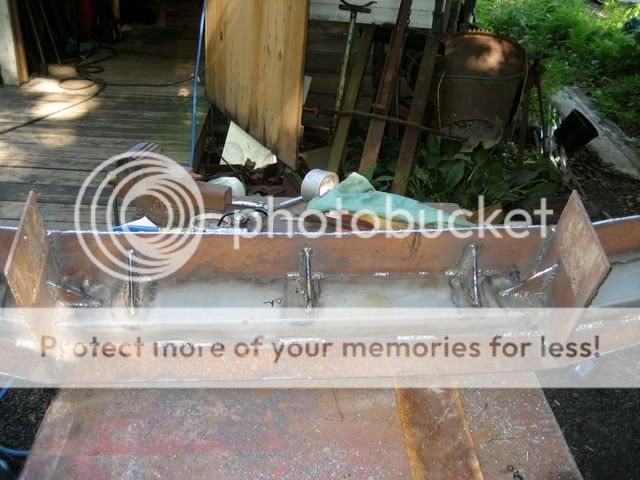
We made some 1/4 brackets and a rough cut center piece out of 3/16 4 inch stock, the lift came in so work was suspended.

IMG_0248.jpg


IMG_0481.jpg


Next came the angels, cut from the same stock, and some 10000lbs tow hooks from smitty built.

IMG_0494.jpg

My pops...
IMG_0496.jpg


IMG_0500.jpg


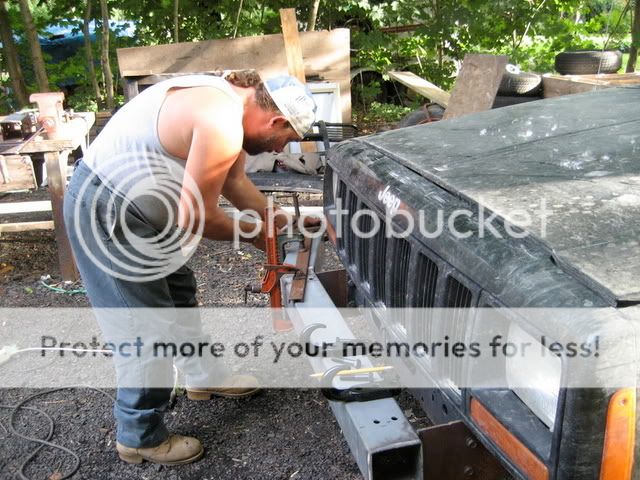
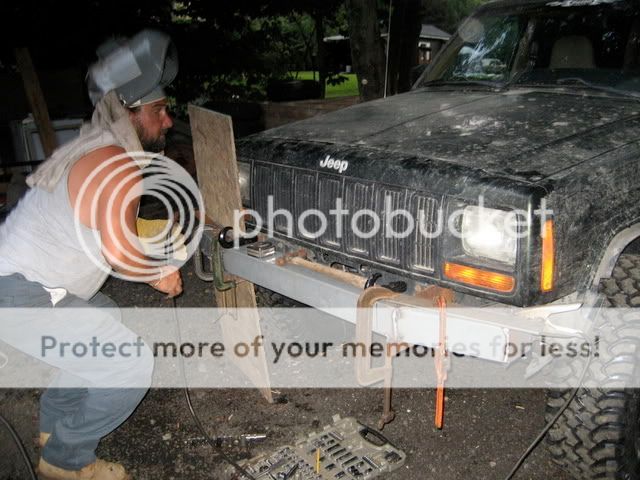
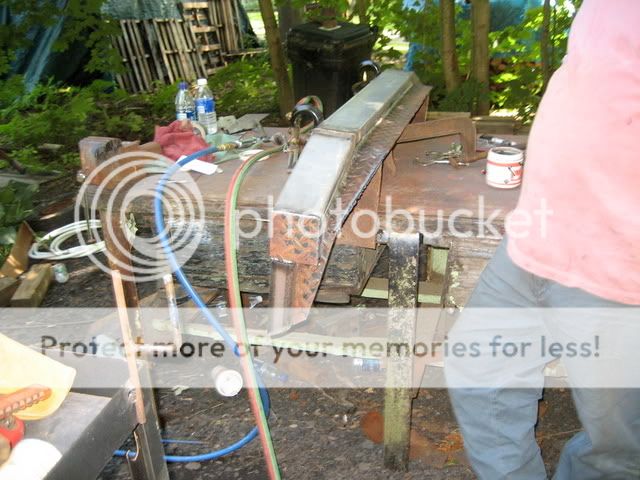
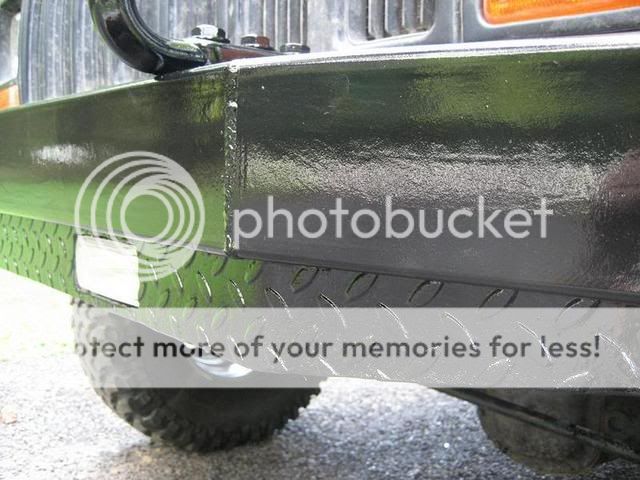
Now it was time for some serious brain storming. I decided i wasnt going to cut the fenders (yet) so i figured i would continue with the outside line of the fender and carry it straight down and all the way through the front of the skirt. I must admit my old man came up with some pretty nice ideas and fab. options for this part. In the end I went with 2 inch square stock capped with 1/4 inch diamond and the same stuff for the side skirt.

IMG_0525.jpg


IMG_0514-1.jpg
 
:thumbup:
 
without extending the brackets further back along the frame rail to utilize more mounting points, I'd be afraid it'll rip it right out of the factory pinch seam holes.
 
1-dont try to use it for recovery,the stock mounts cant take it.2-Why make it with such a major loss of approach angle!3-Its fugly as hell !
 
We made the front skirt out of one solid piece of diamond (if you havent caught on i love the way diamond looks, and i like it even more when it was all free!) A little heat and some lovin' and she fit tight.

IMG_0502.jpg


IMG_0501.jpg


We also welded the top plate in place and finished bolting the hooks on...

IMG_0529.jpg


Well its time to head home and leave the internet connection behind, more tomorrow.
 
First off, i didnt loose much angle. Second, let me post some pitcures of it finished before we start calling my creation fugly...haha. Thanks for the input anyways guys. Ill finish this thread in the am.

Josh
 
Cool! I think it is great when someone designs and builds their own stuff!

I HIGHLY recommend redoing the mounts though and bringing them further back. Thsi will help re-enforce the steering and provide a strong mount for the bumper. Also, consider adding some type of shackle connector or d-ring as a recovery point - ONLY AFTER the entended mounts..

Good luck!
 
I think it's cool ! Looking forward to finished pics.
 
ok ok, im gettin blown up here. I guess its time to throw up some finished pics.
Here is the final fit, just before paint prep. At this point it fit tight enough that there are no bolts installed in for this picture.
IMG_0519.jpg


Here is the finished product. Just to clarify, I did extent the mounts about another foot on the unibody, i wouldnt trust the stock mounts either. Also, after the lights were installed i used black silicone to fill the gaps, i dont have any pictures of that but i think it finishes it nicely.
BUmpersized.jpg

QuarterViewSized.jpg

hooksized.jpg

The top plate
GAPSIZED.jpg

BENDSIZED.jpg

AfterSized.jpg


I couldn't be more happy with it. Thanks again for the feedback guys.

Josh
 
hell that looks sweet. nice DIY work!!! if only you could fit a winch!
 
Why have it stick so far out, and not have a winch on there?


Those welds need to be cleaned up a bit as well.

I do like the diamond plate underneath, really sets it apart.
 
i am trying to draw up plans on a front bumper but am not having any success... yours looks great by the way. is that 4"? and did you buy it already boxed or did you box it yourself?
 
looks awesome! very nice job
 
To start, here are a few i overlooked yesterday. Really important pictures to leave out...

The 1/4 inch gussets i used
IMG_0545.jpg


IMG_0547.jpg


- The square stock i used was an old light post the old man found somewhere... he's always hooking me up haha.
- About the winch, during the build we considered a Warn XD9000i, its 6.3 inches deep and should fit, the bolt pattern was also a factor in the gusset placement. More importantly... im about as broke as i have ever been so a winch isnt in my very near future.:bawl: Maybe as a coming home gift to myself at the end of this deployment???
- As far as the welds go, i thought about cleaning them up but ive always been a sucker for the uncleaned look. The welds themselves look good so i decided they stay.

Sorry about the lack of organization on the thread guys, its my first one. Thanks again for all the input!

Josh
 
Back
Top