- Location
- Coshocton, OH
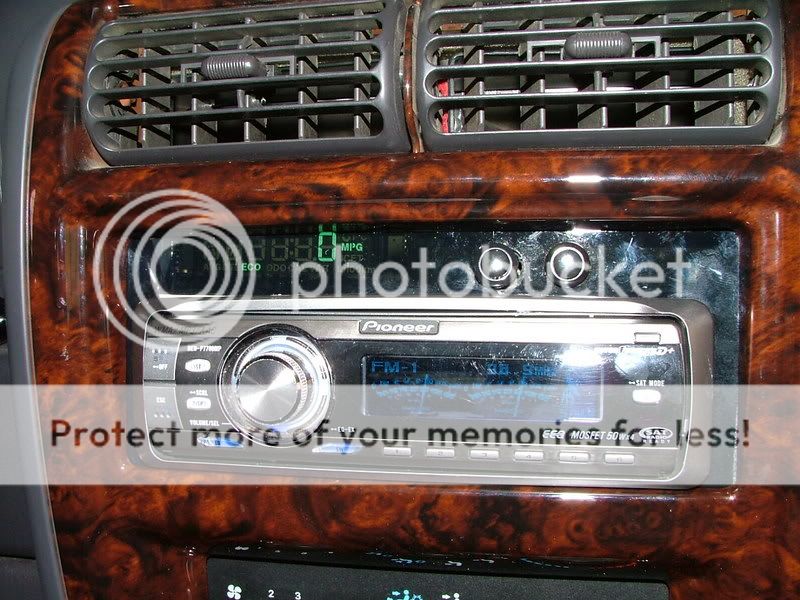
Now I know what your thinking. Why in hell did he put this in mod tech? It's just an overhead console right? Wrong! Yes it is the trip computer from the overhead, but it's not in the console! I have a shelf above my windshield, and I didn't want to loose it to put my console in. The only real reason I snagged it anyway was for the trip computer. So you ask what did I do? I Installed in the dash above the radio! Now if your not comfortable with wiring you might as well forget it ;cause there was allot of modification done to the computer to get it to fit in there. First off if you have a stock radio it's not going to fit, but if you have a standard single DIN aftermarket unit then hell yea!
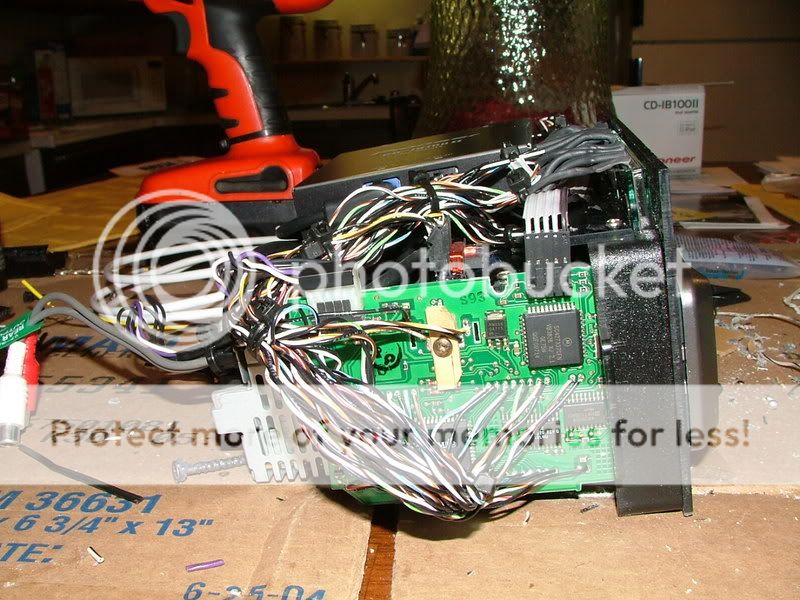
First thing I did was cut the bottom bolt mount off the install kit so that the whole thing would sit lower in the dash. The notch there was not needed so you can just leave it flush if you try this. Now in that pic is shows the very bottom of the notch still there. After it was all said, and done I had to cut that out so the bottom of the display sat right on top of the head unit.

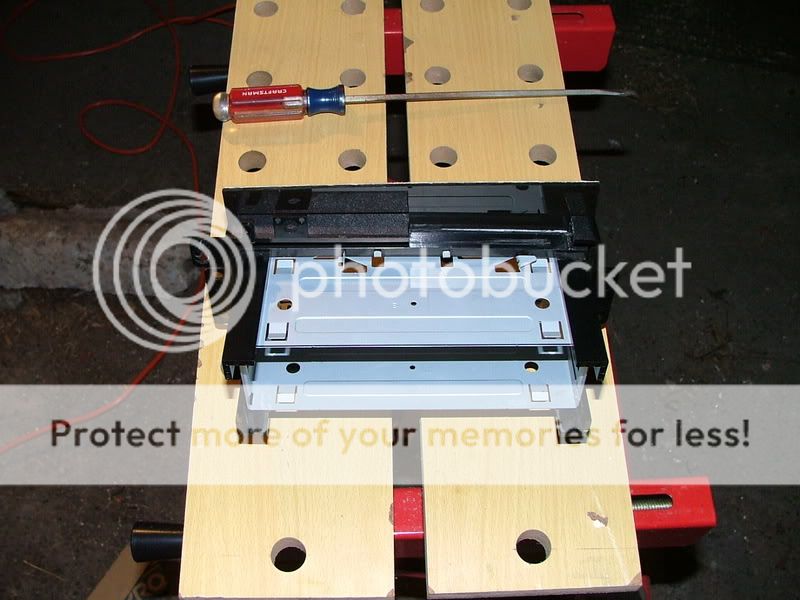
Then I trimmed a notch in the front for the display to fit.
Tracing out the patterens on a piece of smoked (grey) 1/8" plexyglass I cut out a mounting face.
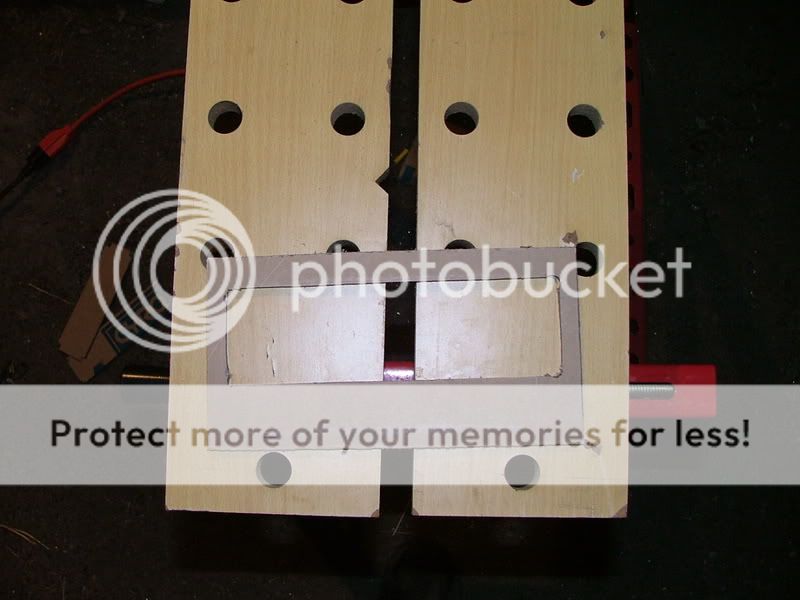
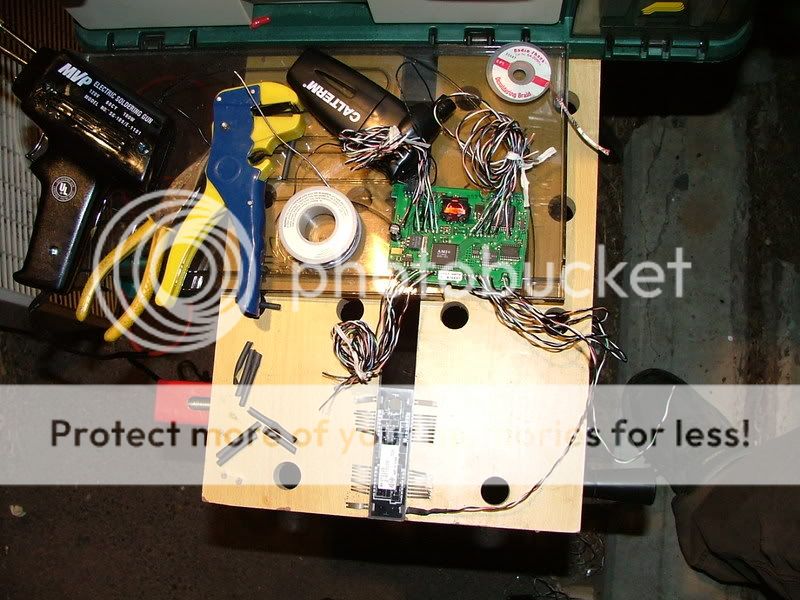
Just the parts layed out.

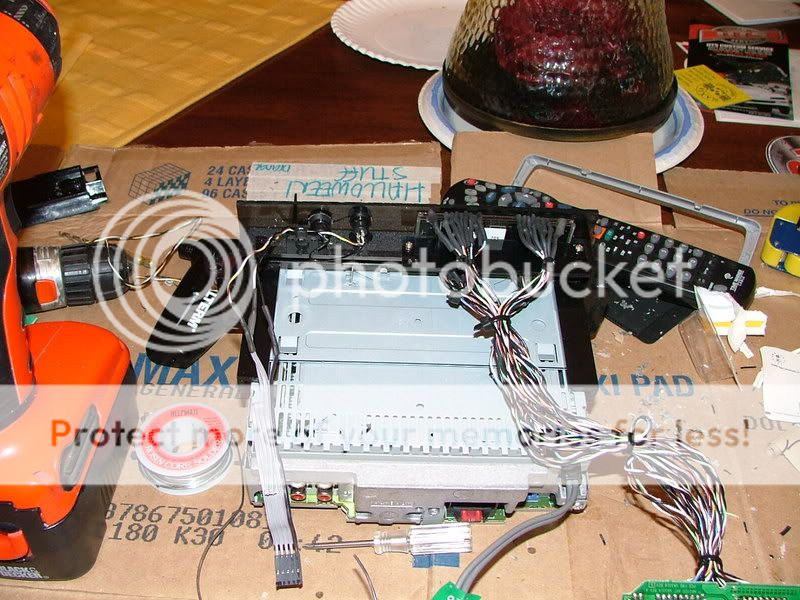
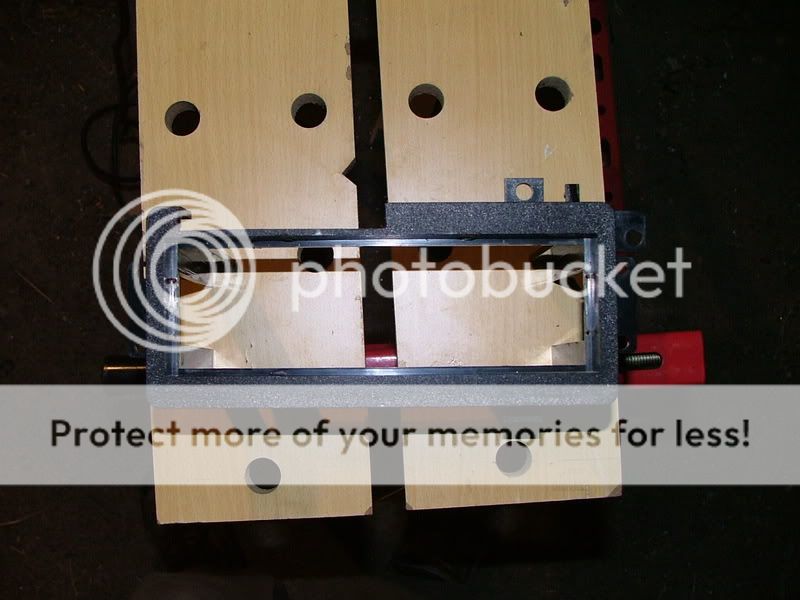
Fitted together.
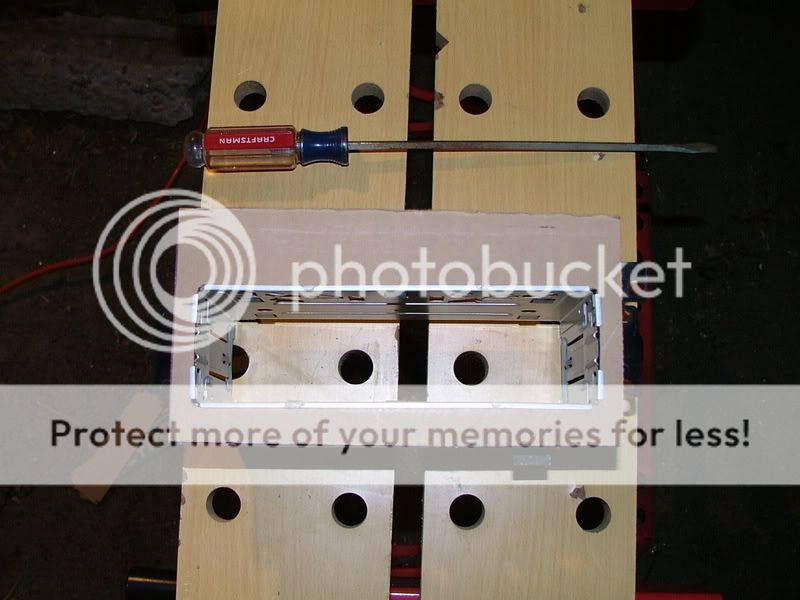
First thing I did was cut the bottom bolt mount off the install kit so that the whole thing would sit lower in the dash. The notch there was not needed so you can just leave it flush if you try this. Now in that pic is shows the very bottom of the notch still there. After it was all said, and done I had to cut that out so the bottom of the display sat right on top of the head unit.
Then I trimmed a notch in the front for the display to fit.
Tracing out the patterens on a piece of smoked (grey) 1/8" plexyglass I cut out a mounting face.
Just the parts layed out.
Fitted together.
Last edited: