lagoober
NAXJA Forum User
- Location
- Southern California
I've been wanting to work on a project like this for a while now and finally pulled the trigger. The only problem is I told my wife I wouldn't do any "major" work for at least 6 months, so suspension, lockers, etc are going to have to wait a bit. I've done a few things on the cheap to get by for now.
The XJ I found was still very stock but only had high mileage (235k). Everything was in great shape though and the price was right. So far I've done the following:
Fixed some leaks
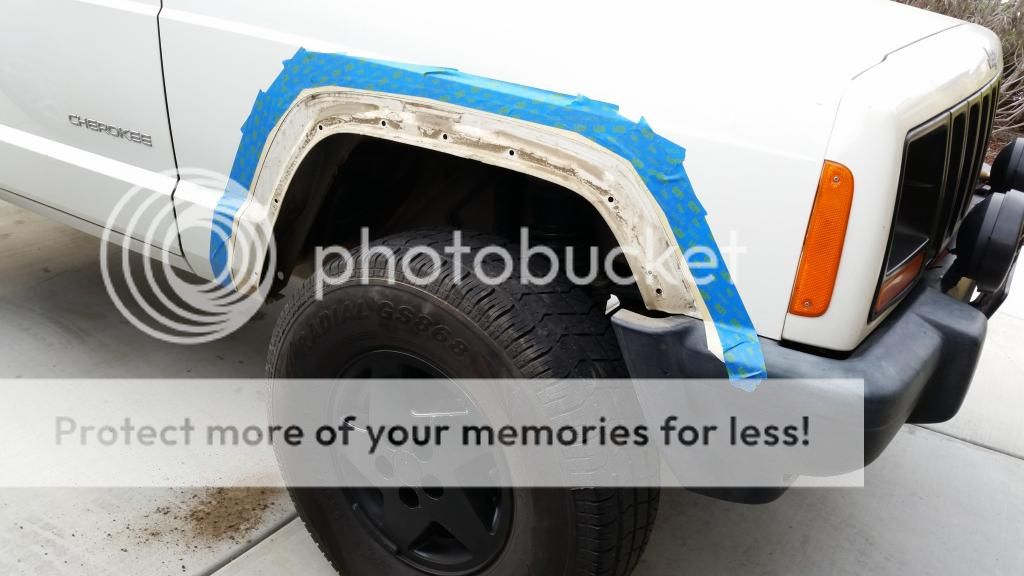
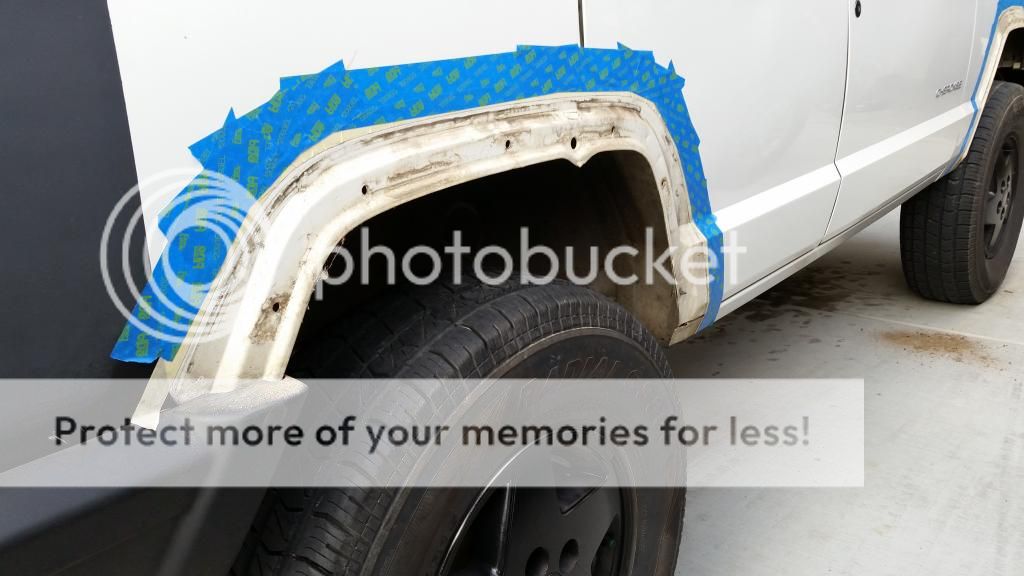
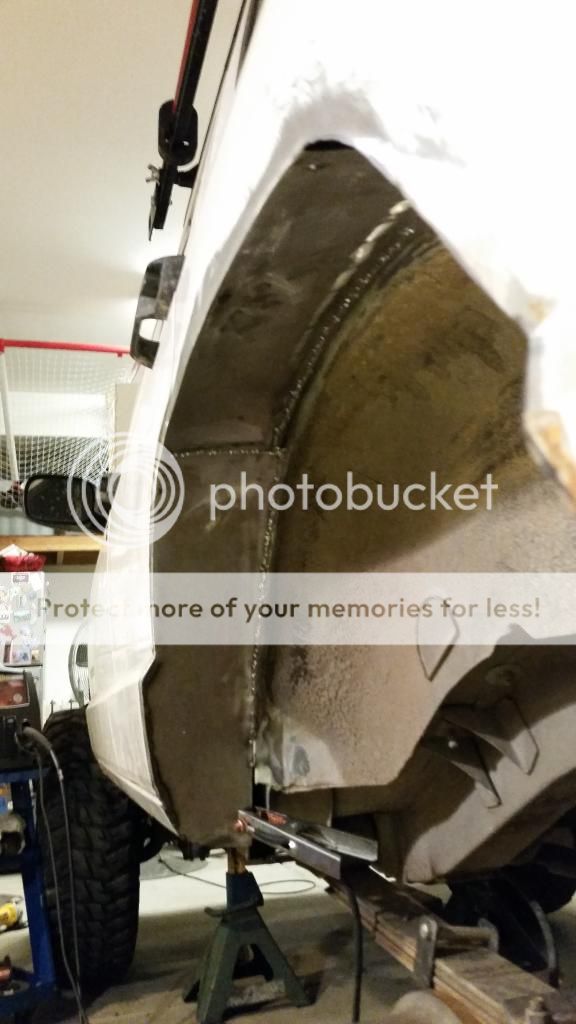
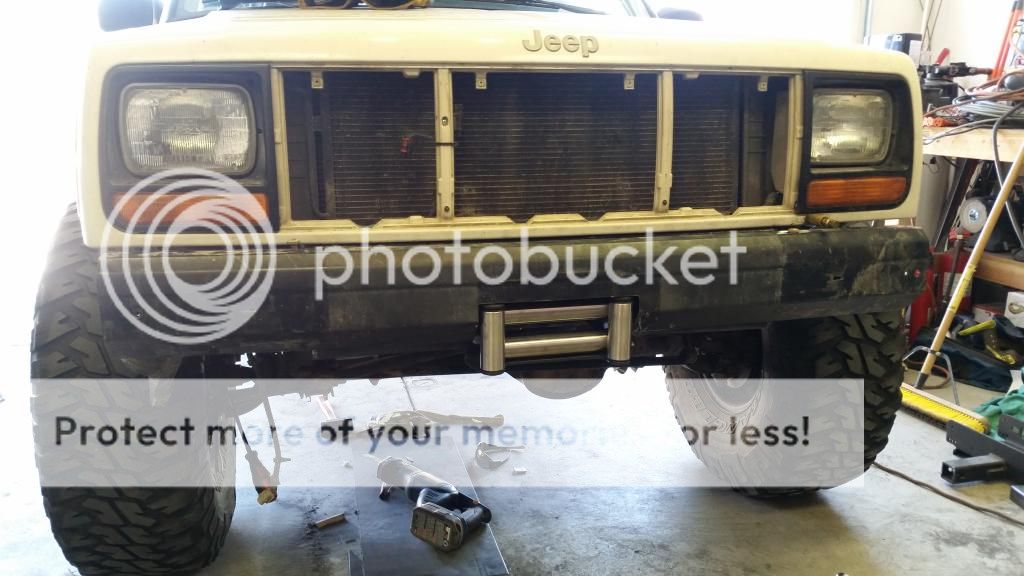
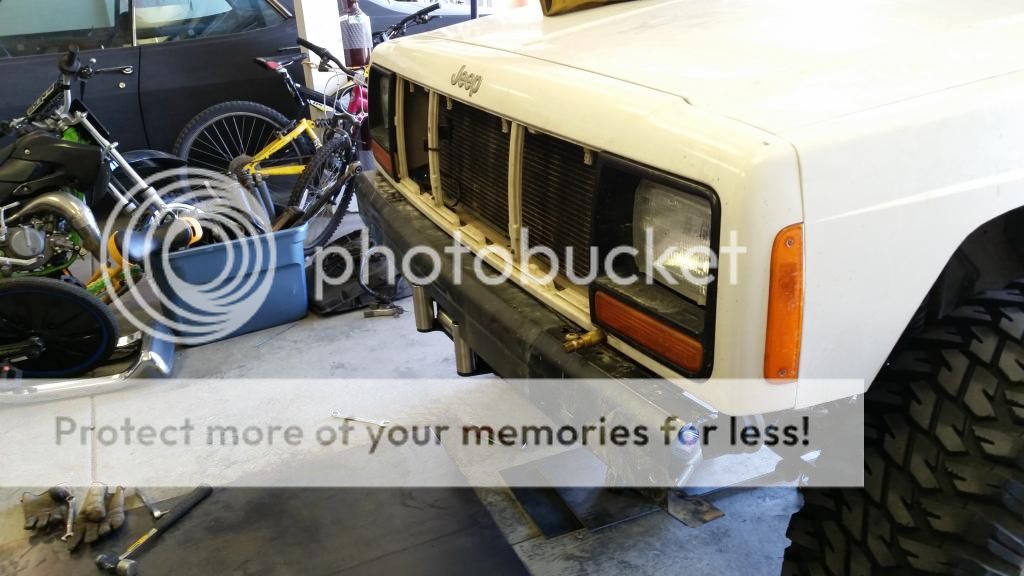
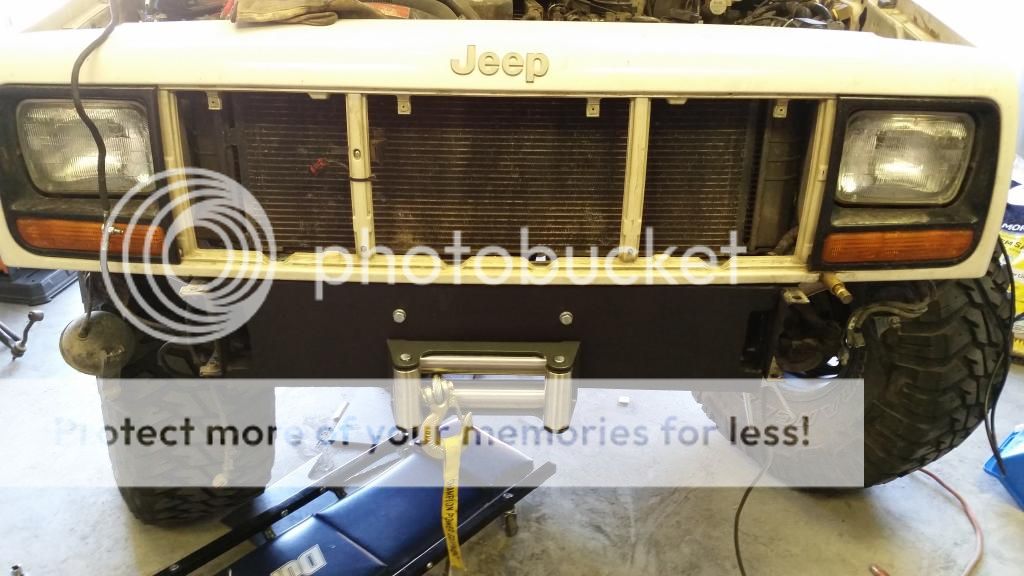
patched up the body where it got hit right before I bought it.
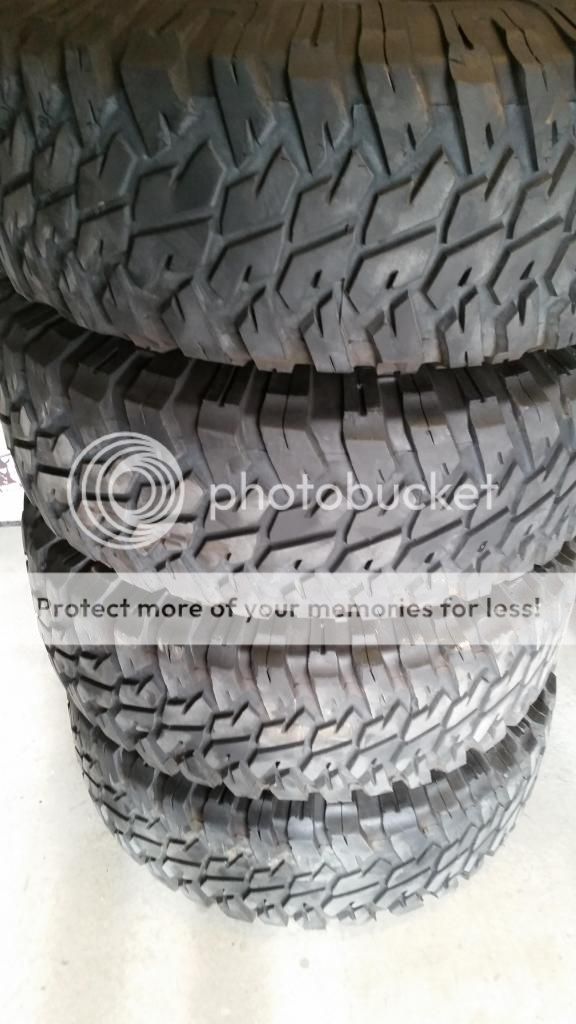
Found a cheap set of wheels with 31" tires that had only 1000 miles on them, mounted and balanced off a grand cherokee.
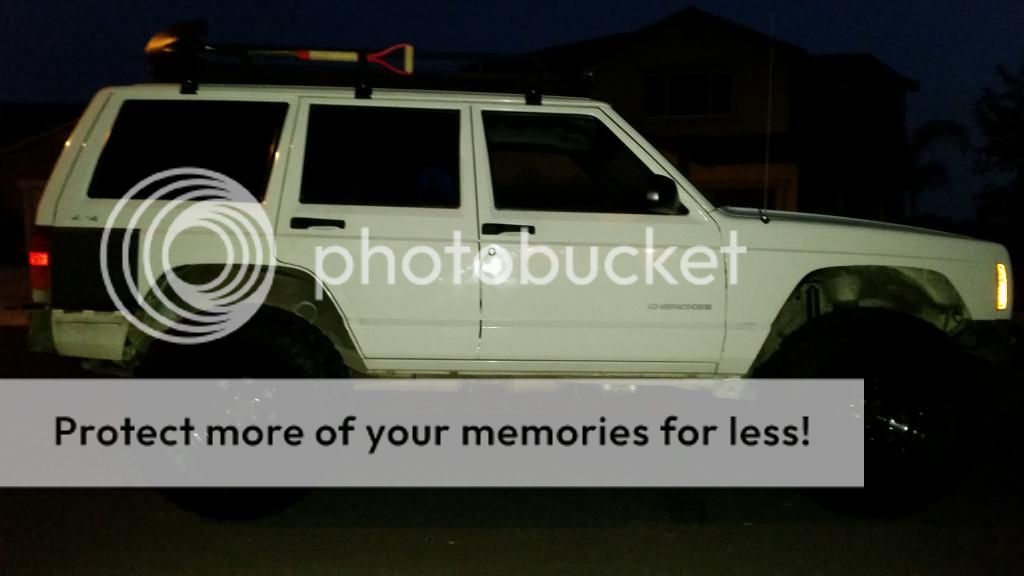
Cheap lift using spare silverado shackles and grand cherokee springs.
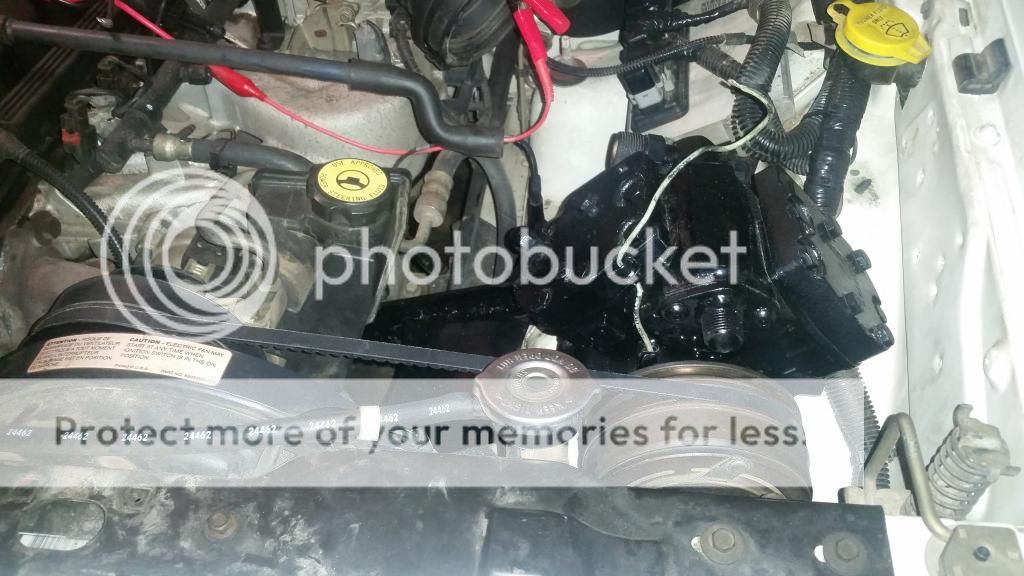
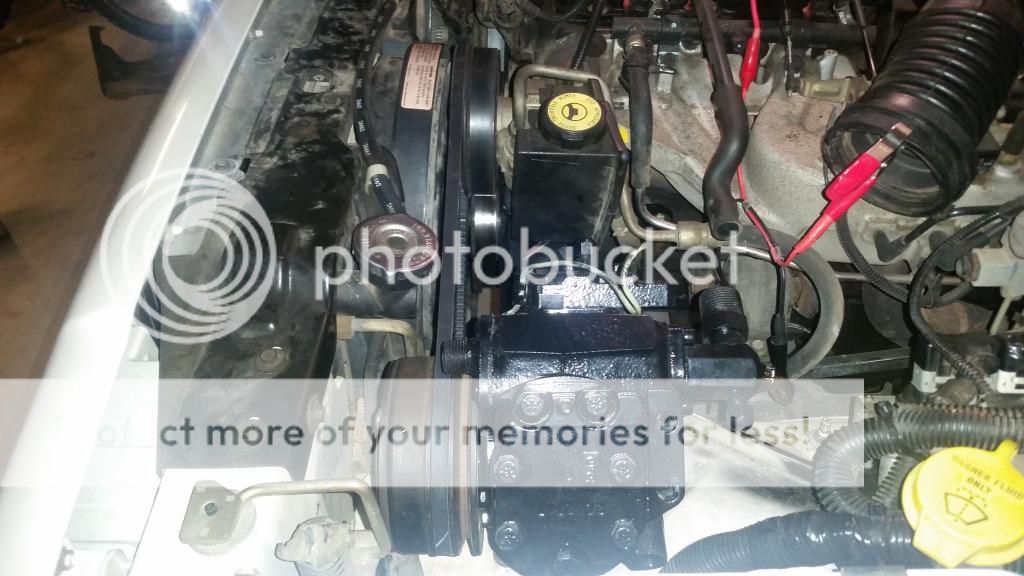
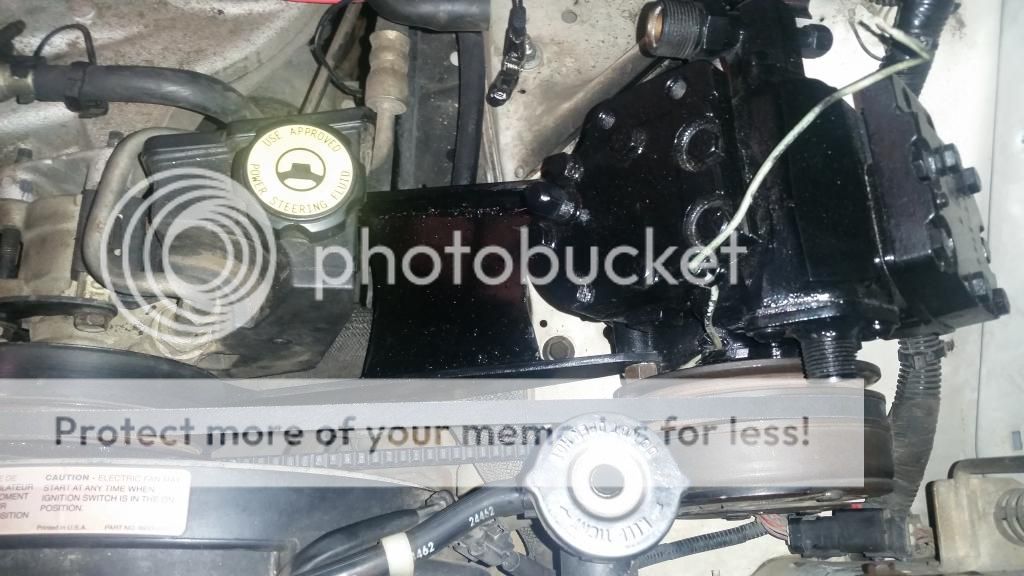
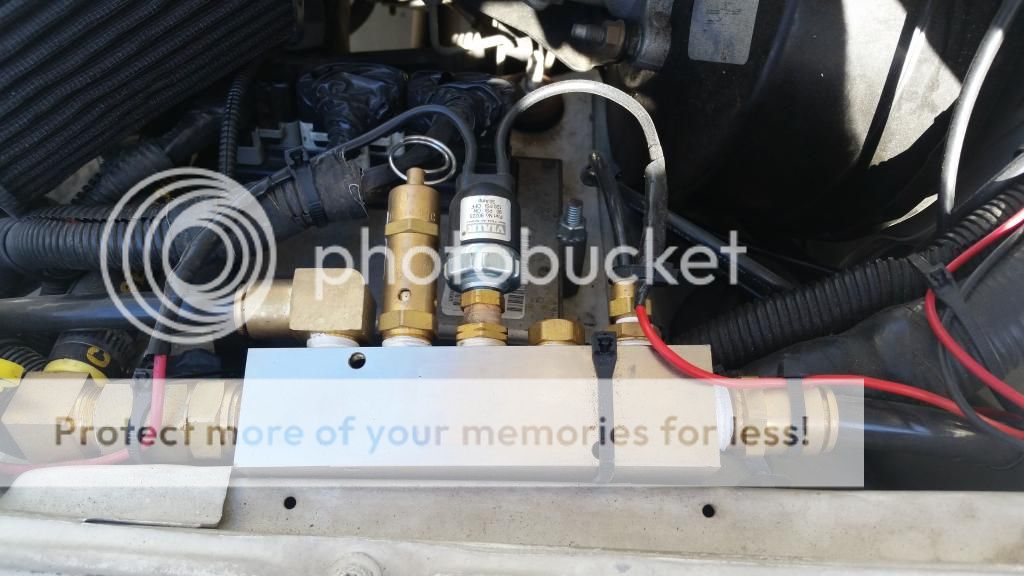
On board air
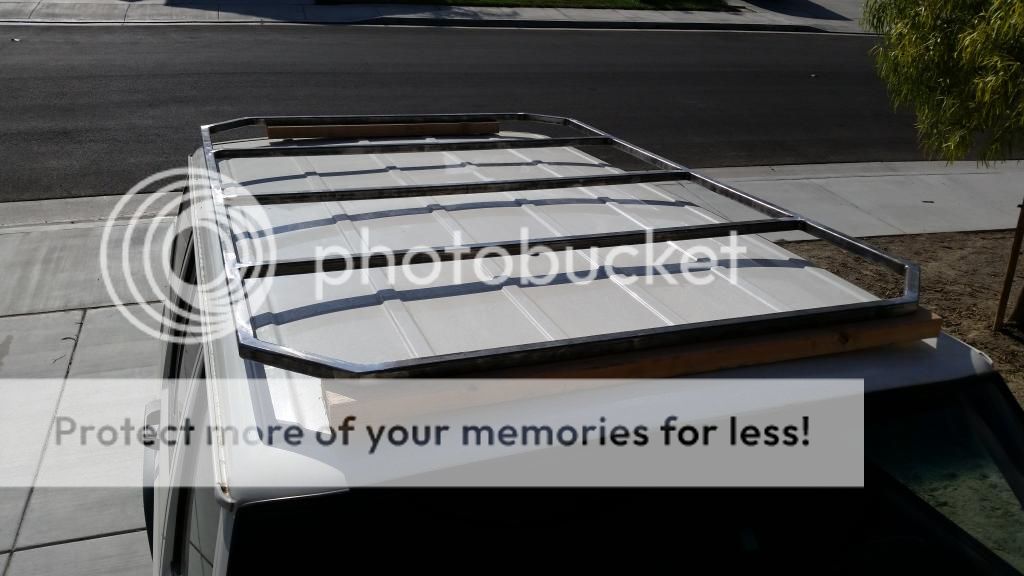
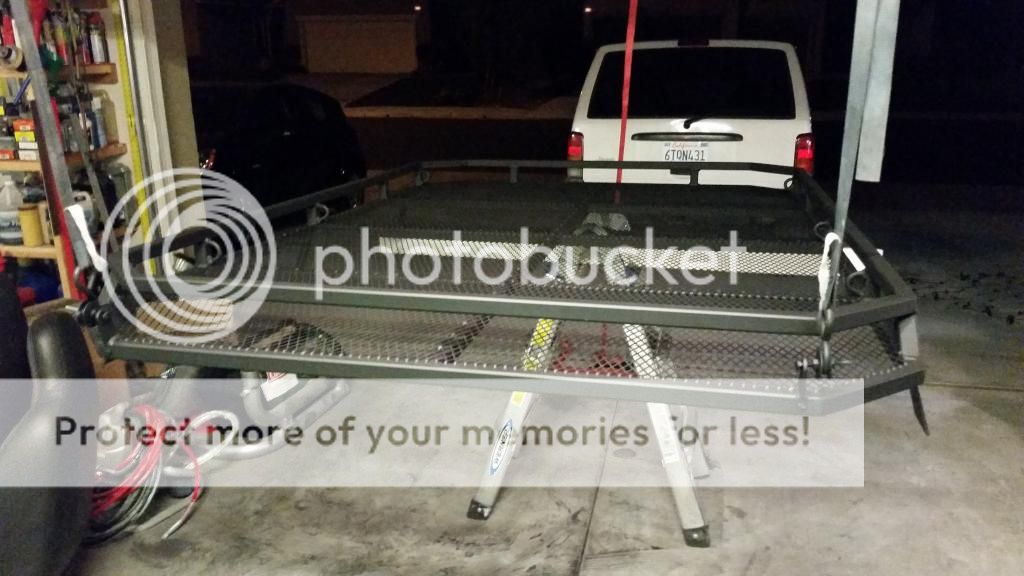
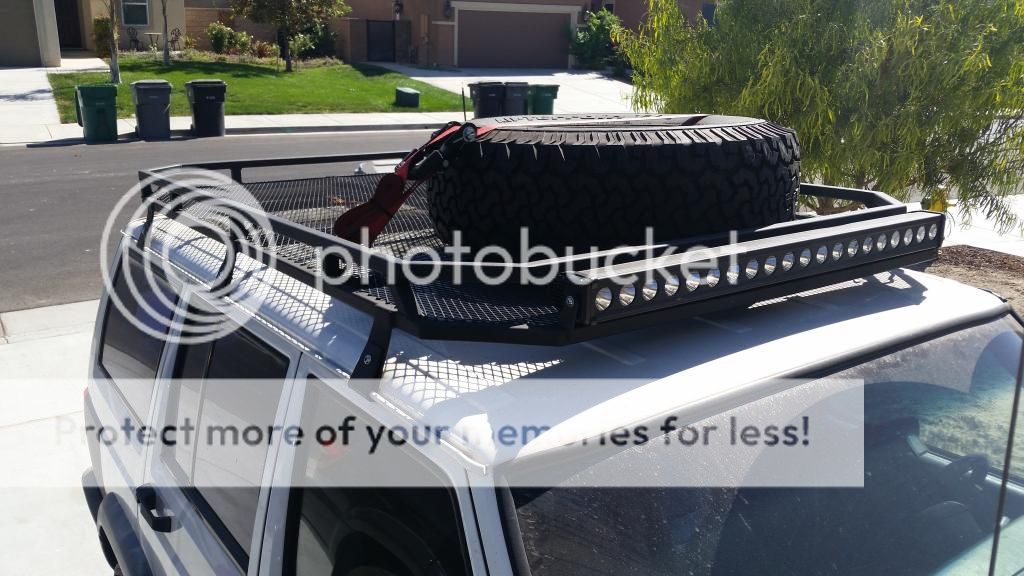
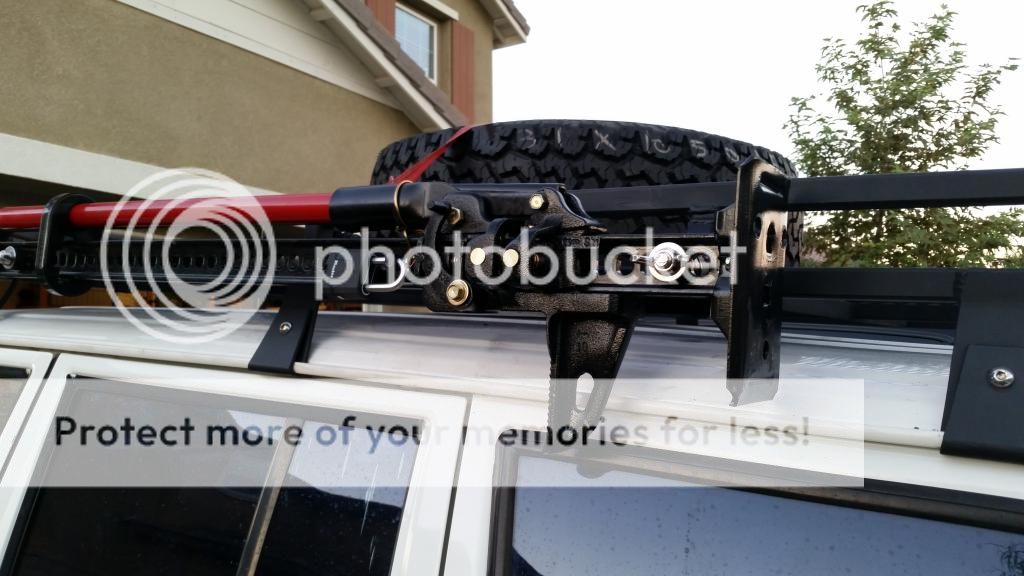
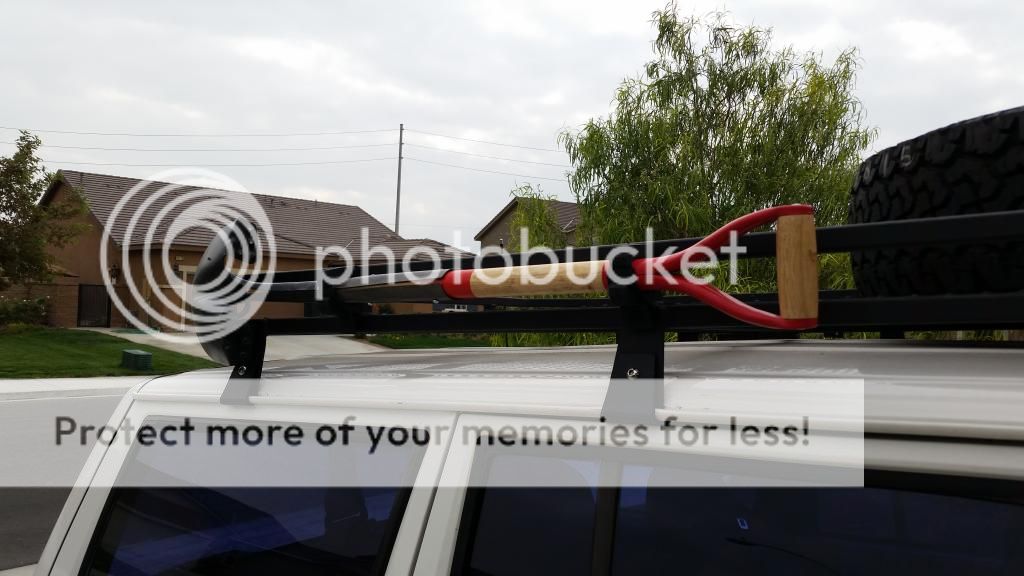
roof rack
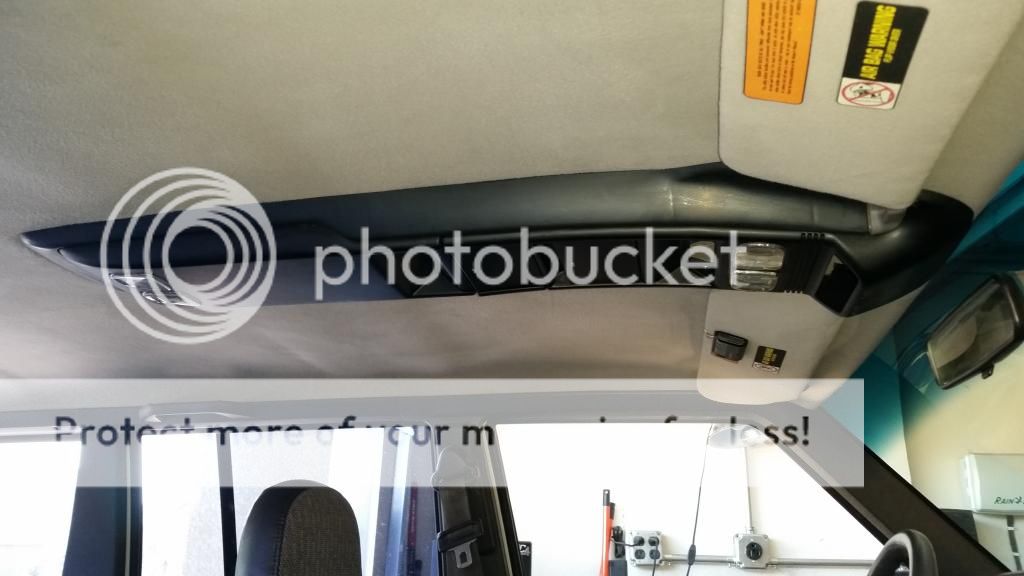
Overhead console out of a chrysler minivan
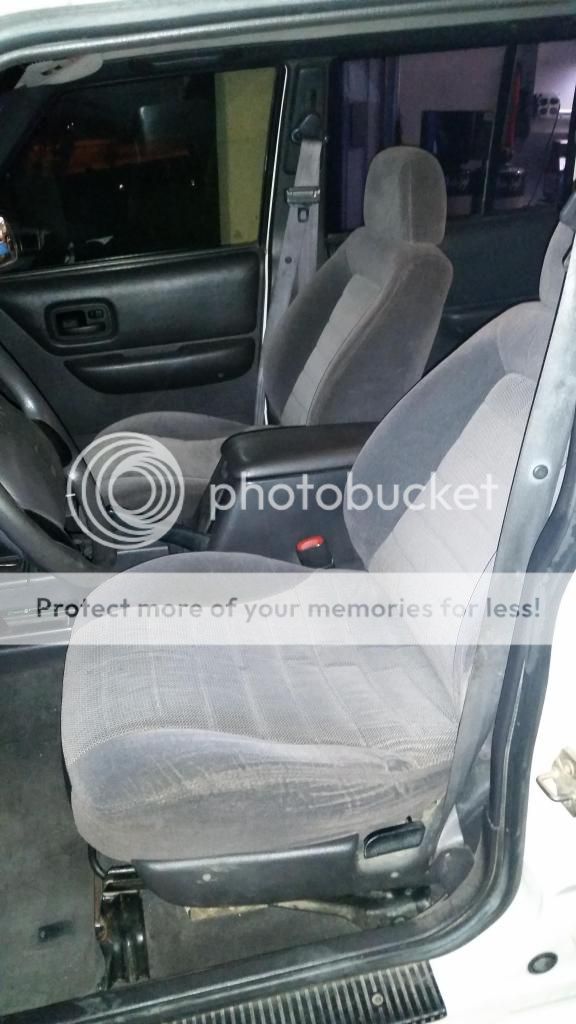
seats out of a grand cherokee (much more comfortable)
LED light bar
Swapped in a full gauge cluster to get rid of the idiot lights.
Fixed a few electrical issues.
Plenty more to come....
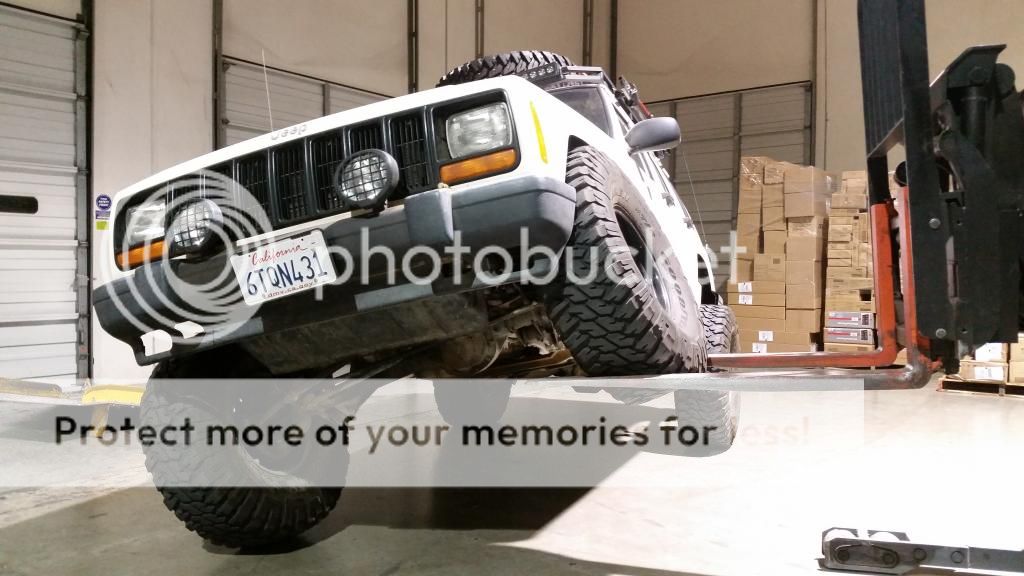
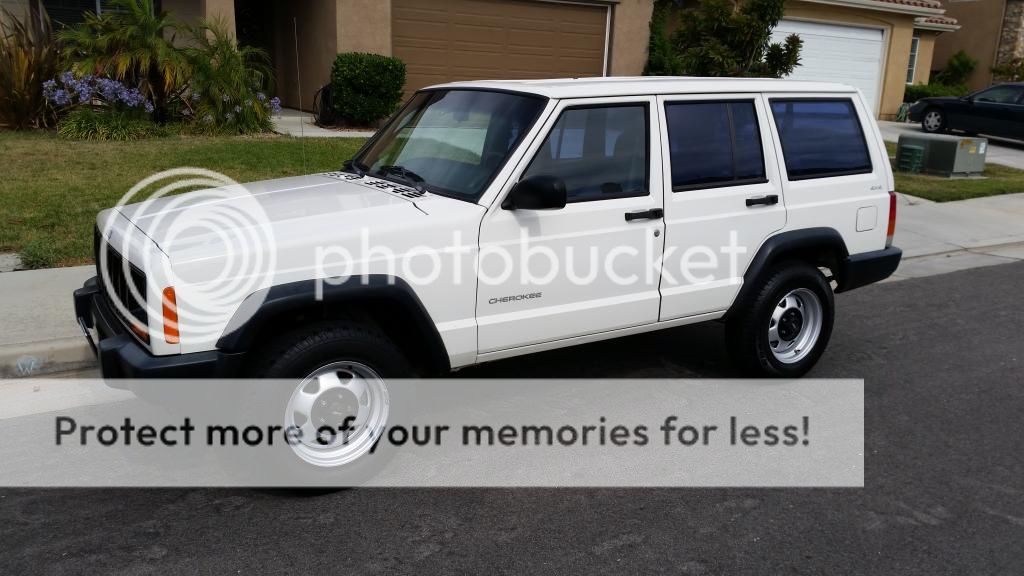
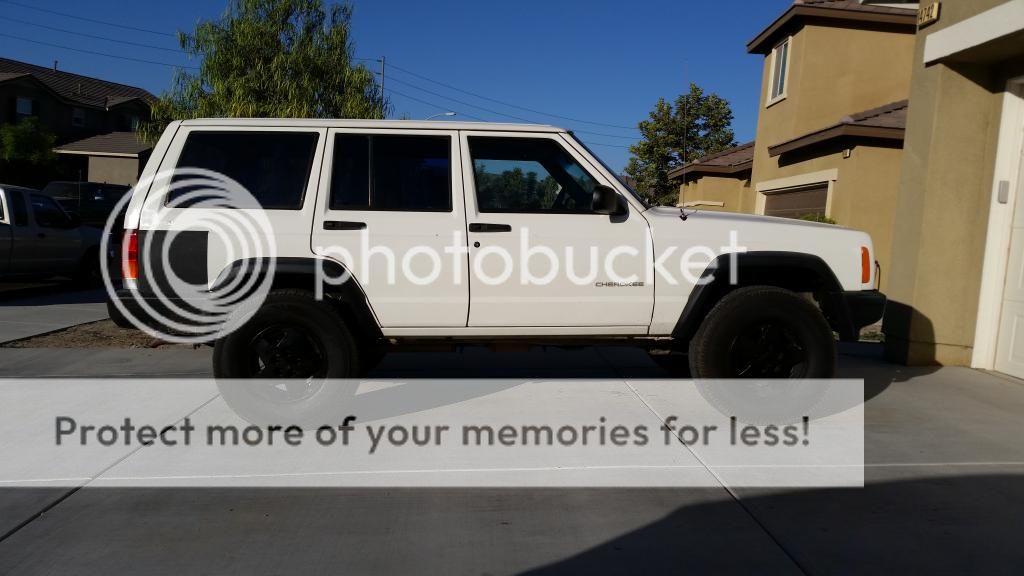
Day I bought it:
Cheap temp lift and tires:
Overhead console, just need to hook up the temp sensor:
ZJ seats:

The XJ I found was still very stock but only had high mileage (235k). Everything was in great shape though and the price was right. So far I've done the following:
Fixed some leaks
patched up the body where it got hit right before I bought it.
Found a cheap set of wheels with 31" tires that had only 1000 miles on them, mounted and balanced off a grand cherokee.
Cheap lift using spare silverado shackles and grand cherokee springs.
On board air
roof rack
Overhead console out of a chrysler minivan
seats out of a grand cherokee (much more comfortable)
LED light bar
Swapped in a full gauge cluster to get rid of the idiot lights.
Fixed a few electrical issues.
Plenty more to come....
Day I bought it:
Cheap temp lift and tires:
Overhead console, just need to hook up the temp sensor:
ZJ seats: