• Welcome to the new NAXJA Forum! If your password does not work, please use "Forgot your password?" link on the log-in page. Please feel free to reach out to [email protected] if we can provide any assistance.

Rear quarter cut and fold video???

It's finally time! I'm getting ready to cut and fold my rear quarter panels. I've see all of the how to write-ups BUT I would feel more comfortable if I could see it done on video....like most of my first time ventures! I've been to the depths of youtube with no luck. Anybody got a lead on a solid how to video???
 
It really is very easy and self explanatory. Just start by making a conservative cut. It'll be more work but you'll get exactly what you want. Just start at the wheel well face, peek inside at what structure you are dealing with, and that will tell you exactly how do make your cuts.

Do yourself a favor and tack each fold in place well, and then seal all the seams. I did mine when I was younger and cheaper. Ended up causing a good bit of rust because I didn't seal well with silicone caulk.

Ended up cutting out all the "cut n fold" parts, and welded in a single piece of 16g steel

Thanks, I appreicate the words of incouragment, but I'm that guy that NEVER gets anything right the first time!
 
Last edited:
I just got finished with my cut and fold, and it took quite a while to get it right, so don't be surprised. I used the write up linked above and it worked ok, but it does leave out some details. Specifically, I wasn't able to cut either side such that there wasn't a gap left at the front. I'm a little surprised more people don't report this issue. I had to weld a patch panel to both sides to cover the gap. My only advice here is to save as much of the pinch seam as you can. Also, I'd go ahead and remove the interior side panels in the cargo area. This will allow you to hold the folded panels down from the top while you drill an rivet ( with a helper). Finally, if you are able, I'd recommend welding the finished product together at the seams. I live in the PNW and you just can't get away with leaky seams up here. I'll post up a pic shortly
 
A60F2C4B-7CEB-432D-A031-037E7B49F0A4_zpsdfmssgrz.jpg


DB89603D-940C-4204-AA0E-58CC2D11227C_zps4w0lknzd.jpg


DE29115D-8A6D-4E5E-850E-FF5279EC4B83_zps1hy8jqzk.jpg


9363D069-269F-48F2-904F-334FE9131C41_zpsnyof7saq.jpg


2B930F38-72BD-46D8-9074-B9AE780FED67_zpsmvydd8up.jpg
 
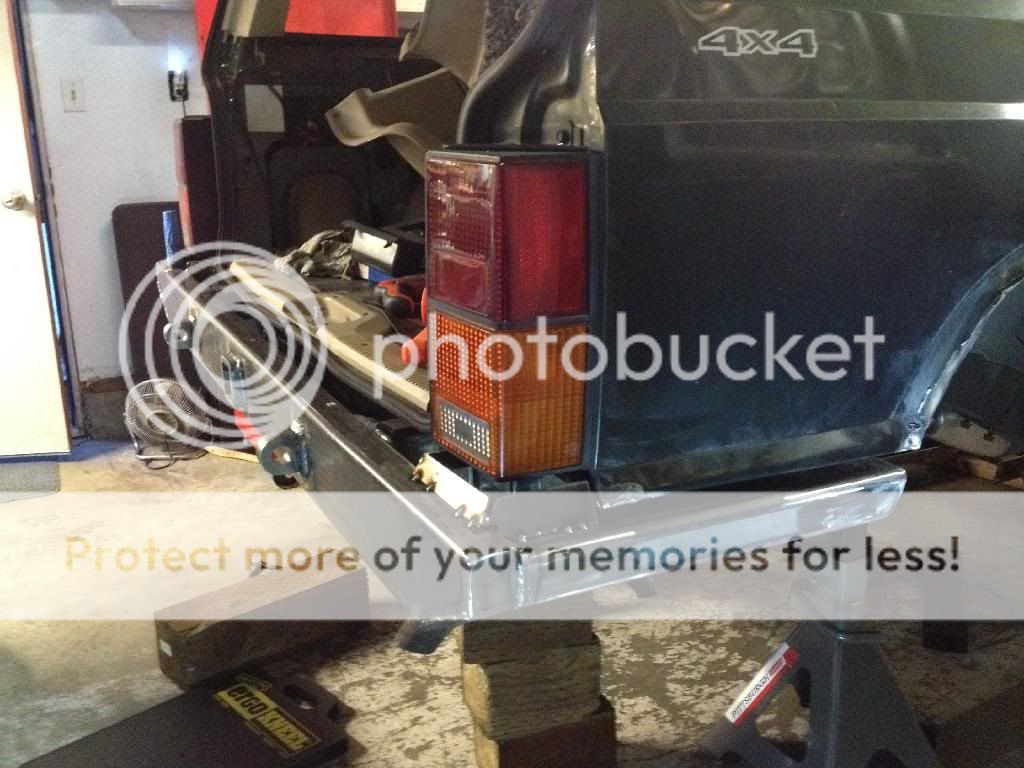
Hijacking a little here. When you guys build the rear bumper, what are you supporting those outer "rails" under the cut and fold with? Seems like if they aren't attached to something solid you'd just shove the bumper up into the rear quarter panel when you came down on a rock, etc. I'm asking because I'm about to pull the trigger on my cut and fold and want to build a rear bumper similar to the one pictured. Just trying to figure out how to support those outer rails.
 
I've been contemplating this move myself, there are a few companies in the venders area that sell exactly what you're talking about, JCR and dirtboundoffroad(not sure of the new name) to name a 2..
 
When you guys build the rear bumper, what are you supporting those outer "rails" under the cut and fold with? Seems like if they aren't attached to something solid you'd just shove the bumper up into the rear quarter panel when you came down on a rock, etc.. Just trying to figure out how to support those outer rails.

When I cut the rear quarters and built the bumper, the 2X2X3/16" side arms were cantilevered off the bumper, adding a lot of strength. The ends of the side arms are supported back to the frame. My XJ normally hits in the rear corners, where the new bumper takes the impact. Have not smacked the side arms yet, the result of removing so much of the lower metal. What's left is reinforced. Raising the rear corners of the bumper 3-4" has made a huge difference, they seldom hit anymore.
http://www.flickr.com/photos/lwade/sets/72157630992095828/
Probably the worse it will experience is wrinkled quarter panel sheet metal, which will blend fine with with the other dents and scratches lol.
 
my rigid bumper has end caps that mounts to the bumper in 6 places, and to the section of unibody under the lights with 2 more bolts. Very rigid, but I havent hit it hard yet. After I plate the rear frame I'm planning to add tie-ins from the end of the caps to the frame rails. Looks like on the driver side it might intefere with the filler neck a bit.

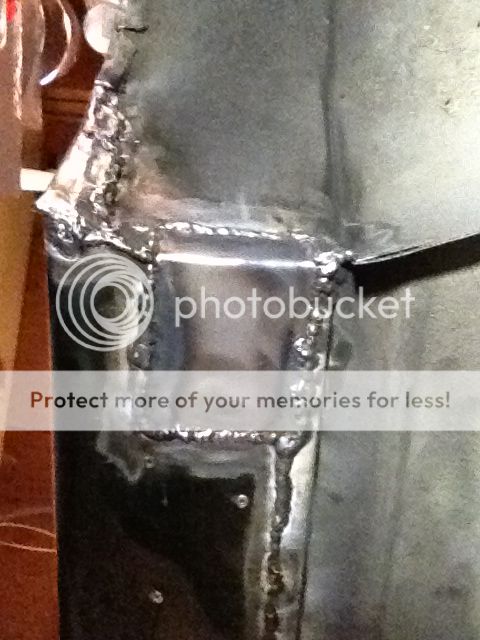
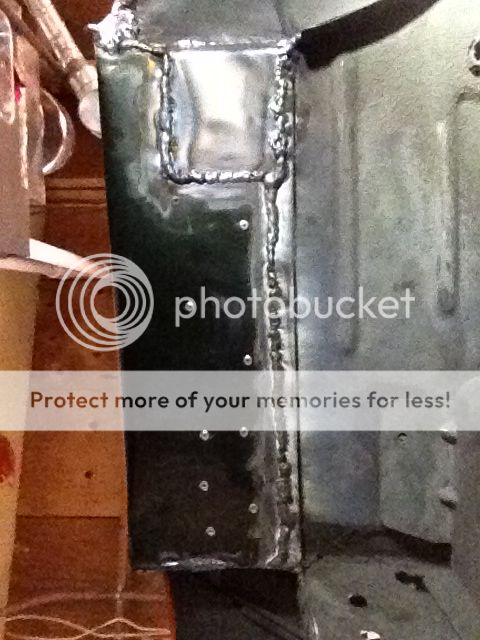
heres my cut n fold, modified after I cut the original rusty cut n fold. I guess now its cut n weld in patch. Still have to finish welding up the bigger wheel wells

http://naxja.org/forum/showpost.php?p=246044832&postcount=37
 
It's kinda tricky to run a piece of tubing over to the frame to support that leg under the cut quarter. It would require a tube clamp, so you could unbolt it and still be able to slide the bumper out. I'll probably run mine like it is- I'm not sure the time and expense of the tube clamps is really worth the gain.
 
You probably can't see, but those legs under the cut quarter are 2"x3", and they're .188" thick, so I think I'll have to be doing something pretty dumb to bend them.
 
Back
Top