Aggie_Cobra
NAXJA Forum User
- Location
- Texas
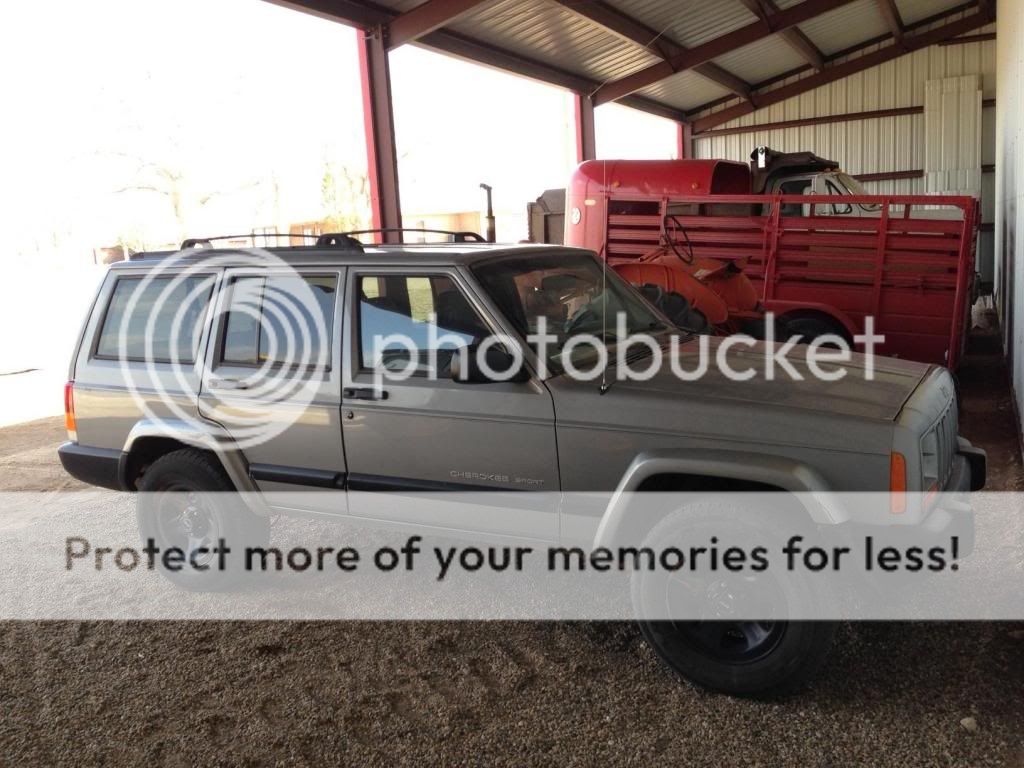
Documenting my 5.3L swap into an '01 2WD XJ.
Specs of build:
5.3L with 4L60E, remain 2WD
Keep Jeep AC Compressor—make custom brackets
Utilize GM P/S and Alternator
Novak engine mounts and headers
Picked up this XJ in OKC with an engine with a severe knock.
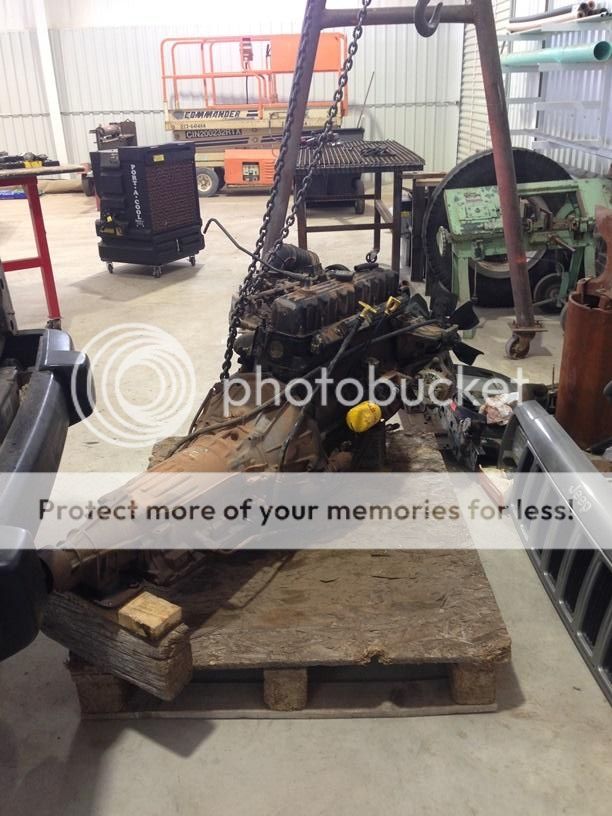
Out with the old
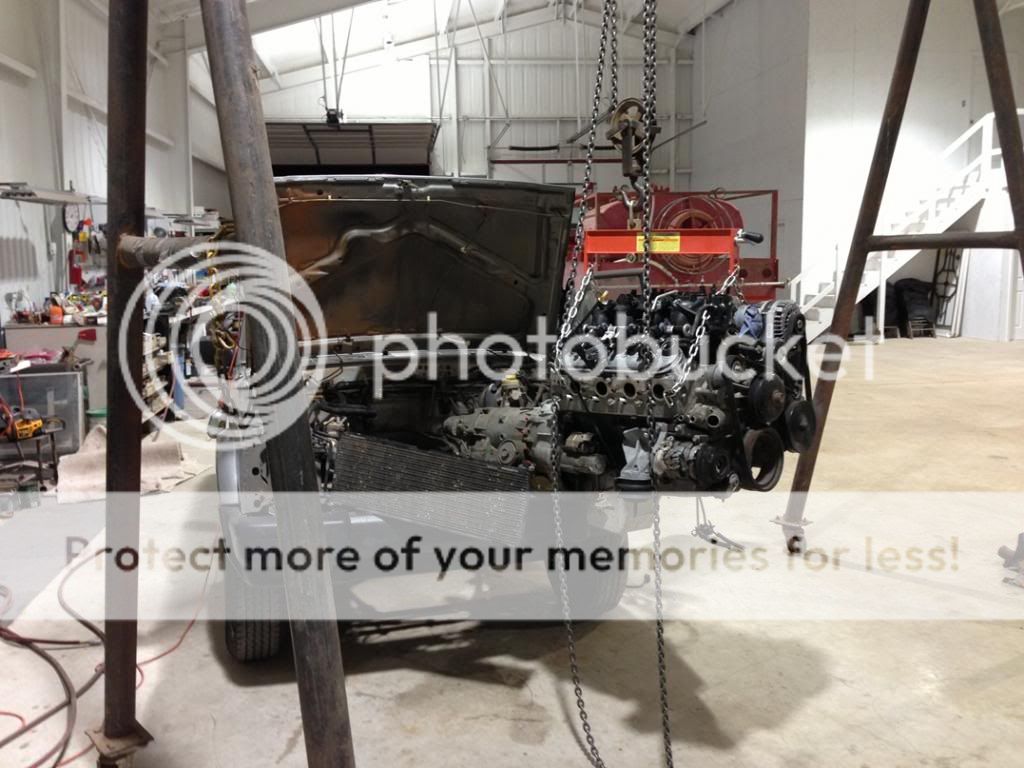
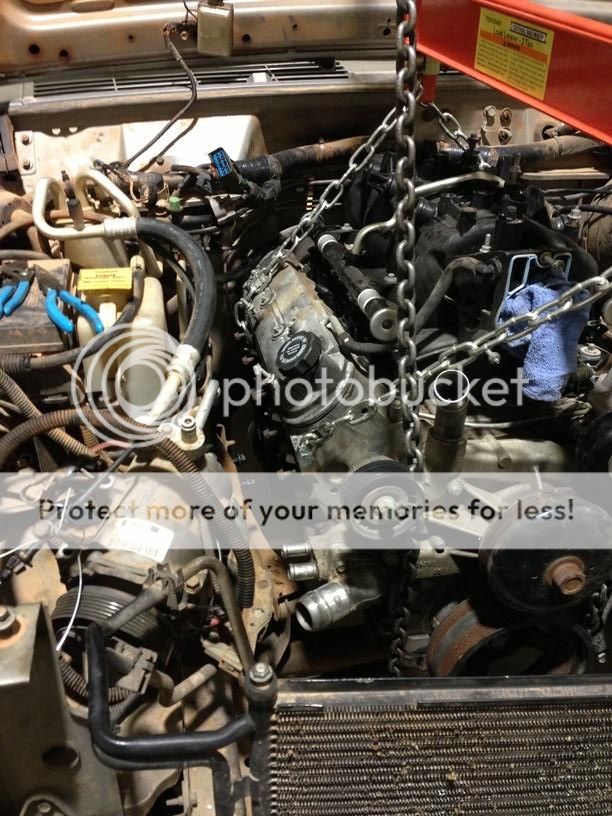
In with the new
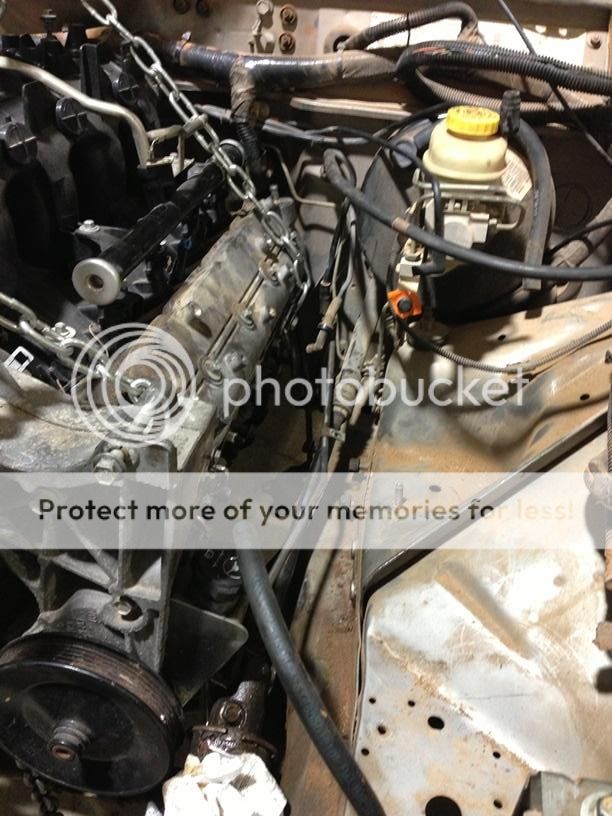
Side clearance
Transmission mount:

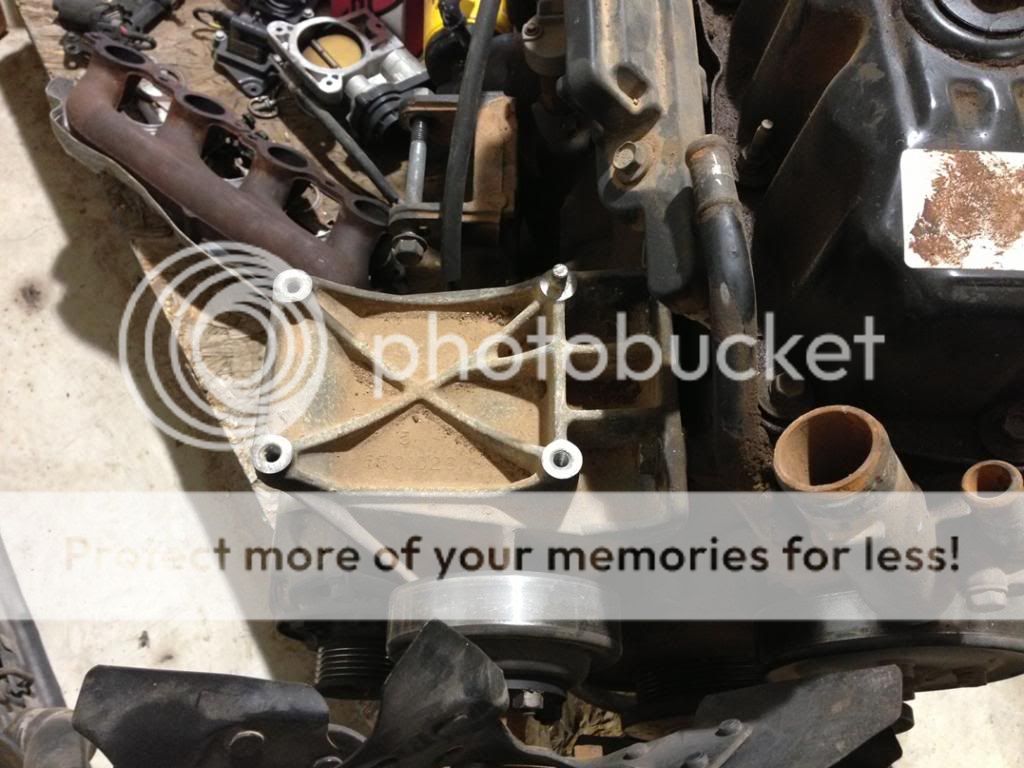
I tried truck manifolds and LS3 Corvette manifolds. I cut the flanges off of them. I couldn’t get them to fit on the driver’s side. So, Novak to the rescue. With Novak mounts and headers, the engine and transmission were in. Next, I started on my A/C brackets. I wanted to replicate the base the original A/C compressor was mounted to. This:
So, I built this out of 3/8” aluminum and spacers:
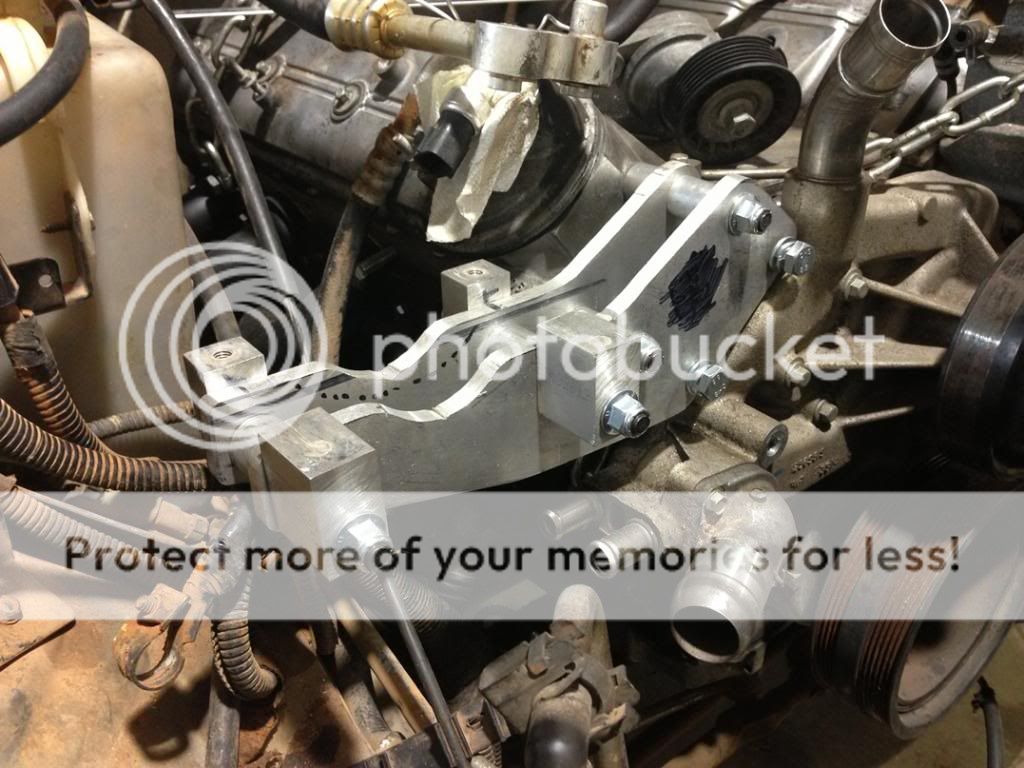
I used a tensioner from an ’03 Dodge 4.7L. It has an idler wheel built into it. Final product looks like:
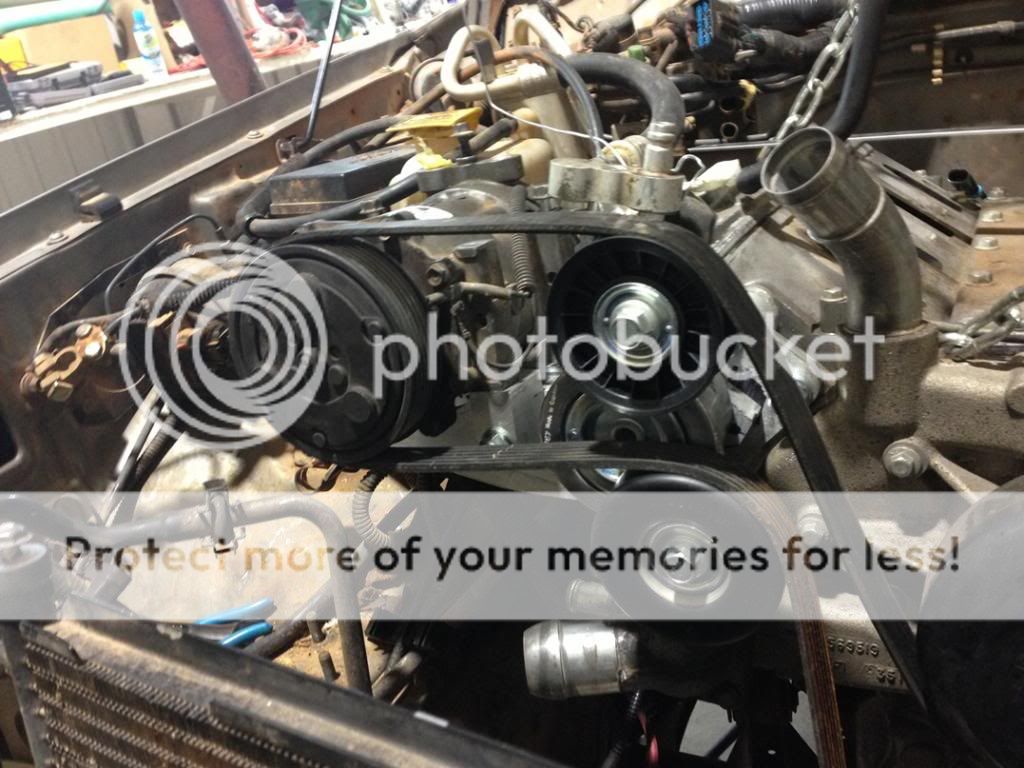
Next, I’m going to modify the GM alternator / P/S bracket. I’ll leave the P/S pump as is, and make some brackets to move and lower the alternator. I plan on shaving 3/8” off of each side of the original bracket so that a 3/8” plate can be placed behind and in front of it to holt the alternator.

Lots of details to still work out. I'm going to modify the XJ shifter as Frank Z did. Still have exhaust details to figure out.
Lots of thanks to the pioneers on like Frank Z and Jeff 98XJ!
Specs of build:
5.3L with 4L60E, remain 2WD
Keep Jeep AC Compressor—make custom brackets
Utilize GM P/S and Alternator
Novak engine mounts and headers
Picked up this XJ in OKC with an engine with a severe knock.

Out with the old

In with the new

Side clearance


Transmission mount:

I tried truck manifolds and LS3 Corvette manifolds. I cut the flanges off of them. I couldn’t get them to fit on the driver’s side. So, Novak to the rescue. With Novak mounts and headers, the engine and transmission were in. Next, I started on my A/C brackets. I wanted to replicate the base the original A/C compressor was mounted to. This:

So, I built this out of 3/8” aluminum and spacers:

I used a tensioner from an ’03 Dodge 4.7L. It has an idler wheel built into it. Final product looks like:

Next, I’m going to modify the GM alternator / P/S bracket. I’ll leave the P/S pump as is, and make some brackets to move and lower the alternator. I plan on shaving 3/8” off of each side of the original bracket so that a 3/8” plate can be placed behind and in front of it to holt the alternator.

Lots of details to still work out. I'm going to modify the XJ shifter as Frank Z did. Still have exhaust details to figure out.
Lots of thanks to the pioneers on
like Frank Z and Jeff 98XJ! ")


