• Welcome to the new NAXJA Forum! If your password does not work, please use "Forgot your password?" link on the log-in page. Please feel free to reach out to [email protected] if we can provide any assistance.

Started installing my Napier Flares

Sneaky

NAXJA Forum User
I got my flares the other day and was stressing about the instal of the rear so that's where I started today. I thought it out pretty well and was really concerned about sealing up all of the radius cuts. Ill explain what I did step by step.

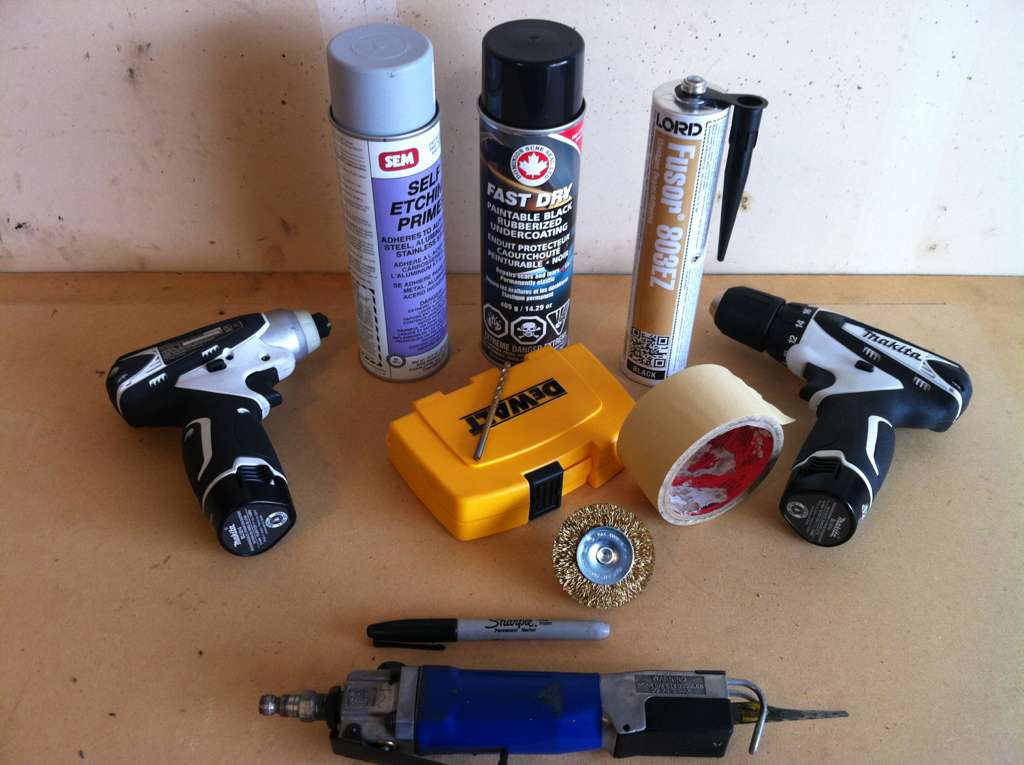
First I got all my tools/materials gathered.
u5ugugeh.jpg


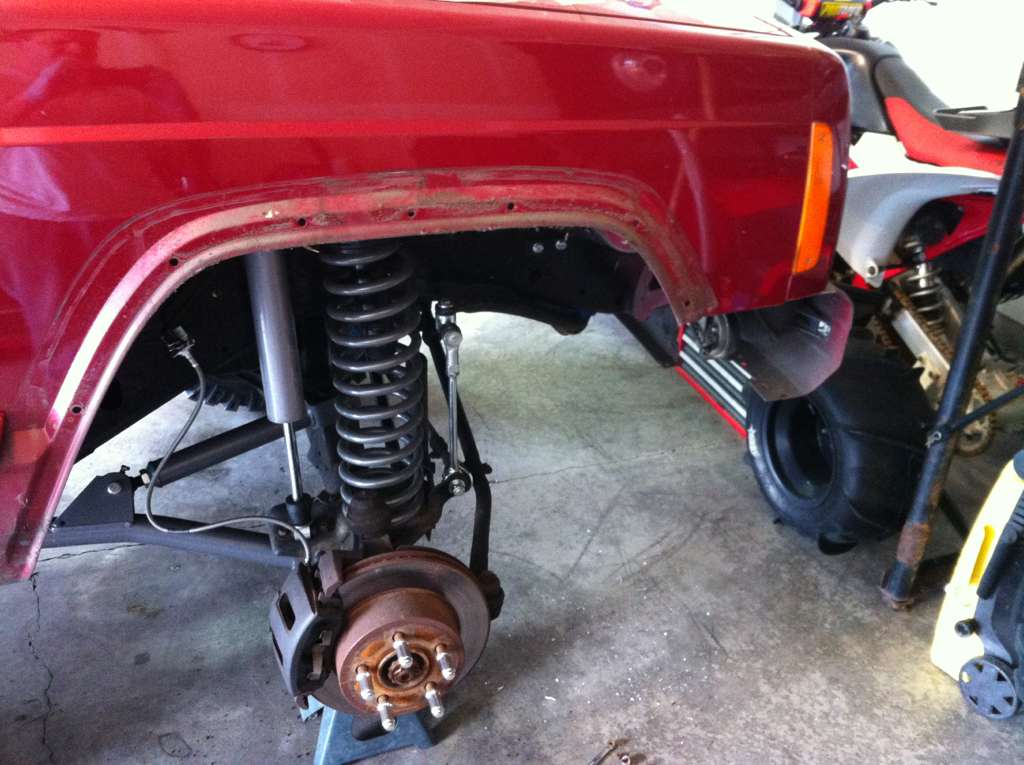
Then started out by getting the right side of the Jeep off of the ground.
ydysury3.jpg


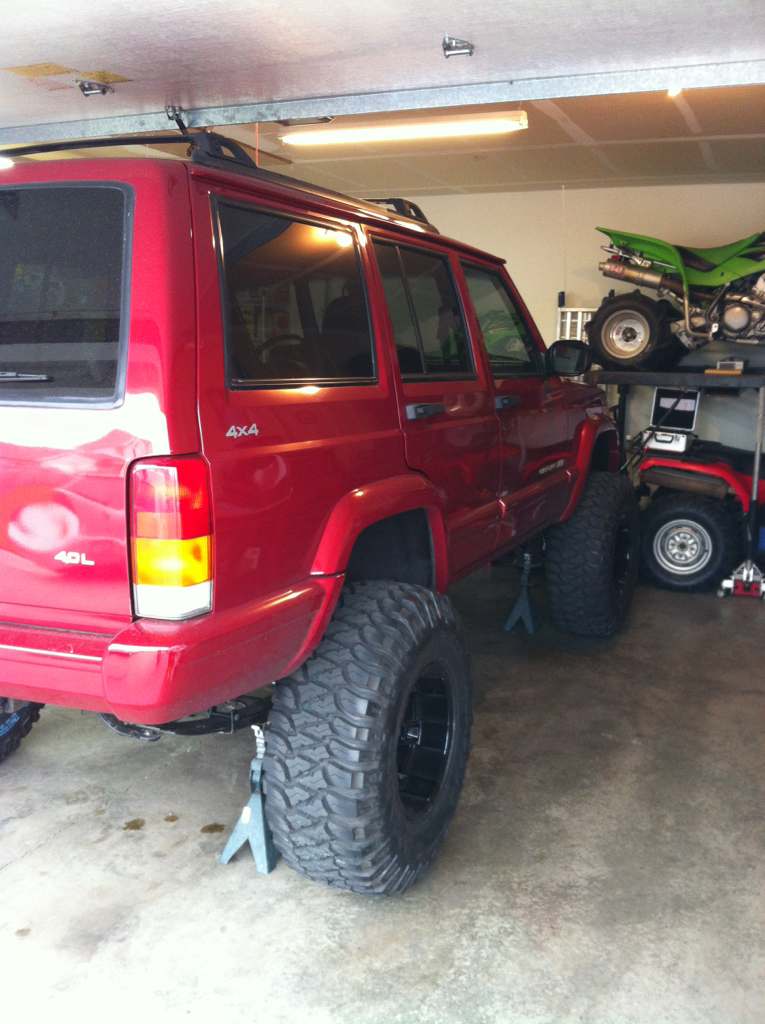
Then took the wheels off
ejejajyb.jpg


Not too eventful yet, I know...

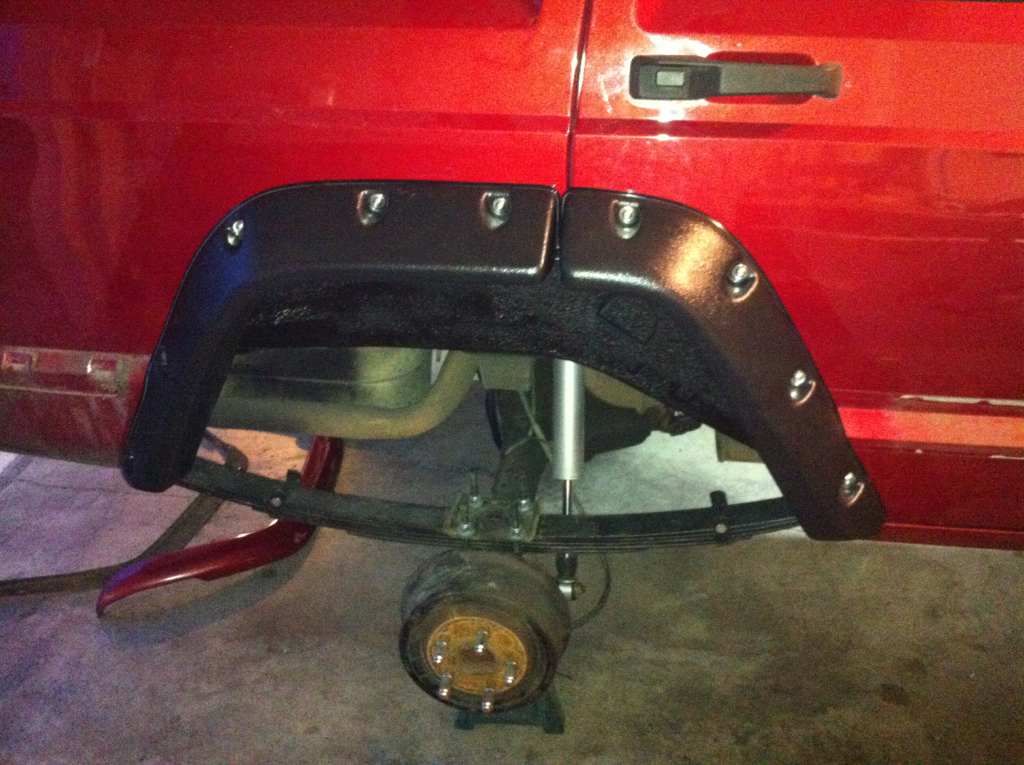
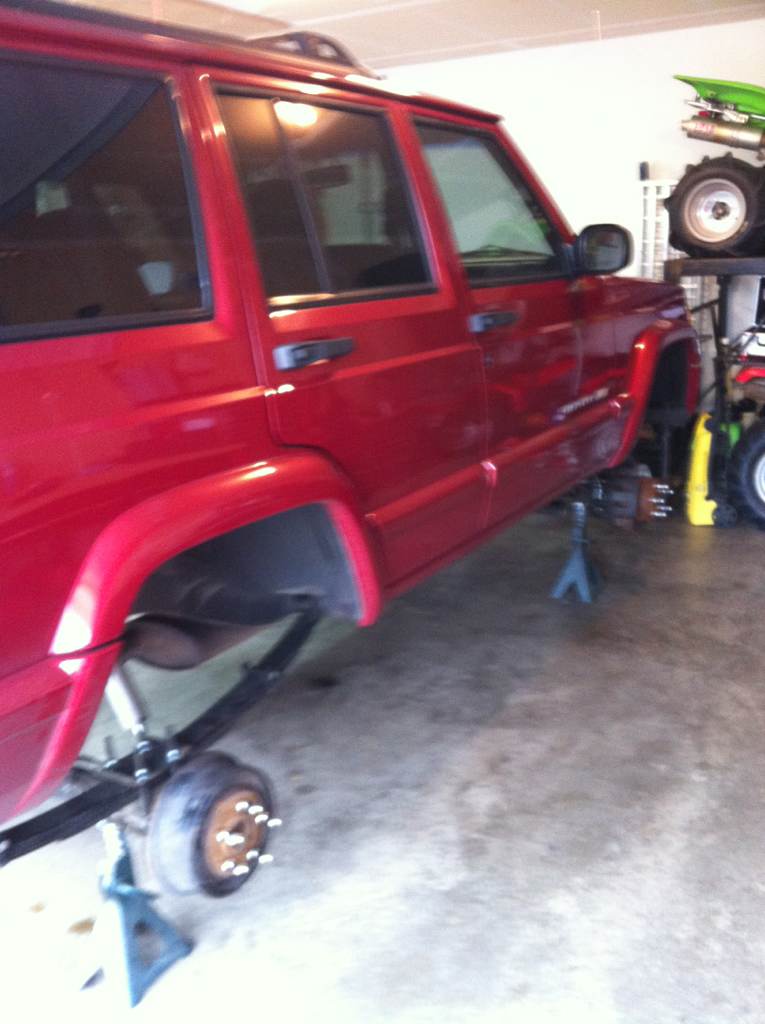
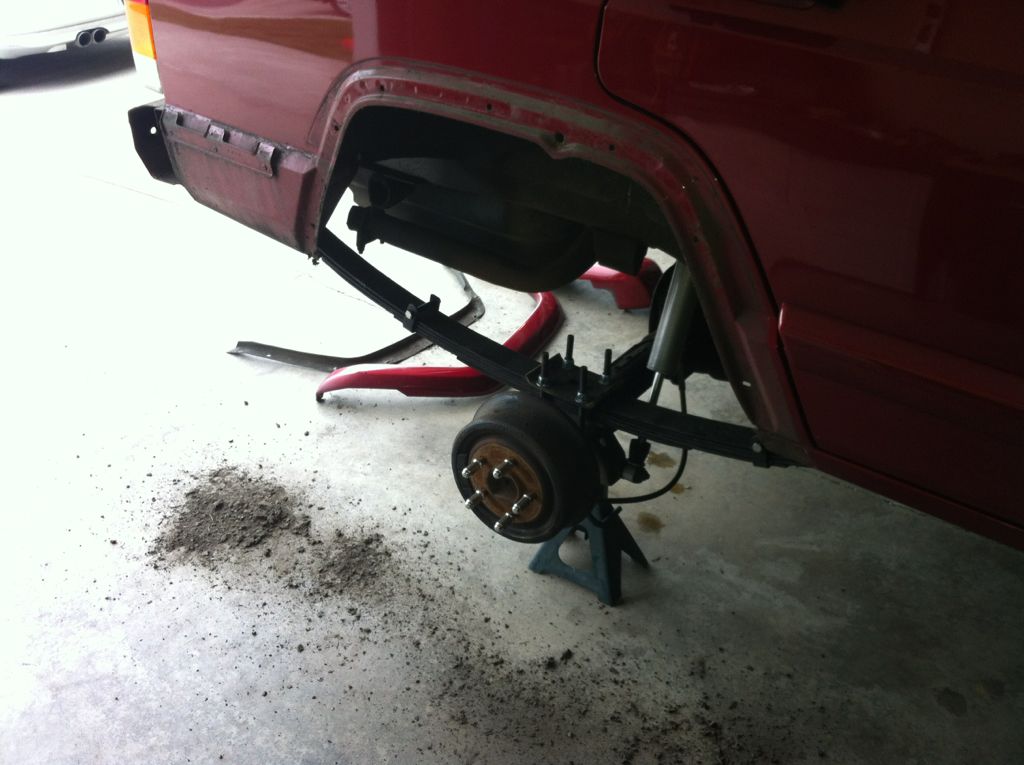
Had to remove the flare and bumper cap.
5yha6edu.jpg


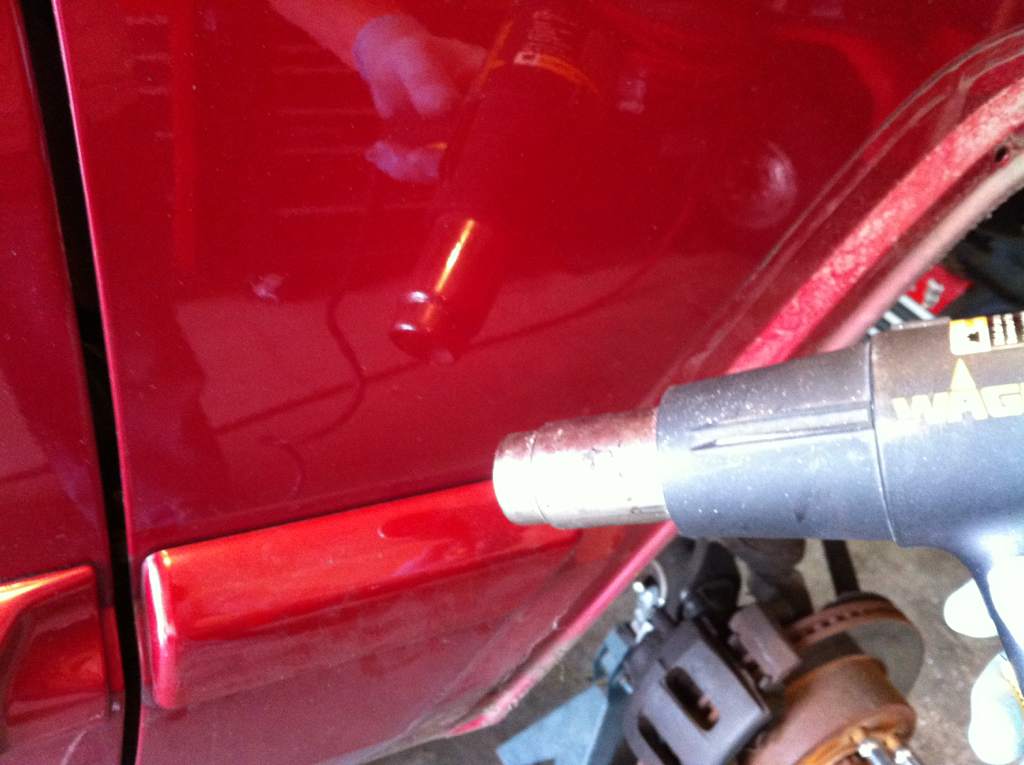
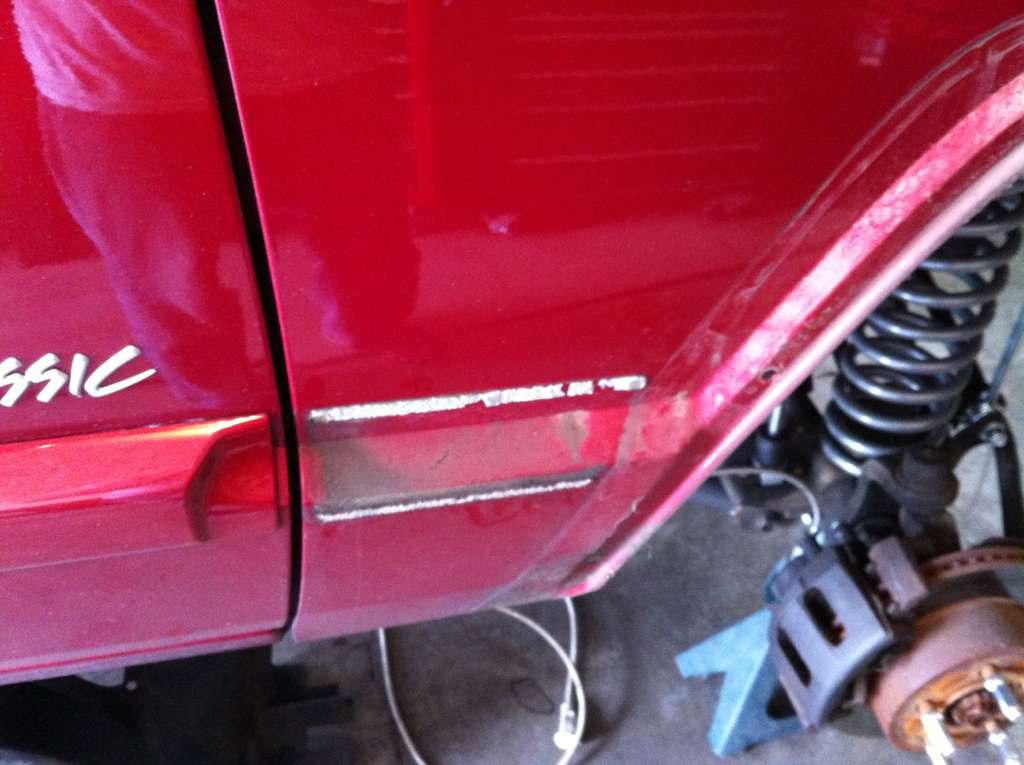
Then I removed the door trim so I can trim it down when done and reinstall.
nedu2u2u.jpg


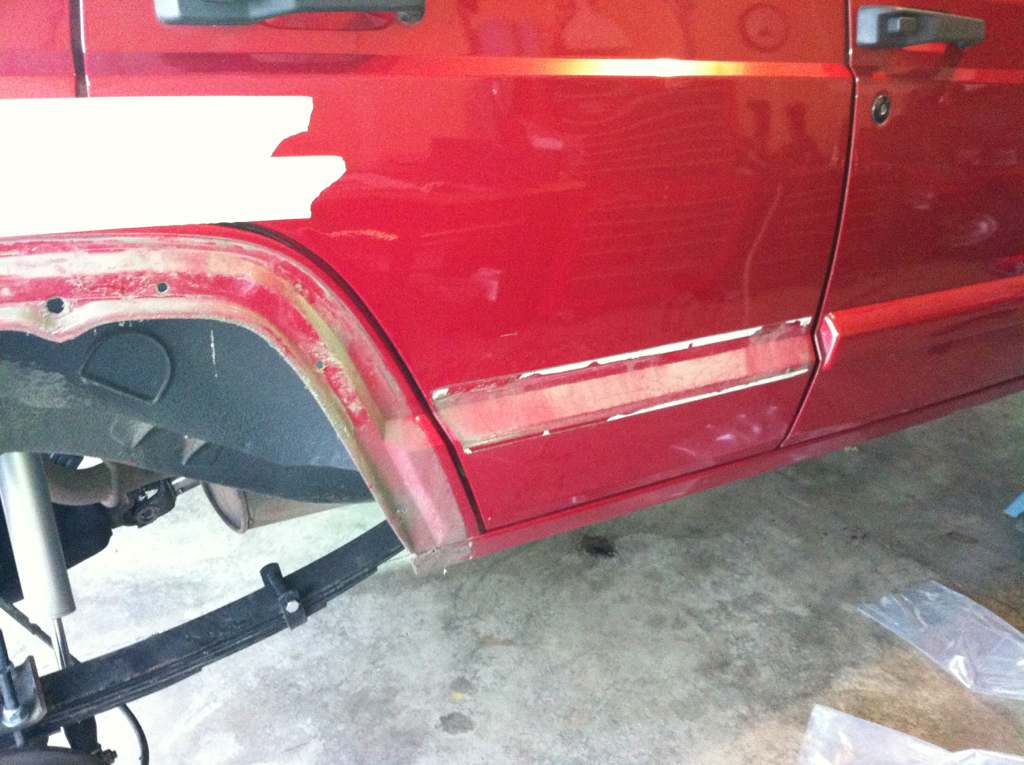
Then I tried to place the flares on the jeep to get my reference lines... Pretty difficult in my opinion so I just started cutting. With some research I had a pretty good idea of how far for the first cut and where to do the radius cuts.
epe9y2un.jpg


9u8u9uju.jpg


After the first cut I followed it up with a paddle wheel.
y3y5uteq.jpg


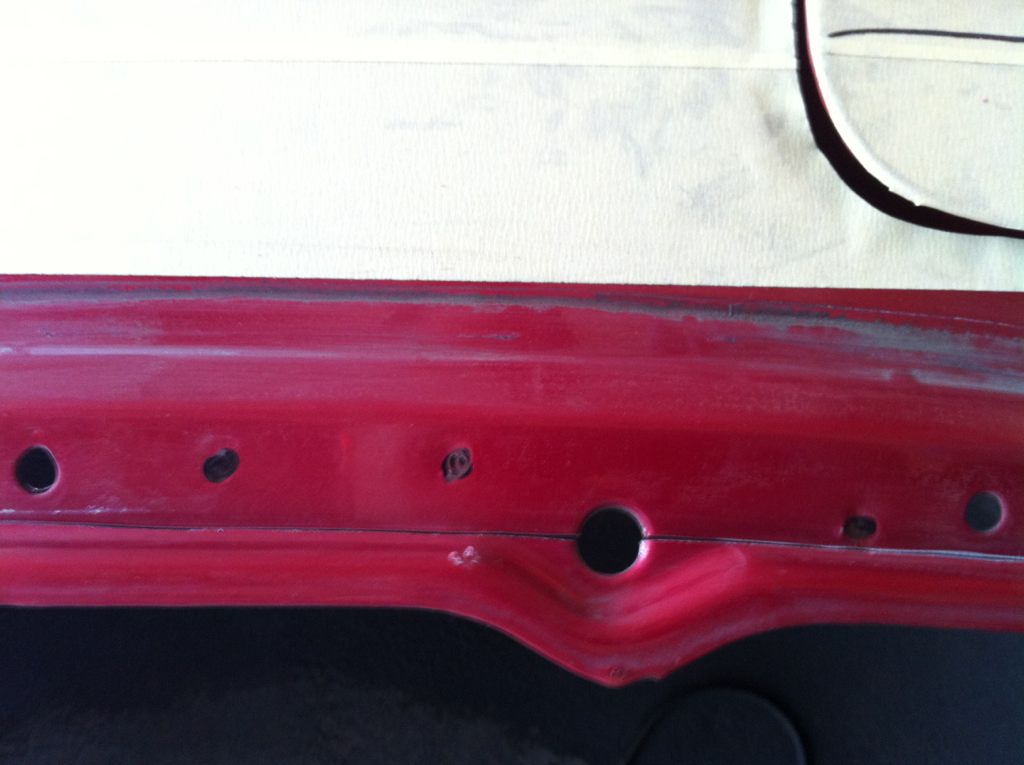
After that I had marked all of the spot welds and my cuts I was going to make.
ge6u9ese.jpg


Notice I hadn't marked my cuts in the photo...

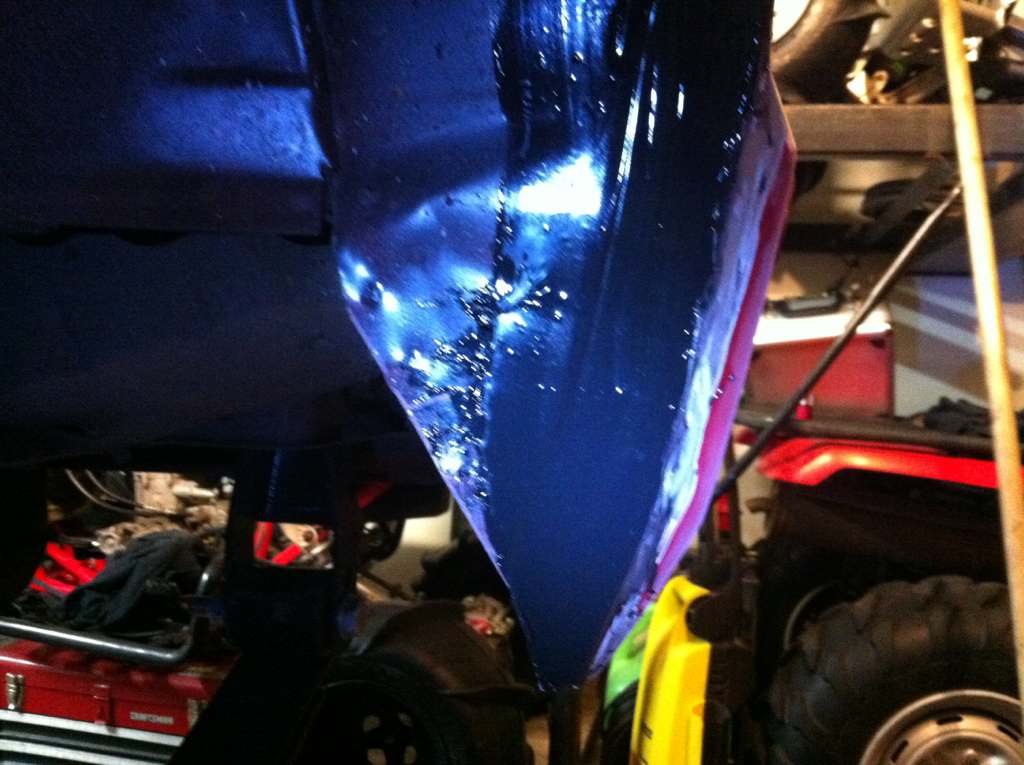
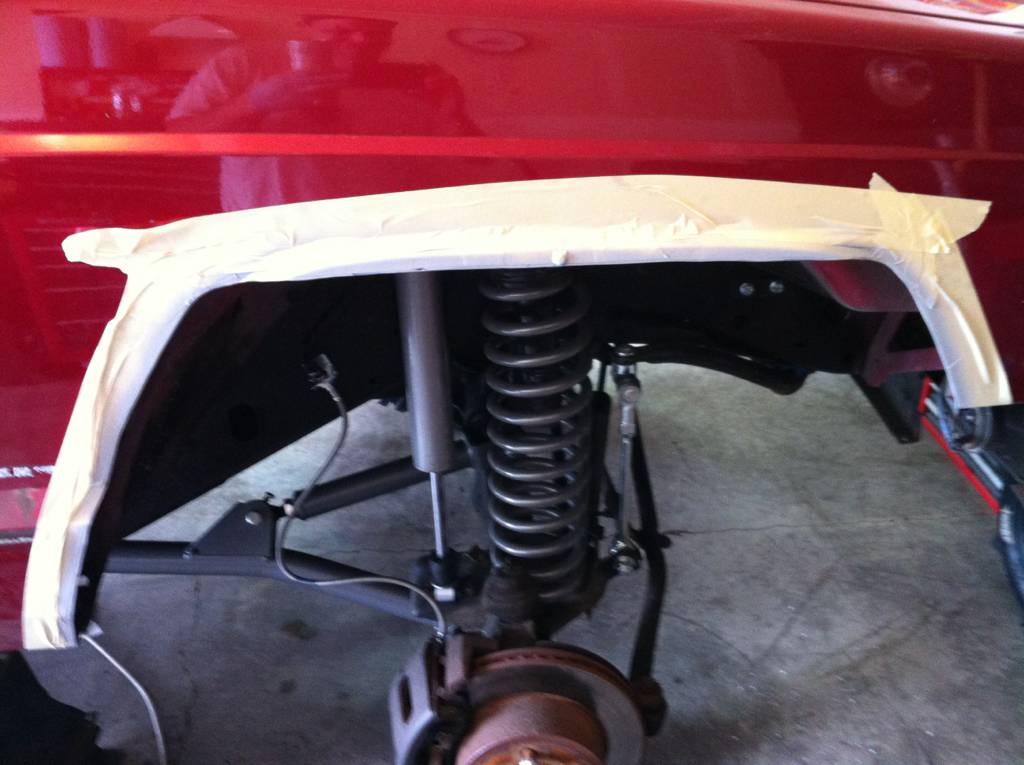
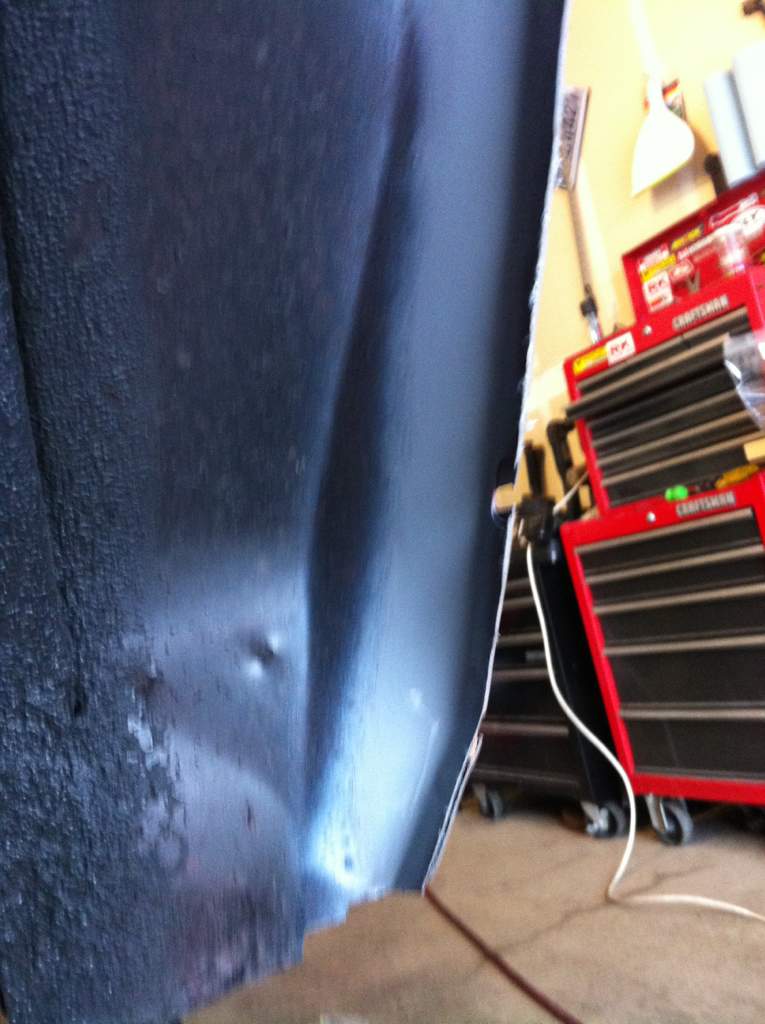
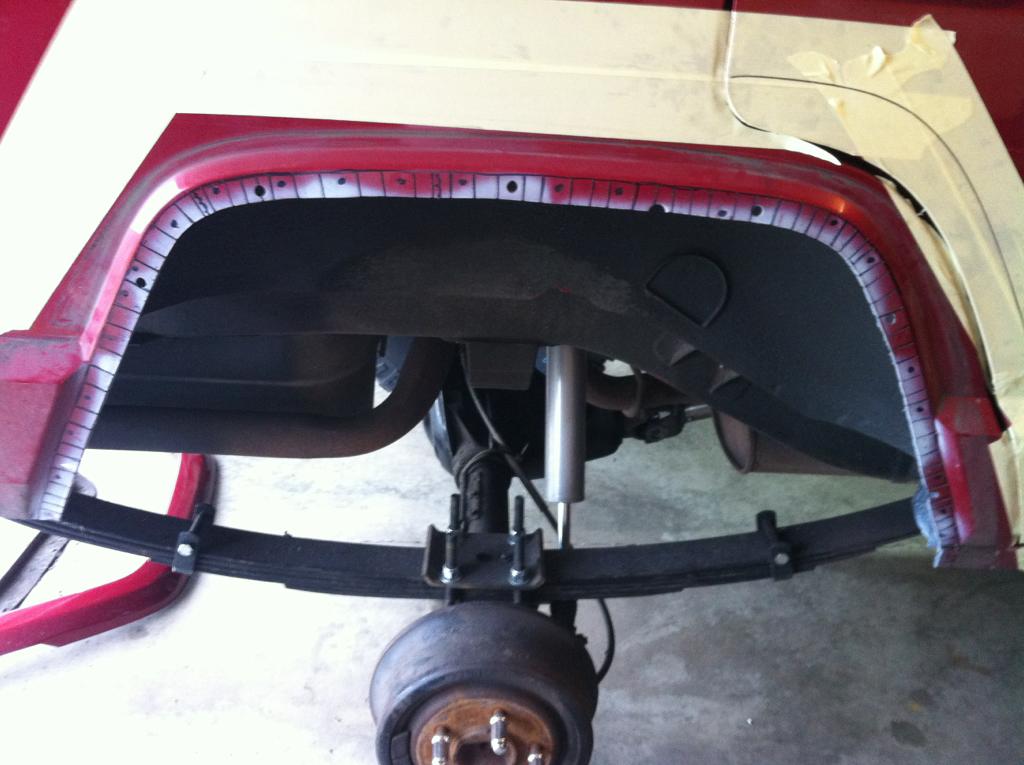
To make sure I had a clean surface on the back side for primer and my urethane sealer I wire wheeled the back lip.
hasyvy6a.jpg


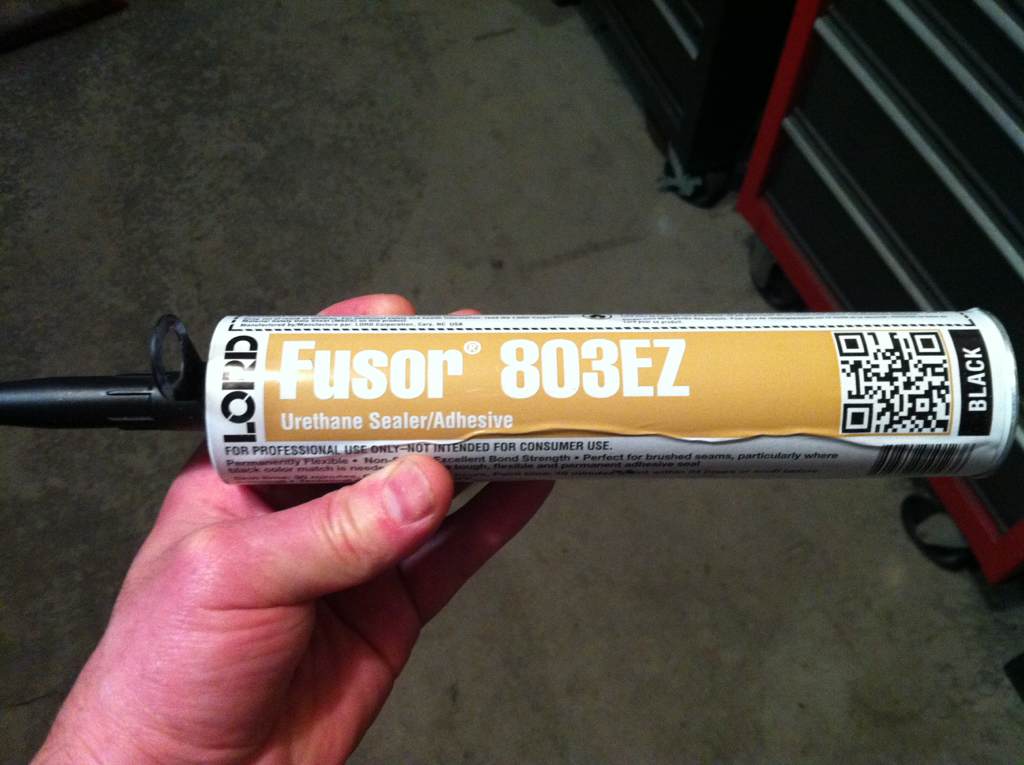
Once that was done I sealed it with some self etching primer.
ehama3ud.jpg


Here's my cut lines.
ypuru8as.jpg


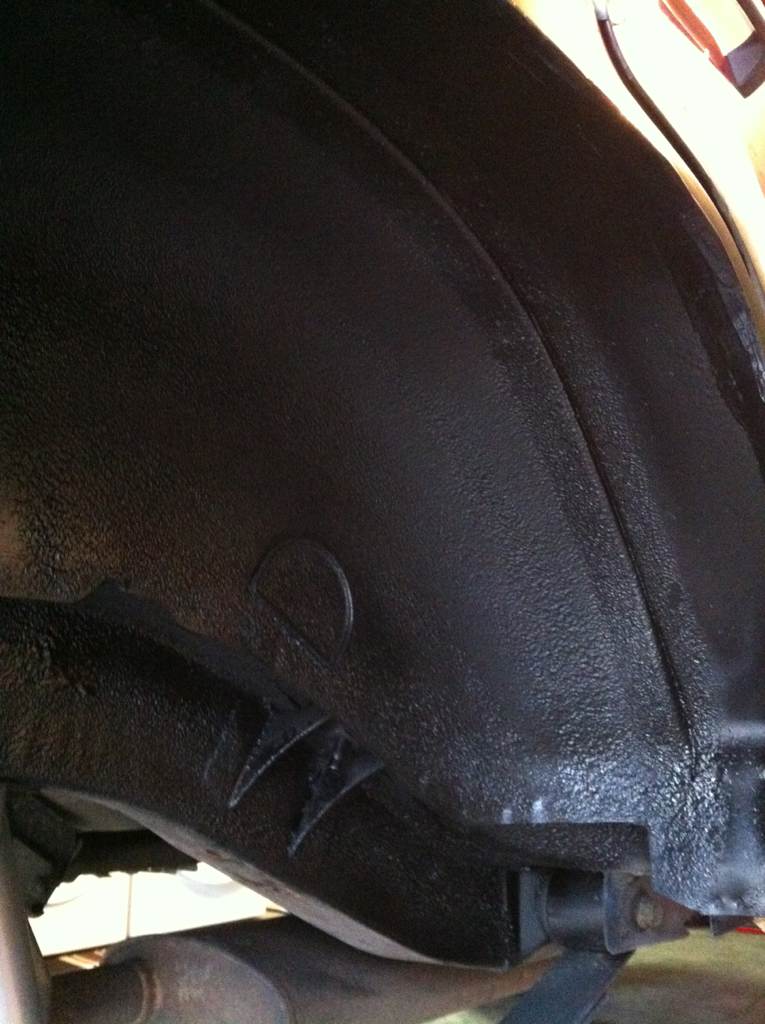
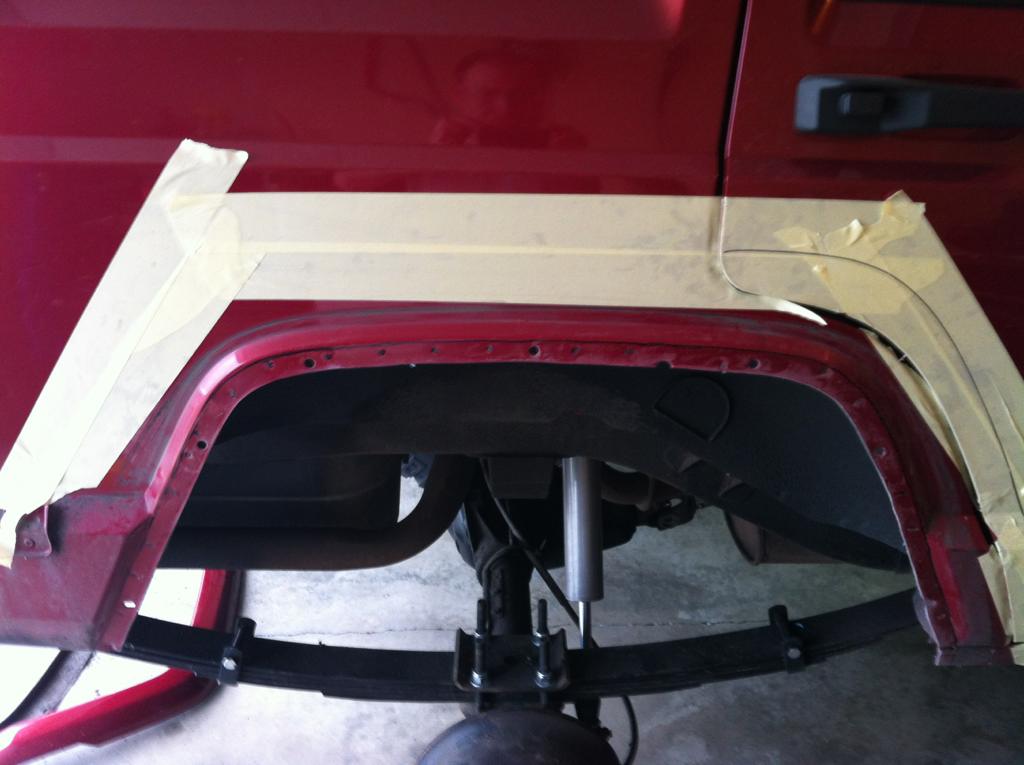
Then I cut all radius cuts with the air hacksaw. Then followed up with sealer on the back side so that it would be sealed really well once I folded the metal back.
a4ydeve6.jpg


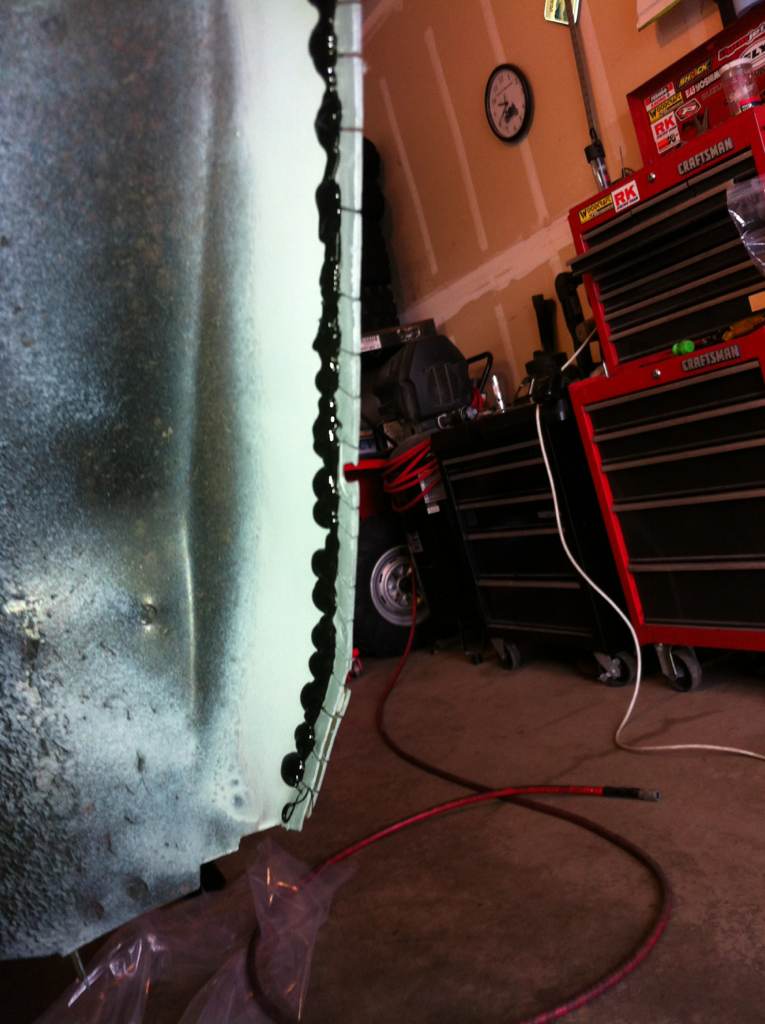
After that I folded back the metal and then did some more sealer and fully capped all the bent back tabs.
e2a7eped.jpg
 
Once that was done it was time for some undercoating to finish up the wheel well.
gu8a2y3y.jpg


Then I cleaned up the front and painted it. I forgot to snap a photo, I will when I do the other side.

Then here's the finished product. Sorry for the crappy photo but you get the idea.
a5usyje7.jpg


I will post up more as I go, this took me roughly 3.5 hours to do today.
 
Looks good man! They definitely give the jeep a completed look!
 
What kind of sealer did you use? Did you fold up the tabs right back and smother the sealer on?
I'm going to install some flat fenders and want to seal up where I cut to stop rust from forming.
Thanks
 
What kind of sealer did you use? Did you fold up the tabs right back and smother the sealer on?
I'm going to install some flat fenders and want to seal up where I cut to stop rust from forming.
Thanks

That's exactly what I did. Be sure to clean any old paint and dirt off from the back side with a wire wheel, go about a quarter of an inch past where the tabs will lay inside. Then prime it with self etching primer. The primer will bond with the bare metal. Lay a good bead of urethane sealer behind the tabs so you can seal the back side. Also wire wheel the tabs on the front that will be bent back. Just a quick scuff will allow the sealer to hold better. Once bent back lay a large bead and the spread it with a small or cut in half small bondo spreader. Then let dry for at least 12 hours. The sealer is mostly known for windshield adhesive amount other things. You can get this and your primer at any auto paint and body supply shop.

ejetumyz.jpg


e2yzaduh.jpg


yhyqesa3.jpg


Here's a good photo of the other rear I did yesterday.

Hope this post helps ya out. I'll be glad to answer any more questions. If ya have them.
 
Yesterday I finished the right side of the Jeep. I got the front fender cut and the flare installed.

First I removed the flare and bumper cap.
4ezu5u9y.jpg


Then I had to remove this moulding from the door. In the instructions it says to just trim it back while still installed. Taking it off then installing after the flare is put on makes a lot more sense to me. Just a little heat will soften the tape so you can pull the moulding off.
ahe5u2un.jpg


Trim removed.
4eguguzu.jpg


Then I just went for the cut. Instead of placing the flare on and tracing the inside of it for my reference, I just compared with the photos in the instructions and drew a line that was similar. I brought my cut as far back as possible without going too deep beyond what the unibody opening could handle. Also leaving both bolts that hold the bottom of the fender to the body.

Here's a good photo of the other side at the bottom rear of the front. As you can see you can see the pinch weld that you want to pound flat.
ysa8y4yj.jpg


I got really close with the first cut and just had to open it up just slightly.
y5upa9av.jpg


Next I hammered the pinch seam down flat as per the instructions. This is optional and in my case probably not needed since I put my liner back in.
uma7ezen.jpg


When I removed the flare there was this bracket that I bent out of the way. To fasten this back up I grabbed a well nut out of my Sport Bike parts I've accumulated over the years.
u4ete8ut.jpg


Installed
u6u8azu5.jpg


You could use anything to fasten this though.

Taped the opening off and used self etching primer followed with some black paint.
zyve6yhe.jpg


Then installed the front flare.
bu9ezaru.jpg


Pulled outside to turn around and put the Jeep back in the garage so I could work on the other side towards my work area and took a photo.
8y5e3e6u.jpg


ne2utyva.jpg
 
1. How much actual tire clearance did you gain with the Napier flares?
2. Can you give a measurement of the width of the flares - as in how far do they extend from the fenders? I have Warn hubs on the front and 1" spacers rear to match the track width and am not finding flares that will cover the 31 x 10.50 Coopers. I'm running only 3.5" OME lift.
3. I'm told the local Snap-On truck has an attachement for an air hammer that rolls the fenders. Do you guys suppose this would work instead of the cut/fold method here? I know Napier instructs it to be done this way.. just wondering. Not worried about cutting just thought the roll method might be quicker and/or cleaner.


Thanks for the writeup. Always helps even with detailed instructions from the vendor.
 
Last edited:
1. How much actual tire clearance did you gain with the Napier flares?
2. Can you give a measurement of the width of the flares - as in how far do they extend from the fenders? I have Warn hubs on the front and 1" spacers rear to match the track width and am not finding flares that will cover the 31 x 10.50 Coopers. I'm running only 3.5" OME lift.
3. I'm told the local Snap-On truck has an attachement for an air hammer that rolls the fenders. Do you guys suppose this would work instead of the cut/fold method here? I know Napier instructs it to be done this way.. just wondering. Not worried about cutting just thought the roll method might be quicker and/or cleaner.


Thanks for the writeup. Always helps even with detailed instructions from the vendor.

For specific measurements I am unsure of other than height. I measured before and after. I gained three inches above the tire. In the front you will gain what you would by removing your factory flare plus another 1 3/4-2 inches behind the front tire. That's how much you end up cutting out of the metal and the flare fits directly in that cut. The rear is considerable, I would have to estimate about 1.5-2 inches gained at the front of the tire and 1.5-2 inches at the rear of the tire. I am running 33x12.50 on a 10 inch wheel. The rear tire is covered except about half an inch of it. The front there's about an inch sticking out. The flares are 3.5 inches wide, I think stock are closer to 2 inches.
aju8edyh.jpg


ama8azap.jpg


runysyby.jpg


As far as fender rolling I'm not sure that would work. Those rollers only seem to work well on round fenders because they mount to the wheel hub and pivot from a central point. The Jeep fenders are far from round...

Hope this info helps you. Take your time while doing this and put a lot of thought into it when you do. By doing so you will have a way better end result. I am sure there's a fair amount of hacked up jobs under these flares out there. The way I tackled mine,I am pretty confident I will never have any serious issues with the integrity of my fold of the rear fenders. I even urethane sealed the screws on the rear fender to be sure of no water intrusion.
 
Thanks much for the details!
I'm also looking at Napier flat flares and have fired off some questions to Napier.
 
Great job! Looks good.

Just FYI for anyone considering Flat Napier Flares (like me). Answers to my questions from their customer service/tech support.

Our Flat Flares offer more tire coverage and tire clearance than our Pocket Flares. The Flat Flares extend out around 4" while the Pocket Flares are around 3.25". There is not a lot of difference in the rear wheel opening since it is limited by the unibody construction. However, the front opens up a bit more. We decided to stop at the bottom edge of the windshield washer bottle to it wouldn't have to be relocated.
 
Last edited:
Nice job!

For anyone (like me) interested in Napier Flat Flares here are the answers to my questions from Napier:

"Our Flat Flares offer more tire coverage and tire clearance than our Pocket Flares. The Flat Flares extend out around 4" while the Pocket Flares are around 3.25". There is not a lot of difference in the rear wheel opening since it is limited by the unibody construction. However, the front opens up a bit more. We decided to stop at the bottom edge of the windshield washer bottle to it wouldn't have to be relocated."
 
Stopped in kelso last night! Haha looks very nice!

Got my 4.88s done at specfab yesterday in kalama.
 
Back
Top