• Welcome to the new NAXJA Forum! If your password does not work, please use "Forgot your password?" link on the log-in page. Please feel free to reach out to [email protected] if we can provide any assistance.

Milton's Other Jeep Build

JeepN4kc

NAXJA Forum User
Location
Blue Springs, MO
Hello to everyone in XJ land!
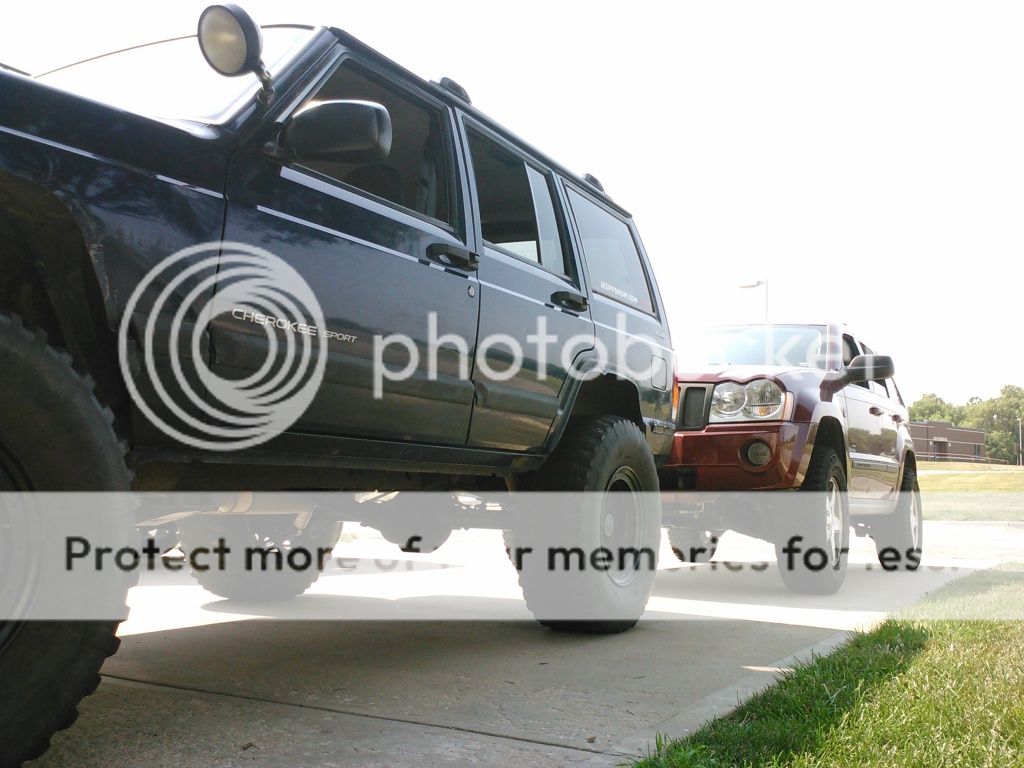
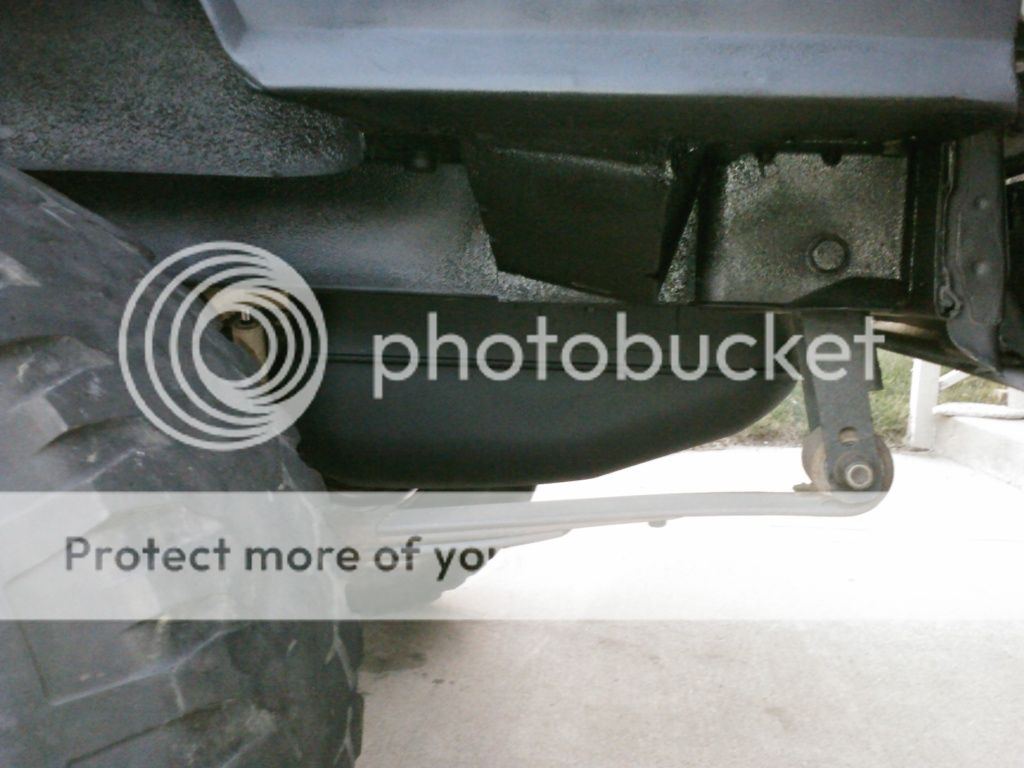
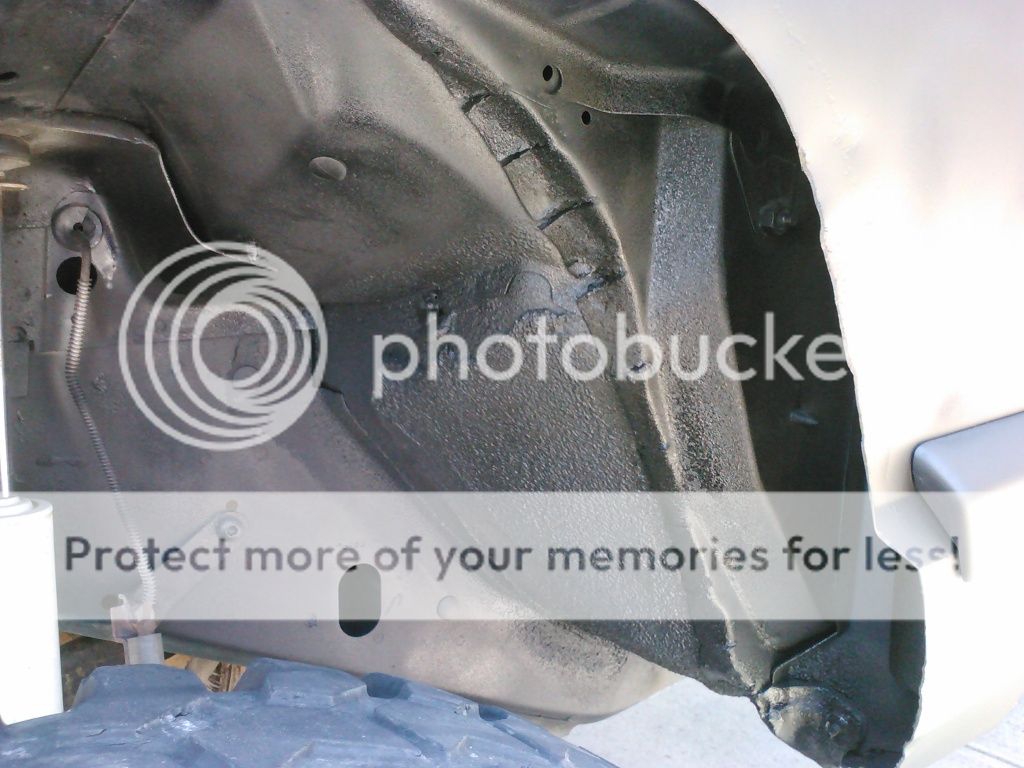
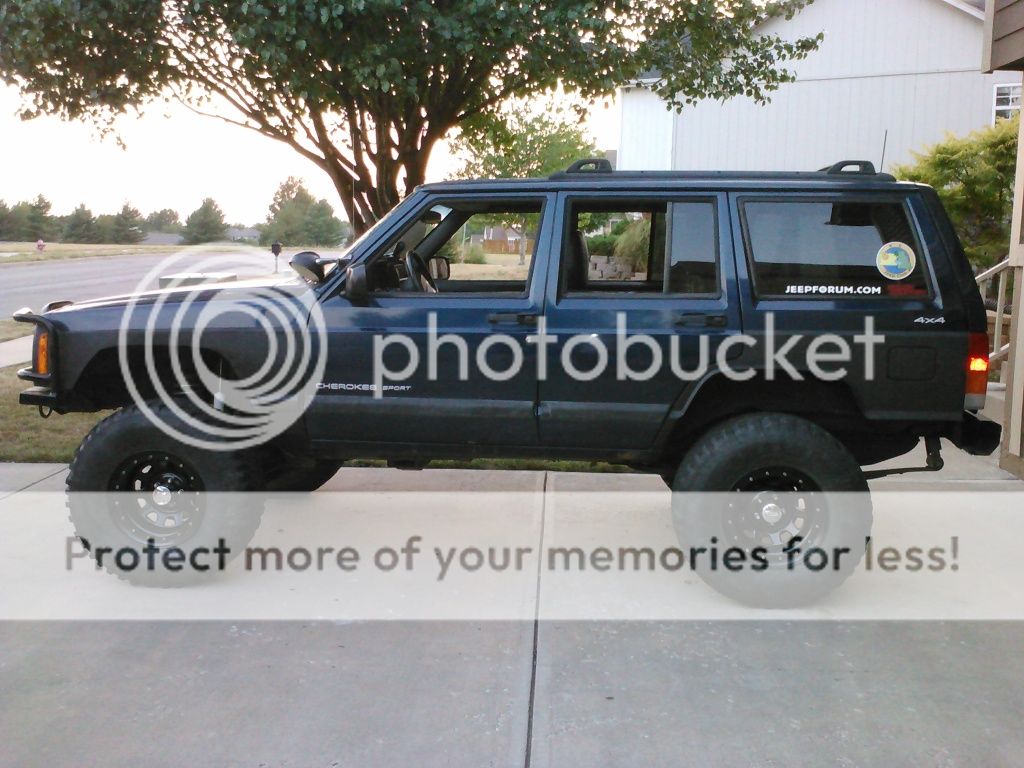
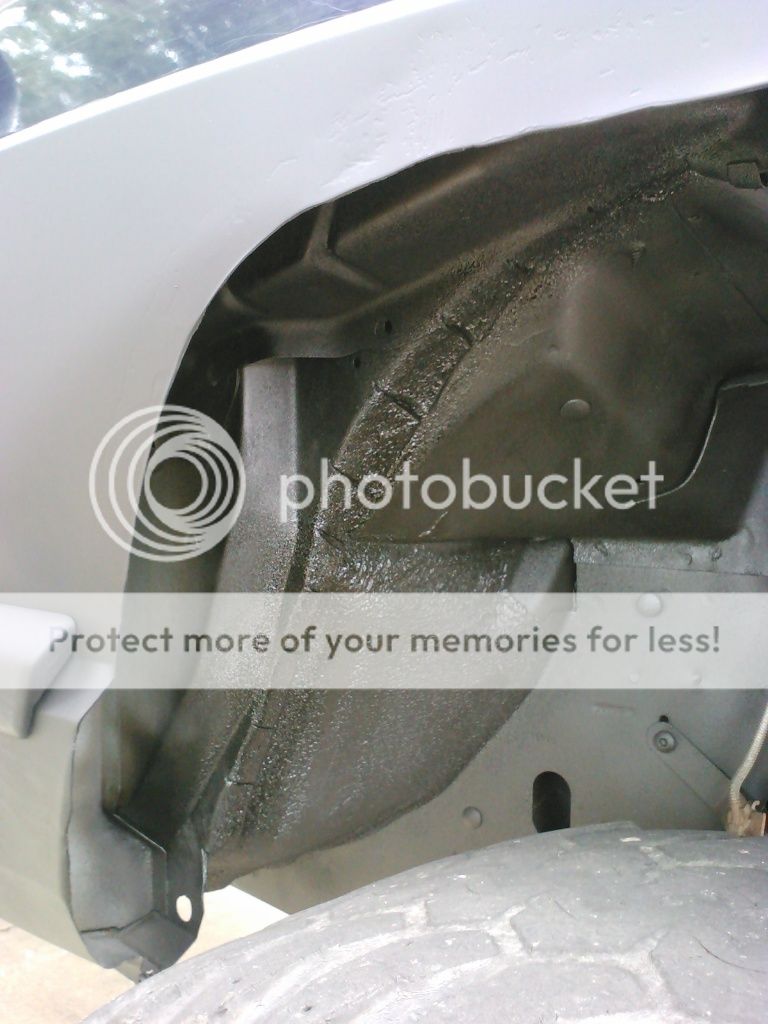
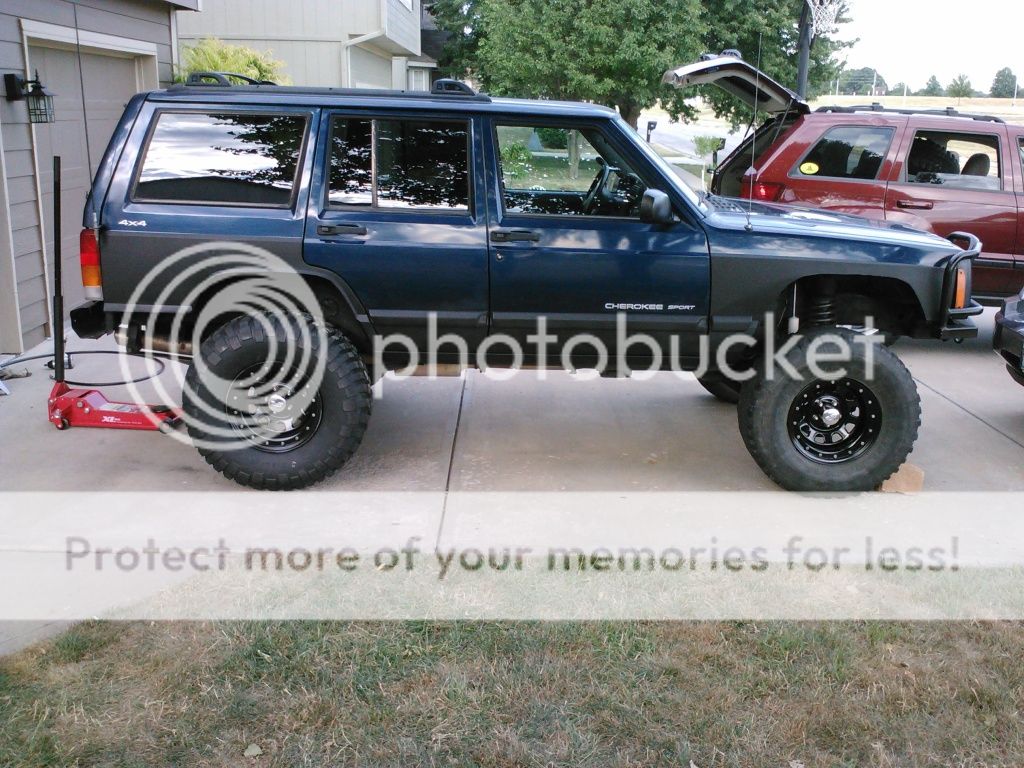
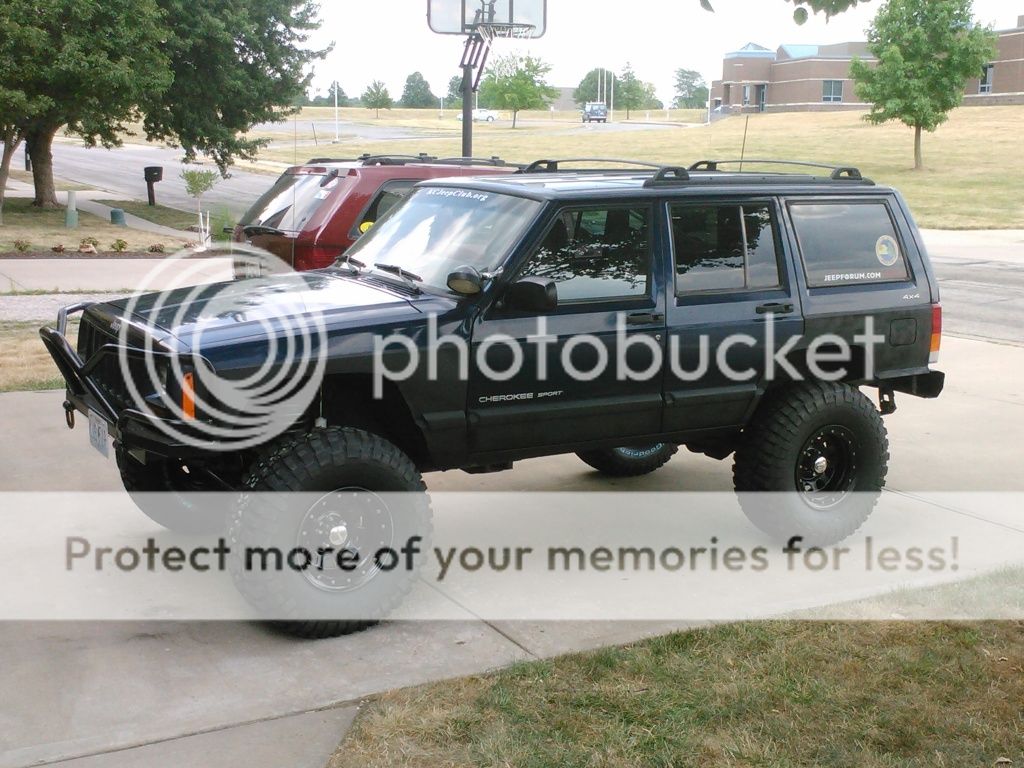
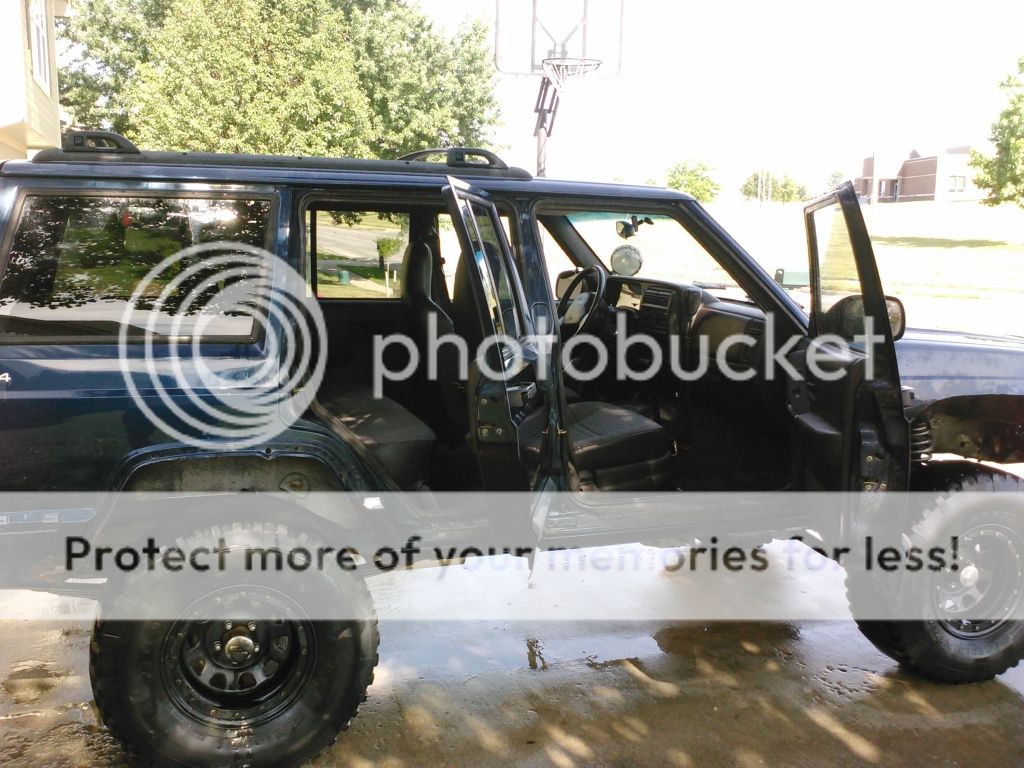
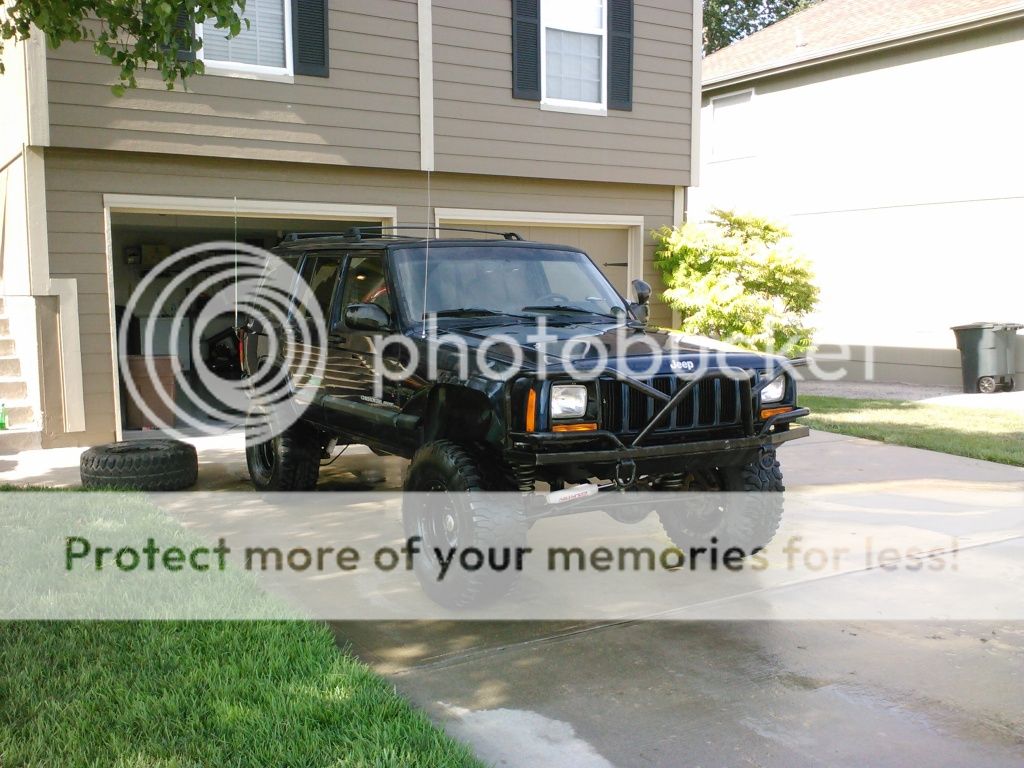
Well, I'm new to the forum and definately new to the XJ platform. I've posted here and there on NAXJA and you might recognize me from the "cracks in welded diff" thread. I've spent the last better part of a year building and modding and wheeling a WK ('07 JGC - 4.7 V8 w/ QTII) and I am about to embark on a new journey with a 2001 Cherokee Sport. My wife and I made an agreement that a true dedicated trail rig was in order if I was going to continue my addicted ways. As well, I was excited to join the SFA crowd. I found the XJ to be half the cost of most any Wranglers out there and I've seen Cherokees in action - very capable! As it stands I found a hell of a deal on Craigslist: 4.5" lift, Unique steelies wrapped with 33s, Dana 30 front, Chrysler 8.25 rear, cb/antenna, custom front bumper/bull bar with d-rings. I'm gonna copy and paste the beginnings of this build from my thread on JF just to bring it up to speed.
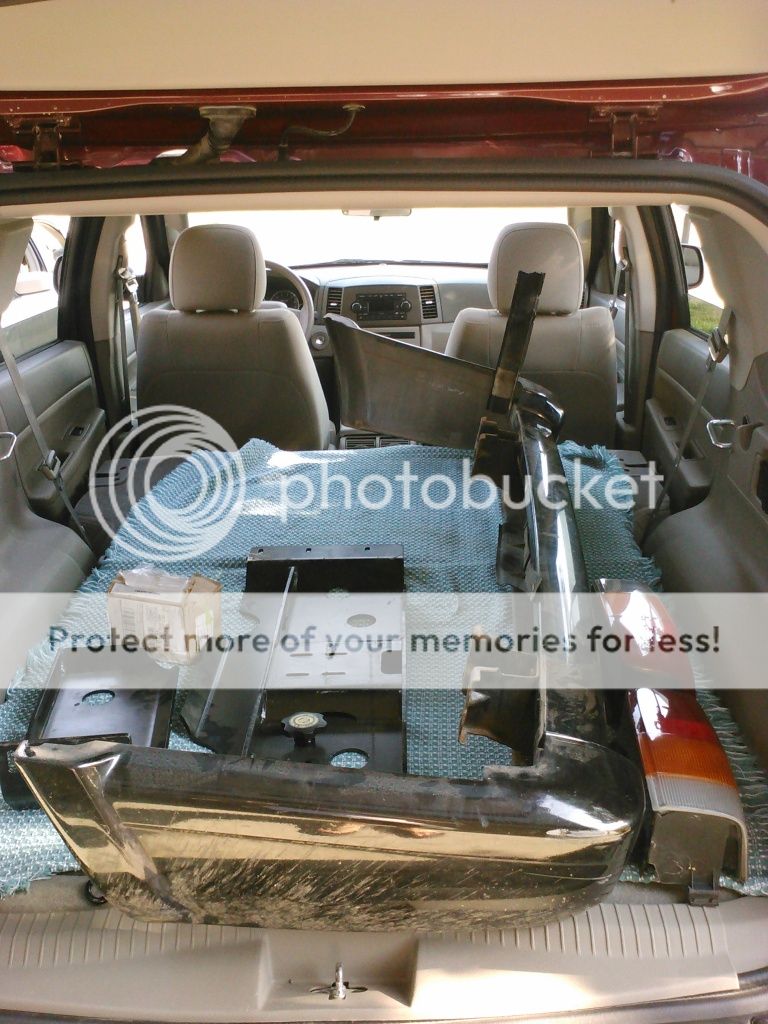
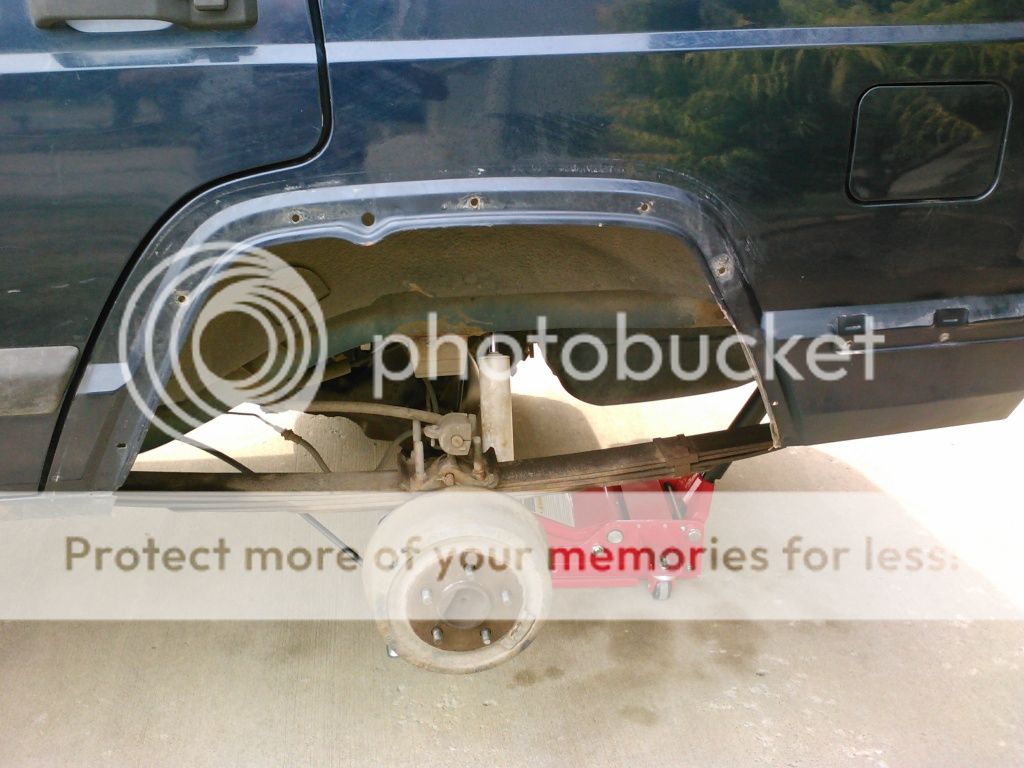
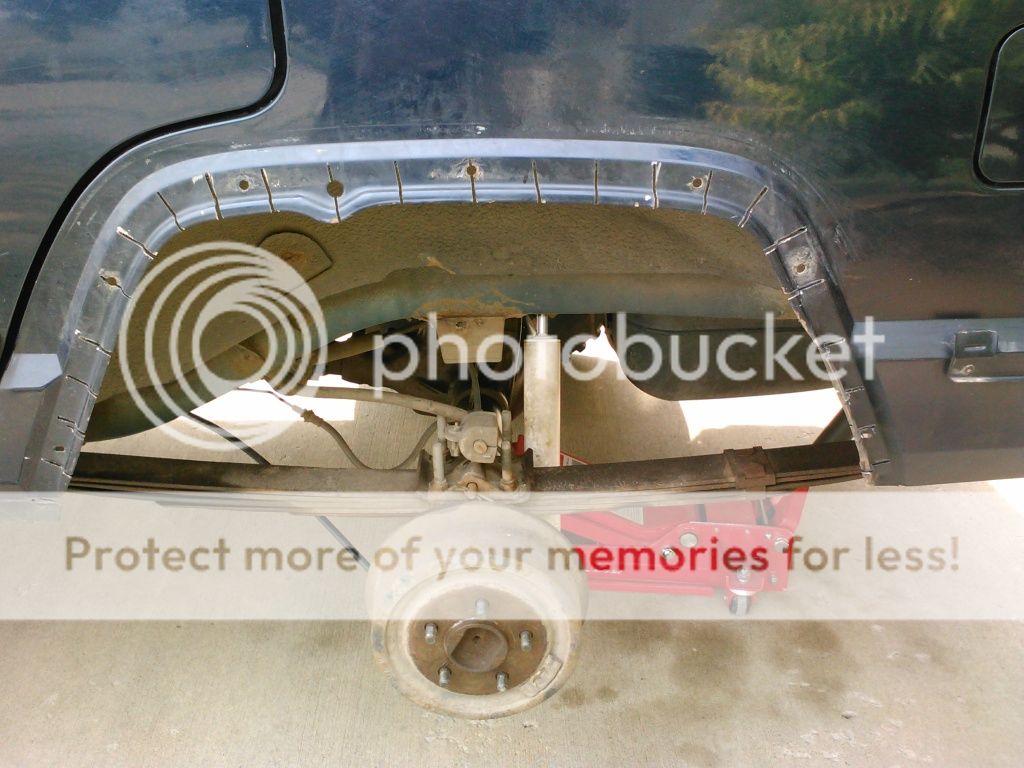
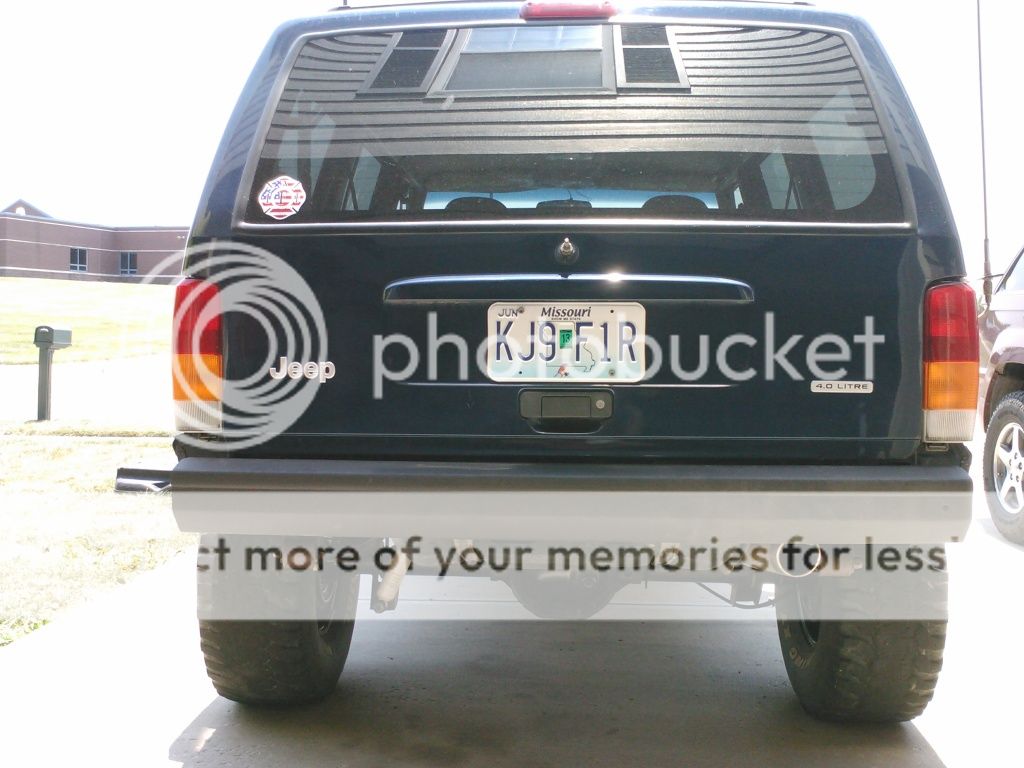
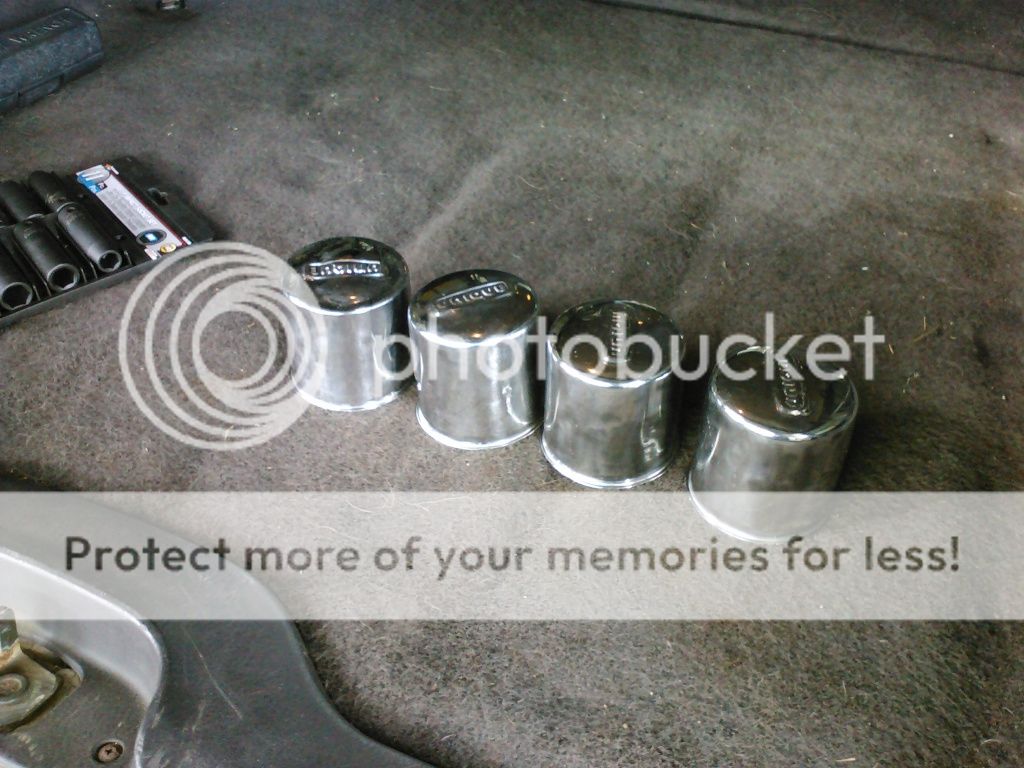
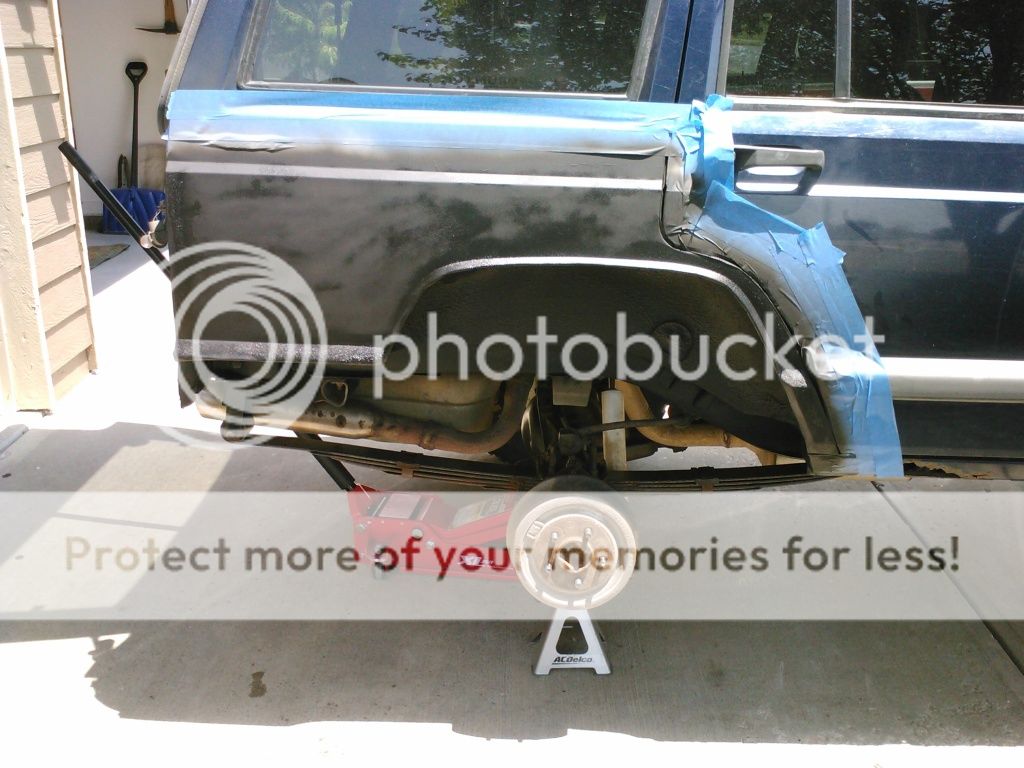
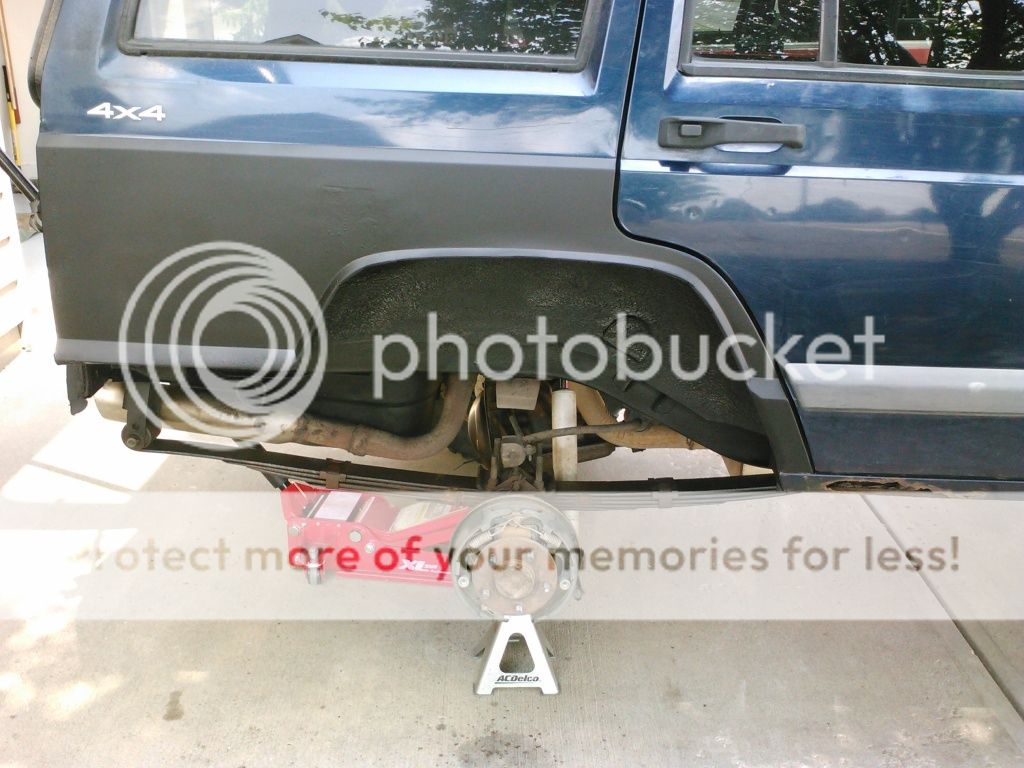
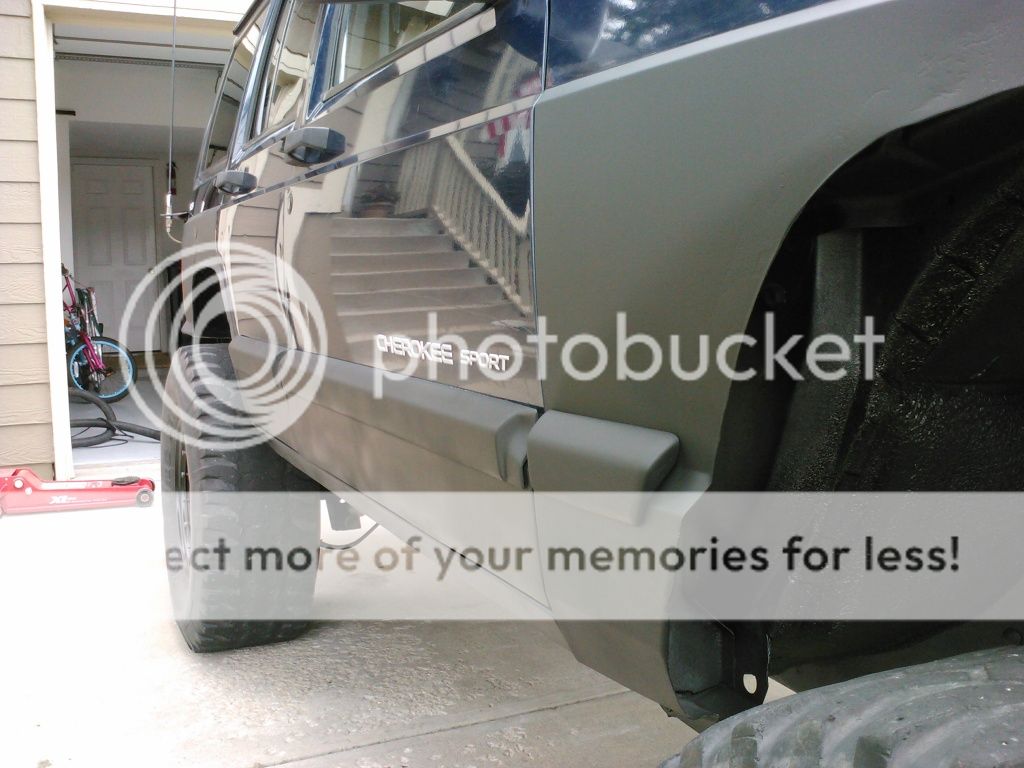
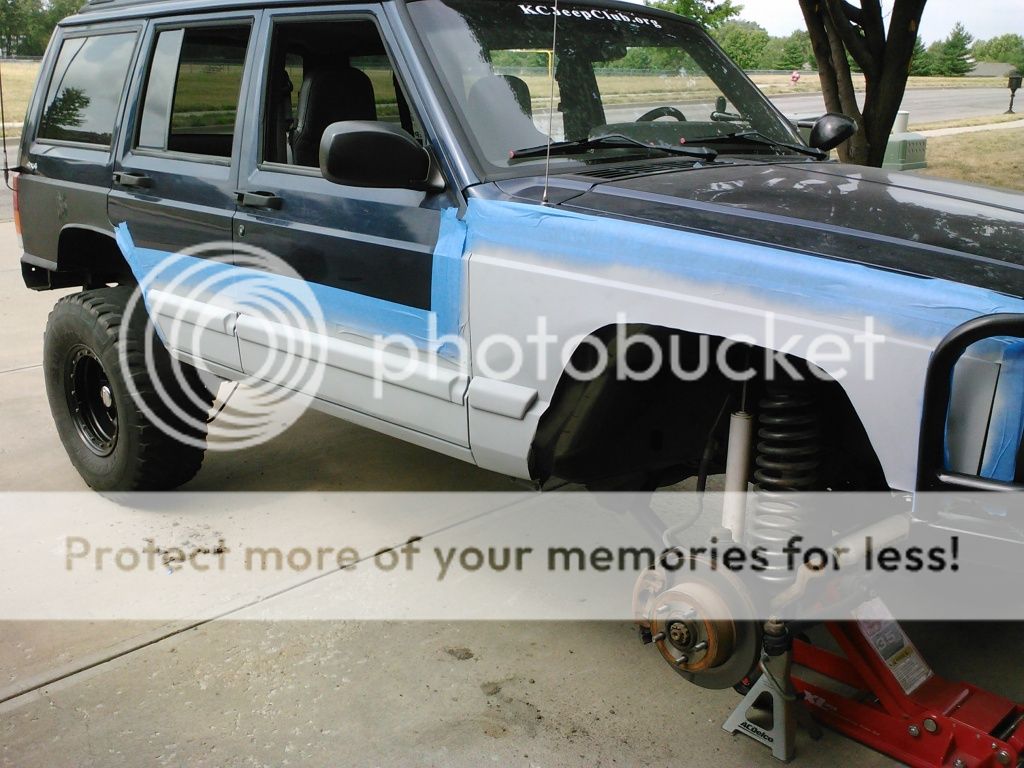
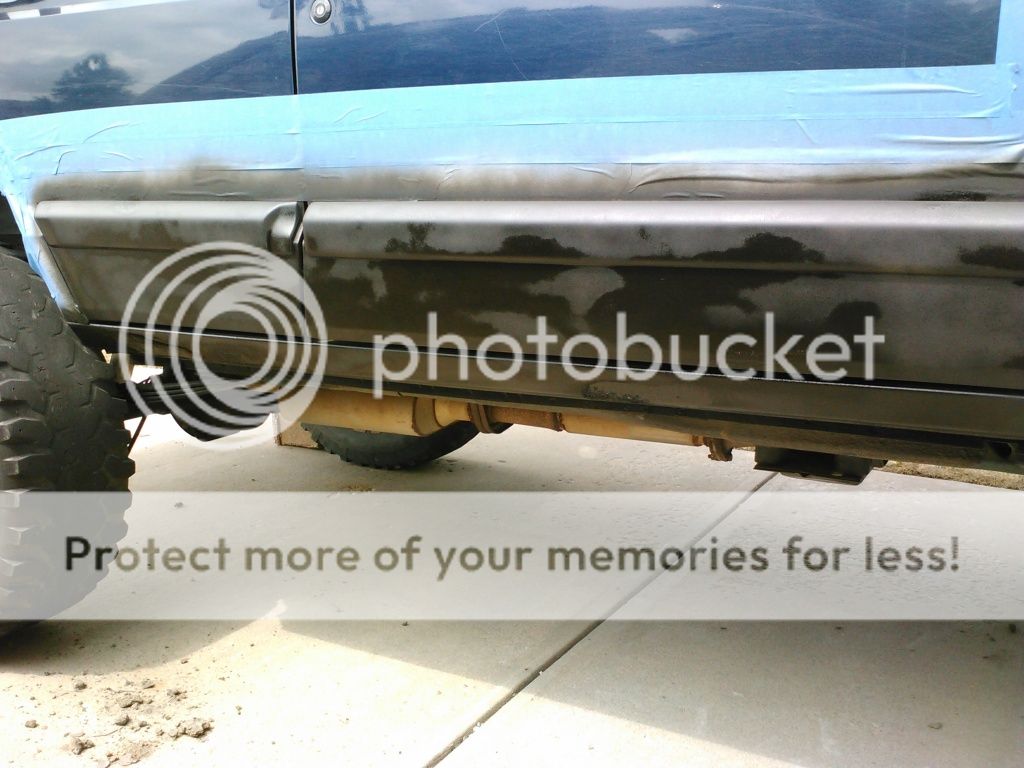
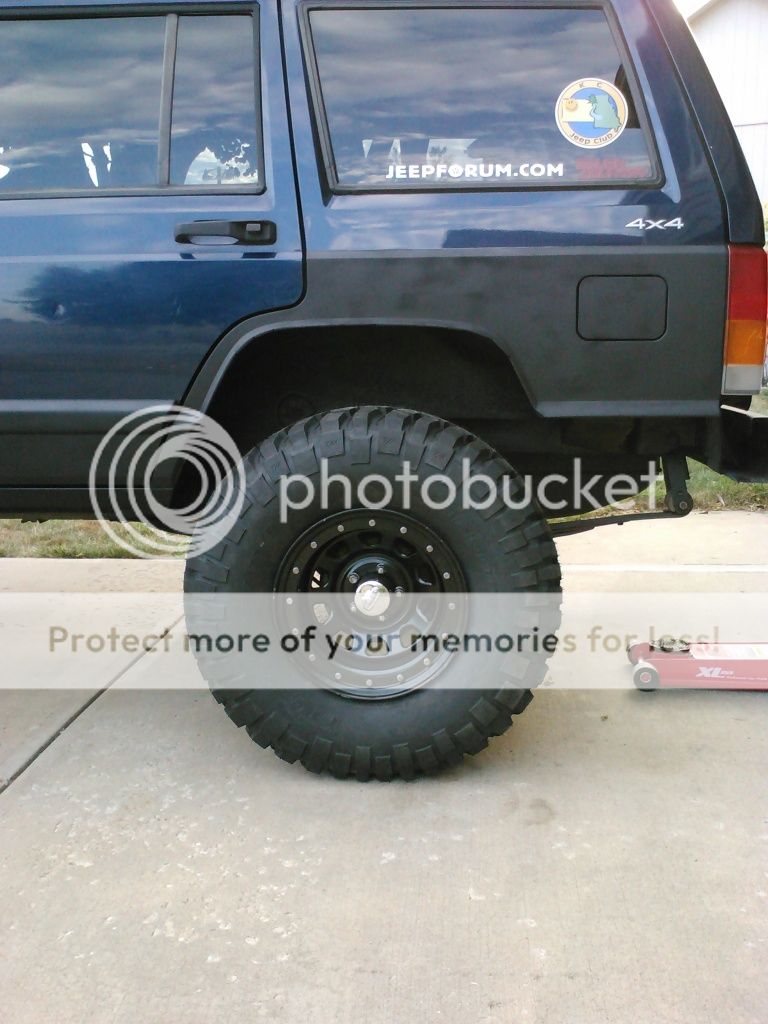
The interior is what you'd expect from a 2001 vehicle - used but certainly not trashed. The exterior will go through some TLC. Looking forward to tinkering with this and learning the rig! :2thumbsup: I have some crappy pics to post up:
Untitled-9.jpg

IMG209.jpg
 
Alright, got it home today and spent some time cleaning it up:
IMG223.jpg

IMG224.jpg

IMG221.jpg

IMG225.jpg

IMG222.jpg

IMG220.jpg

I must have jinxed myself when I said it runs great because I drove it around the corner while my older daughter sat in the WK in the driveway so we could test the cb. While I'm sitting at idle talking with her on the cb (cool - cb works) the XJ sputters and dies. :( 
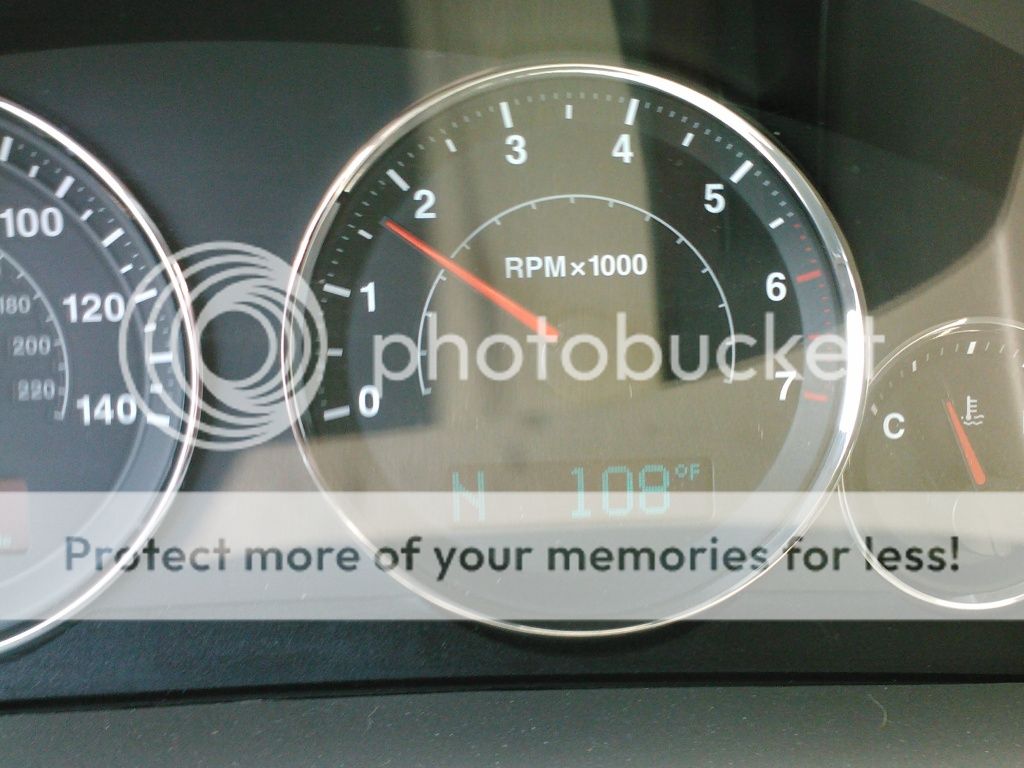
I go to restart and it doesn't want to right off and then the check engine light comes on. :mad: As of right now it will randomly hesitate to start, and when it starts it will randomly sputter, surge, and /or die. The thing is, it will start, it will run, and it will drive (around the school across the street is as far as I messed with). :dunno:
Only things I did was clean the engine bay with degreaser and rinsed out. I let it dry for a good hour or so before starting it and it ran fine. Later in the evening is when the issues surfaced. I added some washer fluid and topped off the coolant resevoir after I got it home as well. It had no issues when I test drove it around the other day and none when I drove it home today. Not exactly what I had in mind when I decided to pull the trigger on buying it. I'll have to do some searching and tinkering and in the morn I think I'll go to O'Reilly's and borrow their code reader and have the alternator tested but that's about all for now.
We gotta get ready to hit the sands of Anna Maria Island, FL in a couple days. :cheers2:
 
Even though I have "other" things to do I couldn't resist. Did some looking around the internet and forums and did some tinkering. Took the old MAP sensor out and I noticed a crack in the "lid" part of the sensor. There was water coming out of it :rolleyes: hmmmmm that's not good.
Might be hard to see but there is moisture coming from the corner:
IMG228.jpg

Got a new MAP sensor and popped it in - knoock on wood - everything is back to normal.
Guess I'll think long and hard next time I have the urge to wash the engine bay. :shhh:
 
Today I got started on removing all the fake bead locker bolts and nuts in order to polish them up. and refinish the rims. They are Unique 15x10 with fake bead locks - not Cragars.
Also got a new Wix air filter dropped in and Seafoamed the gas tank, crank case, and throttle body. Seems to run smoother. I plan to change the oil/filter in the coming week. Just got the OReilly's high mileage 10w30 and a Wix oil filter. Got some new spark plugs to pop in, too.
Secured new taillights, rear bumper & wraparounds, rear drive shaft, and a TnT Customs belly pan for a steal from a guy parting out and has the belly pan brand new he just never got around to installing it. :)
This coming week should be good for the XJ.
 
Just got back with a WK full of parts. Didn't get the rear shaft cause he forgot he didn't have it. But I got the rear lights, rear bumper and corners, oilcap (original was messed up) & TNT Customs belly pan with hardware - never been installed.
$240 for the lot of it. :)


IMG269.jpg
 
Last edited:
Might not be a big deal - but I got all the streetlock nuts&bolts cleaned up. Soaked 'em for a couple days in WD40 and about an hour's worth of work on a bench grinder today with the wire brush wheel.


IMG273.jpg
 
Last edited:
Finally got it licensed yesterday. I made mention in another thread that this rig will see limited pavement driving. It was bought primarily to be a trail rig toy but I wanted to have plates on it so it could serve as a spare daily driver if the need arose. I haven't dropped the rear diff to get a look at what's going on in the pumpkin as far as lockers - but I have it on good authority that the rear was welded, which I kinda figured after driving it a little more. No ratcheting just the chirping of the rear tires during turns - another reason not to drive it around the streets too much. Not sure what I'll do about the rear diff - leave it welded or tear it out and put a Detroit and regear at the same time. Time and money, baby!
I got the tail lights swapped the other day and wrenched the old mangled bumper off:
IMG274.jpg

IMG275.jpg

IMG278.jpg

You can see the rear tires are bald as hell - still workin on new or new-to-me tires. I also got started hitting the bumper I picked up with a good sanding with the angle grinder. I wanted to knock off the surface rust and scuff the rest of it up real well before priming it and putting bedliner on it.
 
I spent some time finishing the rear bumper today. Didn't get it bolted on yet - I wanna give it a day to completely dry. Prepped pretty well with the grinder and my mouse sander:
IMG280.jpg

Then I put some primer/sealer to it - I took this pic after running out of a can and had to pick up some more:
IMG281.jpg

While that dried I took some pic whore shots:
IMG282.jpg

IMG283.jpg

IMG284.jpg

Then I put several coats of spray-on bed liner. Dupli-Color Bed Armor - awesome stuff, used it on the WK for a couple different projects:
IMG285.jpg

In between coats of that stuff I thought - why not do some trimmin?
IMG286.jpg

I only did the driver rear fender cut/fold - I'll get to the passenger rear another day and clean up the fronts too.
Took the tire off to get it outta the way:
IMG287.jpg

Made my cuts:
IMG288.jpg

Folded them over, hit it with the smoothing grinder and then scotchbrite. Put the tire back on and called it a day:
IMG289.jpg
 
Got the bumper on today:

IMG290.jpg


IMG291.jpg


Also ordered some BFG KM2's - 33x12.5x15 off Discount Tire Direct. Very stoked to get those bad boys on!! :)
 
Last edited:
Got the rust and faded, peeling plasti-dip remnants off the center caps and lug nuts today:

IMG296.jpg


IMG297.jpg


Tomorrow will hopefully be the passenger rear fender trim and we'll see what else. I need to service the tcase and diffs so maybe one of those.............
 
Last edited:
Got some work done today. The rear passenger quarter and fenders got trimmed, cut, boxed, and readied for the KM2's. :thumbsup:

Boxed, trimed, prepped, primed and some undercoating:
IMG298.jpg

Primed the body and fender cuts, then did Rustoleum under coating on all of it, and finished with flat black enamel on the quater panel. A couple coats into it:
IMG299.jpg

Almost done - while I was at it I pulled the rear drum and hit it and the brake assembly with brake cleaner:
IMG300.jpg

I also got the rear passenger wheel sanded, primed and finished while it was off:
IMG302.jpg

The finished passenger rear:
IMG301.jpg

IMG303.jpg

That's all for today................time to start crackin open the beer cause Independence Day has already begun around here - people already blowin stuff up. :cheers2:
 
Okay, even though it was hot as $h!t today:
IMG313.jpg

- I wanted to get more work done to ready the XJ for the new meats.
So I finished out the other rear quarter. The fuel fill neck presents an interesting challenge but a little tweak here and there and some aluminum metal ducting tape seals everything right up.
Here's a shot with everything primed and a coat of undercoating in the well:
IMG305.jpg

Couple shots of the finished box in:
IMG320.jpg

IMG319.jpg

Also got both wheels sanded, primed, and finished while I had them off:
IMG309.jpg

IMG310.jpg

Took care of the driver p/w:
IMG307.jpg

Blacked out the front driver quarter as well. Got alot done today - gotta get the passenger p/w and quarter, as well as that last wheel. I'm thinking I might go ahead and blackout the sides from the trim down to the rockers sooner than later. My plan is to cut the rockers out and fab in some steel rocker/slider replacements. But I have some rust spots on the lower doors and rockers that I'm thinkin I will address now because I really don't know when a rocker redo will happen.
This is what the XJ driver side looks like as of now:
IMG323.jpg

Even though this is gonna be my trail rig it's good times cutting, hammering, bending, and painting it up in order to give it a face lift. :thumbsup:
Until next time.......................
 
Today I got all the body work done that I'm wanting to at this point.
Got the passenger p/w taken care of:
Cuts made, folded over, and primed:
IMG324.jpg

Undercoated:
IMG333.jpg

Still need to get a pool noodle stuffed up in there, but I finished out the passenger front quarter:
IMG334.jpg


Got the rust on the lower doors and rockers ground of, primed, sealed, primed again, undercoated, and flat blacked:
IMG325.jpg

IMG326.jpg

IMG327.jpg


I used the aluminum ducting tape to seal the rotted passenger rearward rocker. It is a temporary fix as I plan to cut the rockers out eventually, but I wanted to get the existing rust ground off/cut out and under control first.
I also got the last wheel sanded, primed, and finished. Right now I have the rear tire/rims over at the local Wallyworld getting swapped with the KM2s. I can only get two old/new at a time in the back of the WK so the fronts will get done later today or possibly tomorrow.
This is how my beater sits asof my completed work this afternoon:
IMG332.jpg

IMG331.jpg

IMG330.jpg

Still more to come as I have more stuff to get done, so until next time.............
 
Got the meats on the front and the tcase fluid swapp'd today. I posted the tcase fluid change in the technical sub-forum as well
for future reference.
I had the front of the XJ on jackstands getting my new meats put on the front wheels and figured it was the perfect time for a tcase service.
IMG339.jpg

You don't have to jack the front up but it probably wouldn't hurt so you can get the most old fluid to drain out.

Supplies and tools:
IMG340.jpg

2 quarts ATF (DexronIII/Merc) - probably only need 1 as not all the old fluid drains out - but you can always save what you don't use or return it.
10mm allen wrench
quasi breaker bar - (larger deepwell socket & extension)
teflon tape
drain pan and shop towels
First things first. Anytime you have a drain and a fill plug, always make sure you can break the fill plug free before getting started. You don't have to remove it yet, just make sure it will come out:
IMG341.jpg

Next, position your drain pan and remove the drain plug. Let the old fluid drain out until it isn't dripping - notice how filthy my old fluid is:
IMG342.jpg

IMG343.jpg

I always wrap the plugs in a little teflon tape for added seal:
IMG344.jpg

Then screw the drain plug back in. I don't know the torque spec but I just snug it in:
IMG345.jpg

Next I take a nozzle tip from a bottle of tcase fluid for the WK and I put a short plastic tube on the tip for refilling the tcase. Makes it easy to just insert tube in fill hole, invert bottle, and squeeze.
IMG346.jpg

The specs call for roughly 1+ quarts of ATF for the tcase and you probably will get just one bottle squeezed in before the fluid starts seeping out the fill hole. (remember - not all the old fluid is going to drain out so thats the + part of 1+ quarts)
Teflon the fill plug and snug it back in place.
Give it about 5-10 minutes and crawl back under to check for any leaks. Tighten plugs if necessary - otherwise - finito!
IMG347.jpg

This is a very easy DIY service to perform and requires simple tools and about 30 minutes on the long side of time. Hope this helps somebody out there in XJ land. :thumbsup:
Once I got the phone call that the other tires were mounted I picked 'em up and put 'em on.
They weren't able to balance them and in the end because of this it only cost me 15 bucks to get all four mounted and new valve stems. I gotta look into those dynamic tire balancing beads - but I'm not overly concerned about it.
This is how the XJ sits as of this afternoon:
IMG351.jpg

A pic of Jeeps and our dog - Cabo - he's only 9 months old - a baby - man he's a big dude:
IMG350.jpg

IMG349.jpg
 
I traded the old tires off the other day for this:
IMG358.jpg

Just ordered some nutstrips from JCR Offroad today. While those are enroute I'll have to get started grinding/smoothing off the surface rust, get it primed and finished for install.
Should make for a solid rear recovery point! :thumbsup:
 
Had some time here and there today so I reworked the hitch I picked up.
Cut the trailer plug/pin box off. Got all the rust off that I could with the angle grinder, sanding blocks, and some scotchbrite:

IMG359.jpg
 
Last edited:
Then a couple coats of primer:

IMG360.jpg

IMG361.jpg


Then some flat black to finish it:

IMG362.jpg


Now I just have to get the bad boy installed and add a hitch shackle.
 
Last edited:
Got some stuff done over the past couple days until everything came to a screeching halt this morning - more on that later.
The other day the guy in the brown truck brought goodies:
IMG371.jpg

JCR nutstrips - time for the hitch install.
In the meatime I swapped out my serp belt. I have a whistle/whine from roundabout the alt. and had hoped a new belt would resolve it. I quick turn of the key w/ no belt rendered no noise so the sound is def. belt/pulley driven.
I disco'd the e-fan to clear the way for two 15mm bolts that loosen in order to remove the old belt:
IMG372.jpg

IMG373.jpg

Old belt off and put aside for spare:
IMG374.jpg

I don't have a diagram under the hood so I whipped up a reference drawing:
IMG377.jpg

And wrapped the new belt on - and tightened it down:
IMG378.jpg

Still have the noise but - I'll figure it out - prob the alternator bearings.
 
Back
Top