SolarBell
NAXJA Forum User
- Location
- Wheat Ridge, CO
My rig is at 3.5" of lift and still had the stock steering, toothpick tie rod and all. Trouble was that the passenger side TRE had so much angle just sitting level that I couldn't droop the passenger side more than a couple inches before the TRE bound up. Combined with planning on adding another 1/2" - 1" of lift, I knew I needed to address the steering. So I got together with another member and came up with something a little different.
The design had 3 specific intents: Make it strong, increase flex, and keep the drag link / panhard bar angles the same. The other member also clued me in that keeping the lengths the same was just as important (if not more so) than keeping the angles the same.
What we ended up building was a heim joint inverted T. It is very similar to the other designs I have seen that weld 2 tabs onto the tie rod for the drag link to attach to. In this case we put a tubing clamp where the drag link attaches, with stops welded onto the tie rod to ensure that in the rare possibility that the clamp came slightly loose it would still work properly.
But, we ran into some problems during install. I chose to use 1.5" .250 wall DOM for the tie rod and drag link. I knew that we would have to clearance my Ballistic diff cover. What I didn't plan on was that the tie rod significantly interfered with the axle-side panhard bar mount. So we ended up fabricating a new over the axle panhard bar mount, but kept it really low so that the angles and lengths of the 2 arms were very close. As it was a Saturday and we didn't have enough parts to build an entire new panhard bar, we ended up chopping my existing Kevins' Offroad panhard bar into pieces and using it to fabricate a new one.
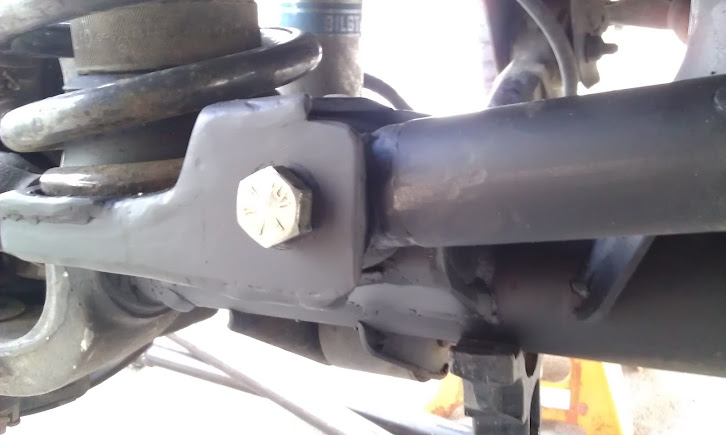
Pics of the new panhard bar mount:
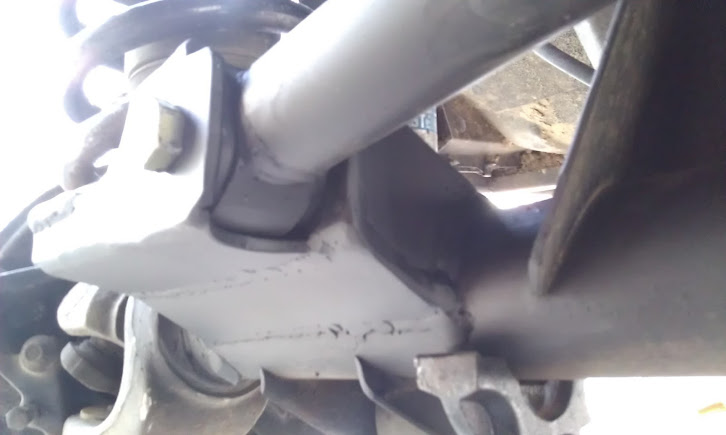
Tie rod and new mount at full lock:
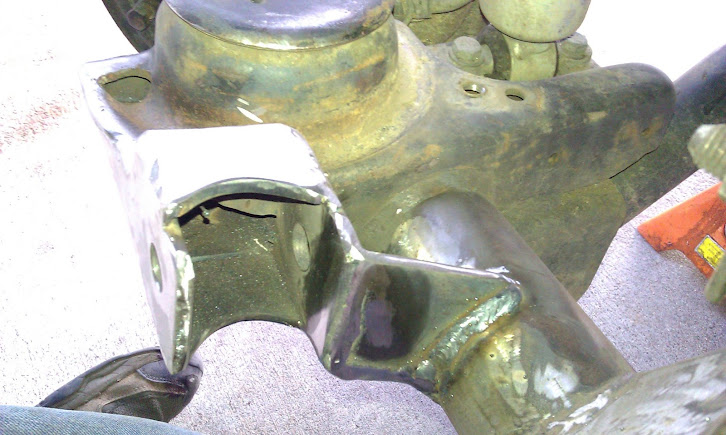
Diff cover clearance at full lock:

The entire assembly completed, but before I cleaned up the welds:

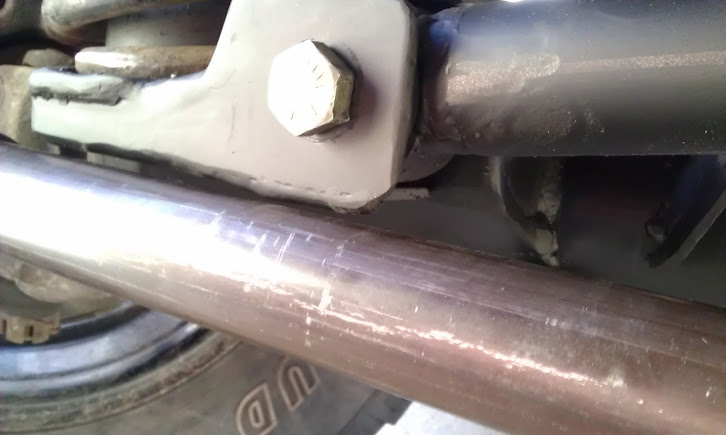
The clamp is canted so it doesn't hit the panhard bar mount. I reduced the amount of tilt after this picture to about half.


Detail of the clamp:

Looking back, there are some things I would have done differently. But it works well and it was fun to try something a little different. I still have to sort out my diff cover, as it looks like the panhard bar will run into it at full bump on the driver's side.
I'm sure people on here will have plenty of opinions, so [flame suit on]!
The design had 3 specific intents: Make it strong, increase flex, and keep the drag link / panhard bar angles the same. The other member also clued me in that keeping the lengths the same was just as important (if not more so) than keeping the angles the same.
What we ended up building was a heim joint inverted T. It is very similar to the other designs I have seen that weld 2 tabs onto the tie rod for the drag link to attach to. In this case we put a tubing clamp where the drag link attaches, with stops welded onto the tie rod to ensure that in the rare possibility that the clamp came slightly loose it would still work properly.
But, we ran into some problems during install. I chose to use 1.5" .250 wall DOM for the tie rod and drag link. I knew that we would have to clearance my Ballistic diff cover. What I didn't plan on was that the tie rod significantly interfered with the axle-side panhard bar mount. So we ended up fabricating a new over the axle panhard bar mount, but kept it really low so that the angles and lengths of the 2 arms were very close. As it was a Saturday and we didn't have enough parts to build an entire new panhard bar, we ended up chopping my existing Kevins' Offroad panhard bar into pieces and using it to fabricate a new one.
Pics of the new panhard bar mount:
Tie rod and new mount at full lock:
Diff cover clearance at full lock:
The entire assembly completed, but before I cleaned up the welds:
The clamp is canted so it doesn't hit the panhard bar mount. I reduced the amount of tilt after this picture to about half.
Detail of the clamp:
Looking back, there are some things I would have done differently. But it works well and it was fun to try something a little different. I still have to sort out my diff cover, as it looks like the panhard bar will run into it at full bump on the driver's side.
I'm sure people on here will have plenty of opinions, so [flame suit on]!
")