• Welcome to the new NAXJA Forum! If your password does not work, please use "Forgot your password?" link on the log-in page. Please feel free to reach out to [email protected] if we can provide any assistance.

My '98 Sport budget build

CASEY-R

NAXJA Forum User
Location
Sumner, WA
Bought my Cherokee in December with plans to build it with $2k using as many used and home built parts as possible. It's a 1998 Cherokee Sport 4dr, 4.0, AW4 and NP231. I'ts got 179,000 miles on it but like many others it runs and drives great.

I'm going to do this build thread over many weeks due to time constraints and, well, I'm not done with the build.

Here's how it started out
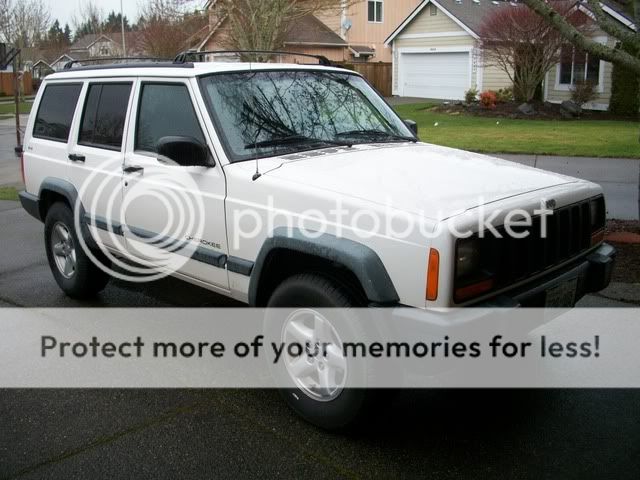
101_0654.jpg


Bought a used 3" skyjacker kit for $300
101_0656.jpg


Got some used 31/10.5/15 BFG KM's and 15x8 wrangler wheels and had my brother mount and balance them up. He also came up with a used Goodyear spare for nothing.
101_0655.jpg


The lift didn't come with the track bar relocation bracket and don't like the stock style tie rod end so I ordered up a IRO trackbar and bracket
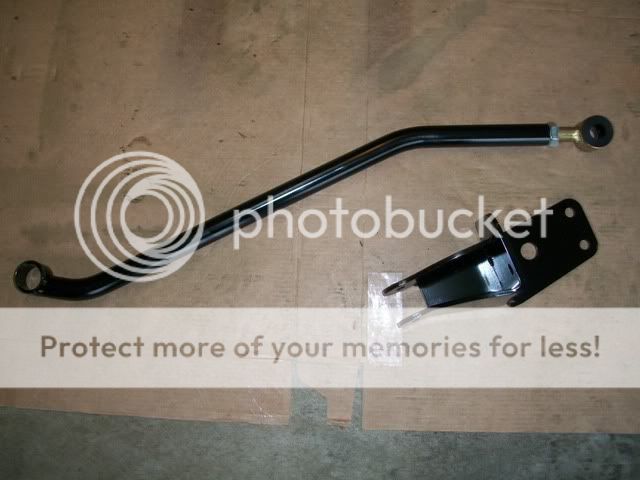
101_0657.jpg


And here's how it looks testing the rear shock travel
IMG_20110416_102658.jpg


I was really surprised how much travel I'm getting out of the rear springs. The shocks are maxed out on the up travel.
The stock rear springs were pretty sagged and the rear Skyjacker springs lifted it a 1/4 inch less than the front springs did. And knowing I was going to add a bit more weight to the rear I orderd up some 1" lift shackles.
 
Last edited:
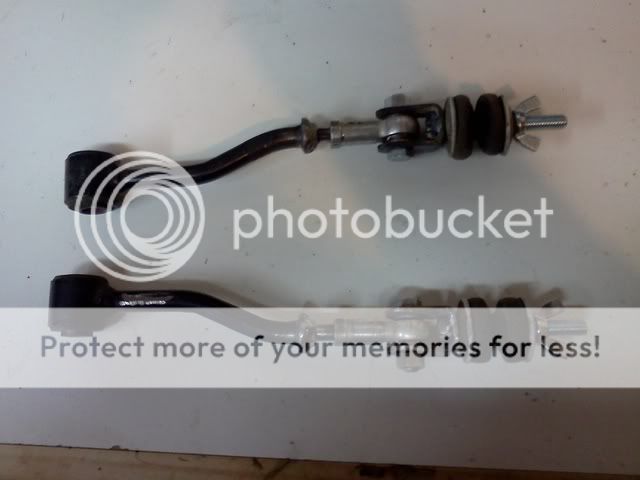
I made some sway bar disconnects using the stock link, some bolts, and a couple "heims" I had left over from the aircraft maintenance days
IMG_20110417_182346.jpg


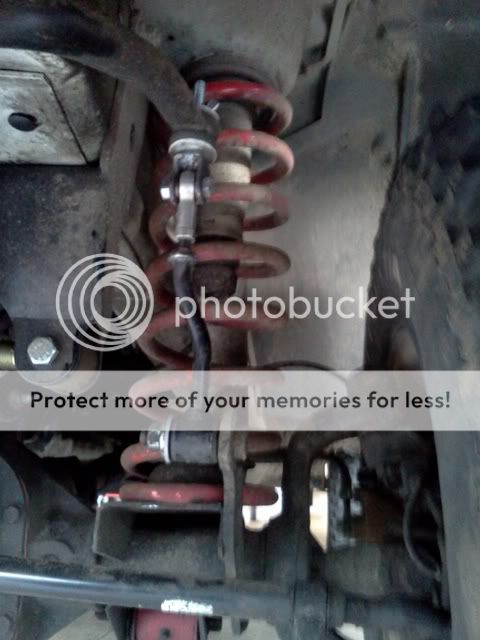
Got the disco's installed but I still need to figure out what to use to hold up the swaybar and some kind of pin to hold the bottom of the link on
IMG_20110417_183636.jpg


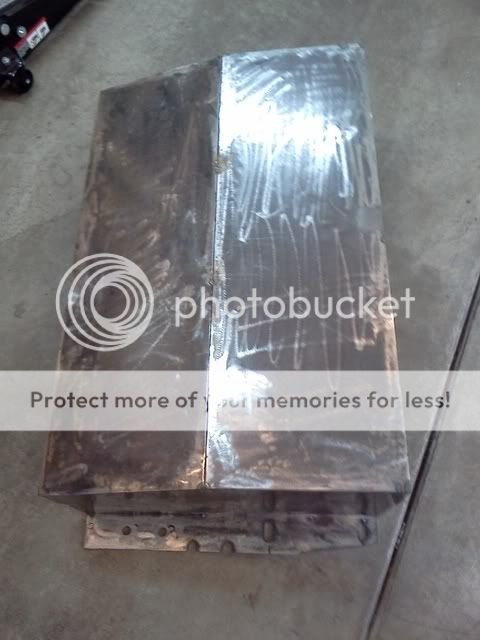
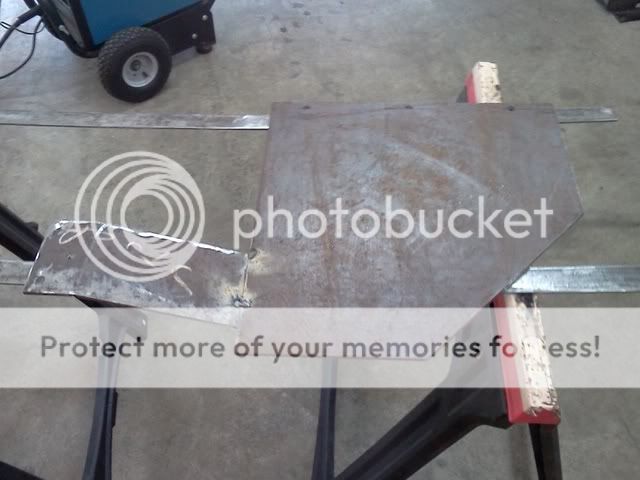
A co-worker gave me some tubing and steel plate so I rented a plasma cutter and cut out some pieces to build a gas tank skid, transfercase skid and some plates for the rocker skids
IMG_20110423_154642.jpg


IMG_20110423_154607.jpg


Still have some welding to do on both skids but am going to wait until I get some other things done.

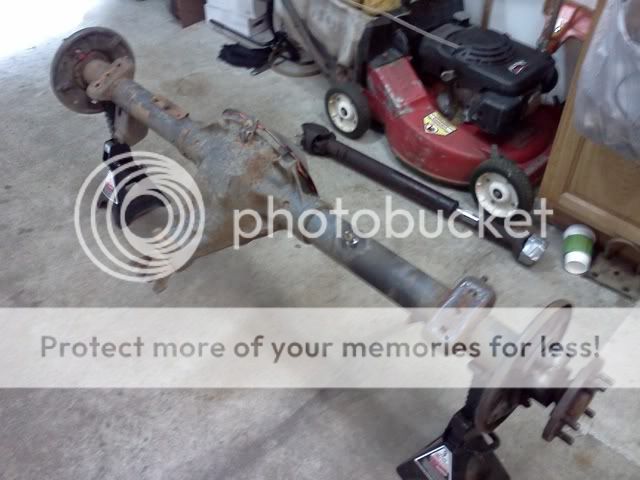
Picked up a Chry 8.25 out of a 2000 XJ. It needed all new brakes so I tossed all the old stuff and bought all new parts. Plan on installing it this weekend
IMG_20110415_153721.jpg
 
Nice up grade to the 8.25 is disk brakes from a ZJ, but I see you said you all ready got the drum stuff.

Just going to put drums on this axle. I changed everything out because one of the old wheel cylinders had been leaking for quite a while and had rusted the crap out of everything.
 
Got the 8.25 installed today. When I bought it the passenger side shock stud was gone. Don't know how the guy managed to remove it, but he did.

Found an aftermarket shock stud in my mom's garage so I welded it in the stock location. It protrudes all the way through bracket so I welded both sides.

IMG_20110429_094408.jpg


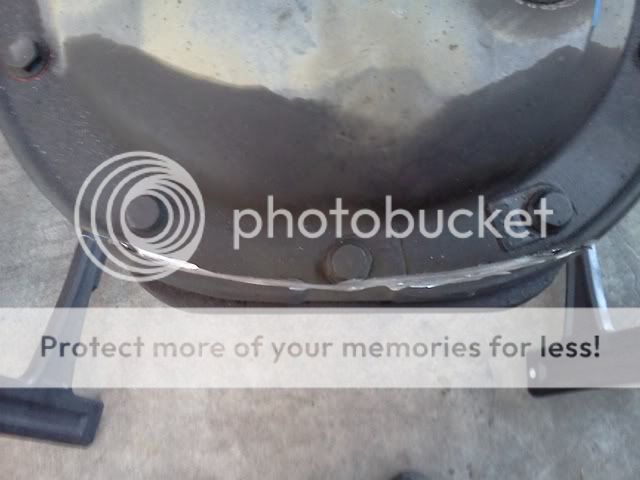
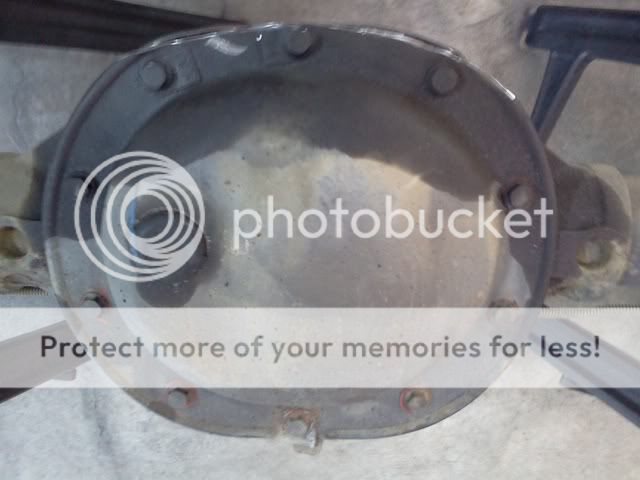
Then I decided to shave a little steel off the bottom of the diff housing. Used a 4.5" cut off wheel.

IMG_20110429_092926.jpg


IMG_20110429_093928.jpg


Installed all the new brake parts and the Aussie locker. After I had those on I put the axle under the jeep.

IMG_20110429_194318.jpg


I still need to install the longer shackles I bought and bleed the brakes and it's done.

We'll see how the vibes are with the 8.25. If their any worse than the 35 I'll be doing the 3103-27cv sye I bought awhile ago. If the vibes are ok I'll be working on the rock sliders tomorrow.
 
Last edited:
Just use some safety wire through the holes in the fenderwell to hold up the swaybar. That's what I did back in my aircraft maintenance days. When the the swaybar was connected the wire just hung there. I would disco it and twist the wire around it and viola! Free.
 
nice sway bar quick disconnects.... and nice build.

having installed/customized/hacked many d44 rear axles, then recently doing the same to a late model 8.25.... the 8.25's brackets (leaf perches, but more-so shock mounts) were BARELY welded on.... they took very little effort to remove. i can imagiine them self destructing in the wild.
 
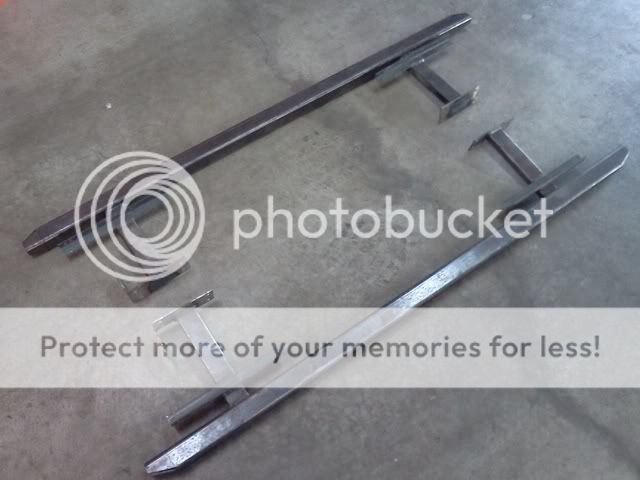
Got the rock sliders built and installed.

I used 12 guage sheet for the "frame" rail plates and 1x1x1/8 angle for the pinch seam mount. I used some 3/8" self tapping bolts to mount the plates to the frame rail and 4 1/4-20 bolts on each piece of angle at the pinch seam.

IMG_20110501_110721.jpg


I got some 1x2x1/8 rectangular and 2x2x1/4 square tubing from a guy at work for free.

IMG_20110501_135707.jpg


I set the sliders in under the rockers so far cause i'm going to add some 1.5" tubing to them. The ends of the sliders were beveled up and in 1".


IMG_20110507_110626.jpg


I like how they turned out but they definately need the 1.5" tubing added.
Just need to find someone with a tubing bender that works for beer.
 
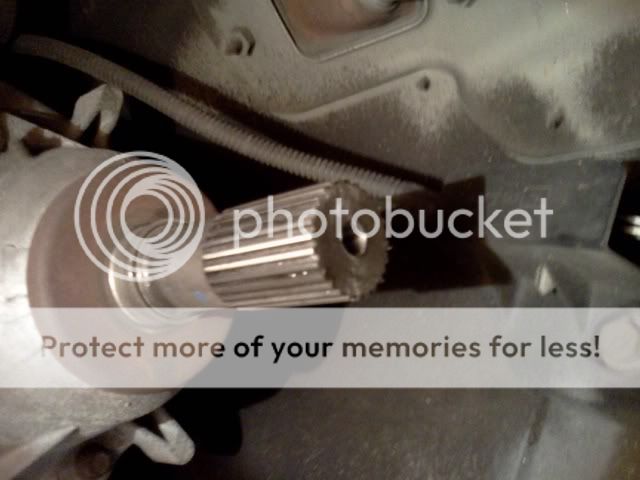
Once I got the sliders done it was time to address the vibes that the lift had caused. I read xjbrian's post about using the 3103-27cv and a front driveshaft for a slip yoke eliminator so I decided to go that route. This is a budget build. The yoke was about $90 shipped, the hardware was $4 and the front driveshaft was $20. I think I did pretty good.

Here's the cut yoke and the hardware I used

IMG_20110506_180044.jpg


Got the shaft drilled and tapped. Used a 3/8 24 tap.

IMG_20110506_180236.jpg


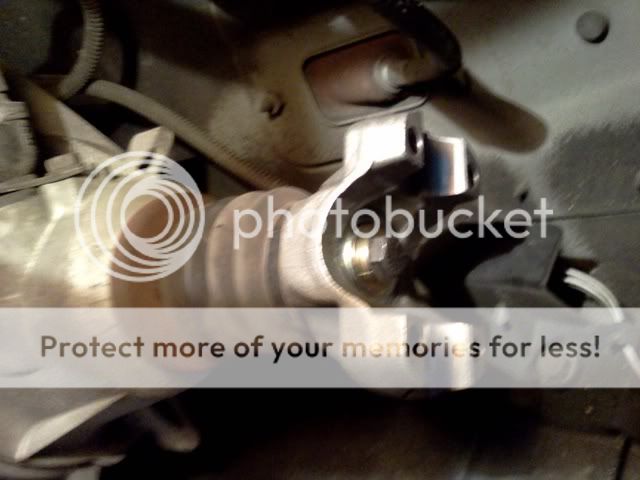
Installed the yoke using the original dust cover. I used high strength threadlocker on the bolt.

IMG_20110506_181906.jpg


Bolted up the driveshaft

IMG_20110506_183715.jpg


Went for a drive and voila, the vibes are gone. Only took about 3 hours start to finish. Pinion angle with the Skyjacker springs and lift shackles ended up being 1 degree lower than the driveshaft.
 
I cut a little over an inch off the output shaft. After being cut it ended up being about 2.7" from the little shoulder on the shaft to the cut. It was definately hardened. The picture with the hardware was after I cut it.

The whole process was easier than I thought. One thing I did that I don't remember reading in xjbrian's post is I had the output shaft turning while I drilled the pilot hole. I figured by having it turning even if I didn't have the drill perfectly parallel to the output shaft the hole would end up straight. I drilled to final size with the shaft not spinning thinking that the drill bit would follow the pilot hole and end up pretty straight and it did.


If anyone is thinking of doing this I say go for it. I didn't brake any drill bits or taps. The toughest part was drilling the pilot hole.
 
wow this is a great budget build! How about a picture of the entire jeep as its currently sits!
 
Back
Top