• Welcome to the new NAXJA Forum! If your password does not work, please use "Forgot your password?" link on the log-in page. Please feel free to reach out to [email protected] if we can provide any assistance.

LiLNickT's 3/4 Ton XJ Build

LiLNickT

NAXJA Forum User
Location
Missouri
I Thought i would start this build thread by giving some background on the jeep at hand as well as project goals.

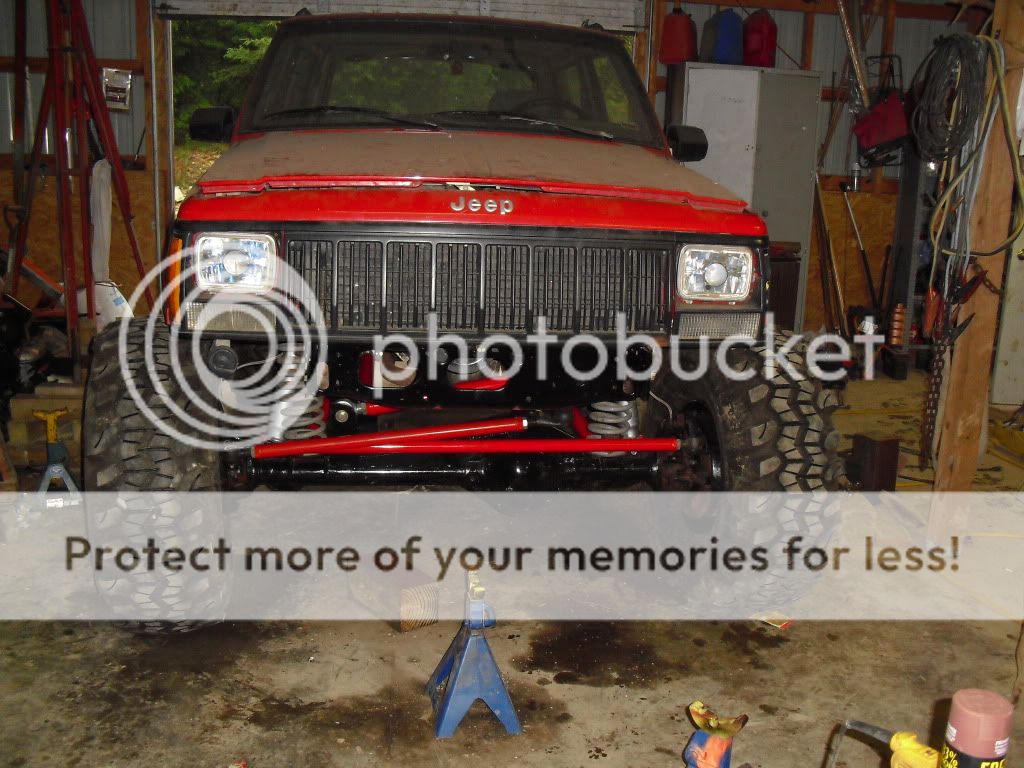
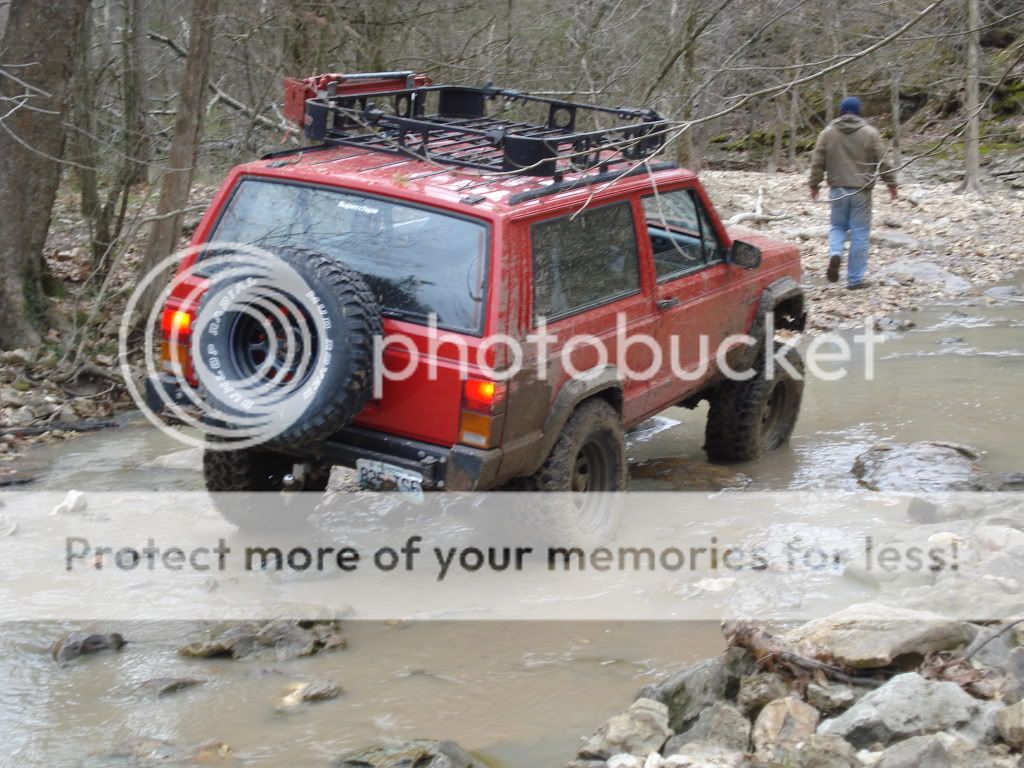
To begin, here is the jeep. Its a 96 2dr, it had a Rubicon Express 4.5" Lift, dana 30 front, 8.25 rear both open with 3.07's. When i got the jeep it had the rack and bumpers.

Fourwheelingpatawatomi2083.jpg


Fourwheelingpatawatomi2127.jpg

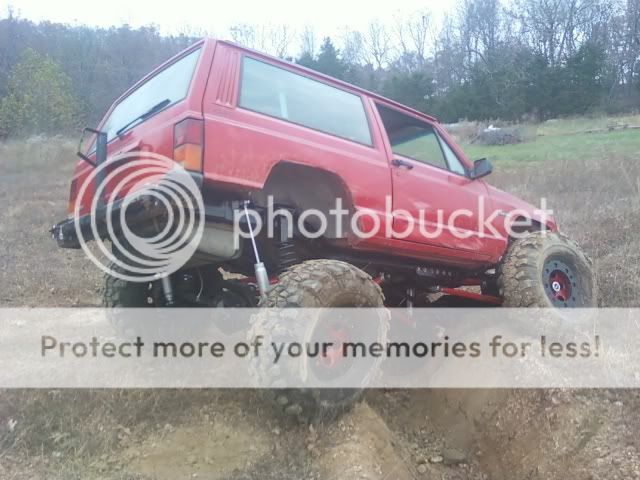
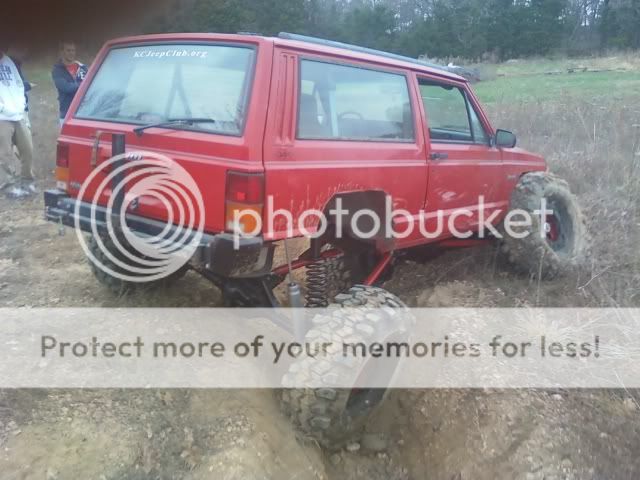
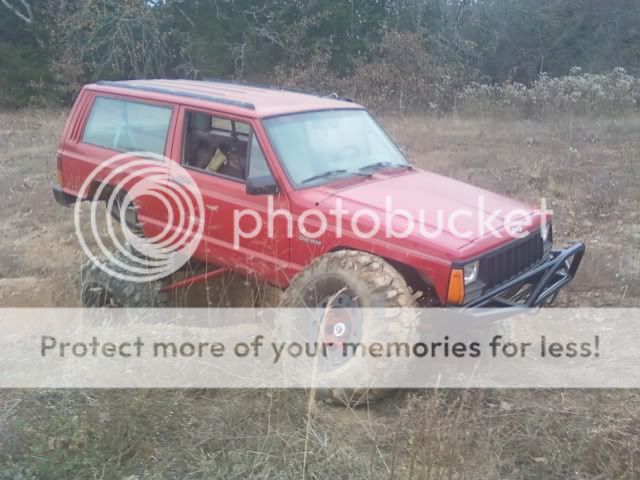
These were taken the day i got the jeep....

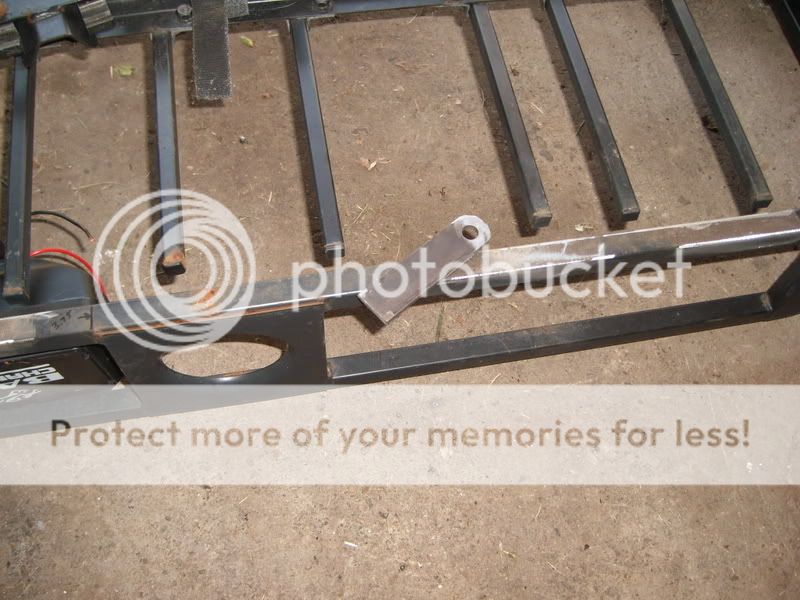
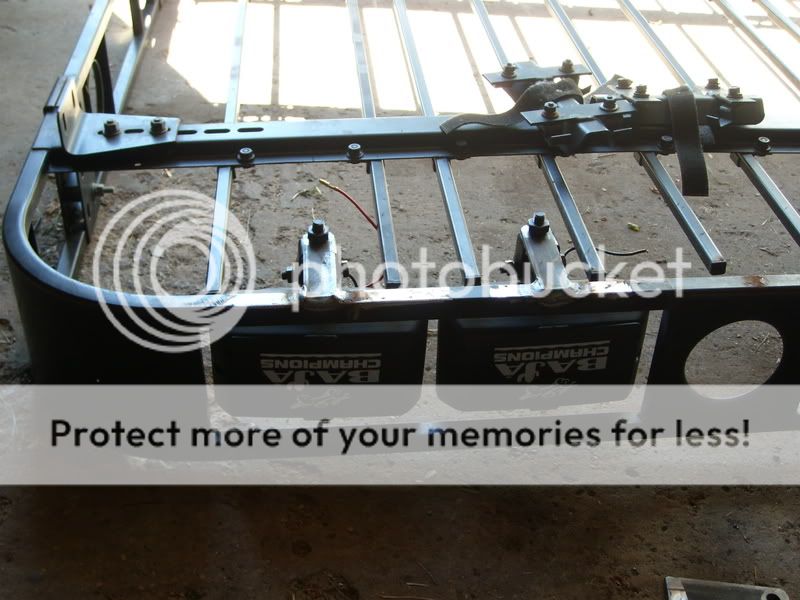
For the first year i owned the jeep i made some small changes including, rocker guards made by a friend of mine who sold his xj and pulled them off before selling it as well as some 31" TSL's from my old truck. Then i added the lights to the roof rack and wired them through a trailer wiring harness. i utilized the 4 wire harness connectors to make the roof rack detachable without having to unwire the lights.

Here are a couple pics of the rack and lights.
lightrack3.jpg


lightrack2-1.jpg


lightrack1.jpg


lightrack6.jpg


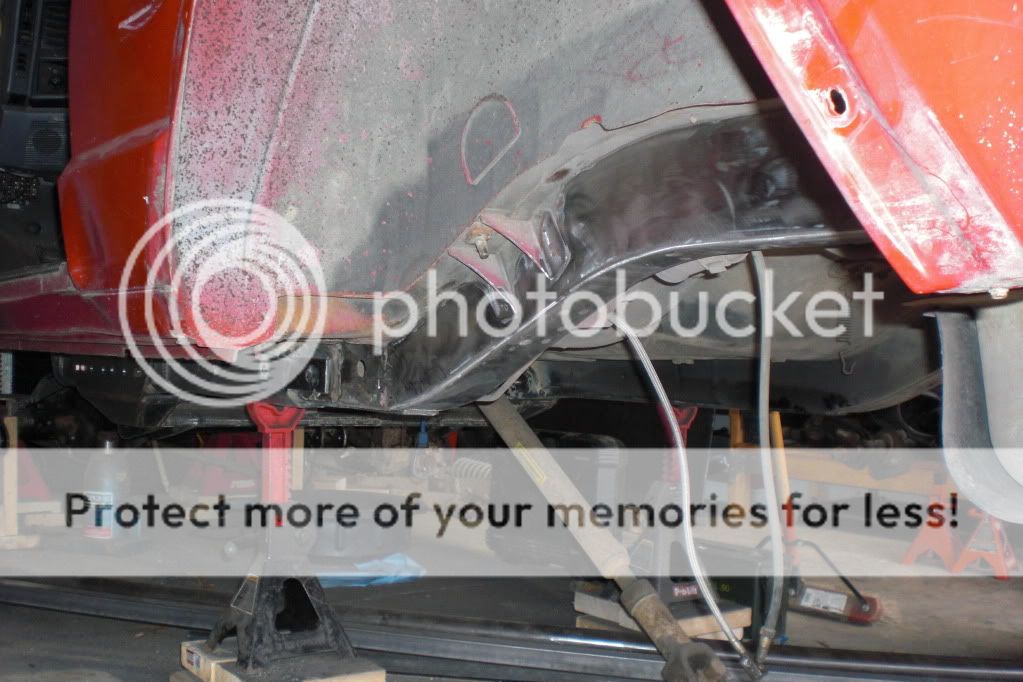
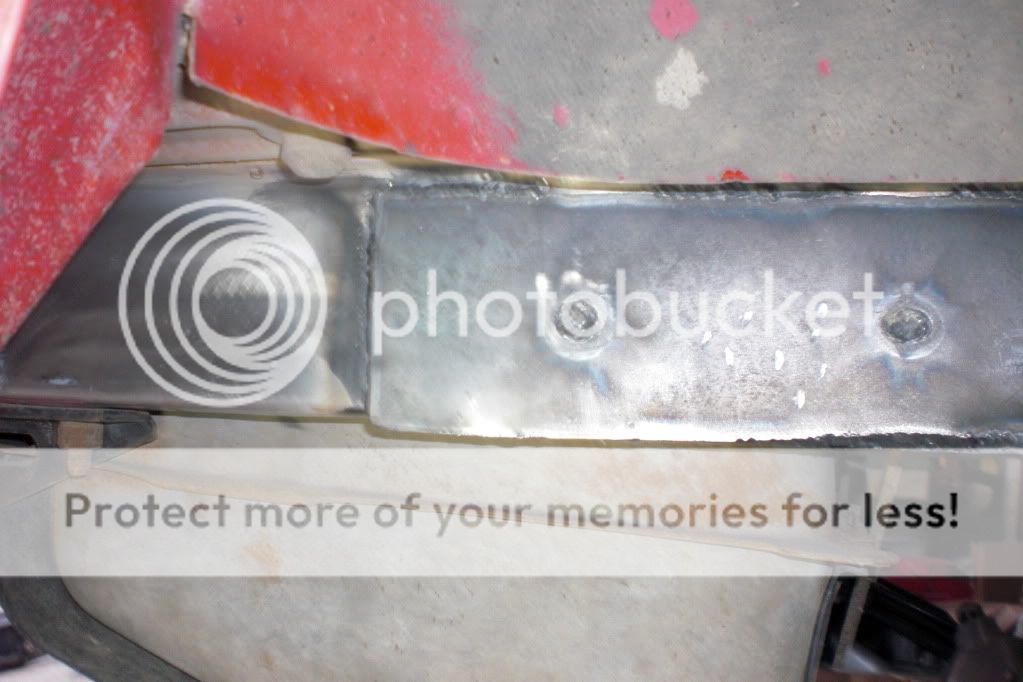
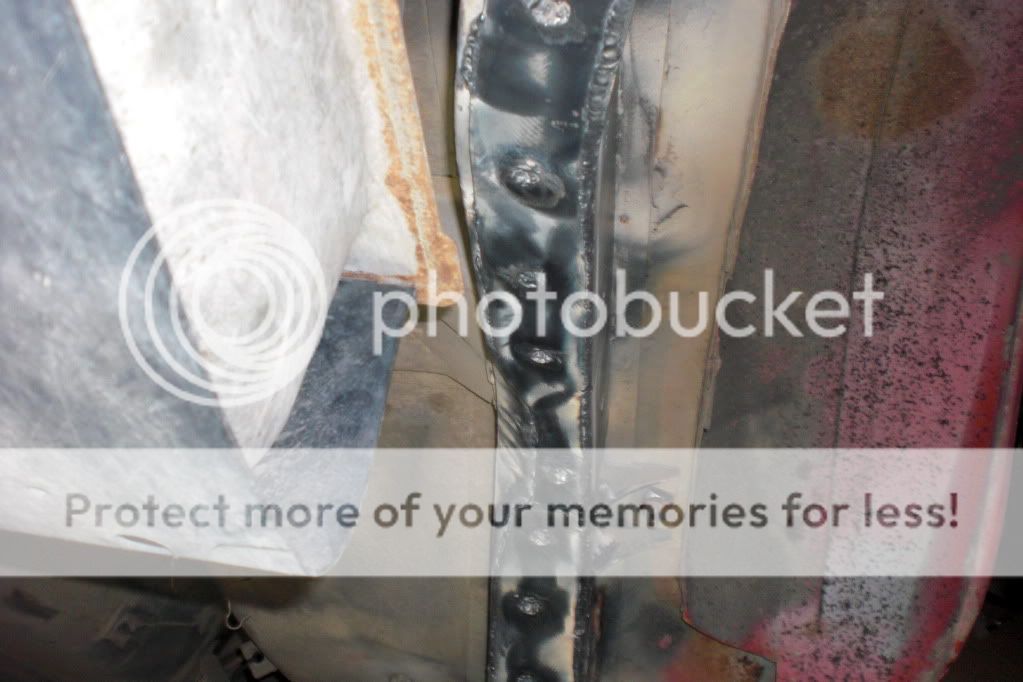
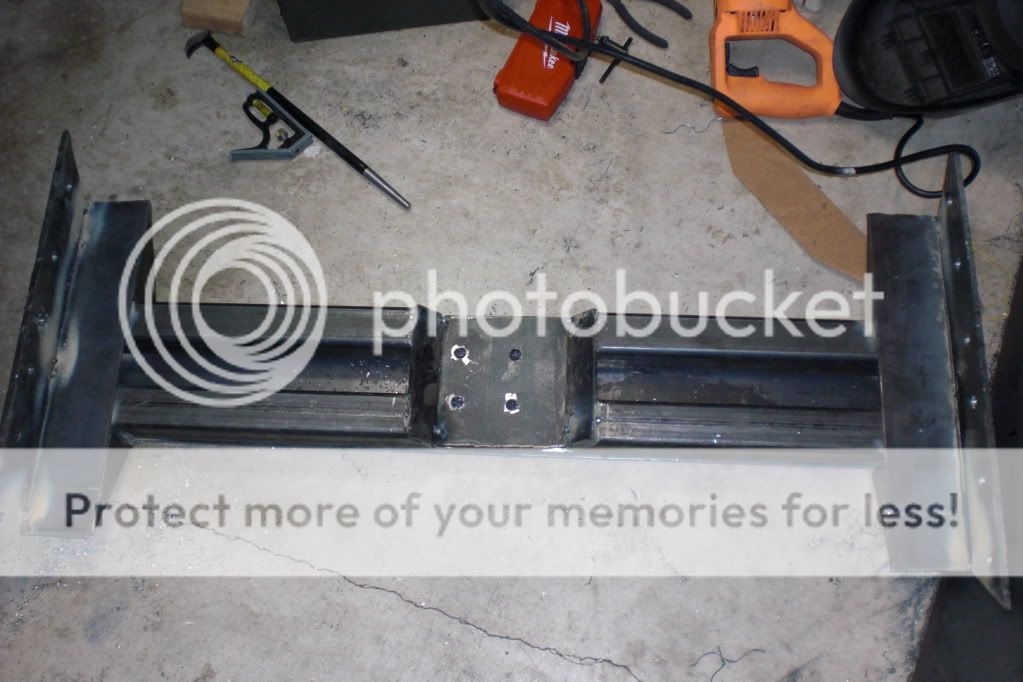
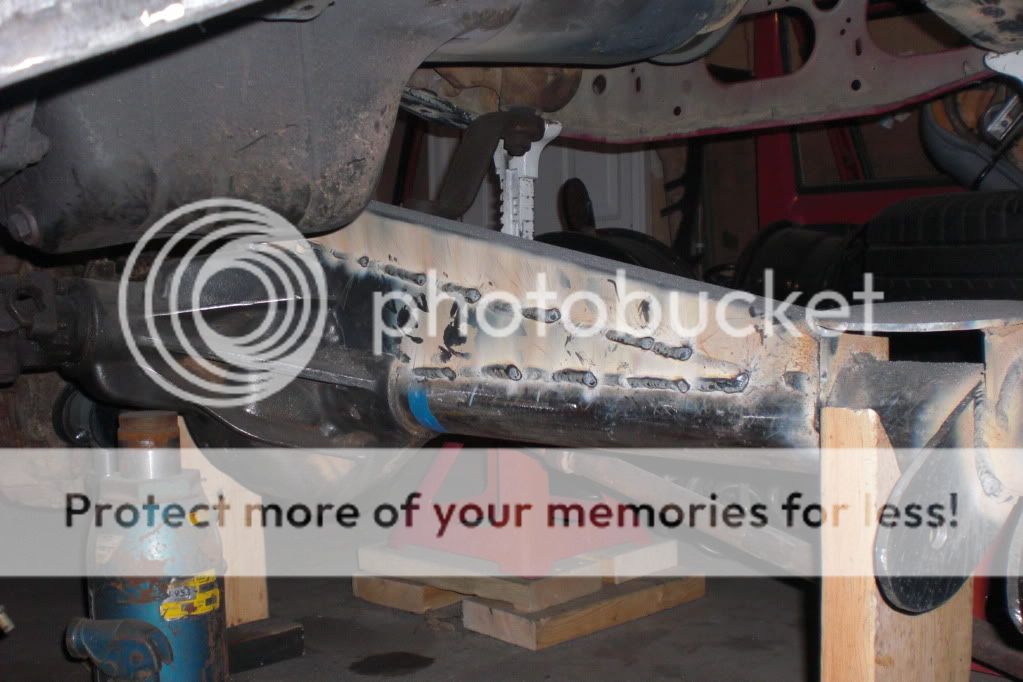
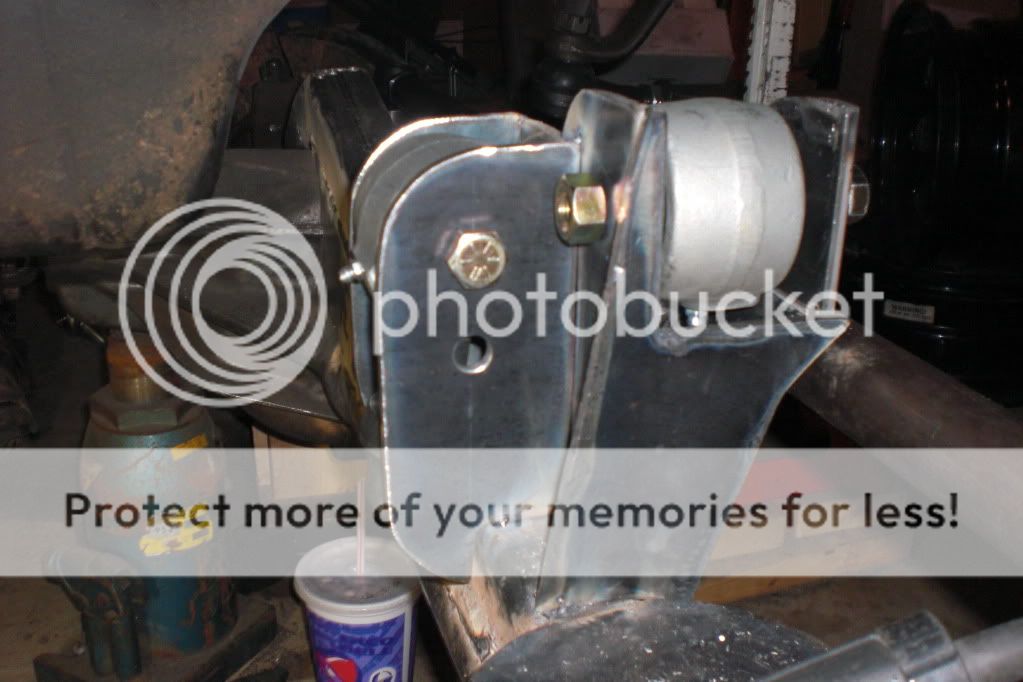
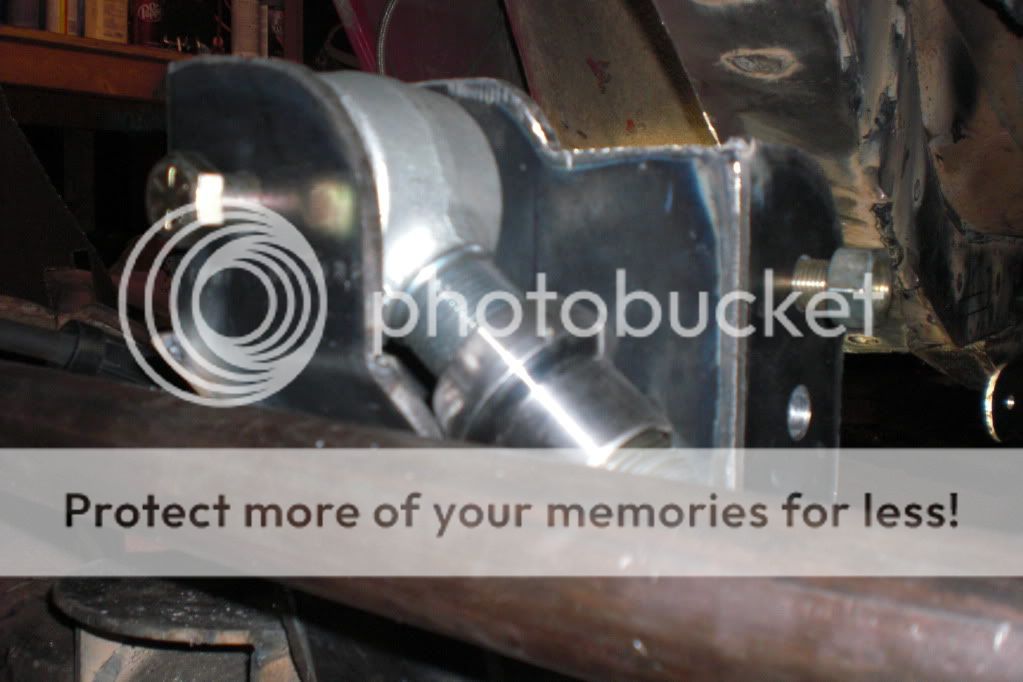
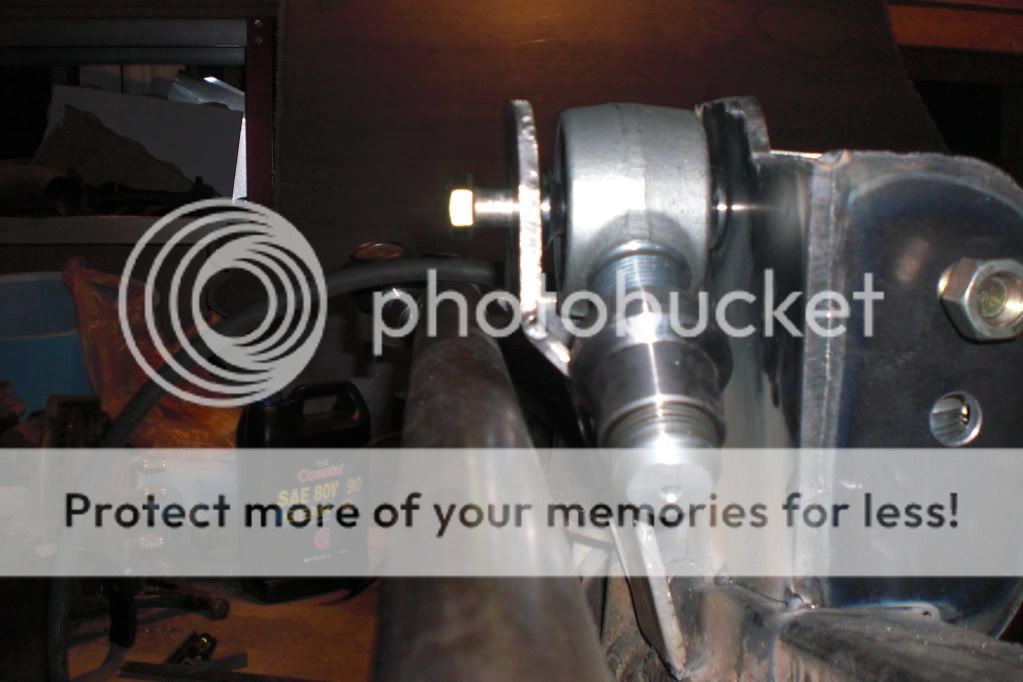
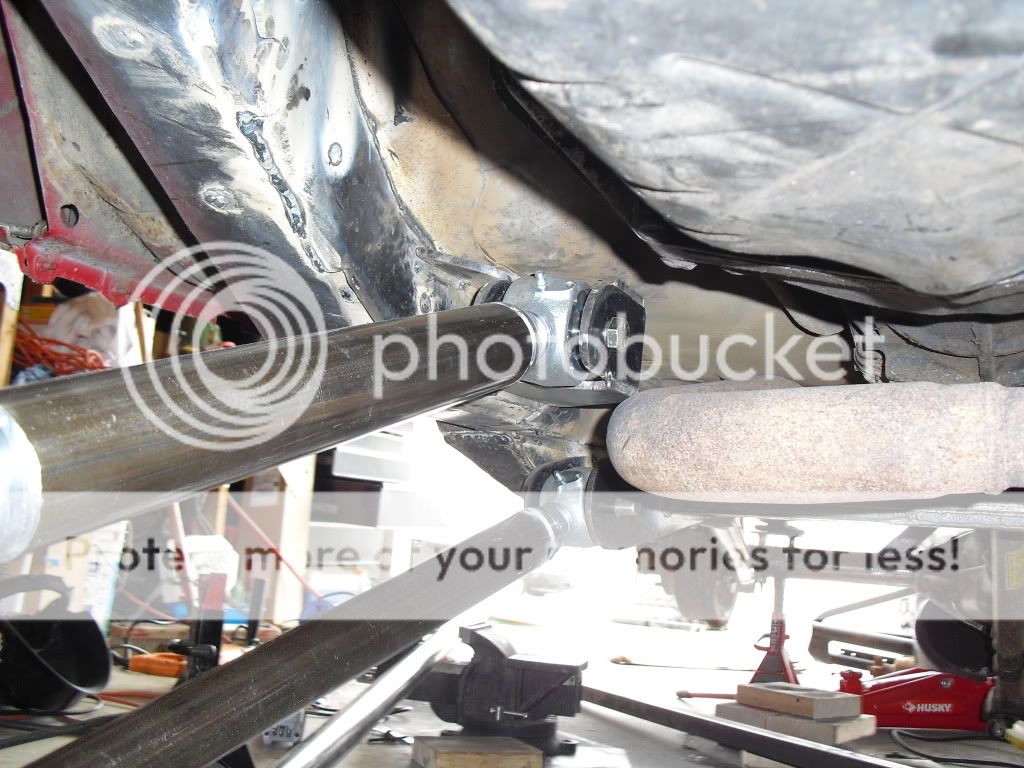
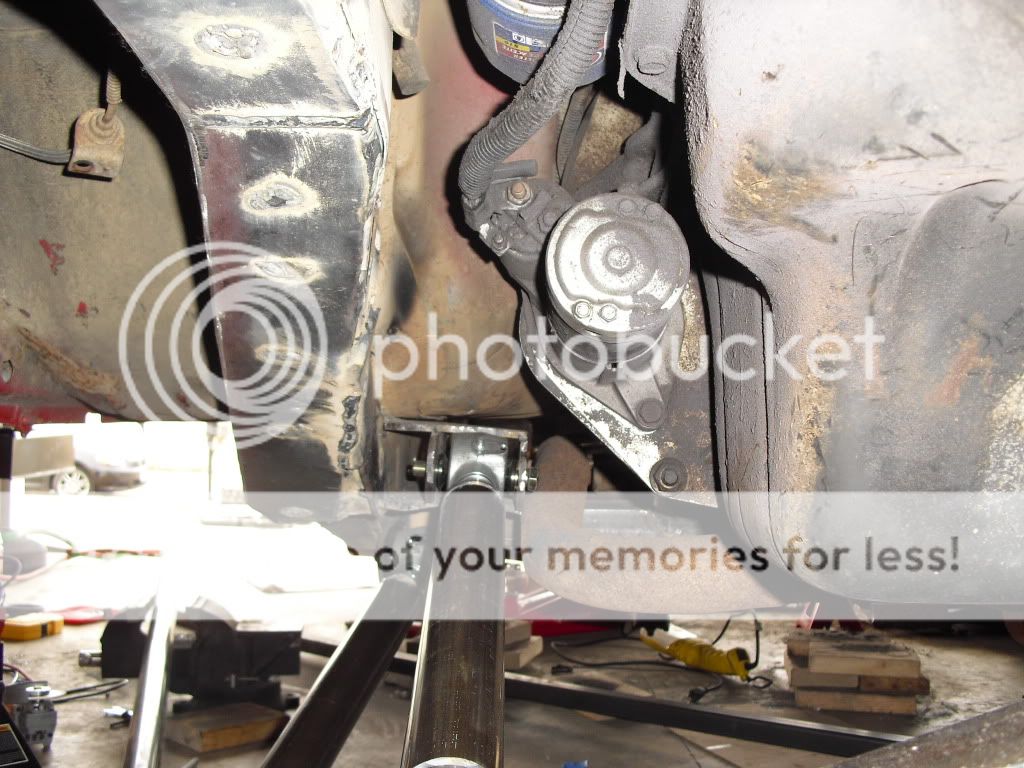
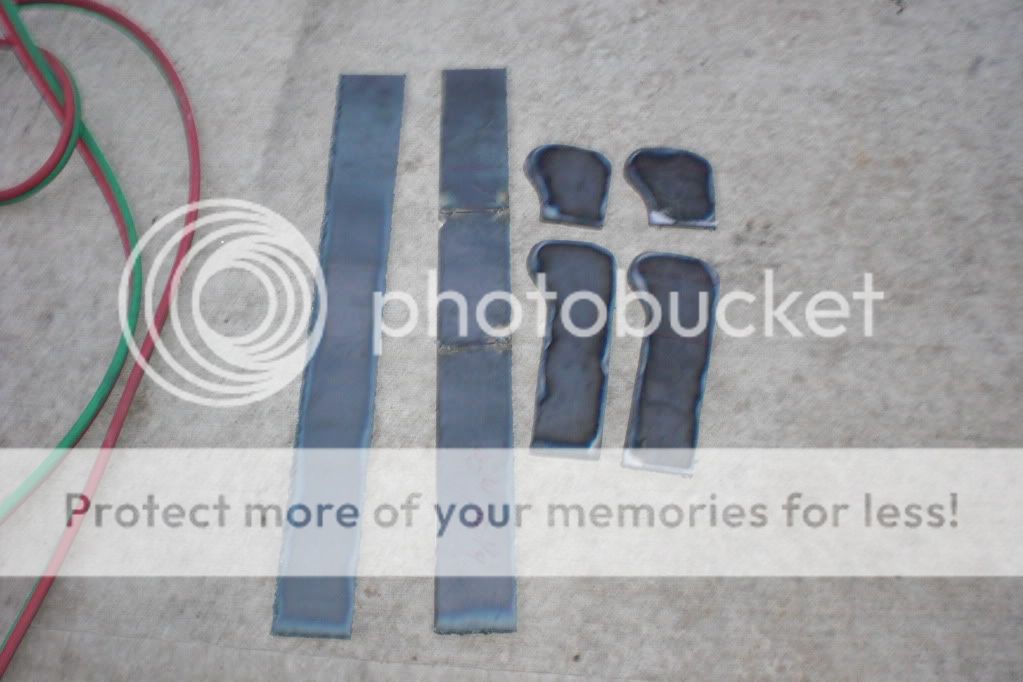
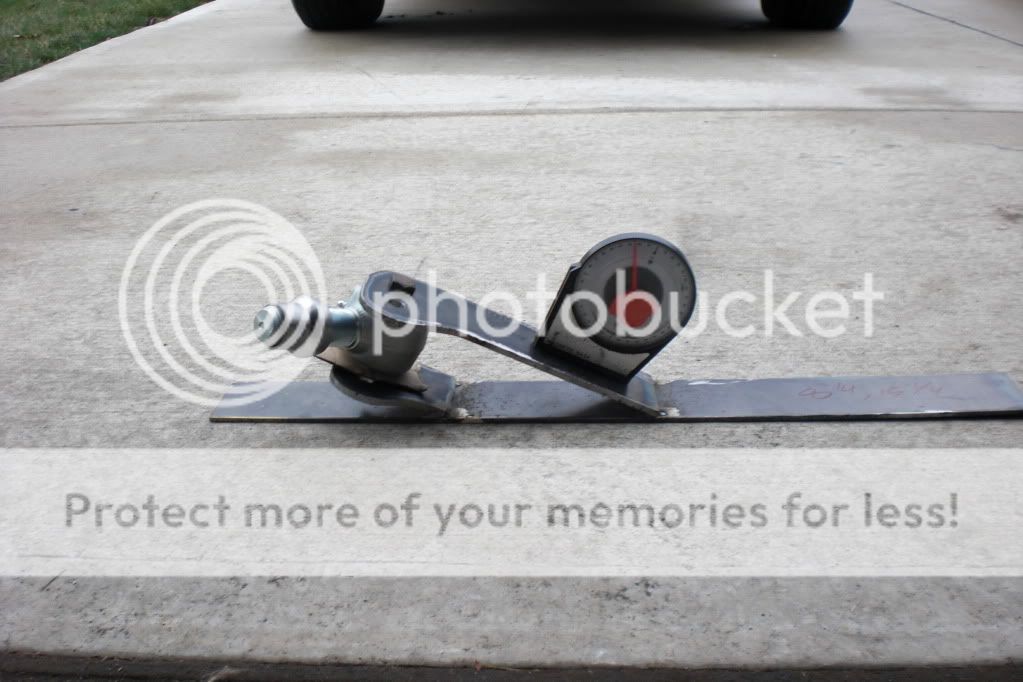
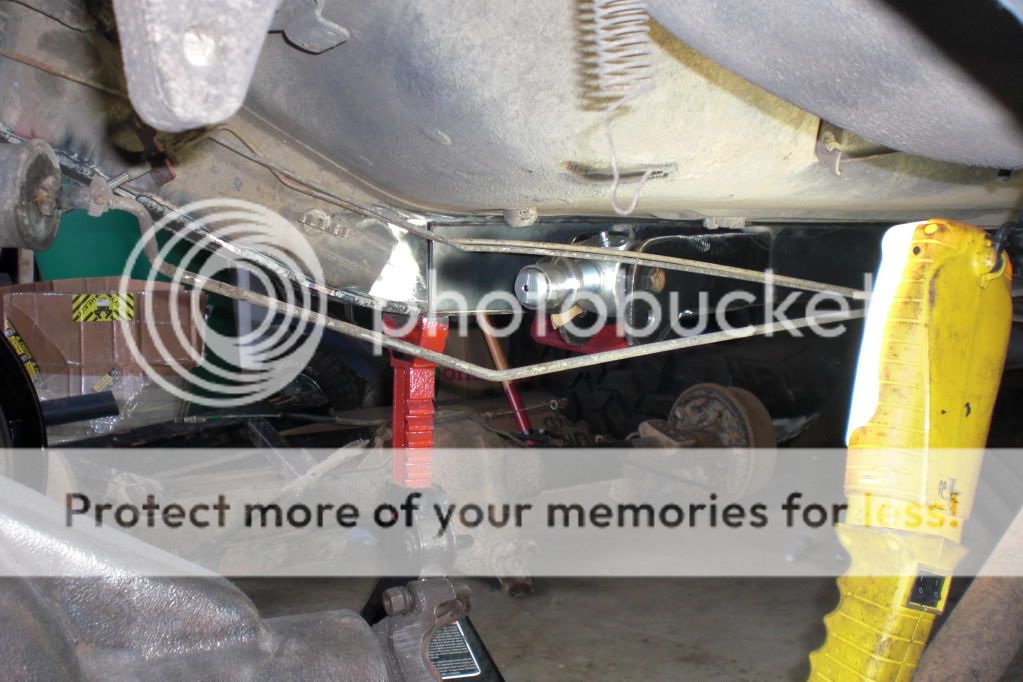
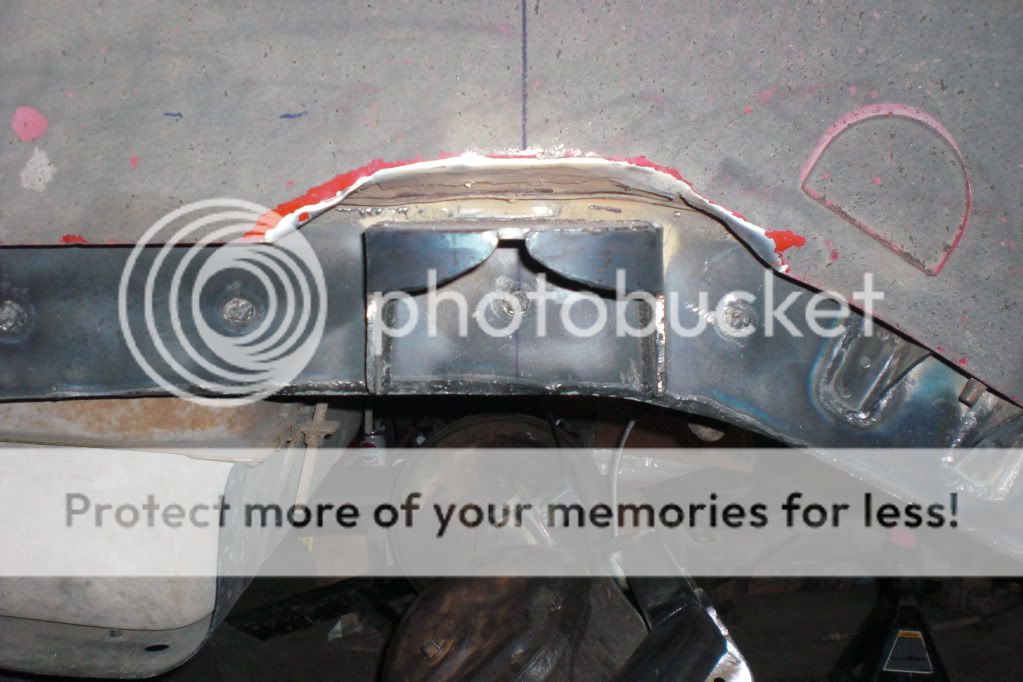
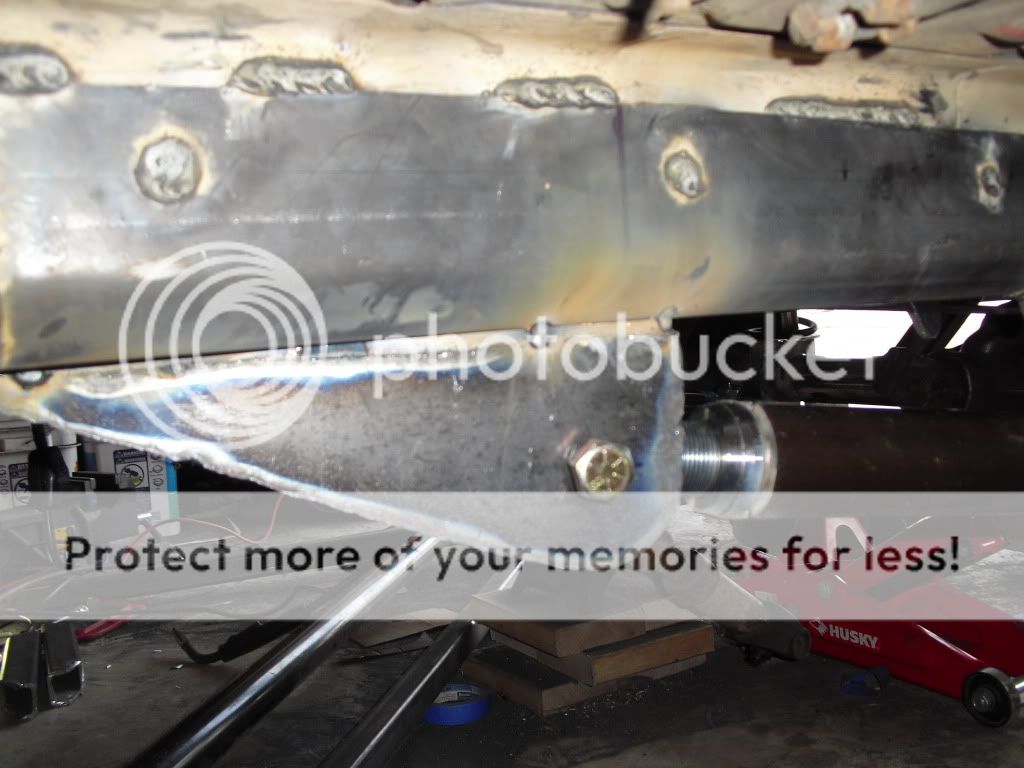
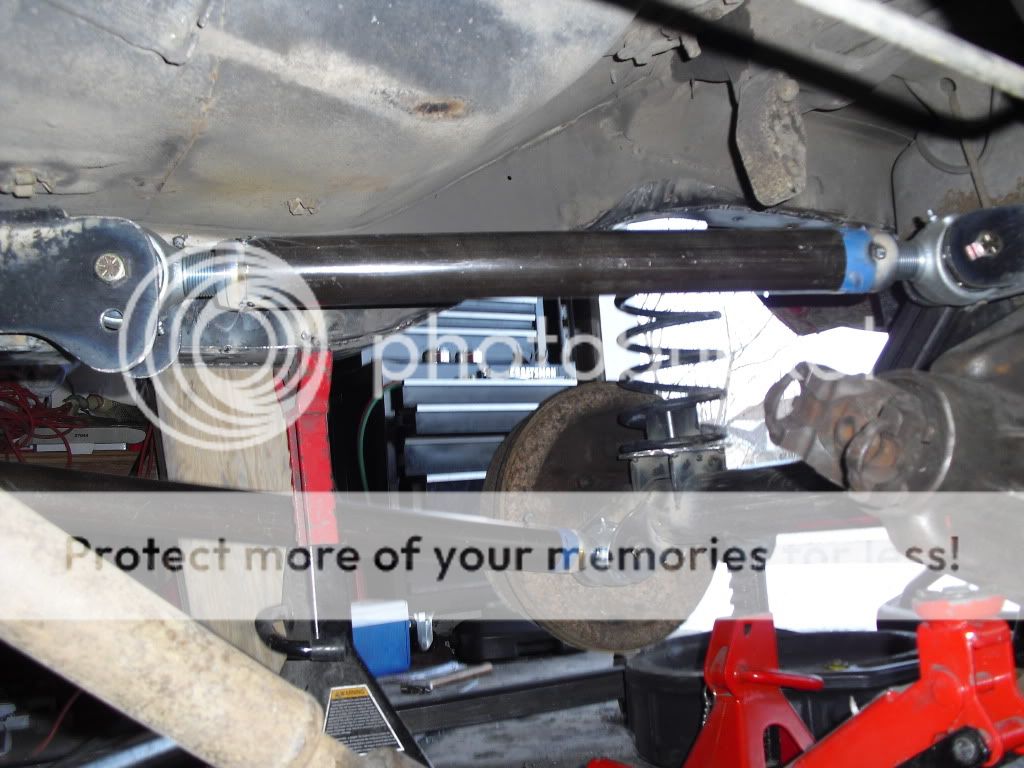
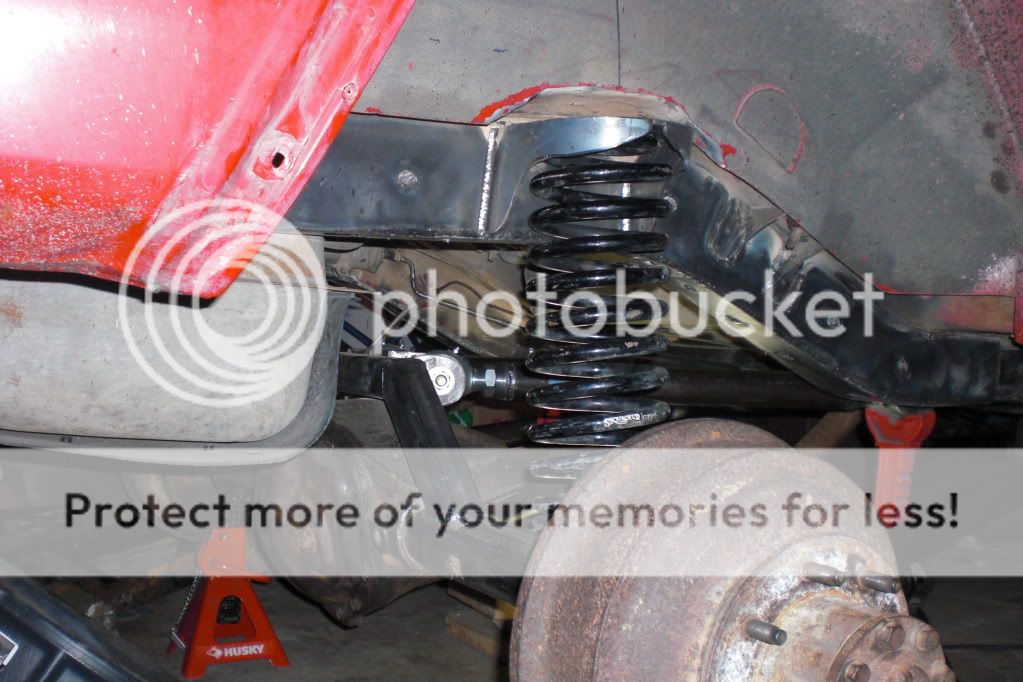
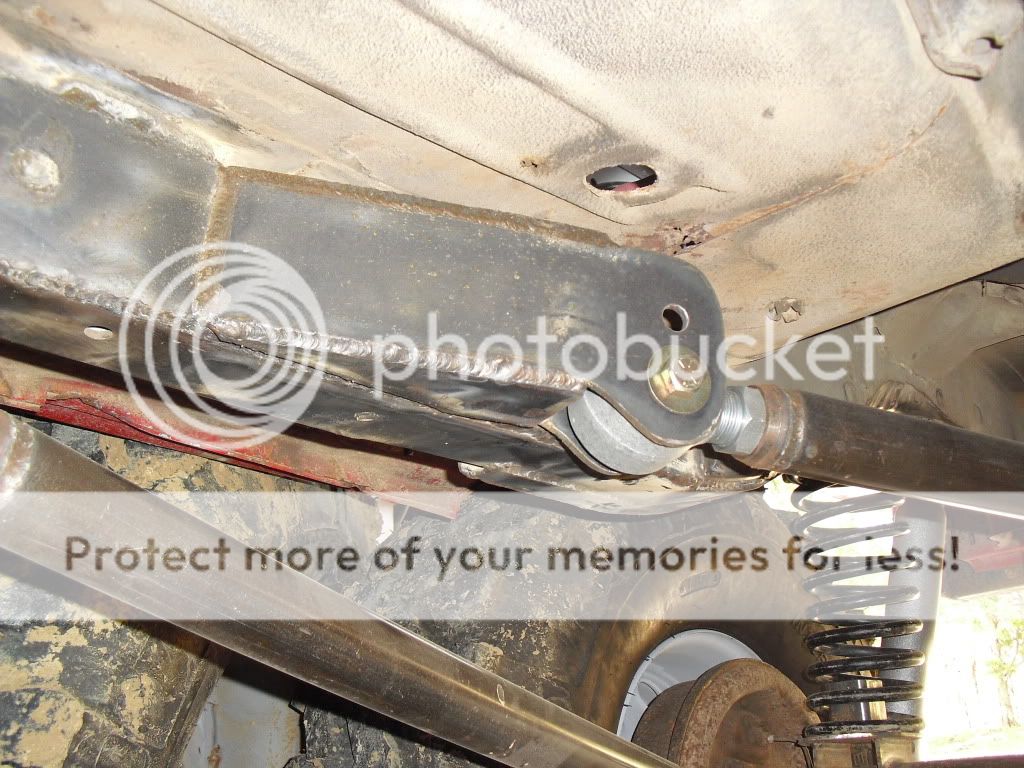
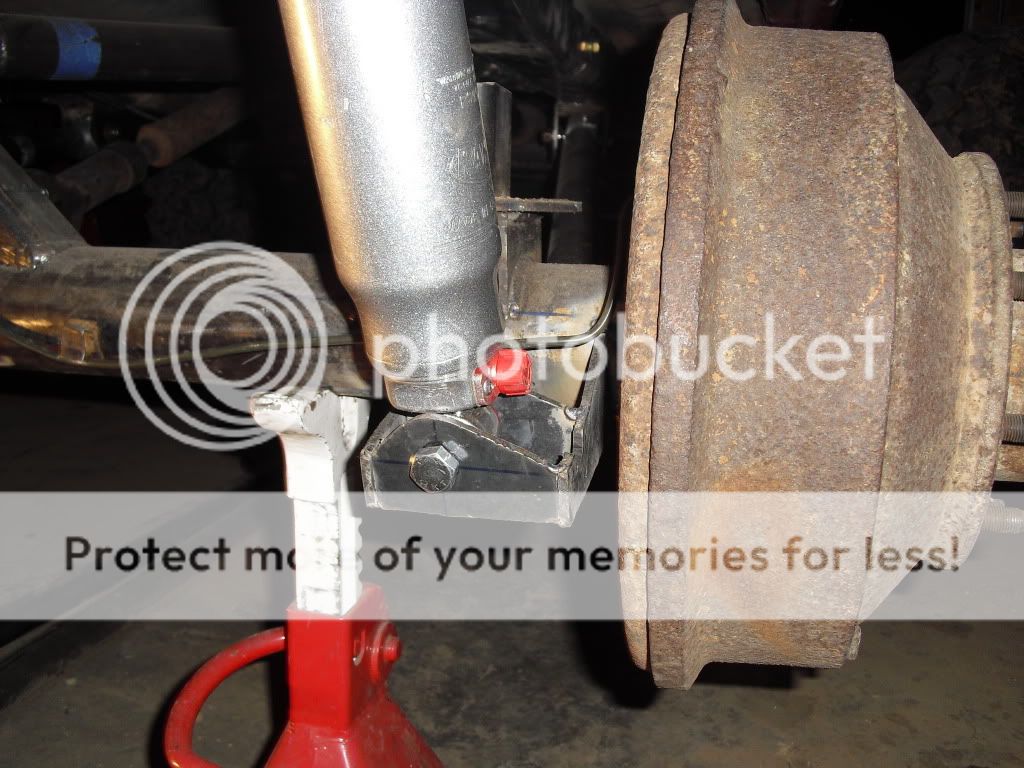
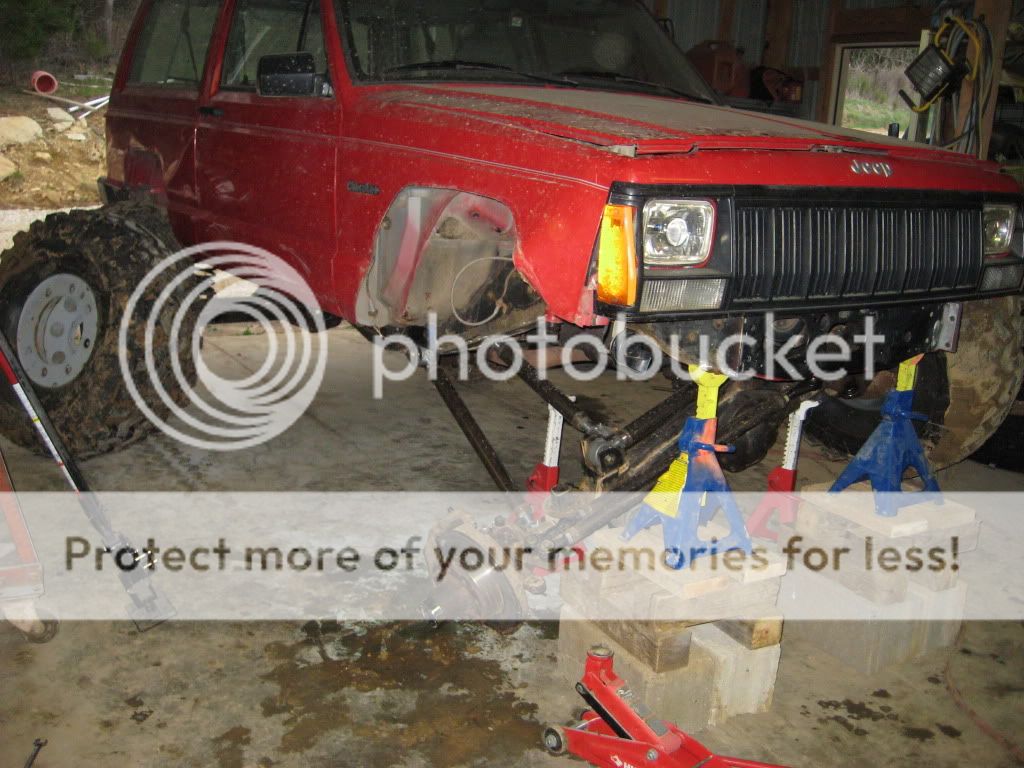
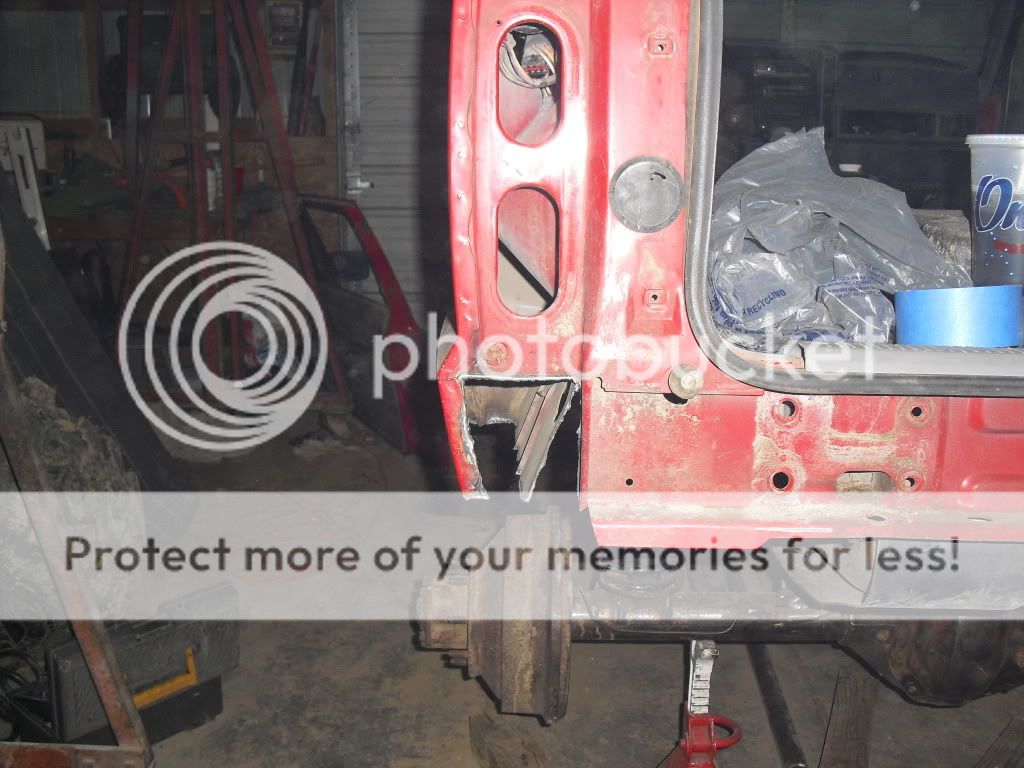
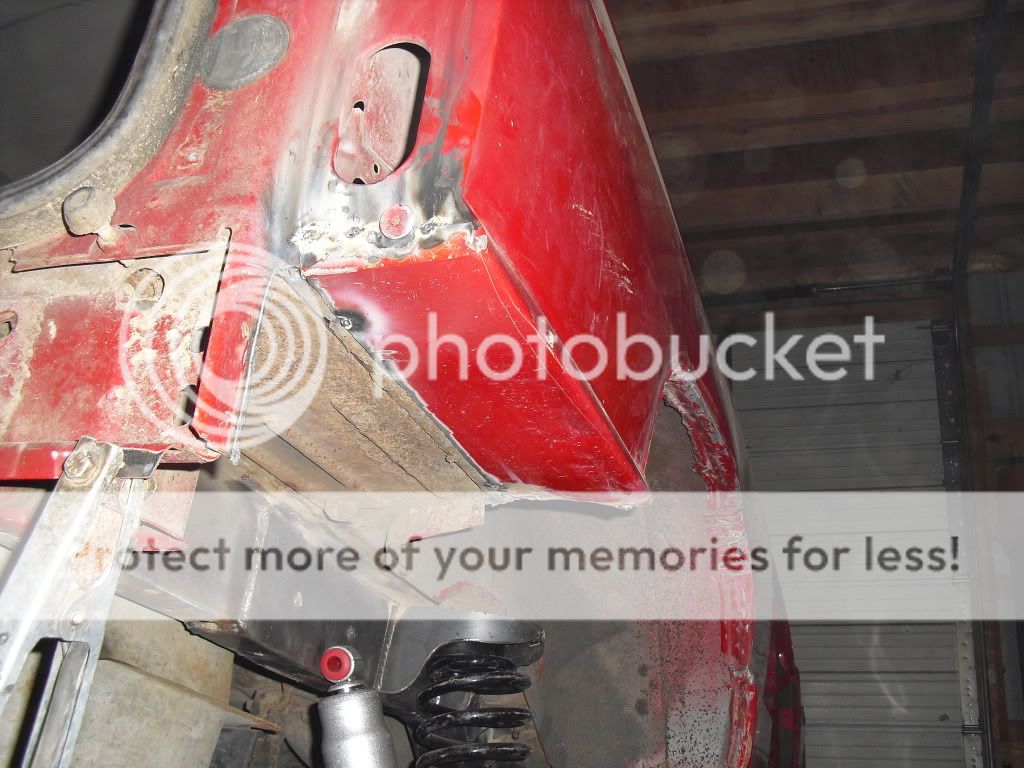
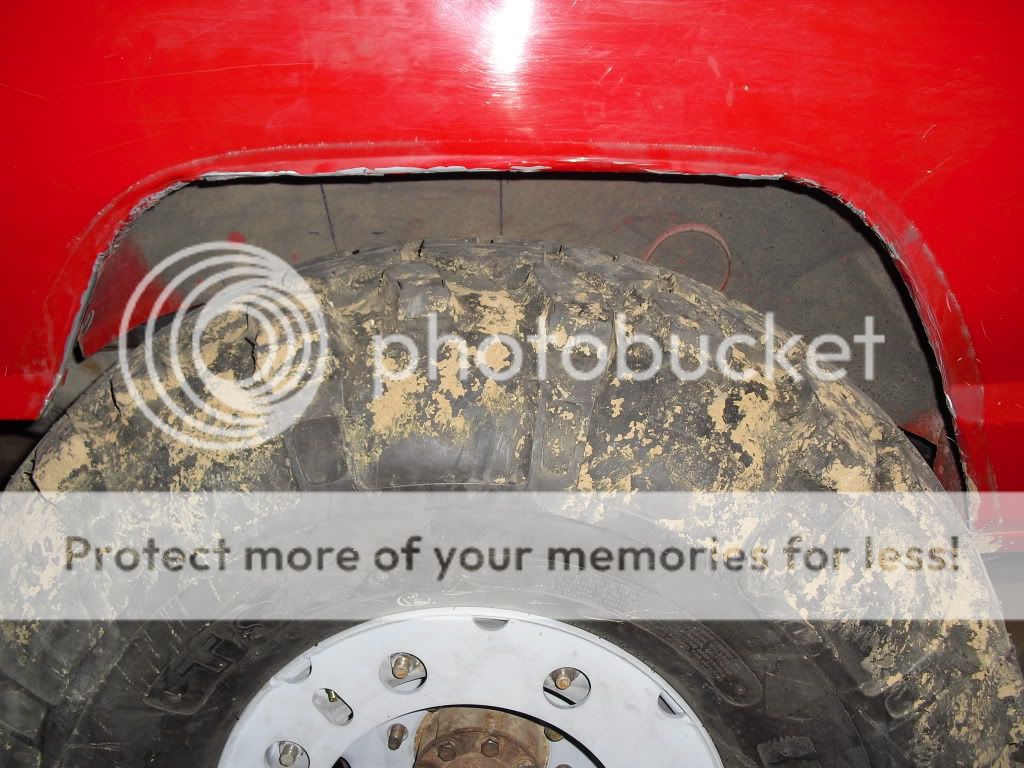
Gotta get going to class right now, when i get back i will explain the project goals as well as show some progress on the current axle swap and suspension build project.
 
Project Goals:

Must be safe
Must be stable in off camber and uphill climbs
Must be strong
Must be semi - streetable
Clear 38" Tires


With these few goals in mind i set out in doing some research on a subject i really didnt know much about. I finally decided after a few months, i wanted a 3 link front, 4 link rear. I wanted to run a dana 44 and a dana 60 axles from a 79 ford f-250 that i had sitting. From this point i started on my build with an idea of some of the fundamental design considerations like anti squat, roll axis, pinion angle change, amount of bump and droop...


So first things first, i needed a firm base to begin working from so i started with the frame plating.

framestiffeners_03.jpg

Cleaning up the frame

framestiffeners_04.jpg


framestiffeners_09.jpg

here you can see some of the damage that was caused by welding my rocker guards on and then cutting them back off. Rust was also a problem in some areas on the "frame"

framestiffeners_01.jpg

My buddy prepping the frame stiffeners. ( kinda looks like he crapped himself lol )

framestiffeners_07.jpg


framestiffeners_14.jpg


framestiffeners_10.jpg


Next up is cleaning up the front area for the front frame stiffeners.
lcaremoval_03.jpg


lcaremoval_02.jpg


And then of course making some cardboard templates
CIMG0253.jpg


CIMG0254.jpg
 
And then we did the same with the rears.

CIMG0359.jpg


CIMG0360.jpg


CIMG0361.jpg


CIMG0362.jpg


CIMG0363.jpg


CIMG0364.jpg


CIMG0365.jpg


After the frame was all plated, i worked on making a new crossmember, i also utilized this as a mounting location for my Lower Control Arm Mounts.
Its made from 1/4" plate and 2" - 1/4"wall square tubing.

CIMG0301.jpg


CIMG0298.jpg


IMG_2113.jpg


CIMG0323.jpg


CIMG0314.jpg

Pretty beefy compared to stock... 65lbs vs 15lbs for the stocker
 
After getting the Frame Side LCA Mounts, i started working on the 44. I started with the LCA mounts and proceeded to the truss work and then onto the UCA and Track Bar Mounts.

CIMG0337.jpg


CIMG0336.jpg


CIMG0339.jpg


CIMG0338.jpg


CIMG0346.jpg


CIMG0347.jpg


CIMG0348.jpg


CIMG0367.jpg


CIMG0478.jpg

The UCA/Track Bar mount was one of the hardest things to figure out on this build. It was difficult to get the right suspension geometry and work around the hysteer set up.

CIMG0479.jpg


CIMG0480.jpg


CIMG0009.jpg


CIMG0021.jpg


CIMG0022.jpg
 
Some more of the rear end.

CIMG0005.jpg


CIMG0006.jpg


CIMG0006.jpg


CIMG0484.jpg


CIMG0074.jpg


After i got the suspension set up i worked on getting the shocks set up.
Here are the rears.

CIMG0068.jpg


CIMG0066.jpg


CIMG0065.jpg
 
Then it was onto checking some clearences with the body, i ended up having to do a tuck and fold on the rear quarters, and trimming a bunch out of the front end.

Workingonthejeep002-1.jpg


Workingonthejeep003-1.jpg


CIMG0052.jpg


CIMG0051.jpg


CIMG0057.jpg


And then we did some painting... lots of painting...
CIMG0129.jpg


CIMG0135.jpg


CIMG0136.jpg


CIMG0132.jpg
 
finally it was time to get it reassembled, bounce it around and check for more clearences, i also made some bumpstops and captured the springs. right now im in the process of finishing up the pitman arm, as well as mounting the winch and tweaking the body to make sure i dont have any rubs. Here are some more pics...

Ohh yeah and i grooved the TSL's too.

CIMG0144.jpg


CIMG0142.jpg


CIMG0147.jpg


CIMG0149.jpg


CIMG0154.jpg


img1288662581244.jpg


img1288662581982.jpg


img1288662581577.jpg


img1288662582280.jpg
 
This weekend will be the first time out and i am just finishing up everything to go wheeling today and tomorrow. i will get some pics of it out on the trail. i would like to thank my best friend Cory who has helped me immensely though this project. I didnt include a whole lot in the way of technical information, but instead alot of pictures. if you have any questions feel free to ask and i will address them.
 
Here is a list of the Parts that i used to complete this build.

Front Coils - Rubicon Express 5.5" XJ Front
Rear Coils - Skyjacker 2.5" TJ Front
I captured the springs on the axle side with 4" od pipe, and the bump stops on the frame side are long enough to keep the springs from fall out.

Shocks - 14" Travel RS9000xl all 4 corners

Front Axle - 79 F-250 Dana 44 w/ Flat top Knuckles (4.10 Gears) Welded
Rear Axle - 79 f-250 Dana 60 FF ( 4.10 Gears) Ltd Slip

Links - 2.63" Balistic joints with 2"-1/4" wall Dom Tubing.

Steering - 1Ton TRE's, Ballistic Hysteer Arms, 1.5" - 1/4" Wall Dom tubing.
98 Durango Saginaw Box.
Pitman arm - Custom
I need to incoporate an assist ram and new ps pump.

Wheels - Trail Worthy Fab double recenterd Hummer wheels with PVC double beadlock inserts.

Tires - 38.5x16x16.5 Swamper TSL - Grooved


Brakelines from Poly Performance, Custom Length front and rear.
 
This looks really good. What size joints did you use for the uppers and lowers.

EDIT: oops i posted this right after you did
 
Last edited:
I used the 2.63" Ballistic Joints for all the uppers and lowers as well as track bar. The links were made from 2", 1/4"wall DOM
 
I used the suspension calculators from pirate.

Front End: 3 Link with Track Bar
Anti Squat - 72 or 91%
Roll Axis - 1.34*
Change in Pinion Angle - about 4*

Rear End - Double Triangulated 4 Link
Anti Squat - 62 or 77%
Roll Axis - 3*
Change in Pinion Angle - about 5*

Triangulation in Uppers - 46*
Triangulation in Lowers - 20*
 
Future Plans:

Hydro Assist Ram
Custom Front and Rear Bumpers
Full Cage
Rocker Replacement
231/300 Doubler
5.38's and spools front and rear
Chop the Top
Tube Fenders
Front Suck Down Winch
Stroker


This evening or tomorrow i will be cutting some vents in the hood as well. i shot my #1 cylinder fuel injector at 208*F last night after it kept dying, thought it may be vapor locking... I shot my buddies TJ and it was 135*F. I will see how it does with the hood vents this weekend, if im still having problems i will probably mount an electric pusher fan where i cut the holes for the vents.
 
Back
Top