epd166
NAXJA Forum User
- Location
- Emmett, Idaho
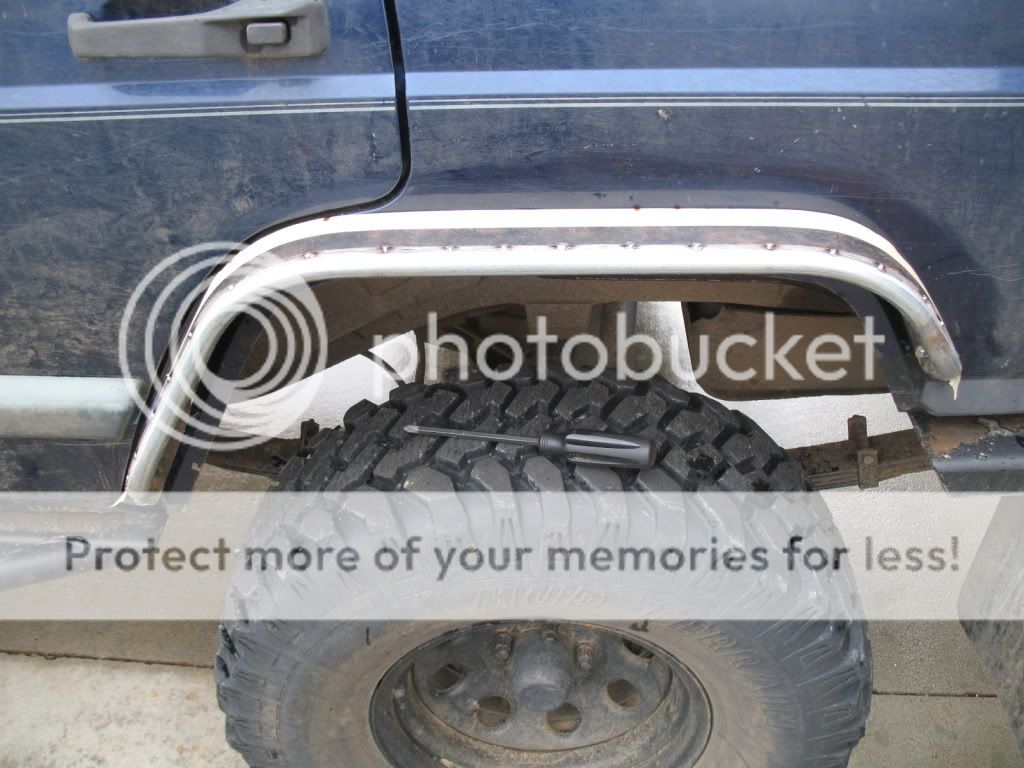
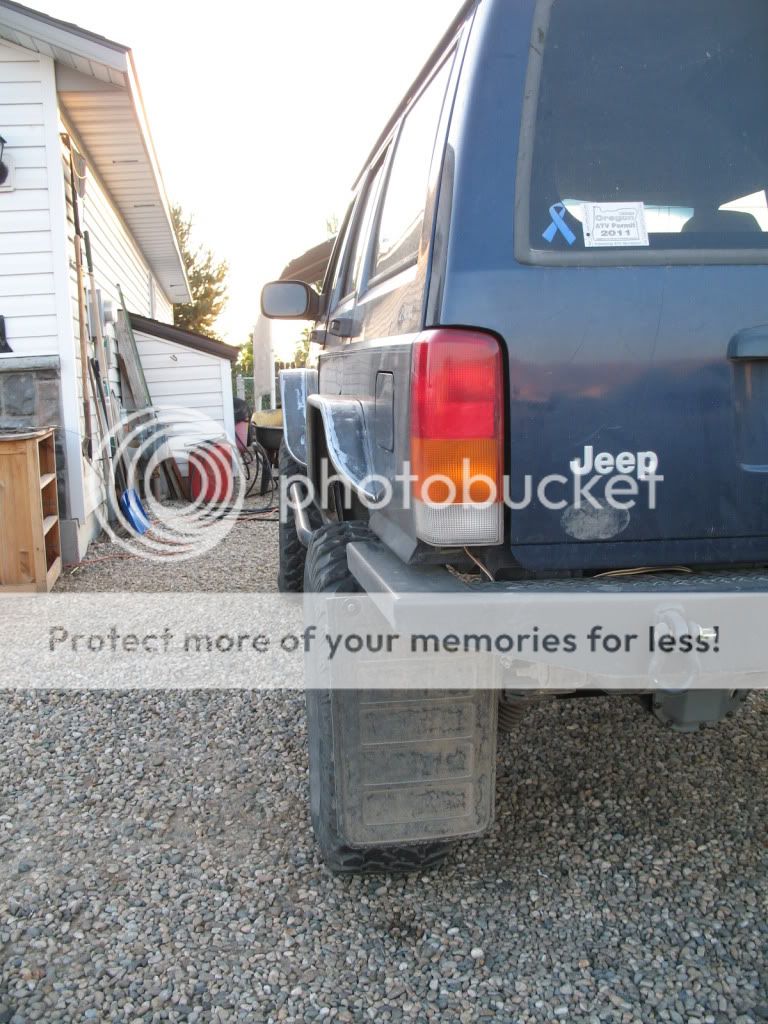
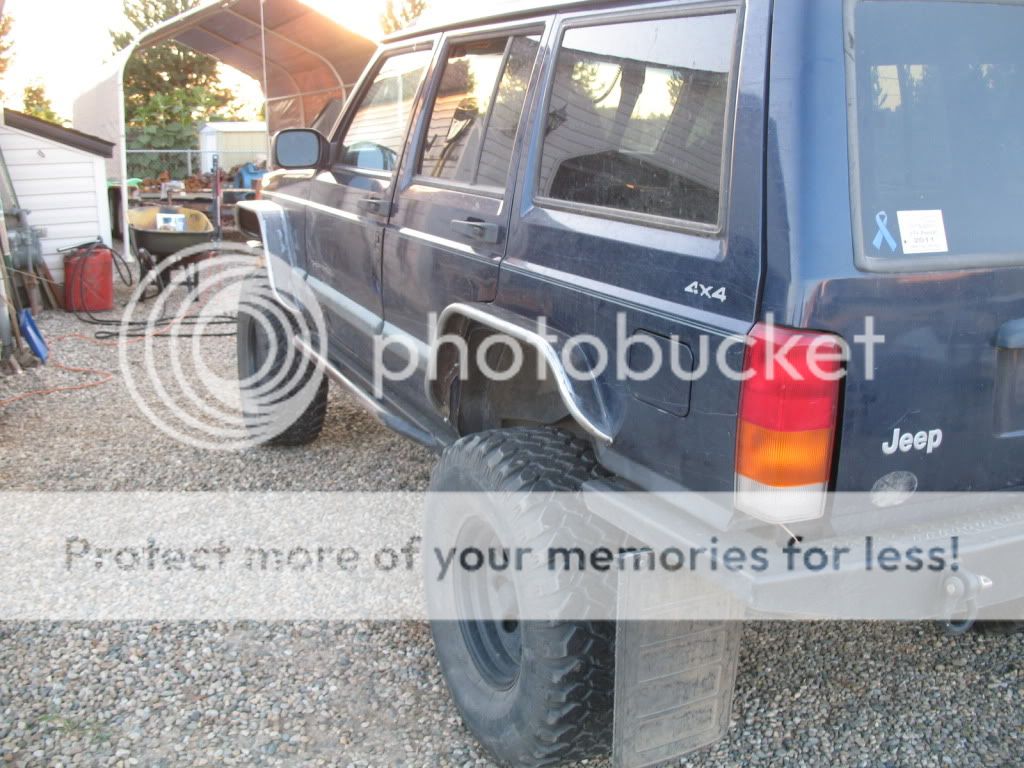
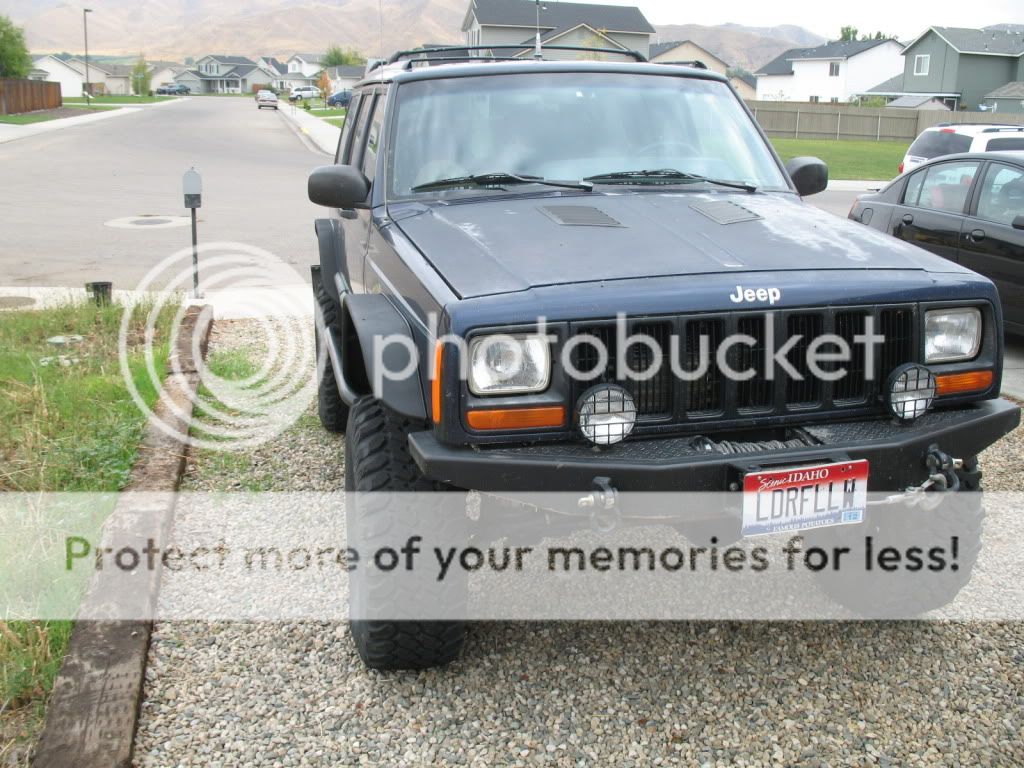
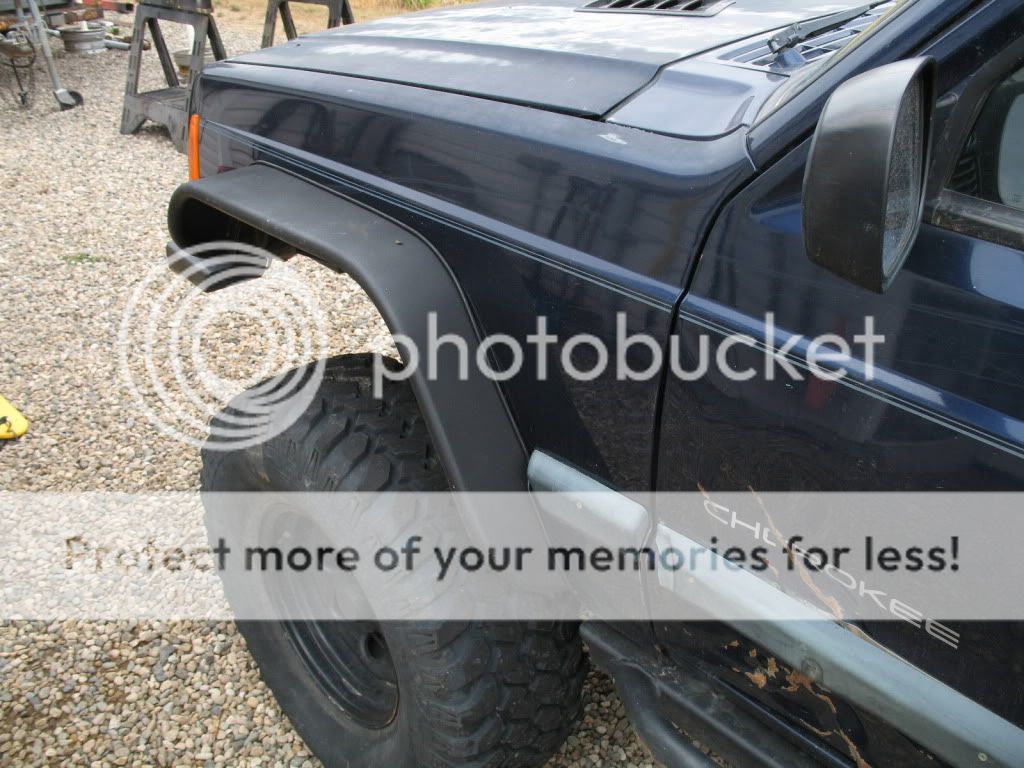
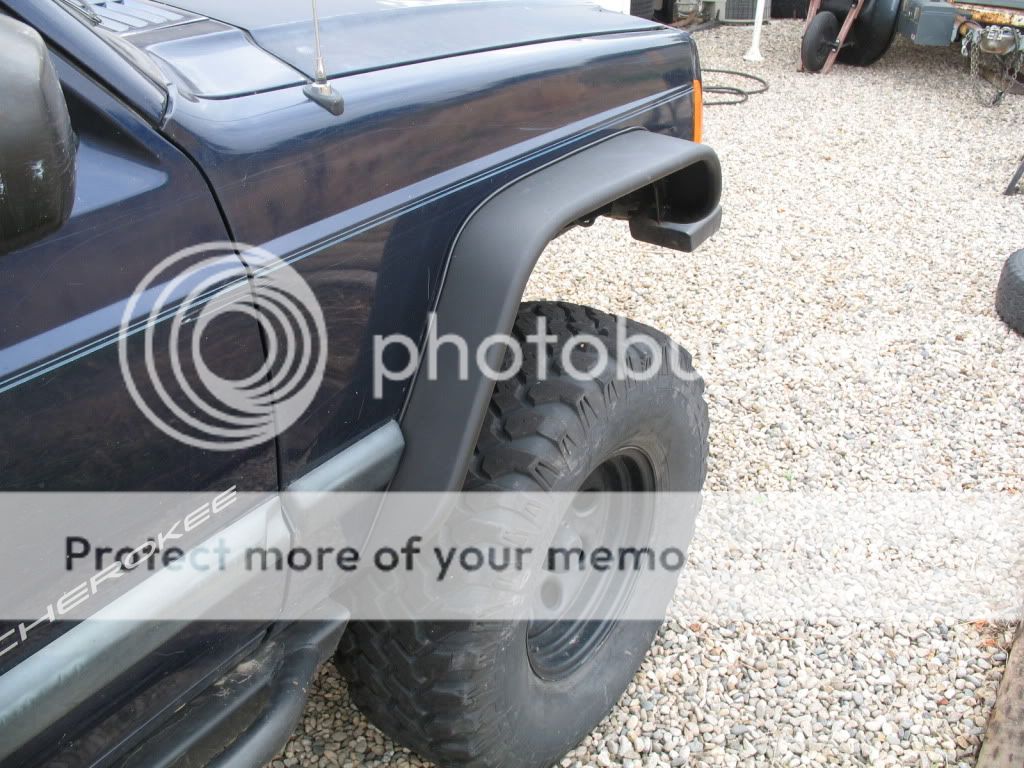
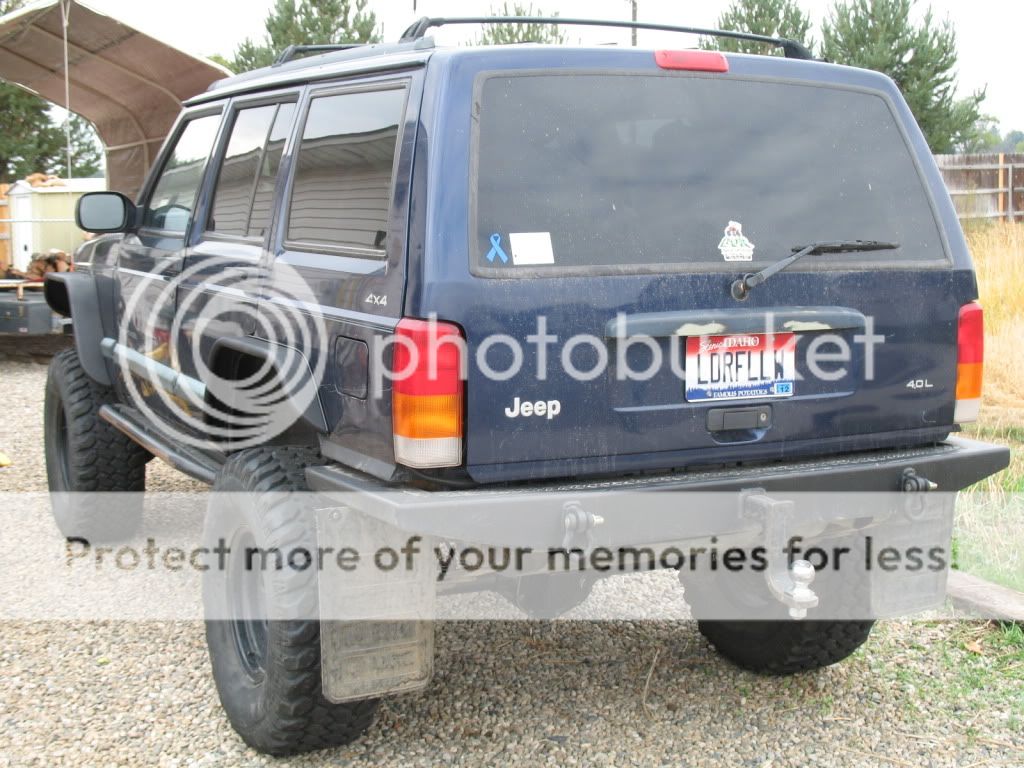
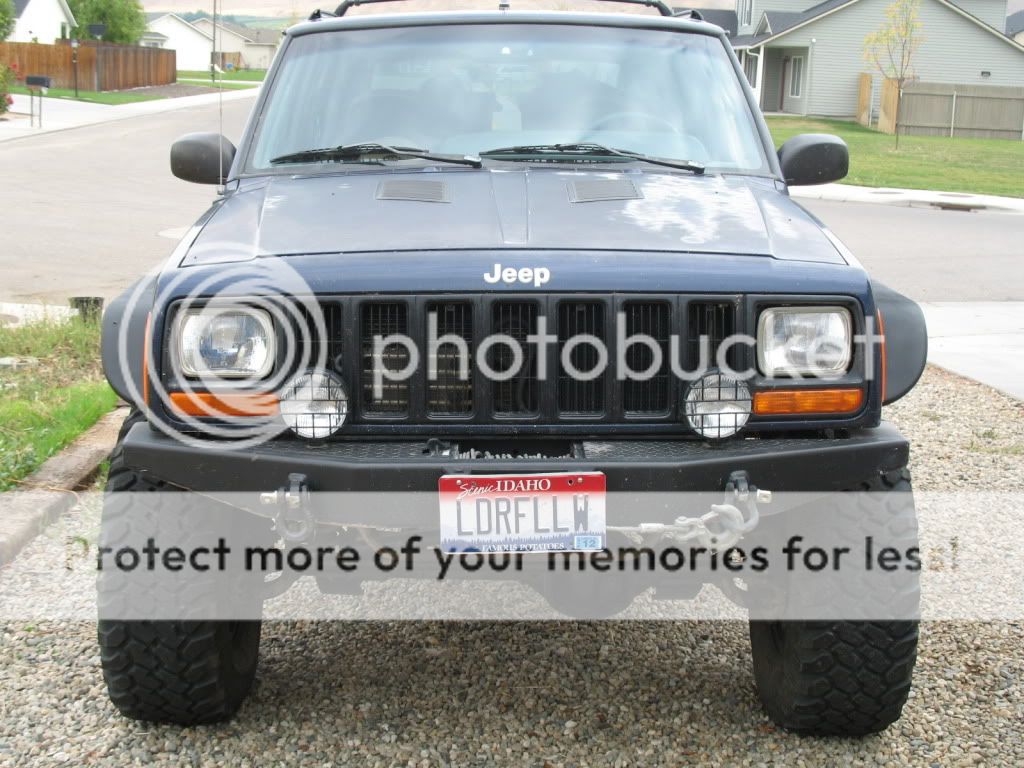
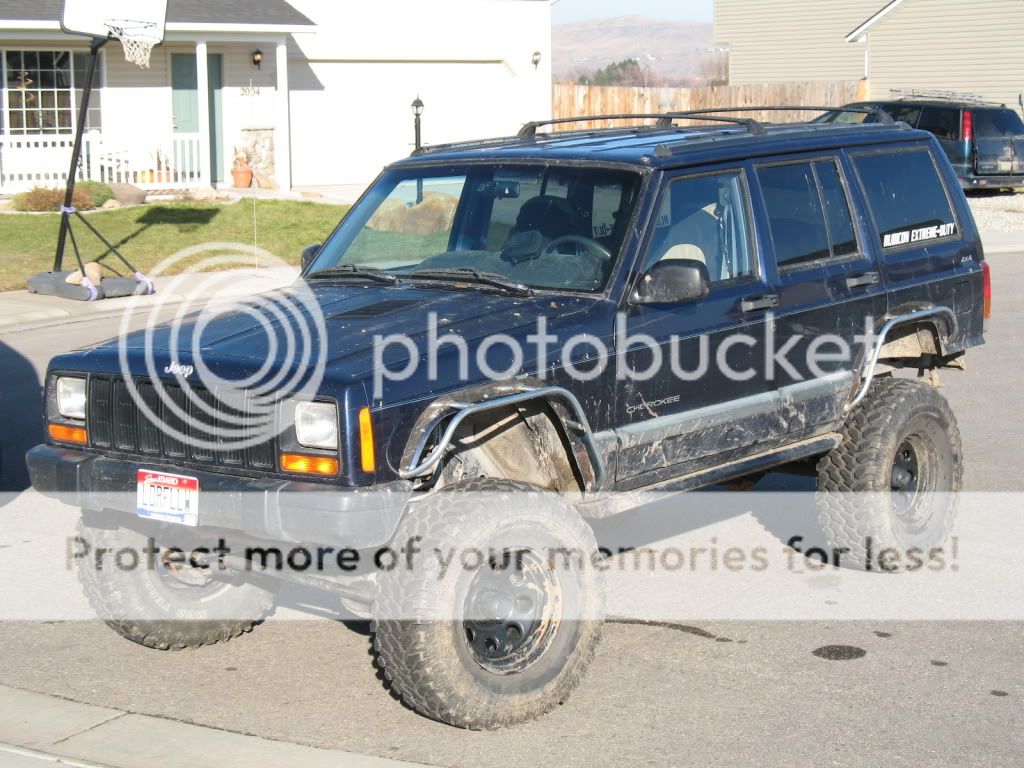
Two years ago I started making some tube fender flares to cover the 33" tires I had because I wanted to be legal and not get stopped for the tires sticking out. I looked around and back then no one made a decent fender flare for the Cherokee but Rusty's and Bushwacker. I did not like the look of the Rusty's and the Bushwacker's are prone to cracking when struck against a hard object. So I decided to make my own. I took pictures of the entire build and figured I would share it with all of you to give you some ideas. The flares are made of sheet metal and the tubes are 3/4" electrical conduit. I went cheap with the tube because I would rather them bend then fold the fenders since there is no support behind the fenders. I started out with this.
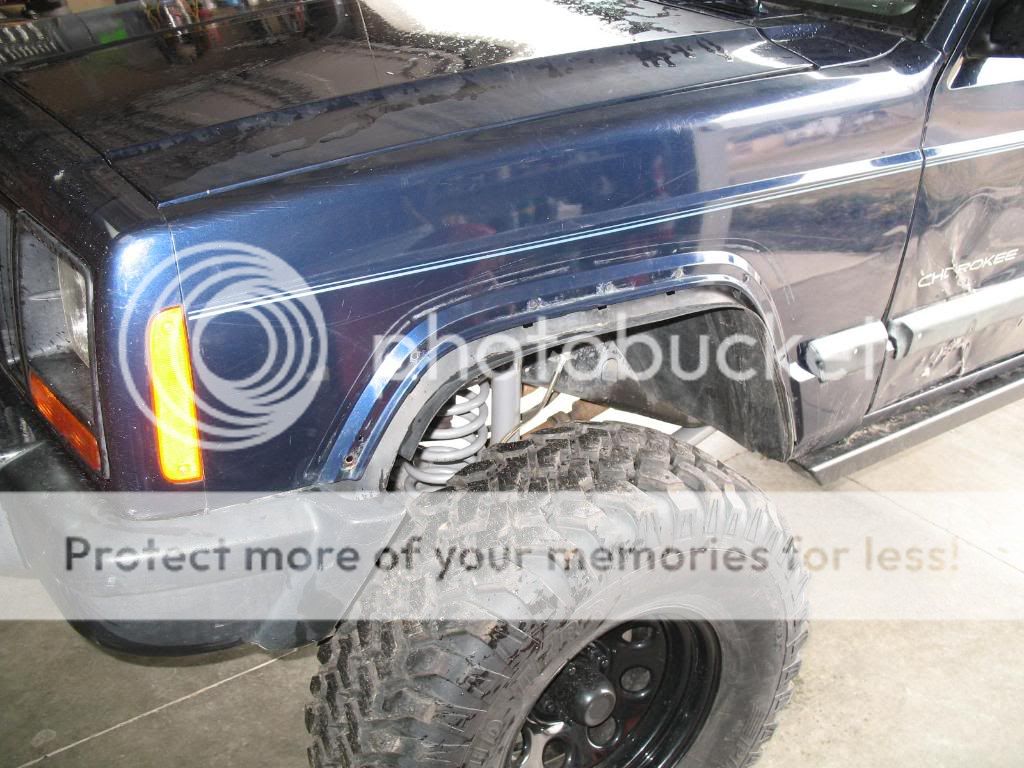
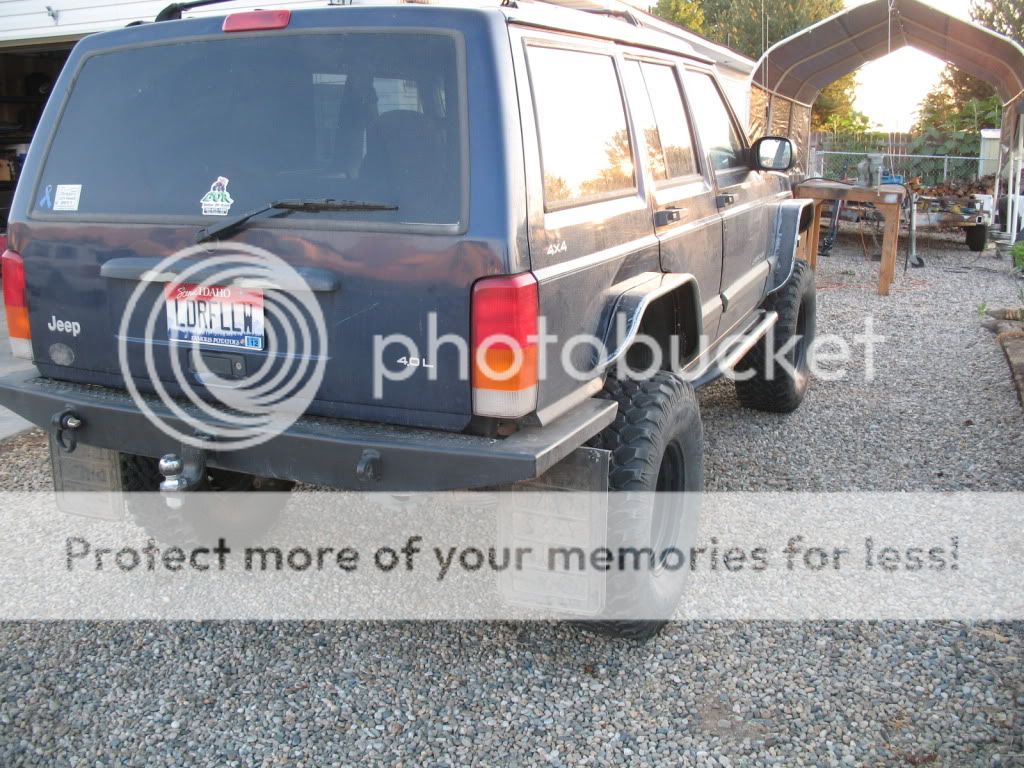
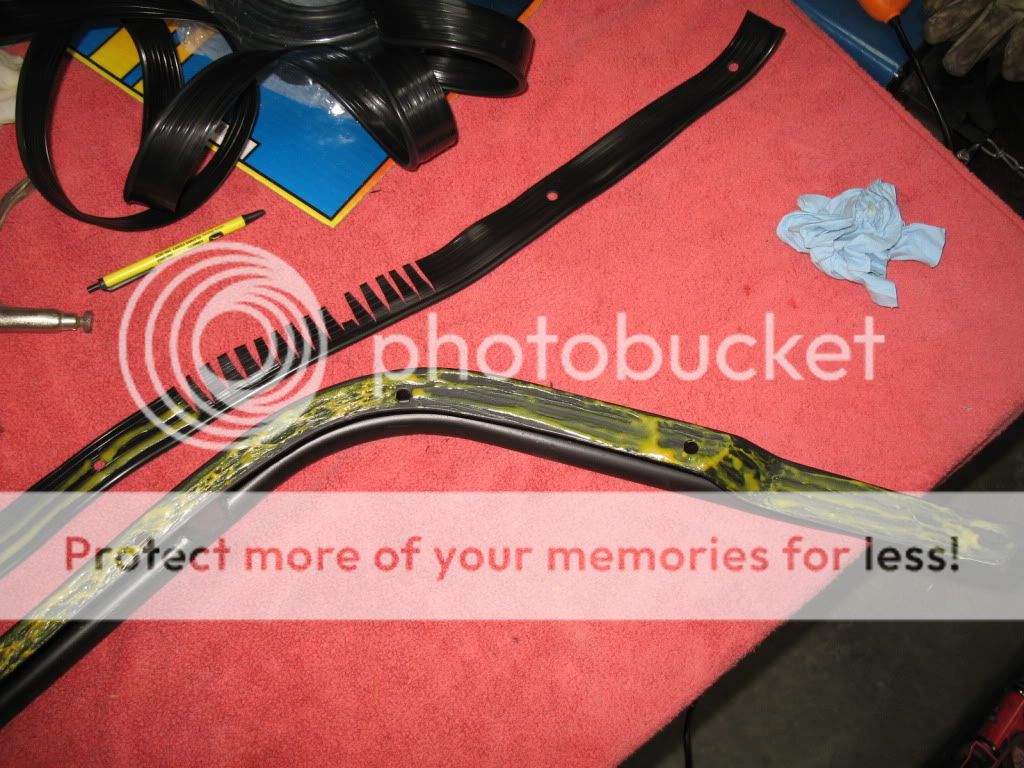
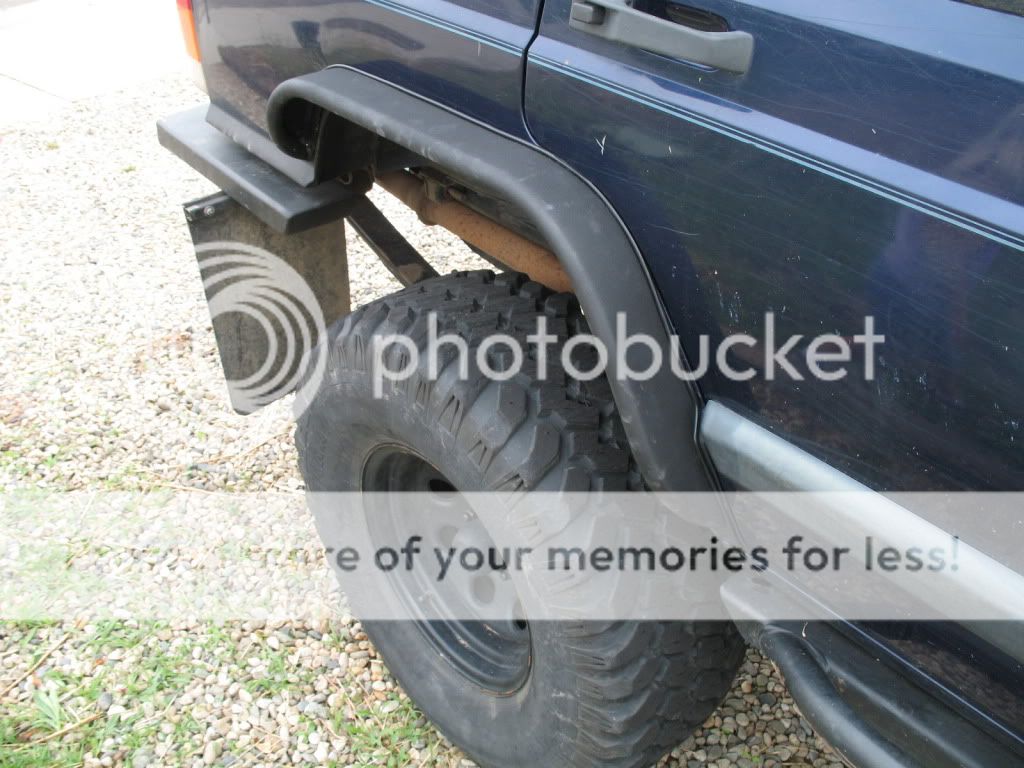
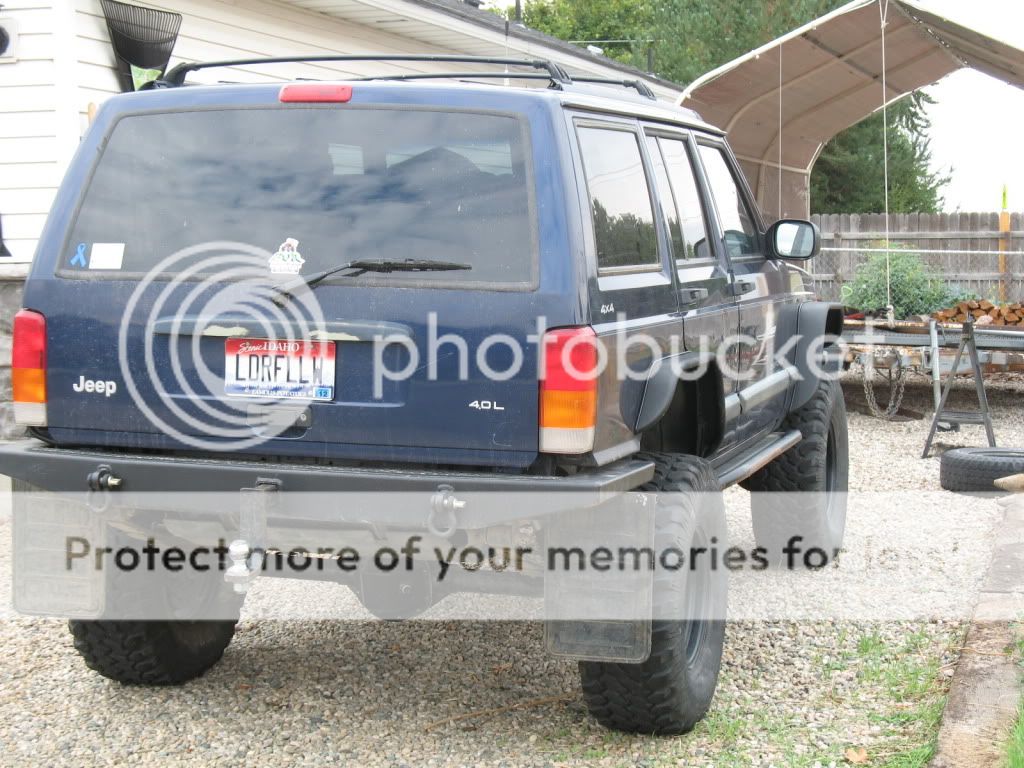
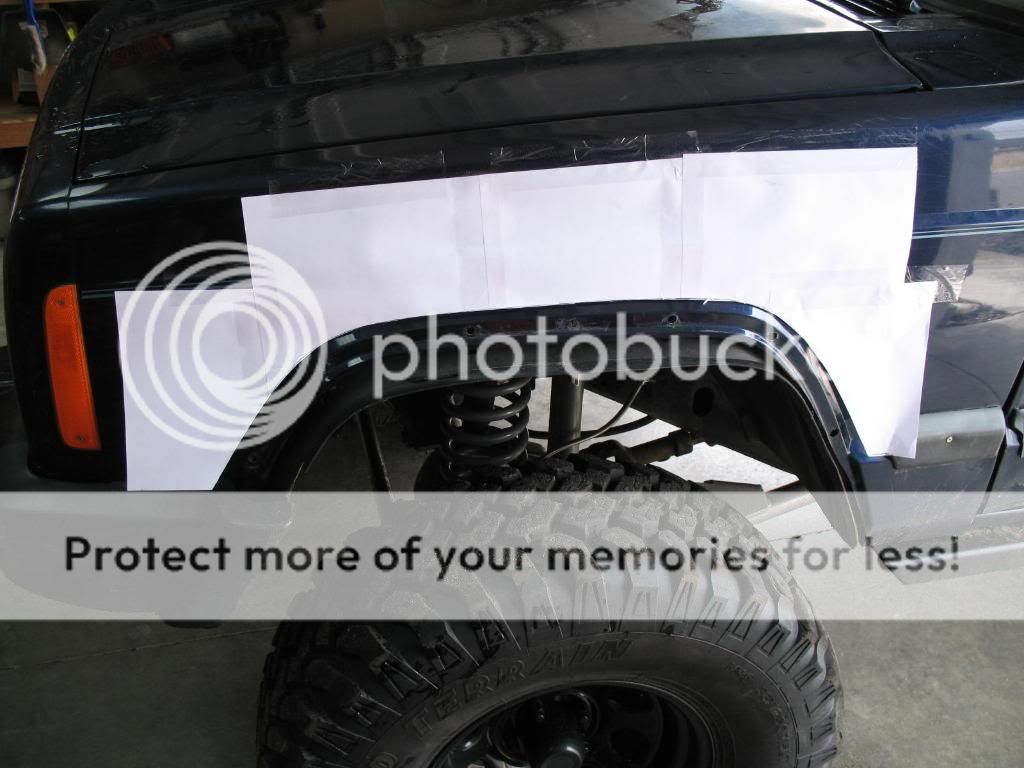
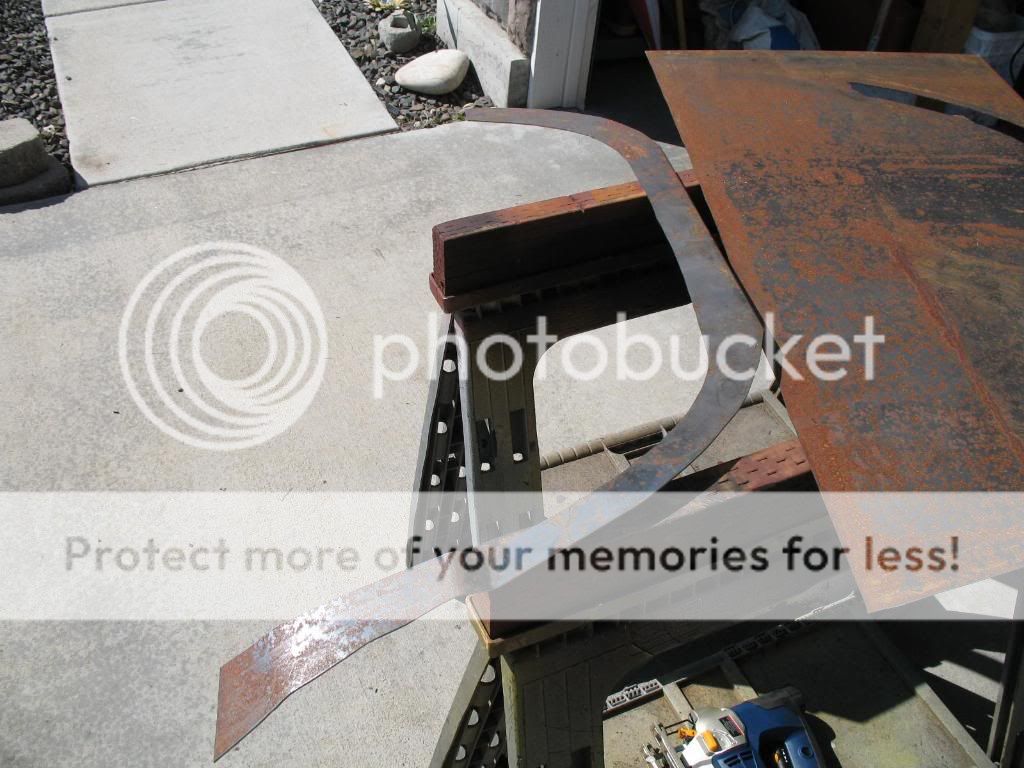
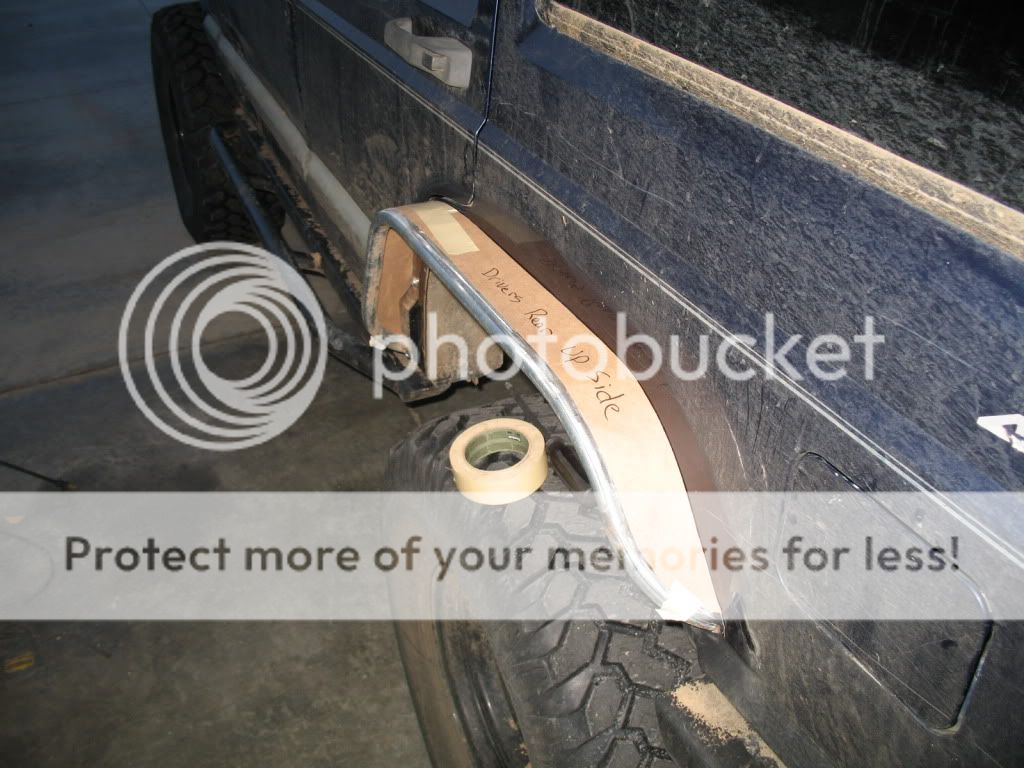
I had a couple projects going at the same time, cutting and folding the rear fenders, trimming the front fenders, and making front and rear bumpers. I next made a template, front and rear, to trace to some sheet metal

I then transferred it to the sheet metal and cut it out. I did not have access to a plasma so I had to cut it out with a jig saw.
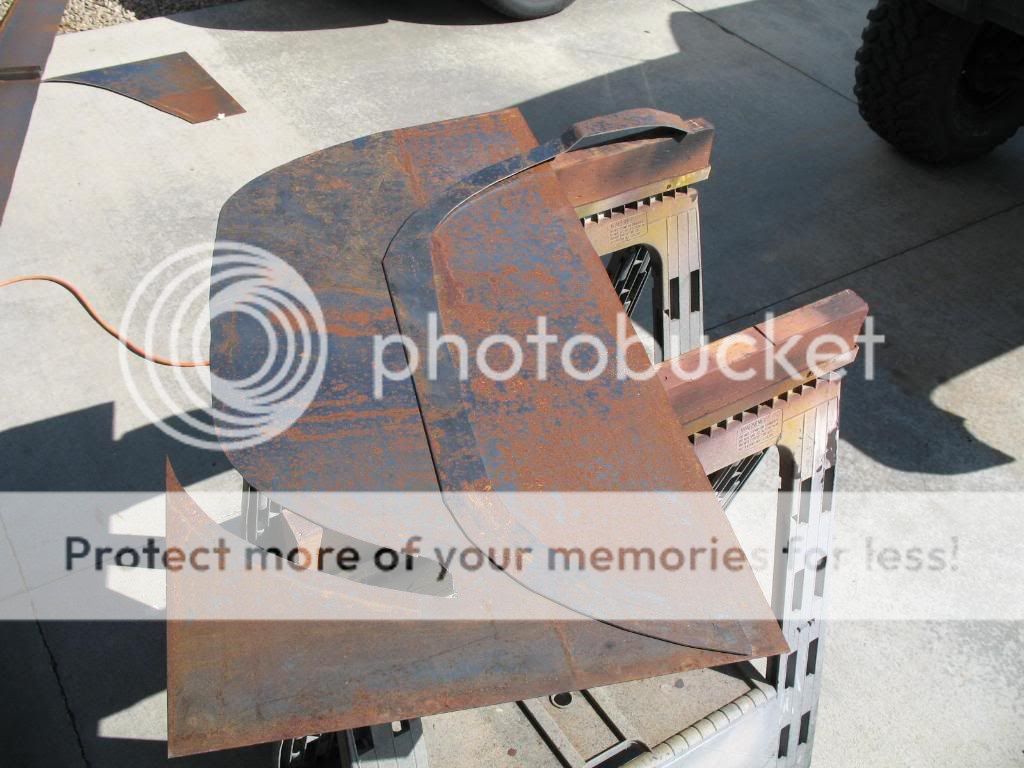
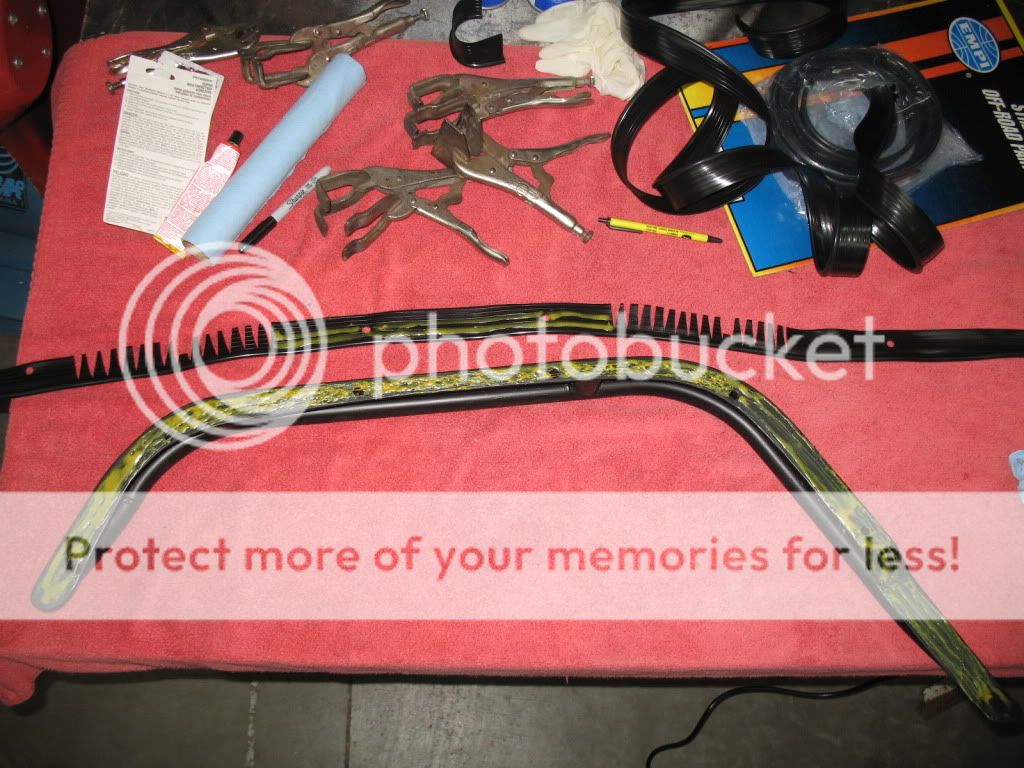
I made the backing larger than needed on the outside because I did not know how I wanted it to fit. The inside follows the contours of the fender. Next I measured for the mounting holes and screwed the backs into the fenders, front and rear. I started on the driver's side.
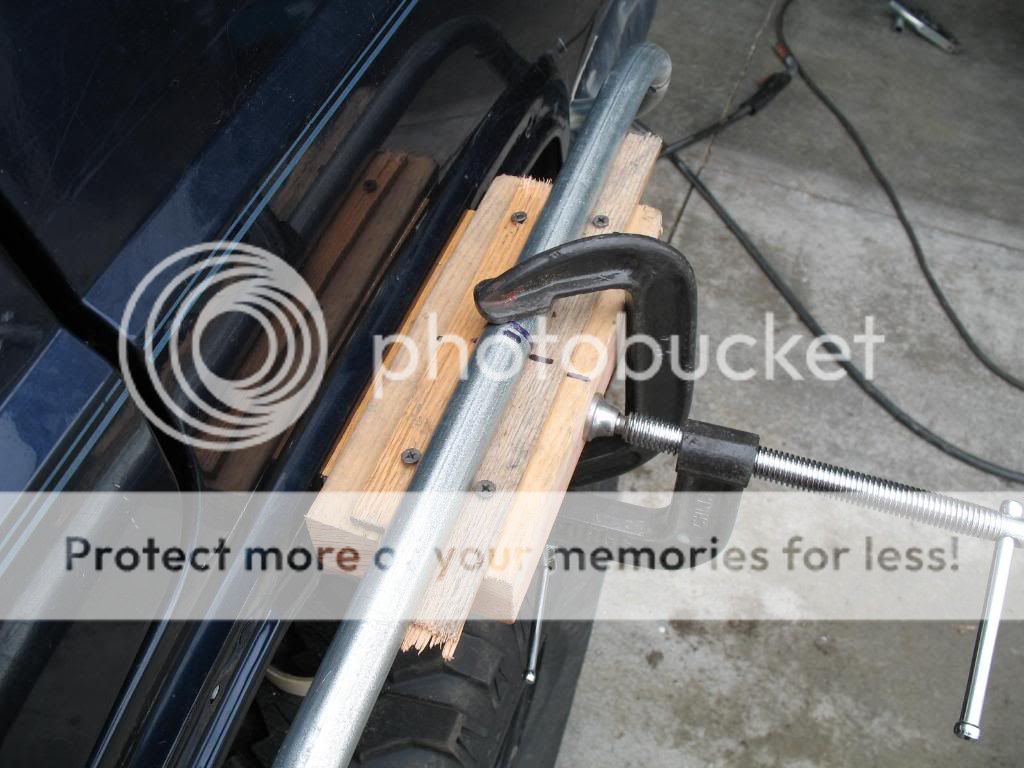
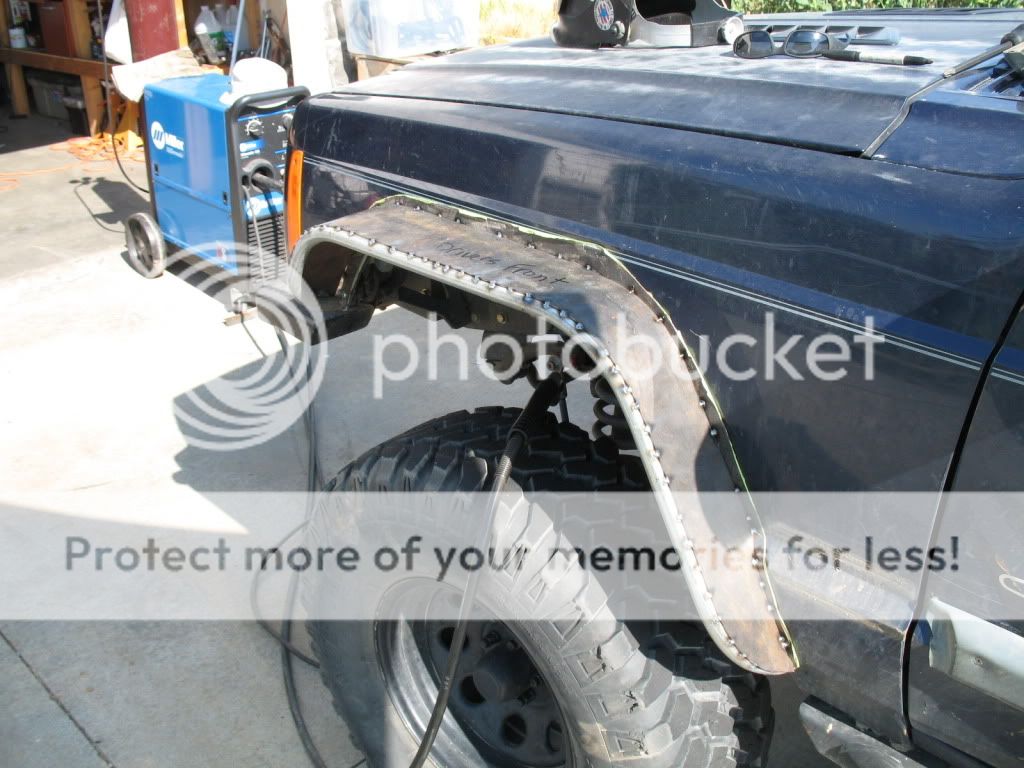
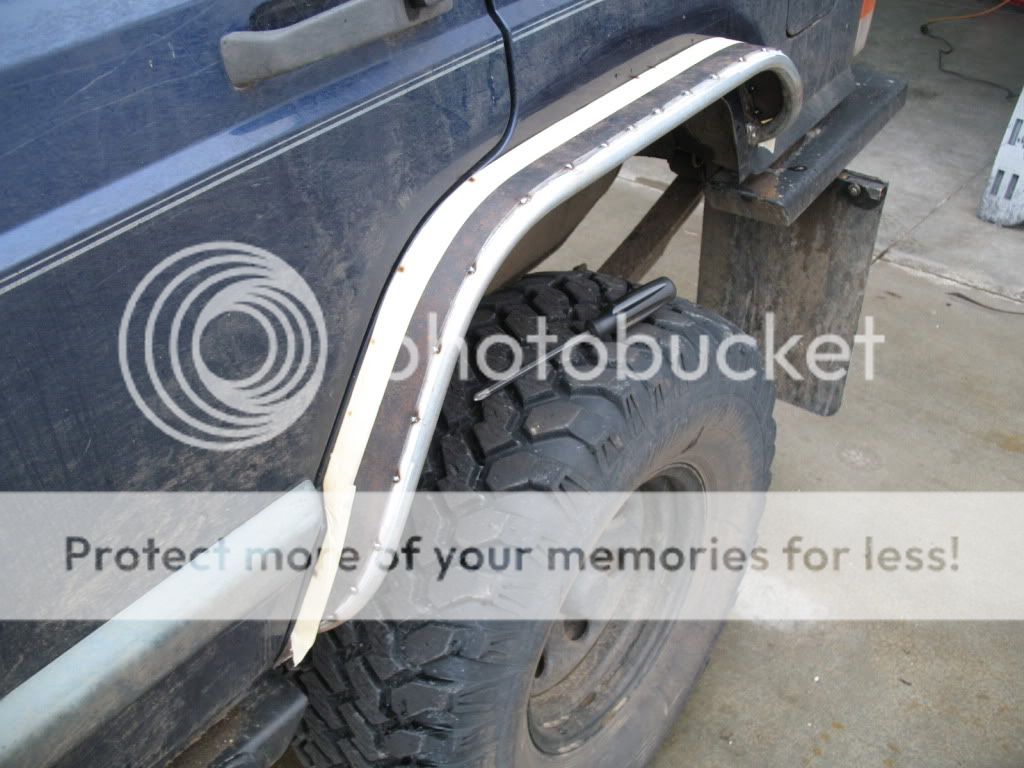
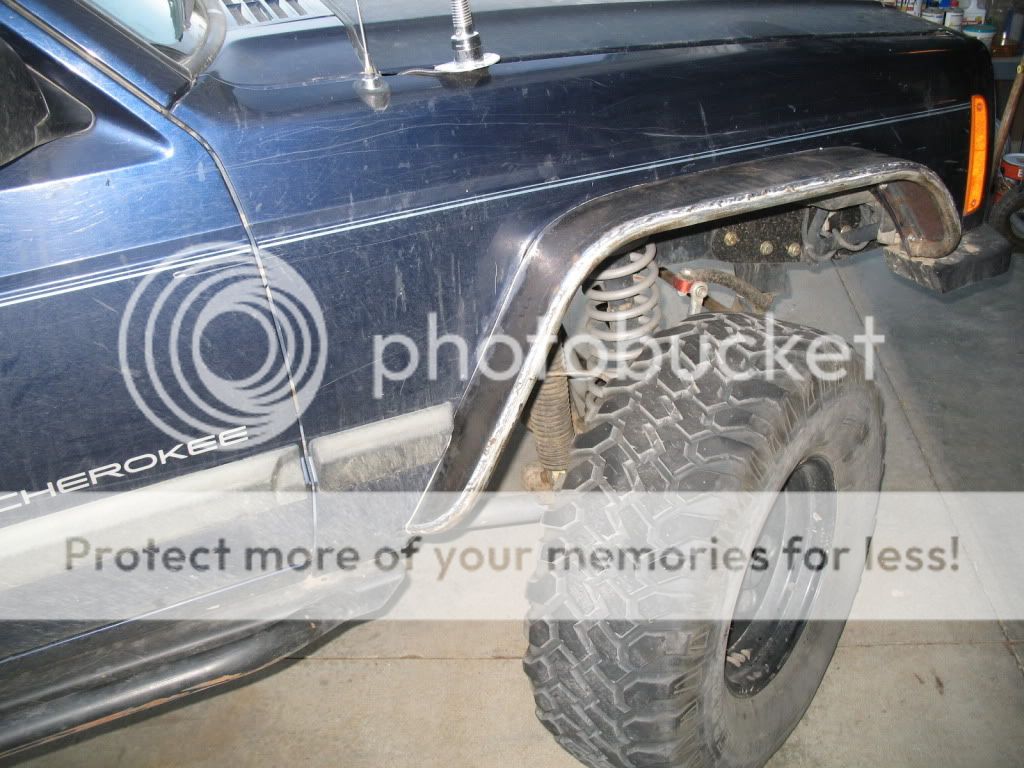
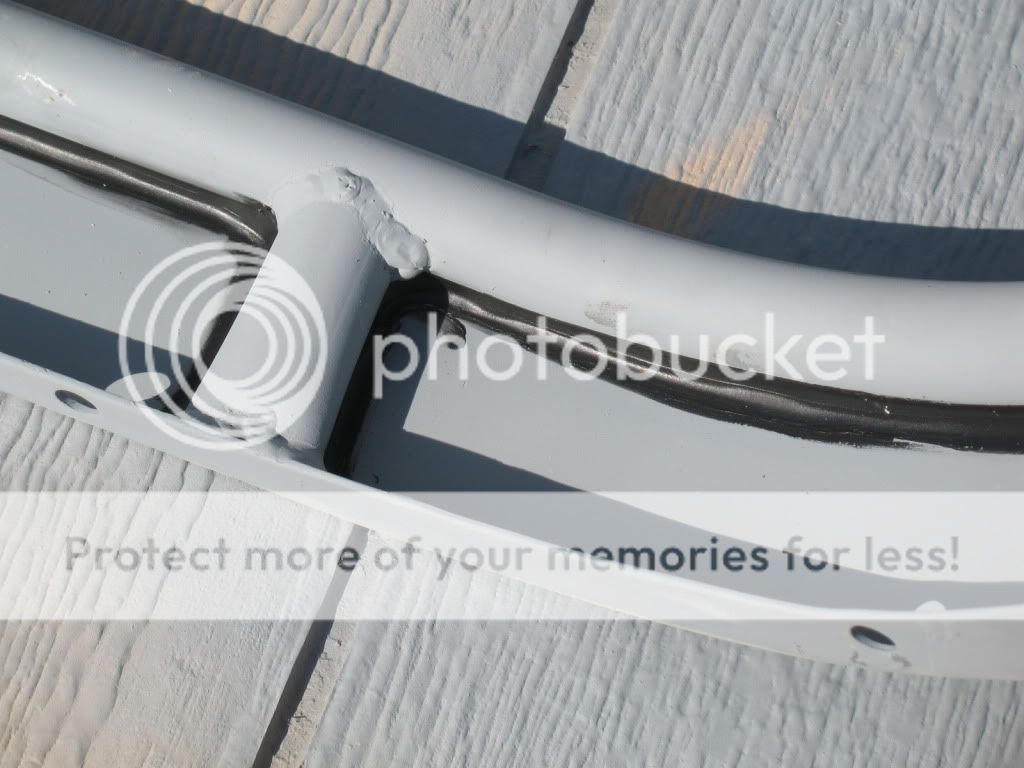
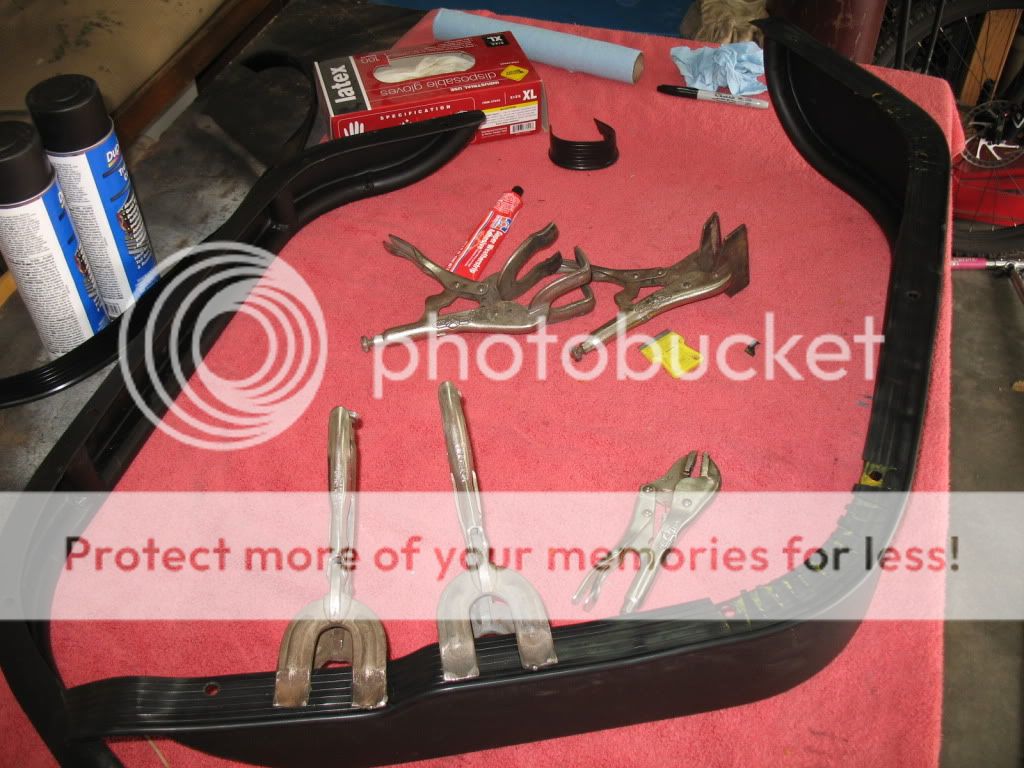
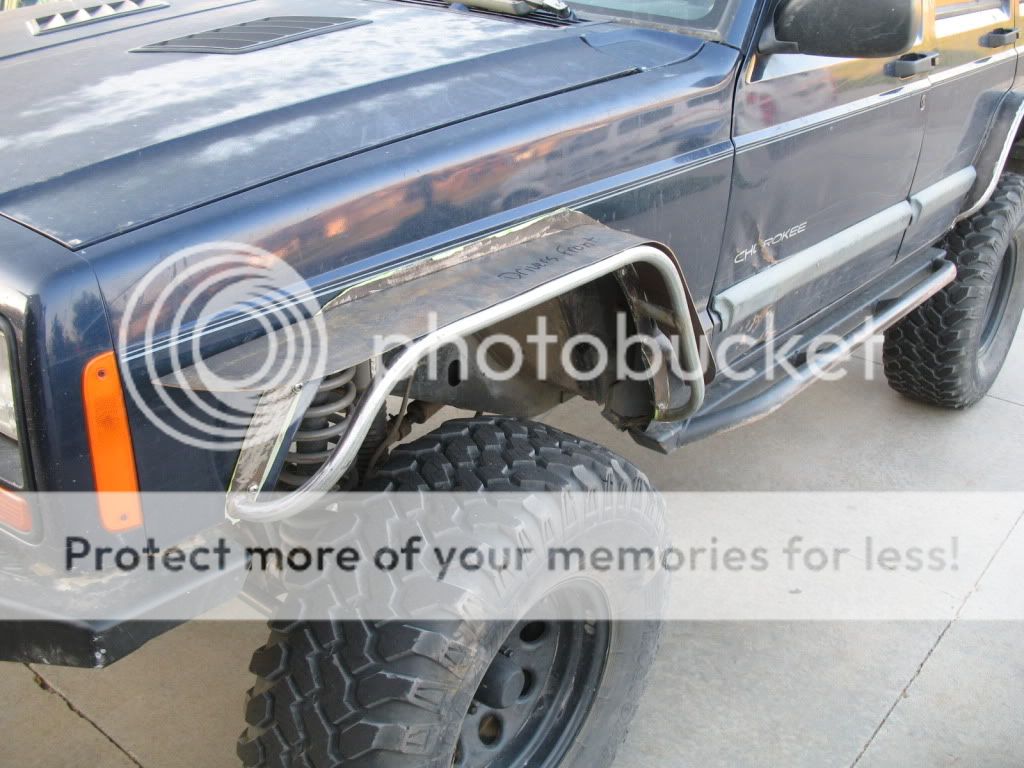
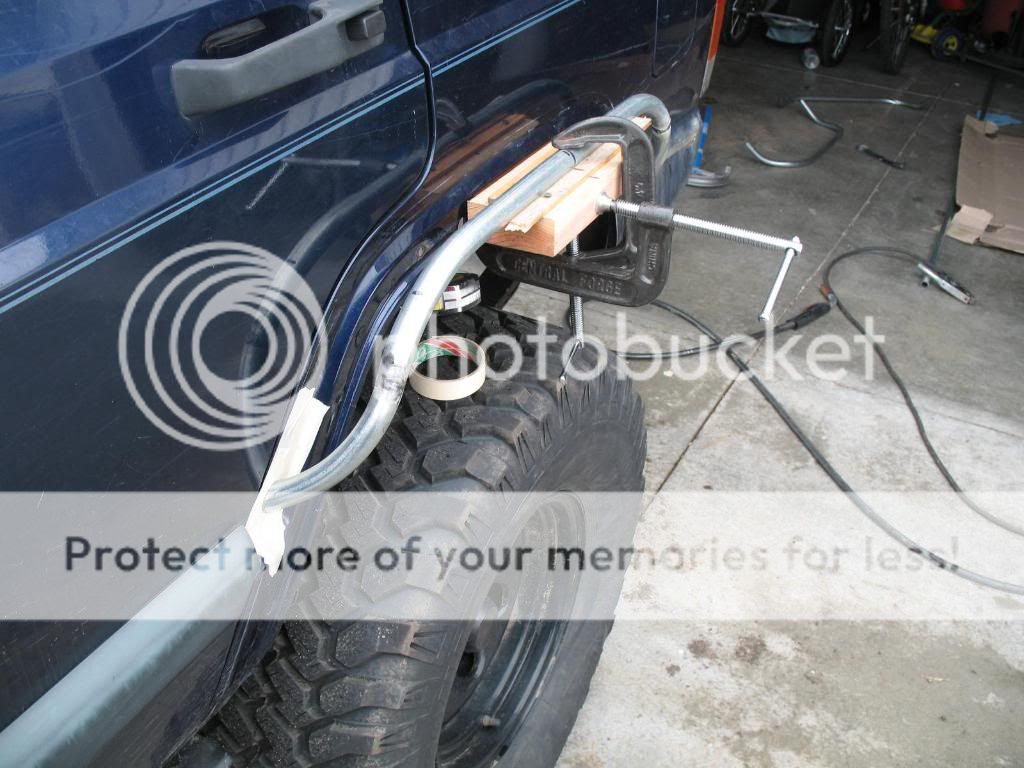 I made some changes here and there as I went. Lost a couple tubes trying to learn how to measure the bends. For the tight bends I had to cut and splice them together since the conduit bender would not fit that tight of a bend next to the next bend. I next tacked the tube to the backing that was screwed to the fender. I made some short pieces of tube for supports and welded them in. Had to make sure and sand the galvanizing off or it negatively affected the welds, not to mention it can harm you if you breath it while welding. I also put in the rivet nuts into the fenders so it was easier to take the fenders on and off.
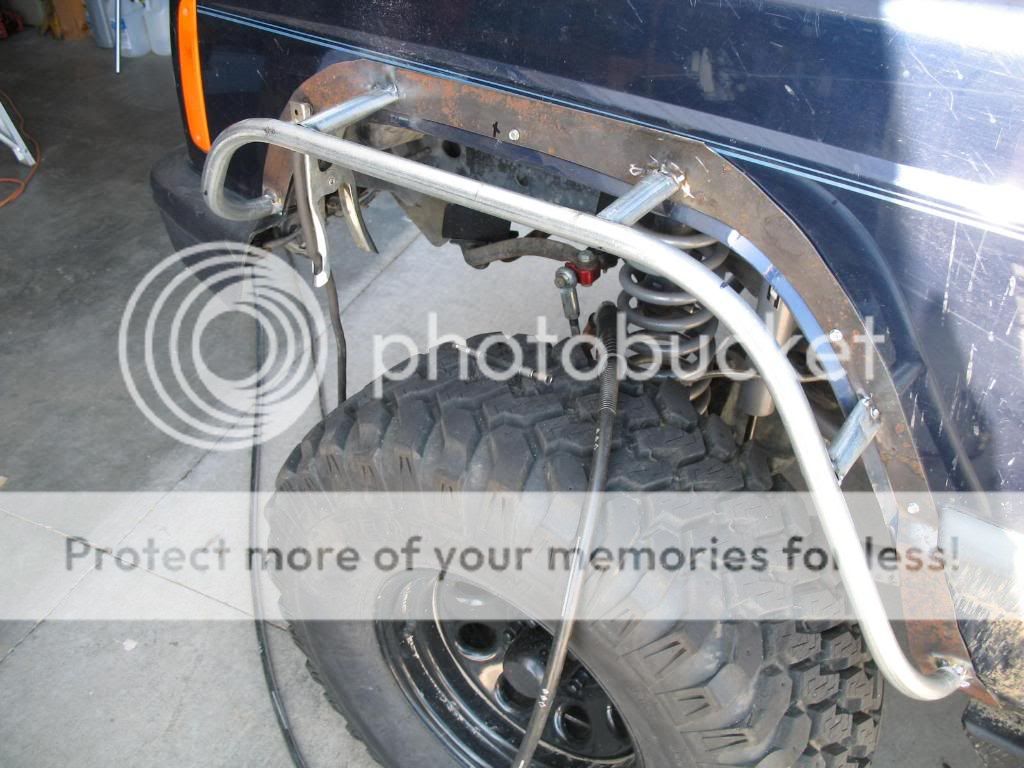
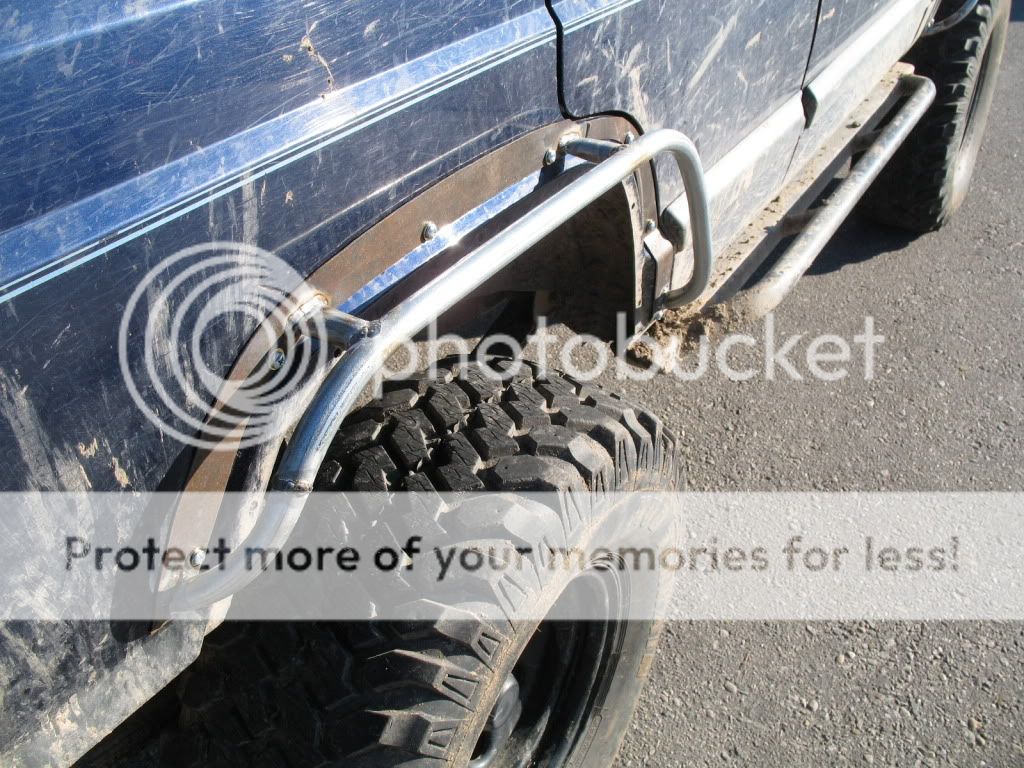
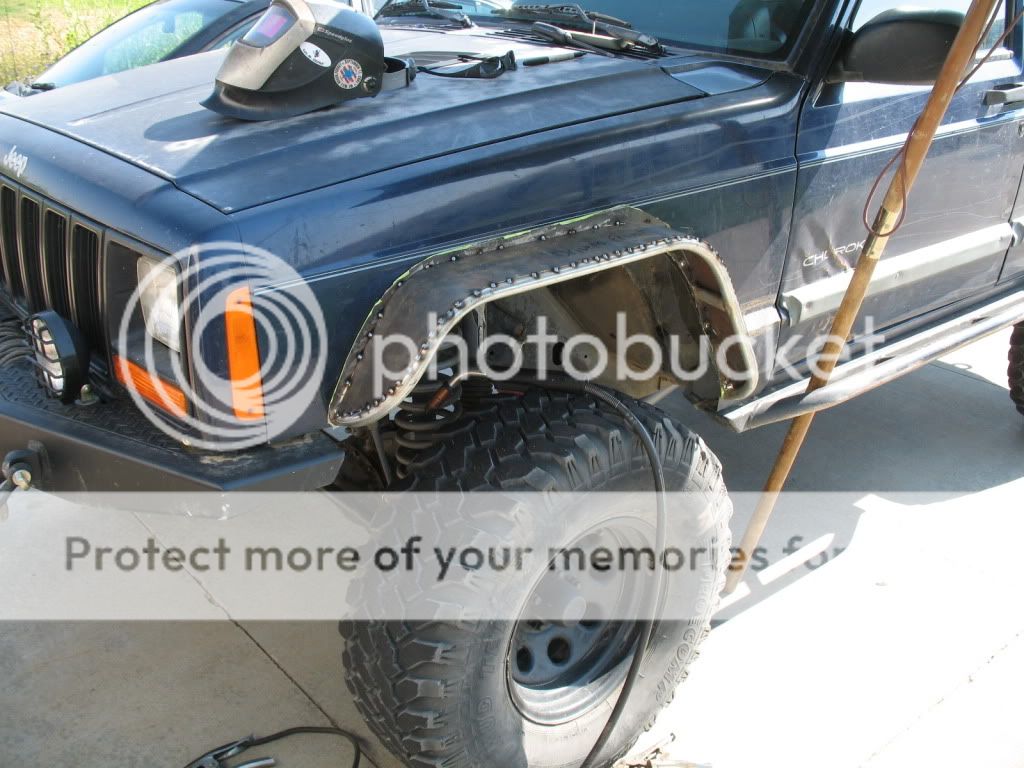
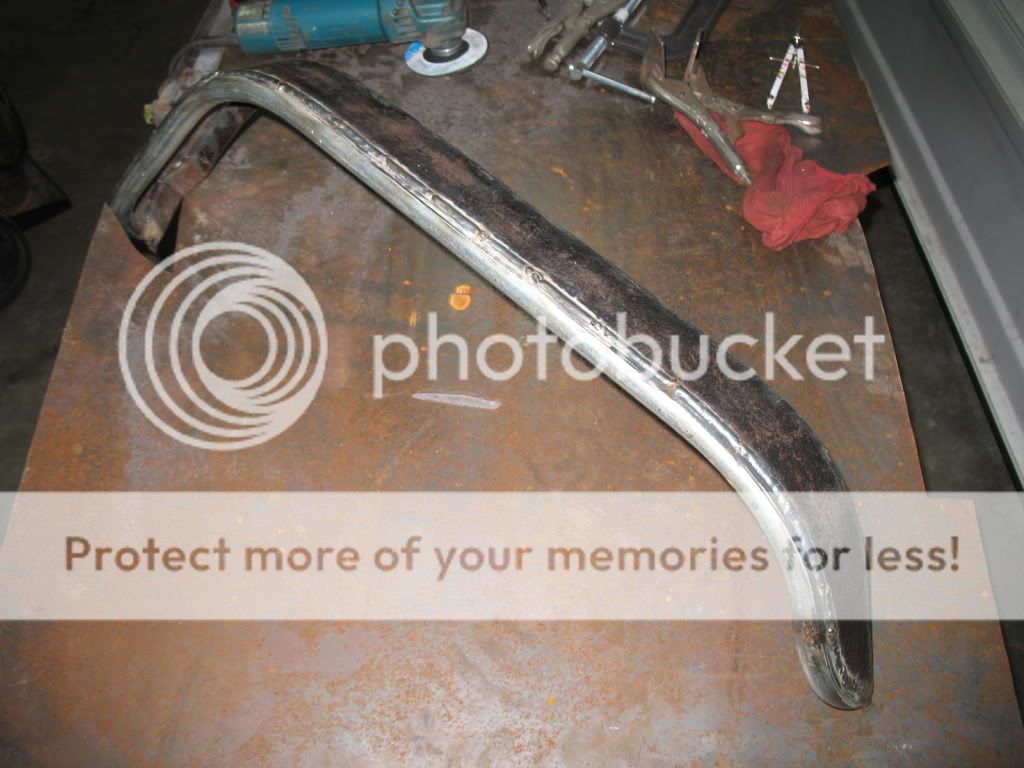
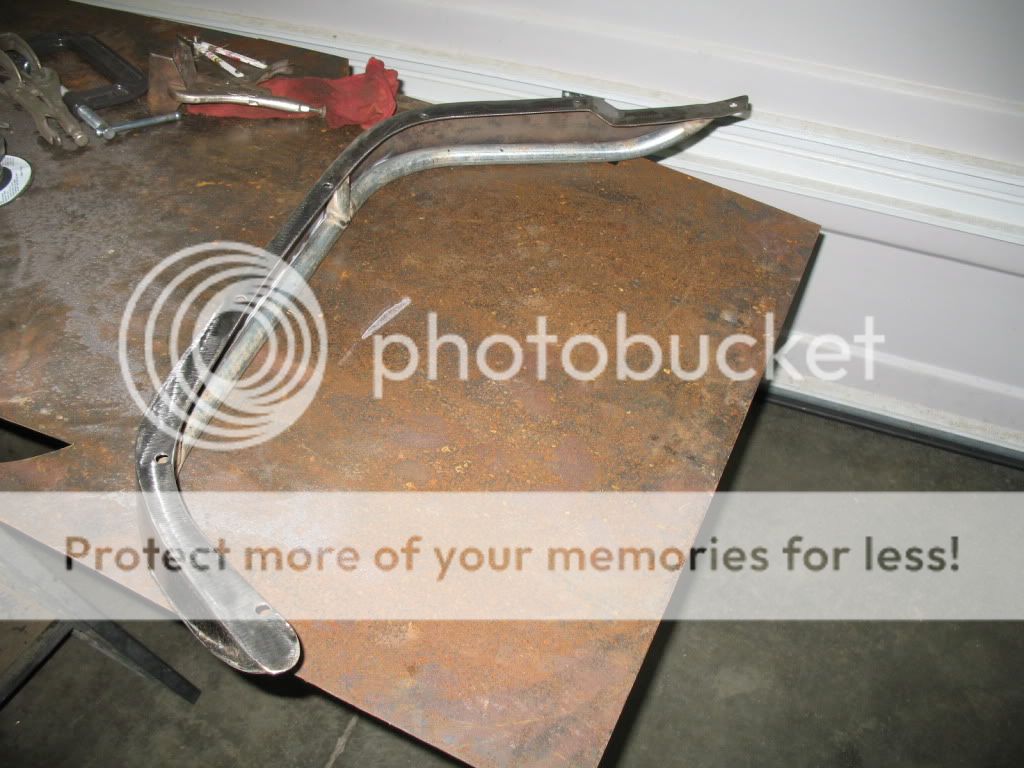
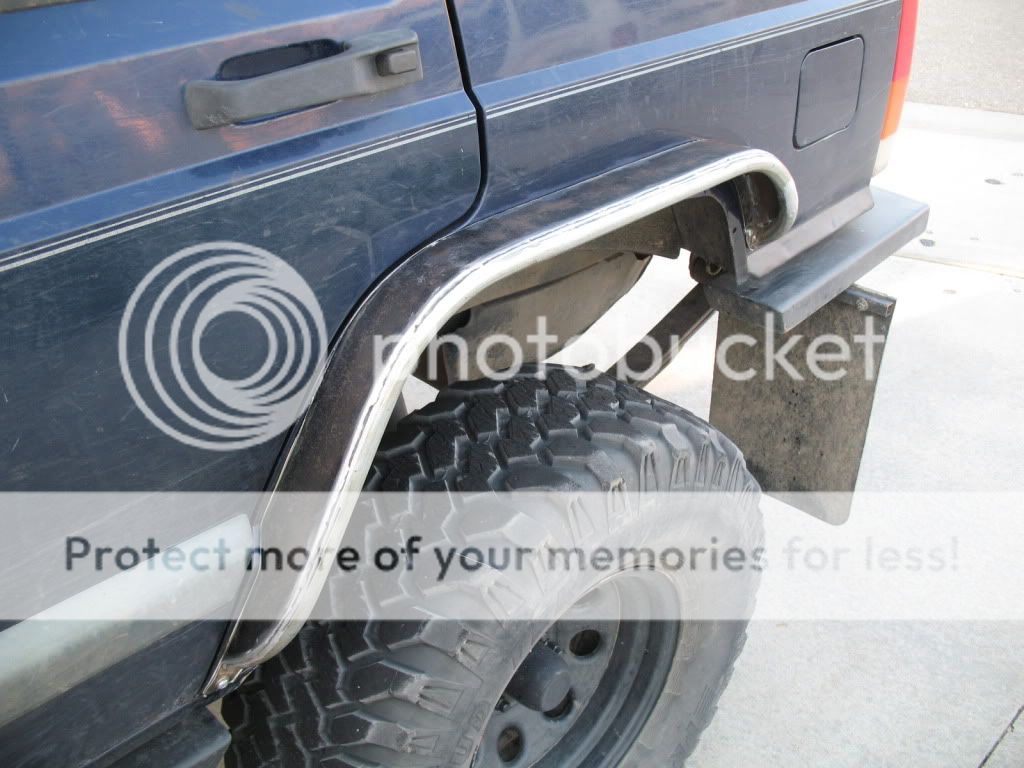
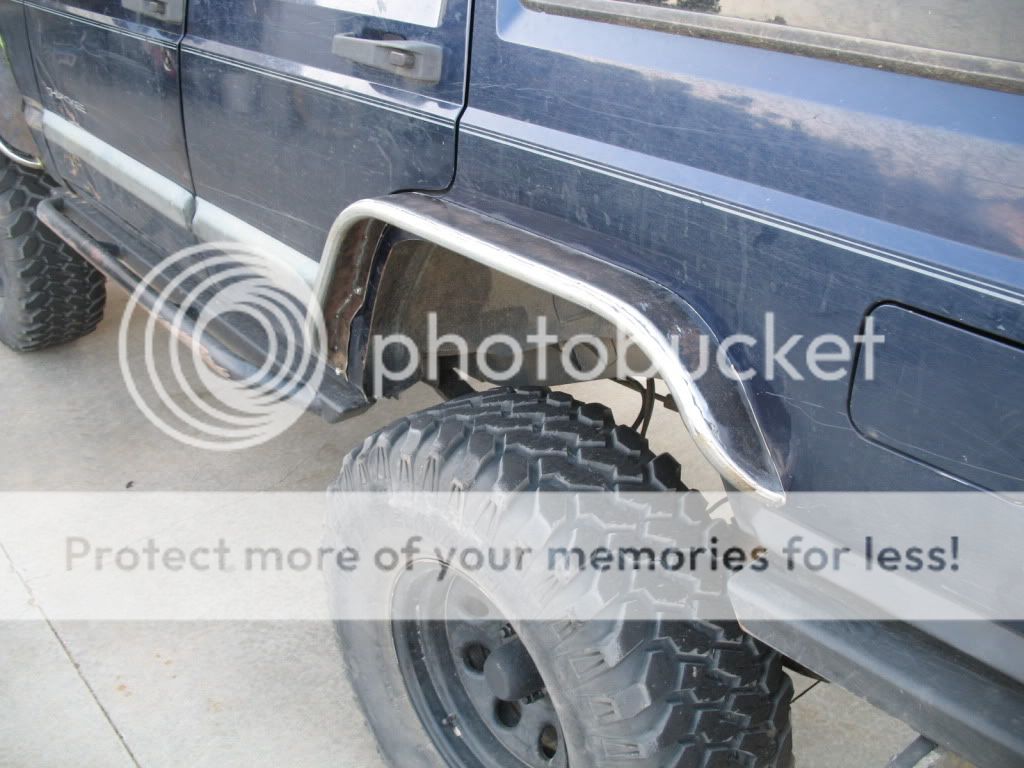
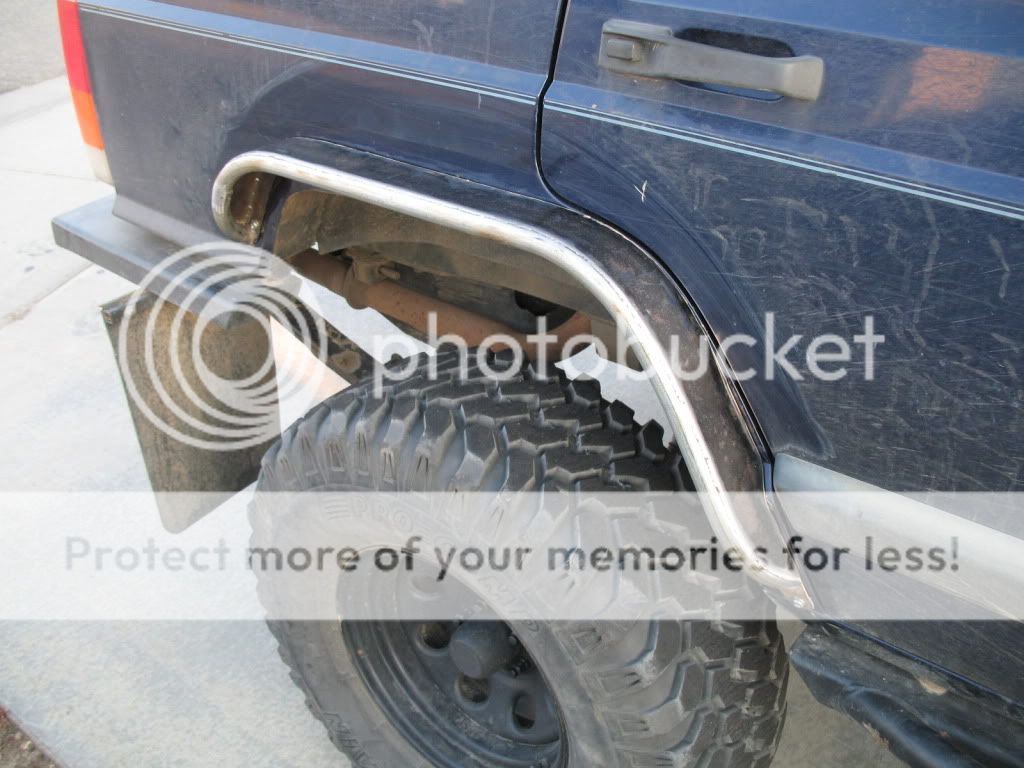
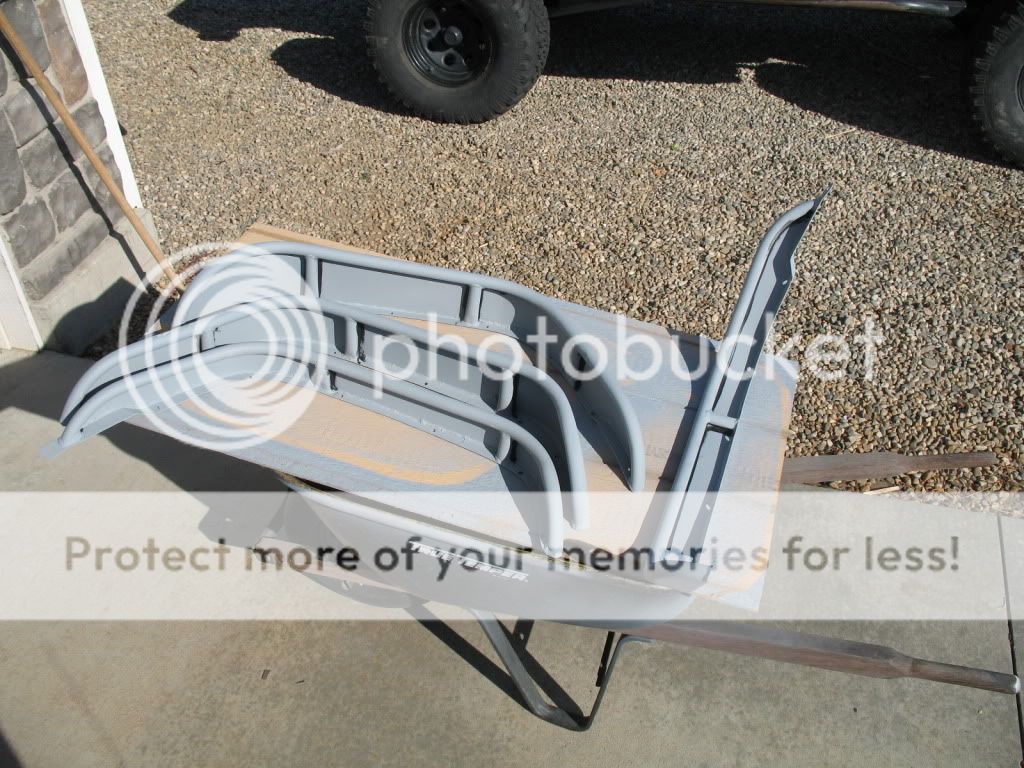
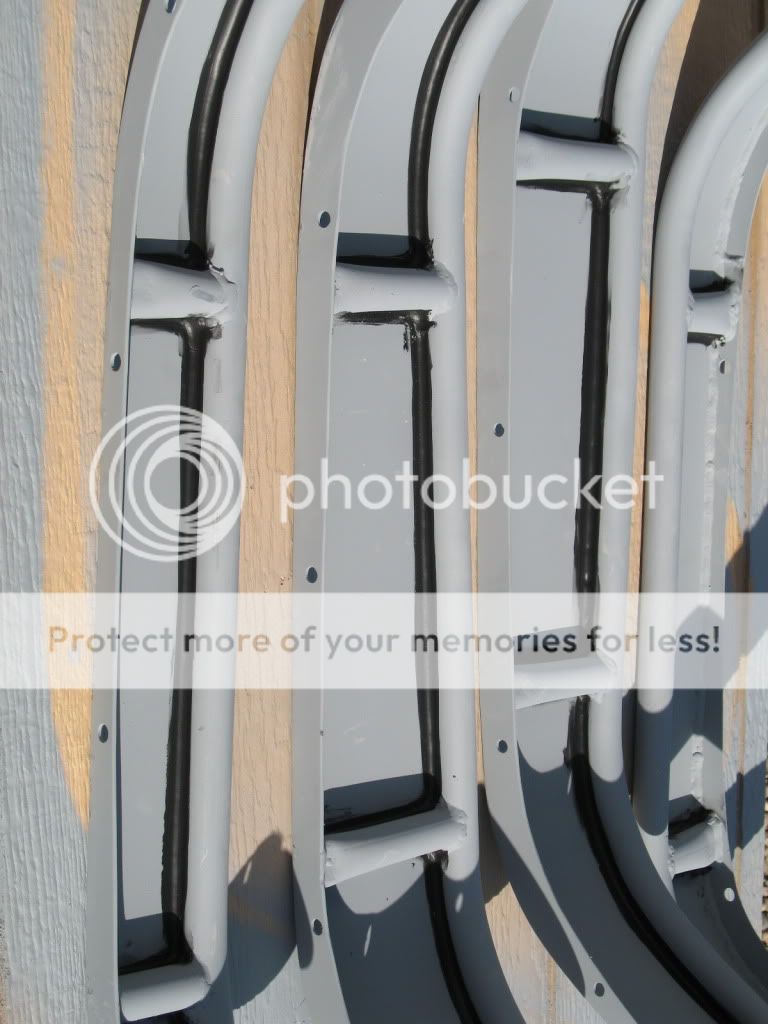
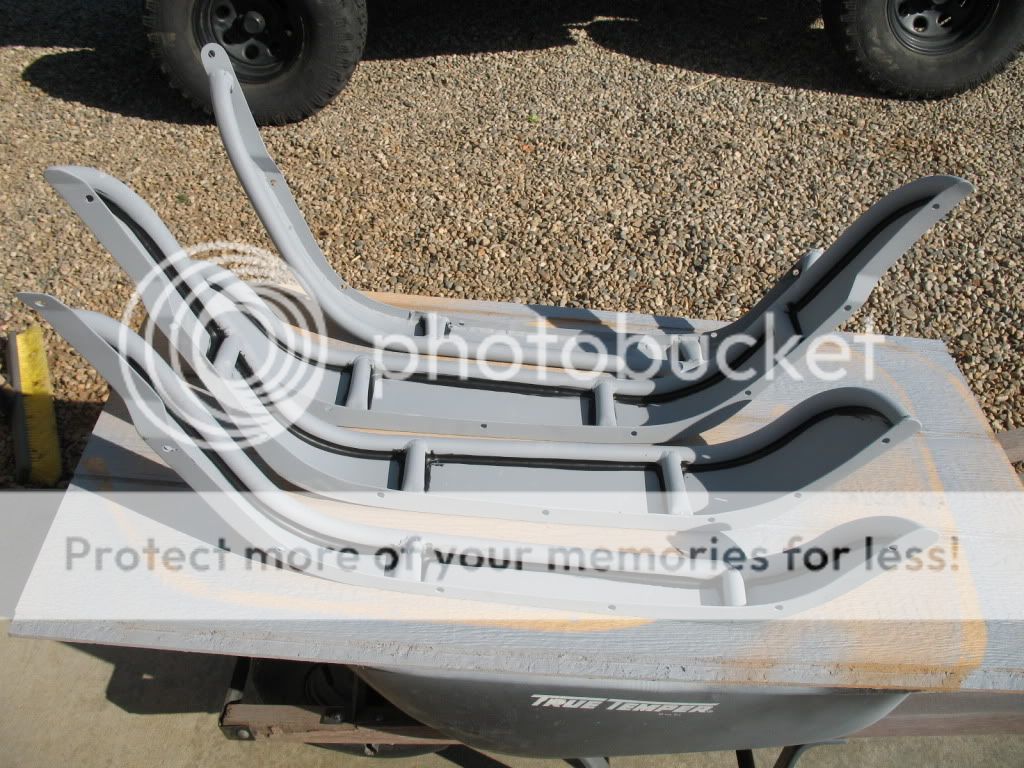
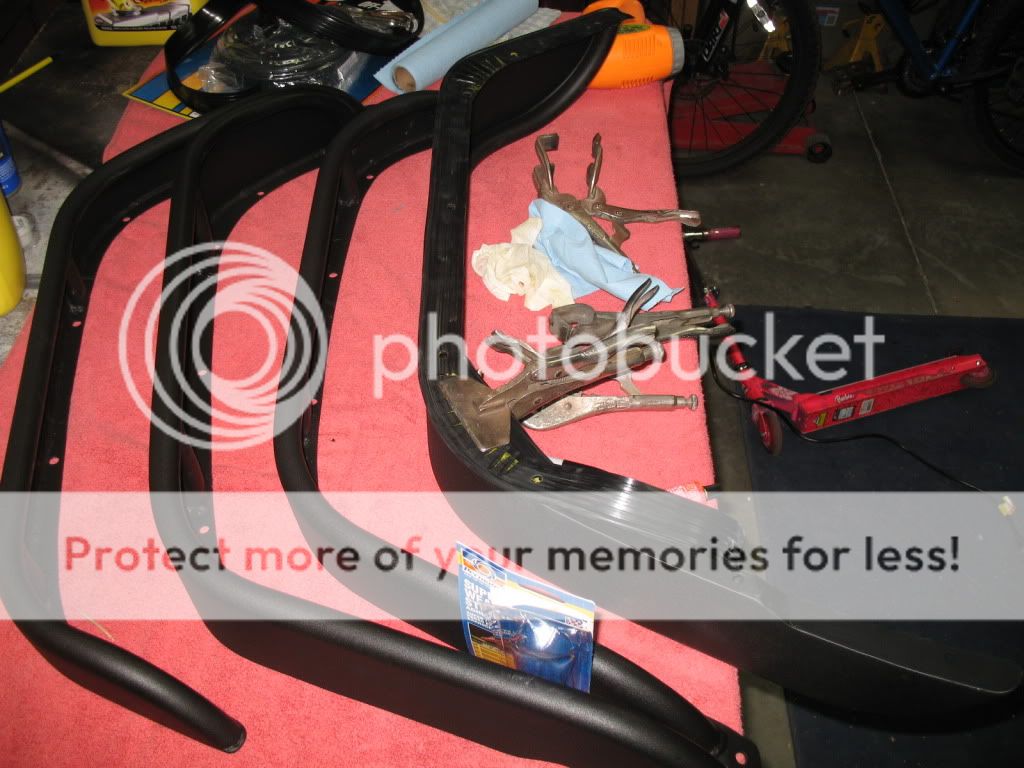
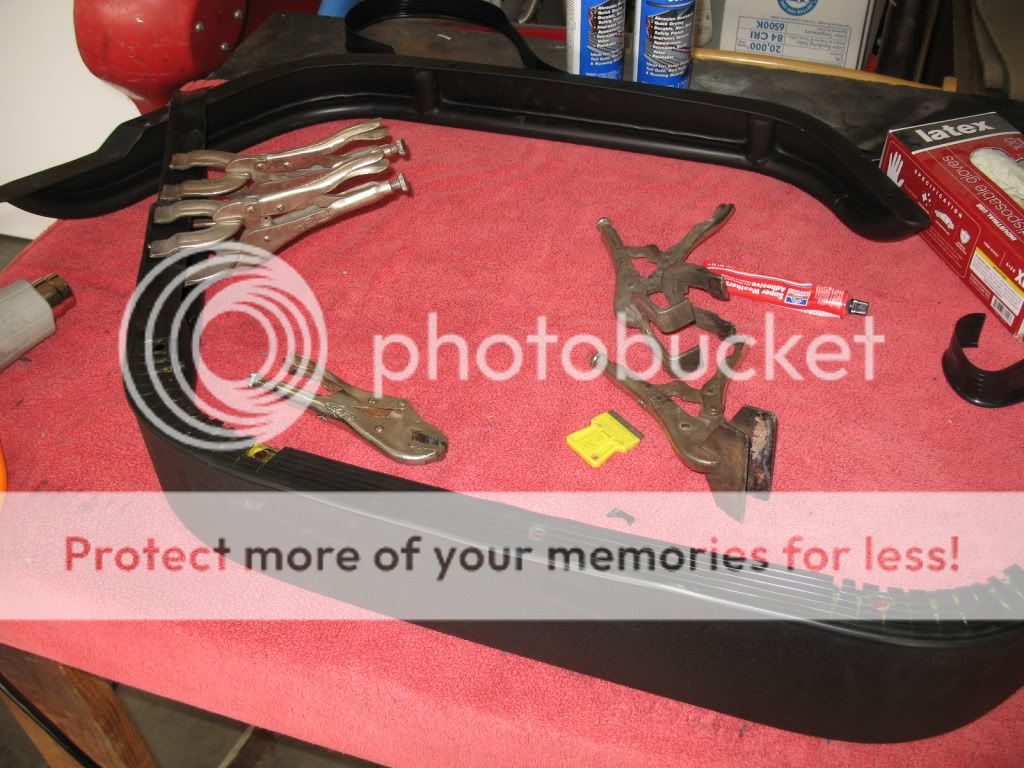
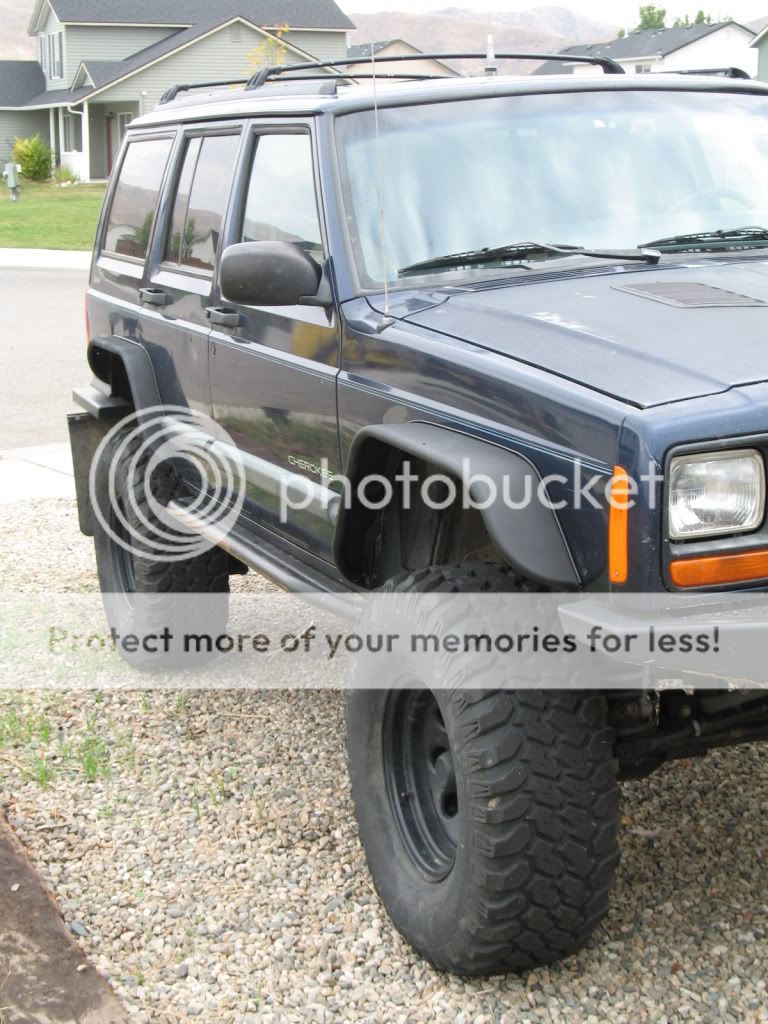
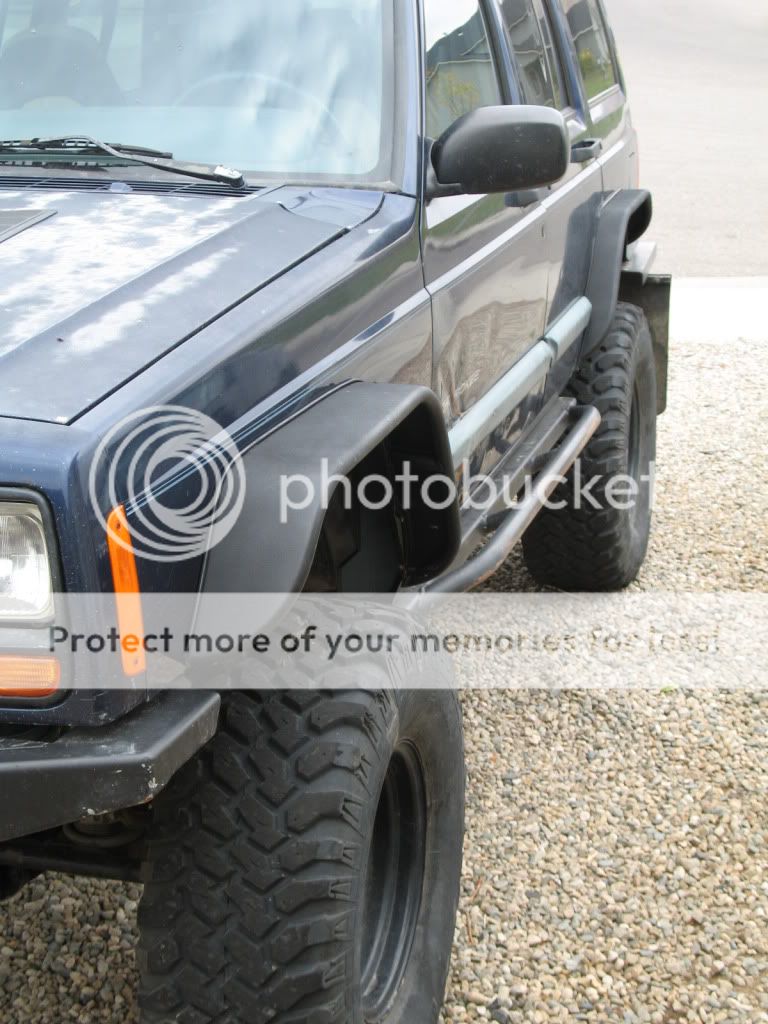
Here are are a few shots of just the fender frames, no skin yet.

Next came the fun part, making a template for the skin of the fender.
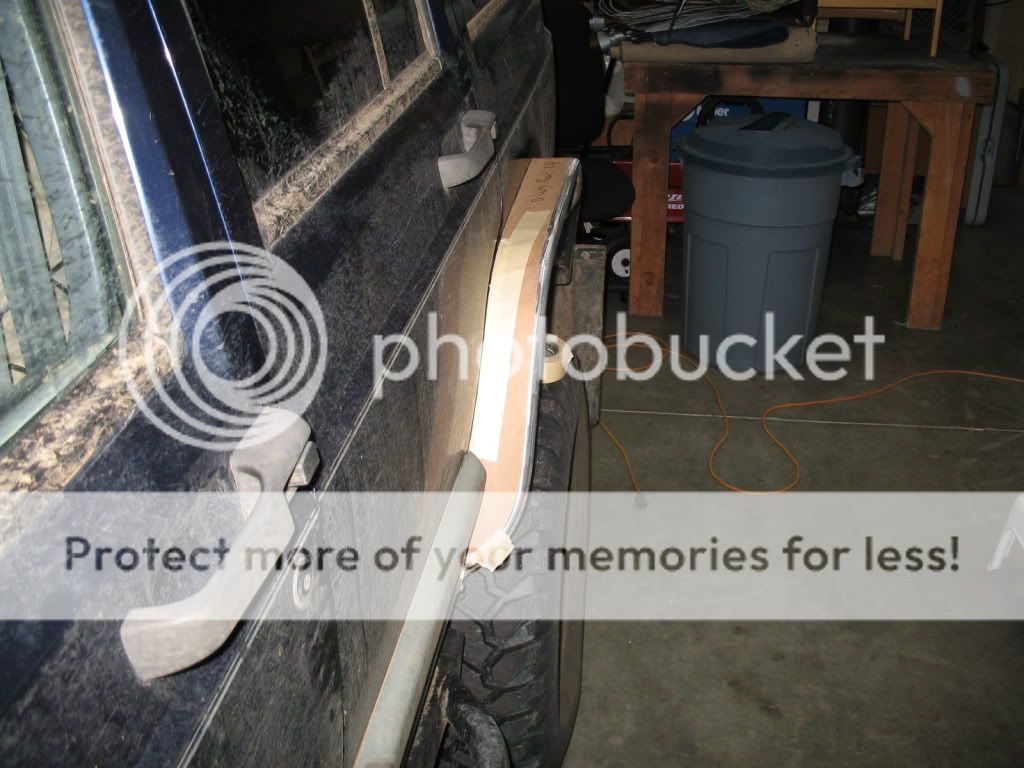
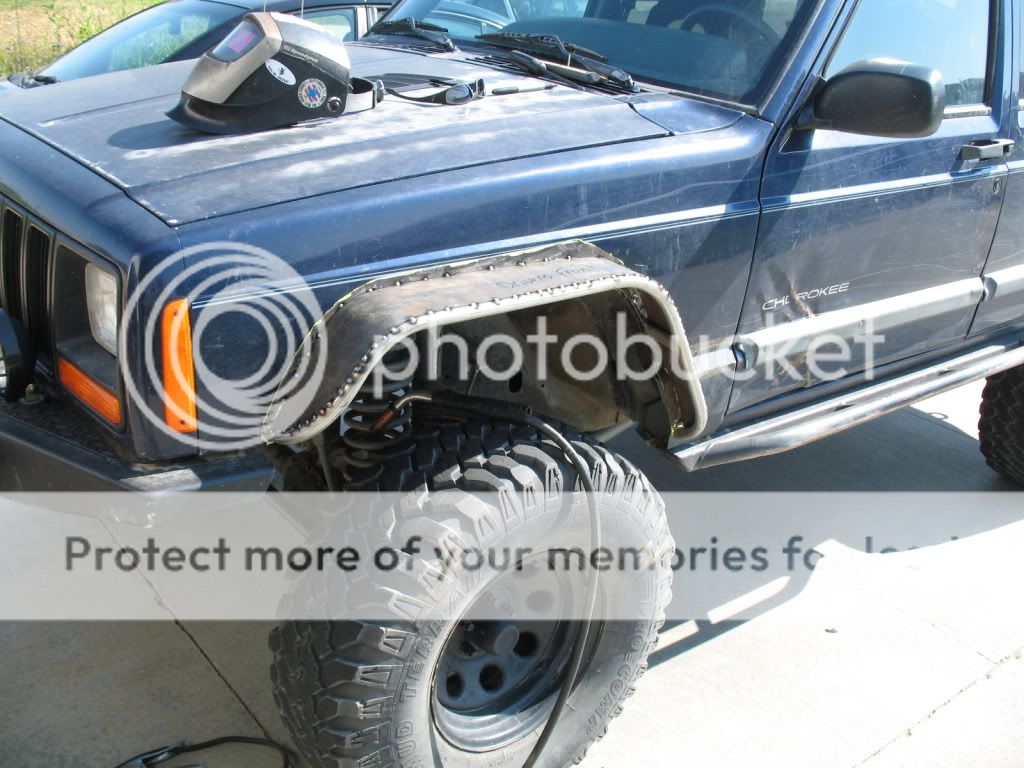
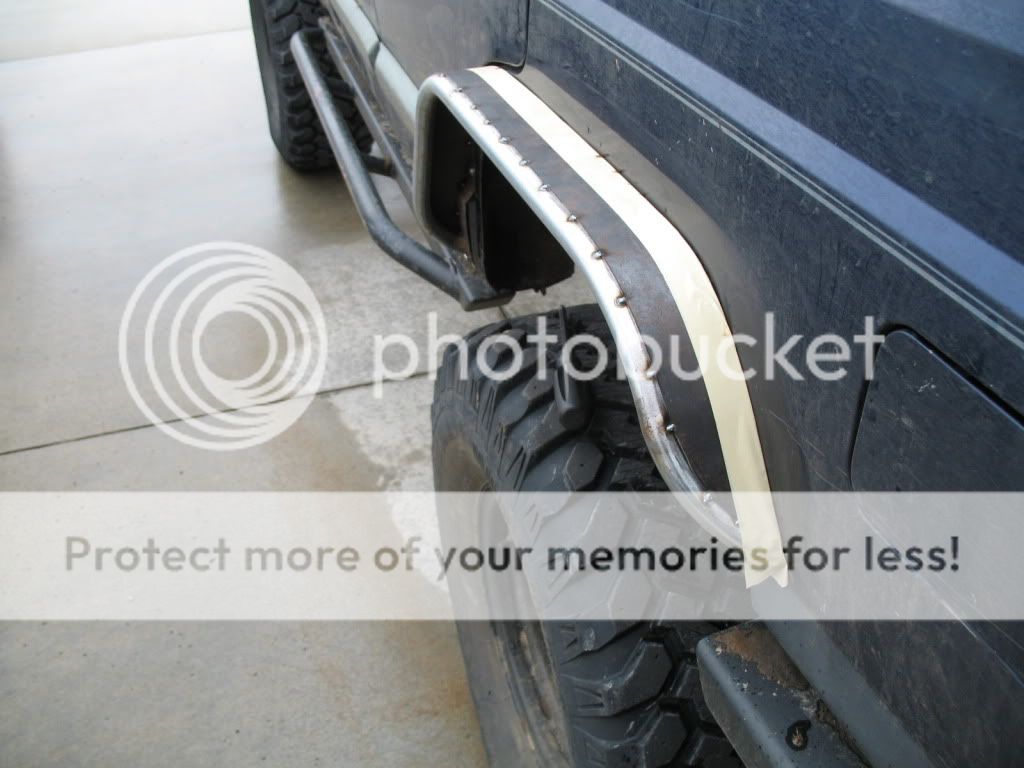
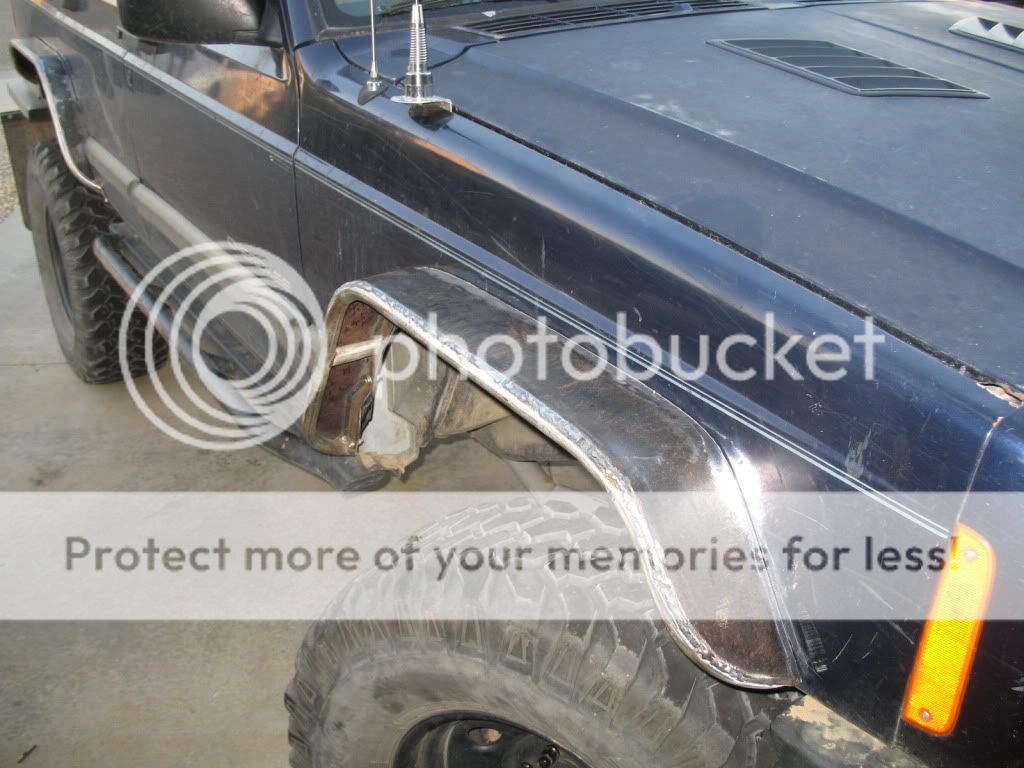
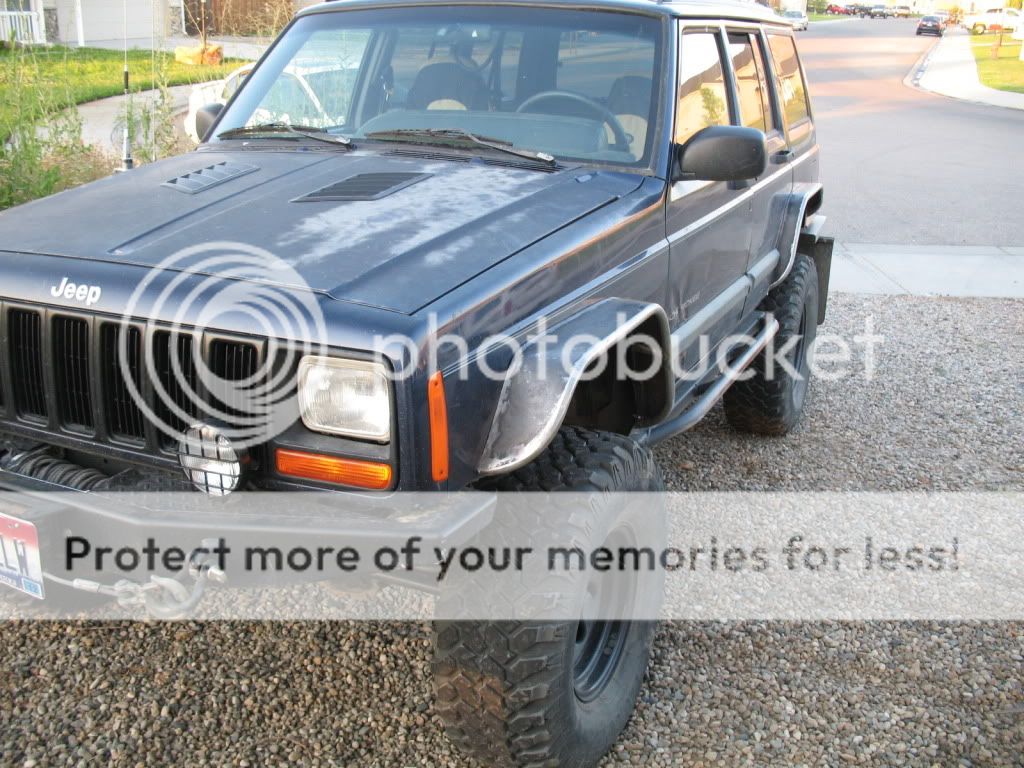
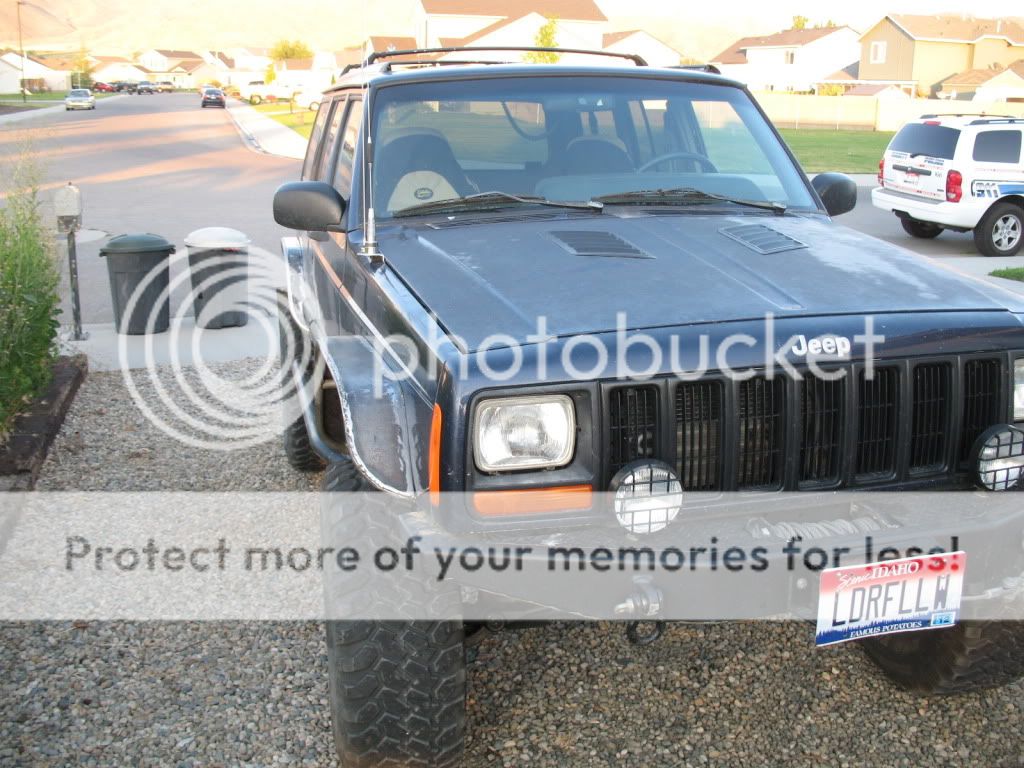
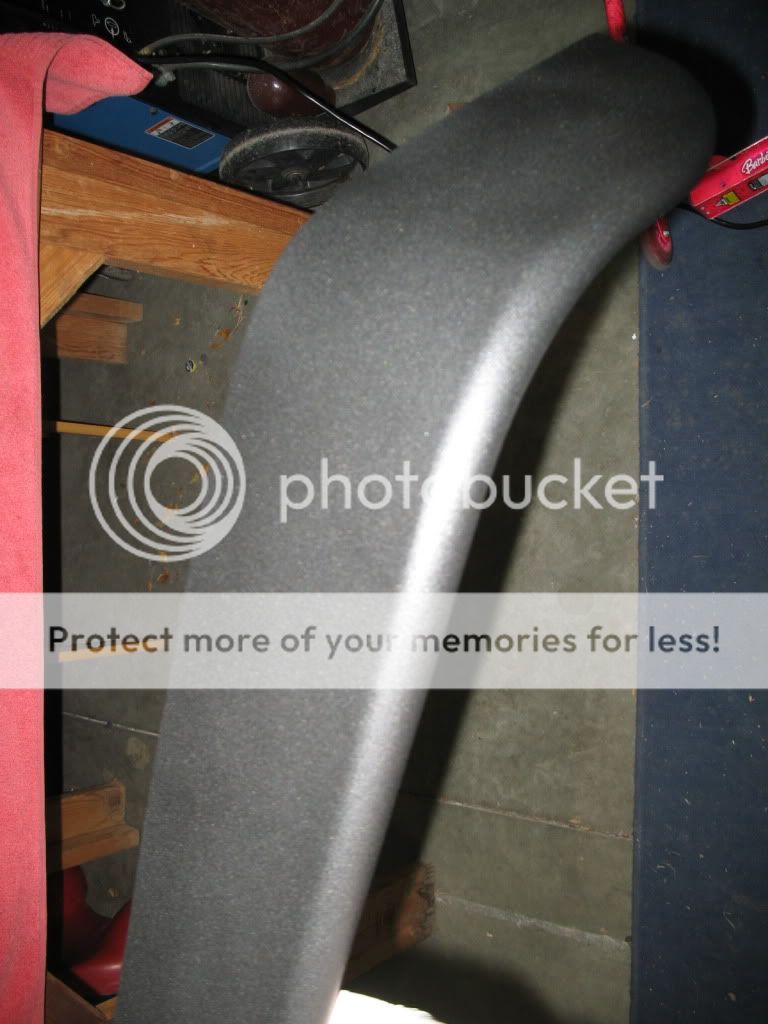
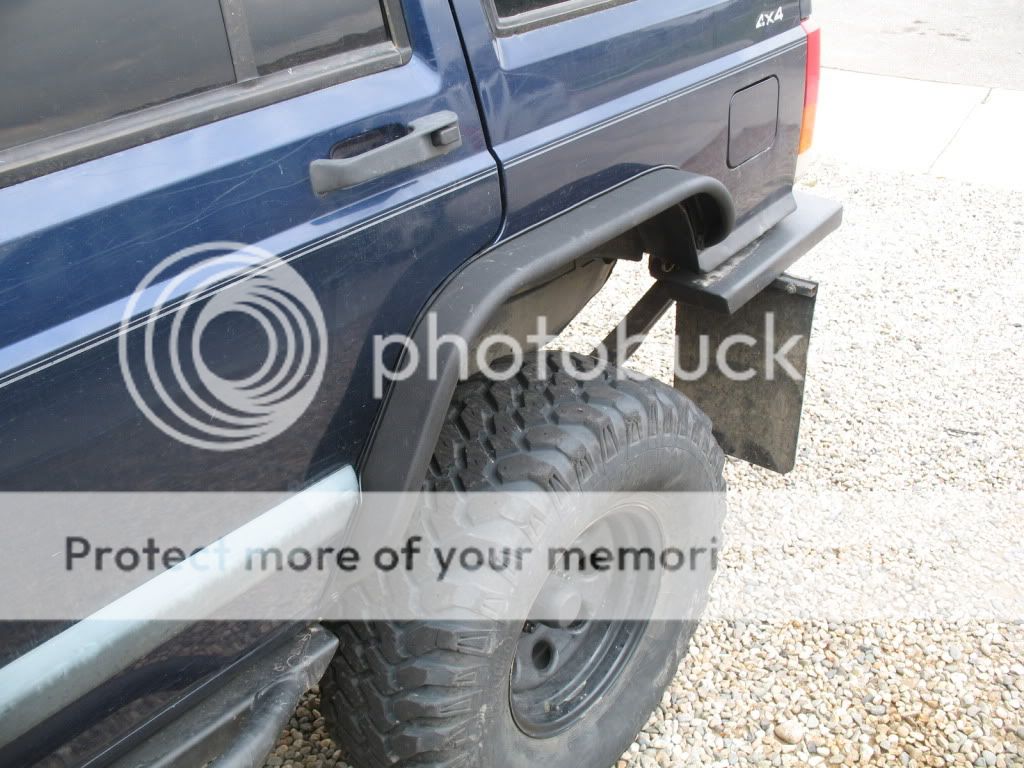
I then transferred it to the sheet metal and went to town cutting again with the jig saw. I put the skin on the fender and began bending it by hand to make it fit the curves.
I had a couple projects going at the same time, cutting and folding the rear fenders, trimming the front fenders, and making front and rear bumpers. I next made a template, front and rear, to trace to some sheet metal
I then transferred it to the sheet metal and cut it out. I did not have access to a plasma so I had to cut it out with a jig saw.
I made the backing larger than needed on the outside because I did not know how I wanted it to fit. The inside follows the contours of the fender. Next I measured for the mounting holes and screwed the backs into the fenders, front and rear. I started on the driver's side.
Here are are a few shots of just the fender frames, no skin yet.
Next came the fun part, making a template for the skin of the fender.
I then transferred it to the sheet metal and went to town cutting again with the jig saw. I put the skin on the fender and began bending it by hand to make it fit the curves.
Last edited: