• Welcome to the new NAXJA Forum! If your password does not work, please use "Forgot your password?" link on the log-in page. Please feel free to reach out to [email protected] if we can provide any assistance.

DC Drive shaft rebuild and shortening

Ghost

Member Number 257
NAXJA Member
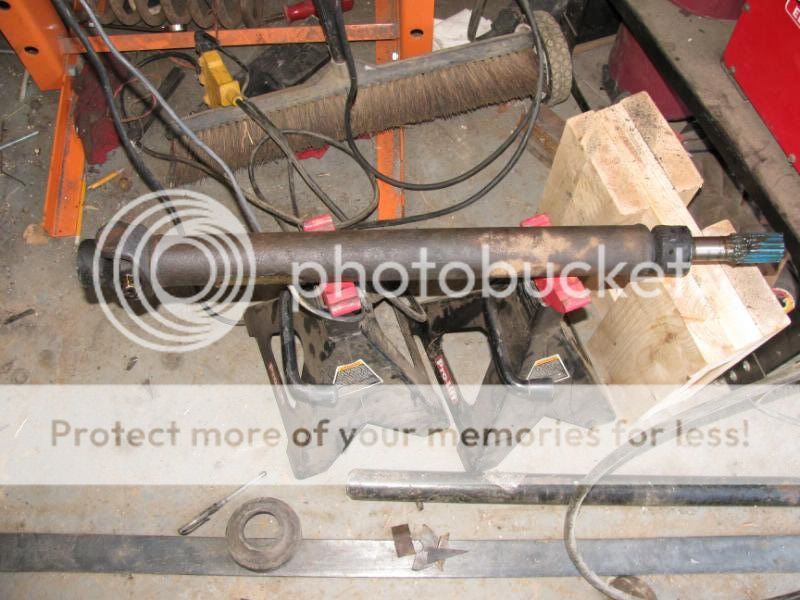
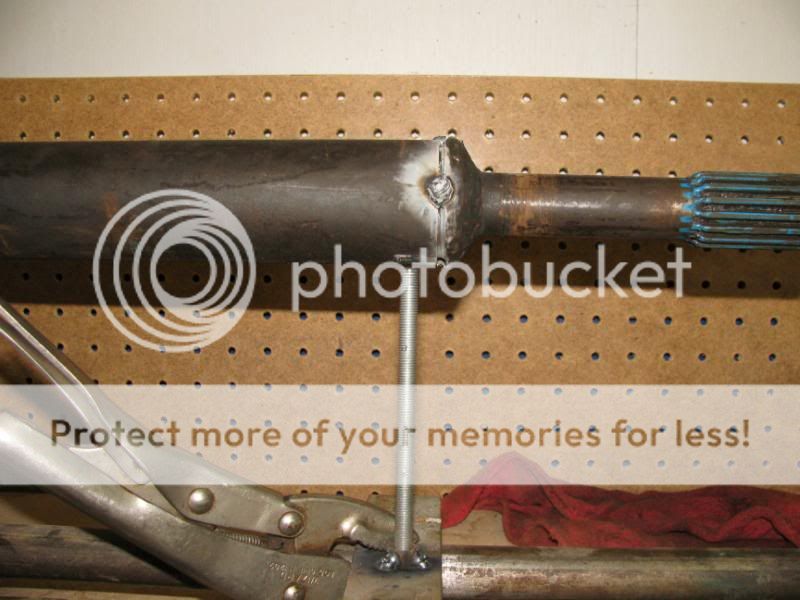
I needed a new rear drive shaft for the ghost so I decided to cut down a front to the length I needed. I thought I would try and document this since some of you may find this helpful. Before I start let me say that this is in no way the "best" way to do it. It is in no way perfect but might help some of you in your builds. It also shows how to replace the u-joints in the double cardan on the front drive shaft. Please overlook the general disorder in my shop. I have a tenancy to get removed from projects for short times and have to return to them when time permits. SO cleaning is usually done on the whim. On to the pictures and the tear down.

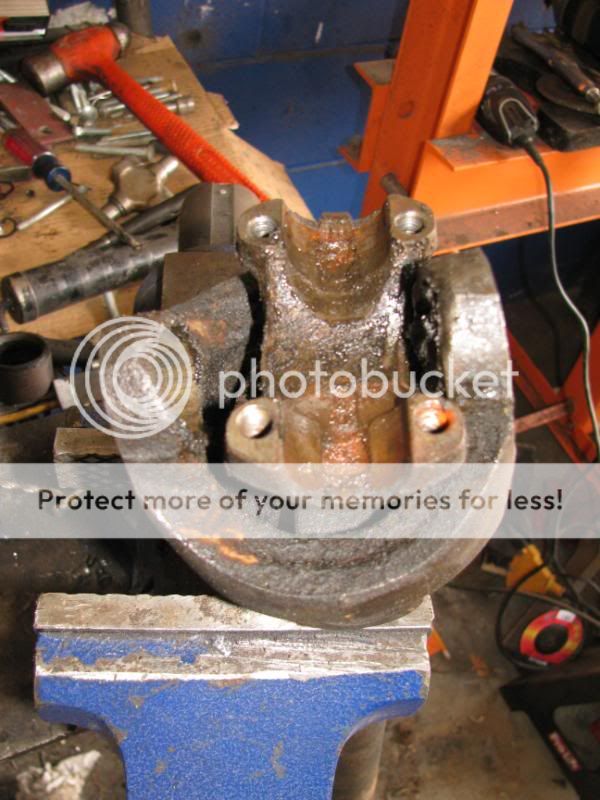
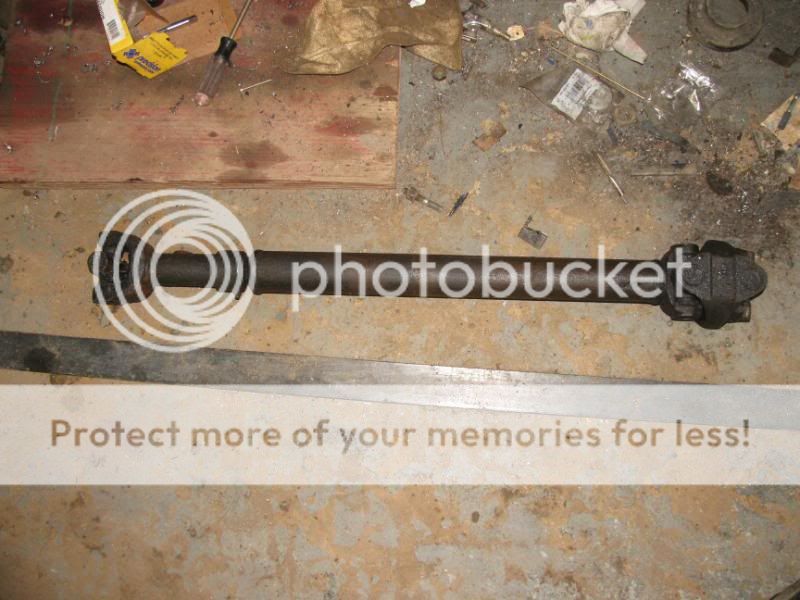
You will start with this:

DCDS001.jpg


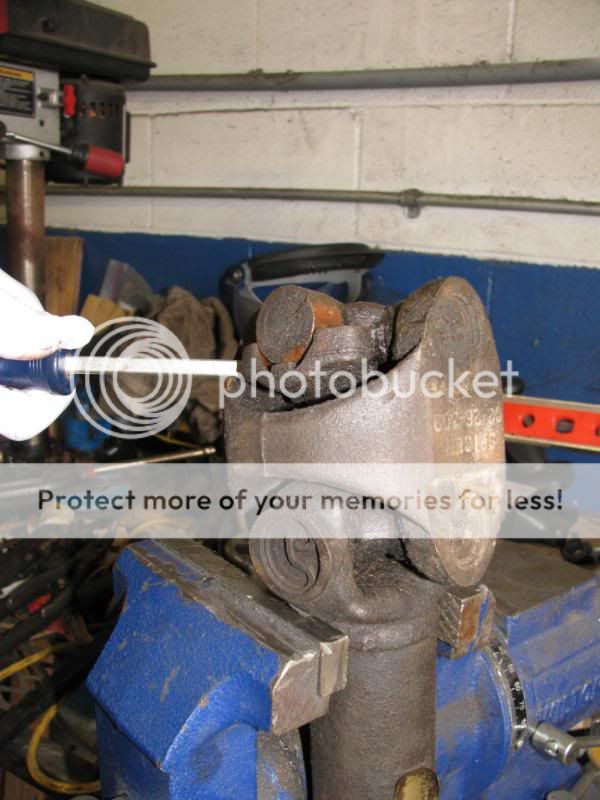
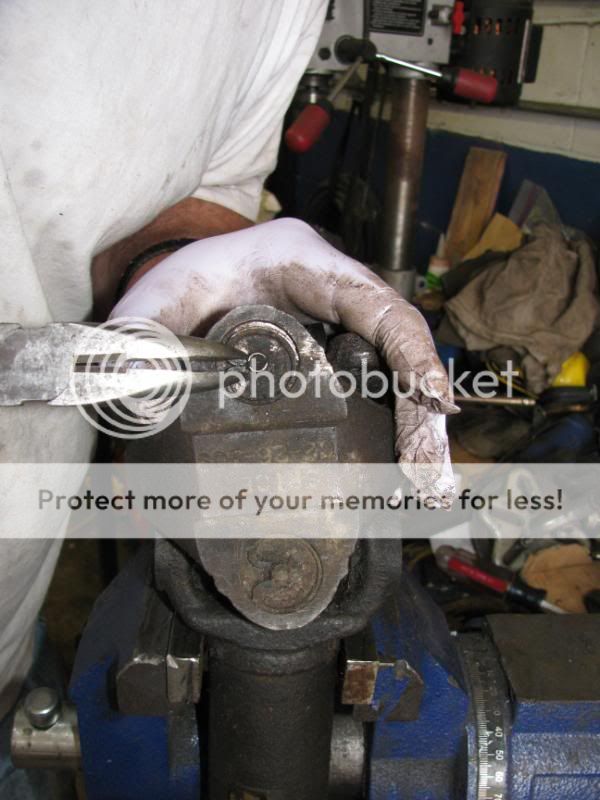
I secure the ds in a vice like so:

DCDS006.jpg


Then I will put a screwdriver under the joint and above the piece that the yoke bolts to:

DCDS007.jpg


Then I use a small flat head screwdriver to push the cap away from the center of the joint:

DCDS009.jpg


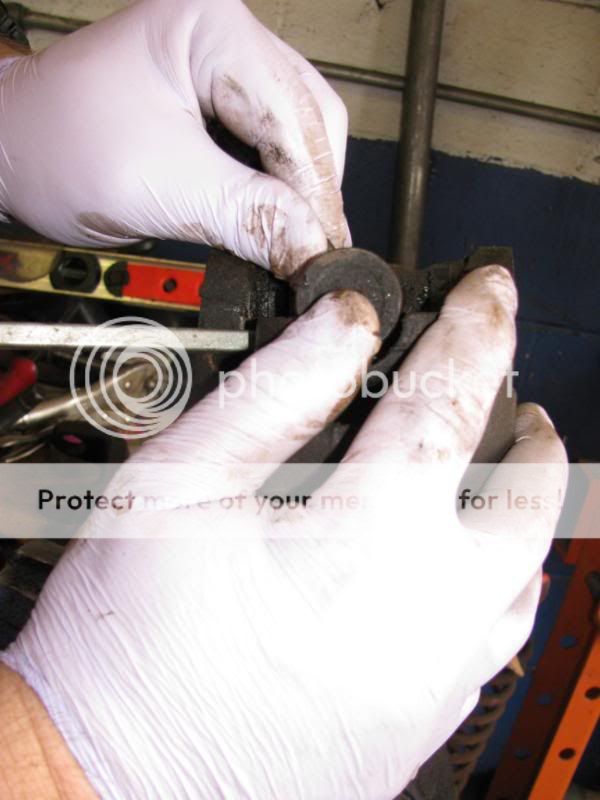
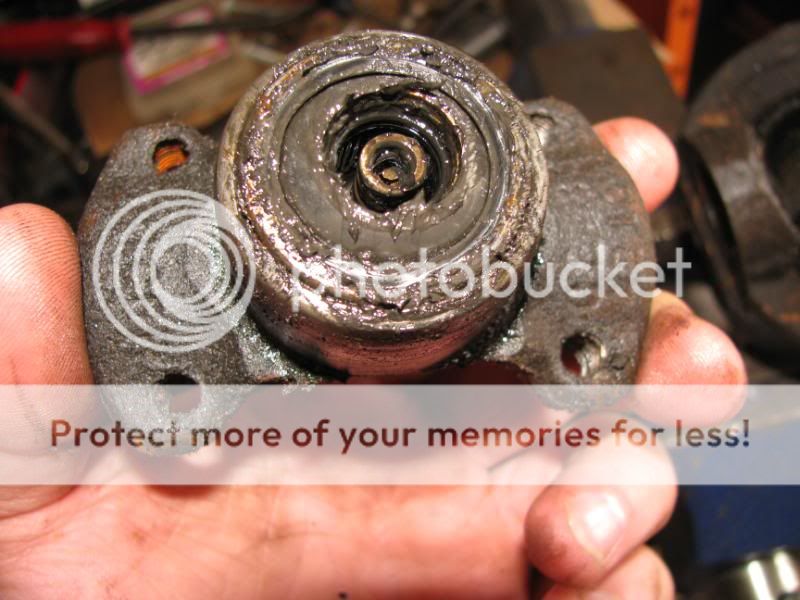
You need to be careful with the caps only if you are reusing the joints. I am cutting this down and money is tight so the plan is to reuse them:

DCDS010.jpg


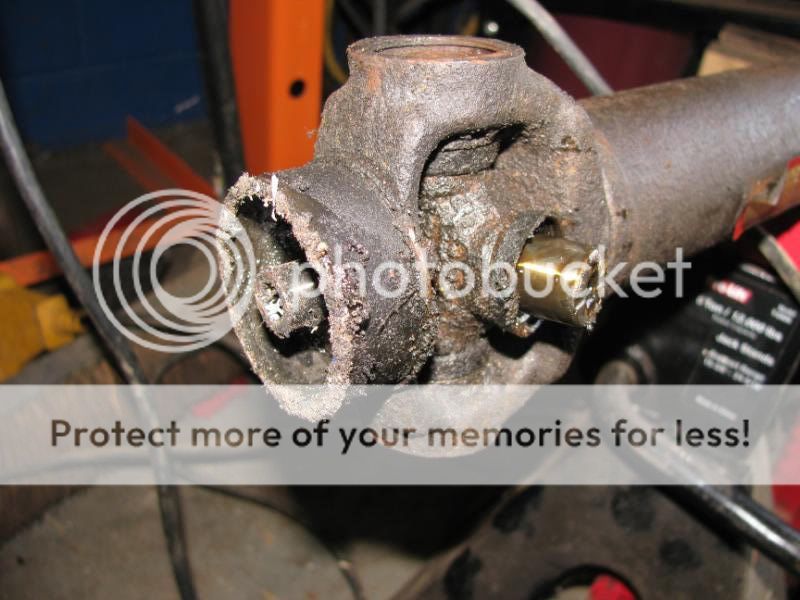
After the cap is out it will look like this:

DCDS011.jpg


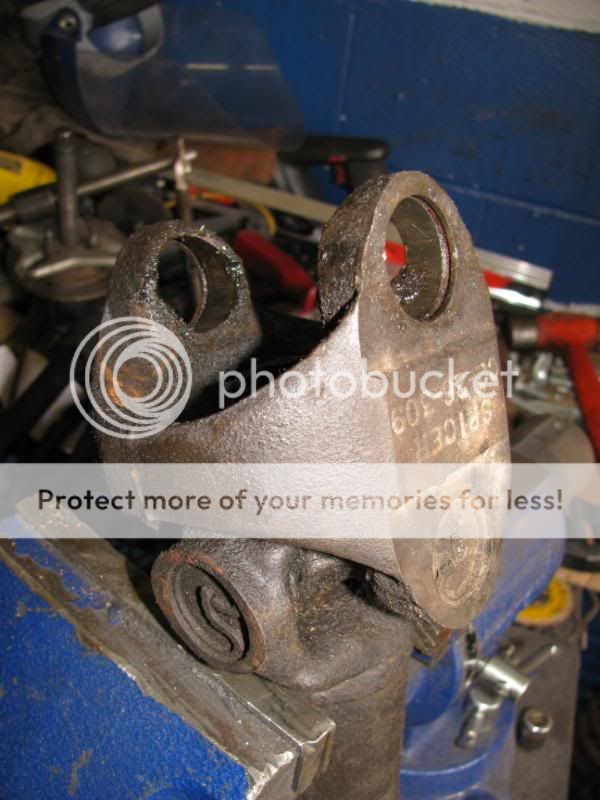
I then flip the DS around in the vice and remove the other cap:

DCDS012.jpg


Next we remove the clips for the rest of the joint:

DCDS013.jpg


DCDS014.jpg


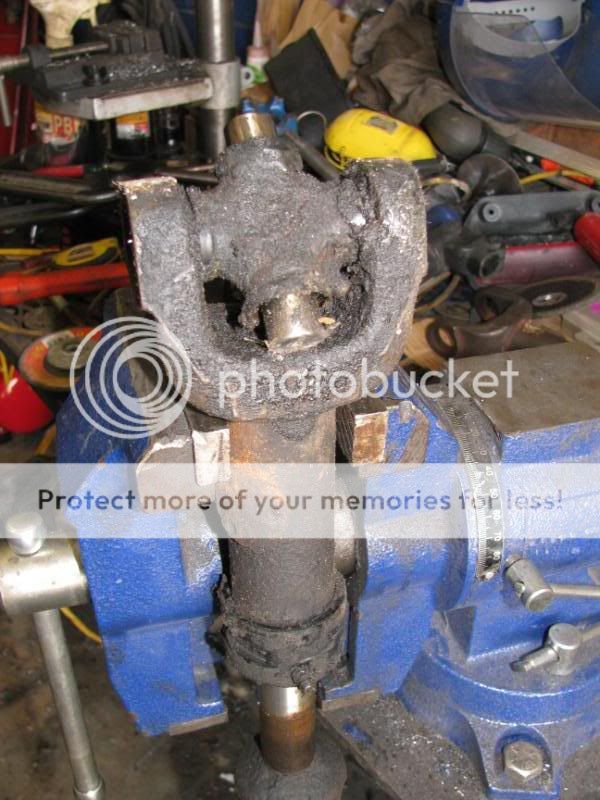
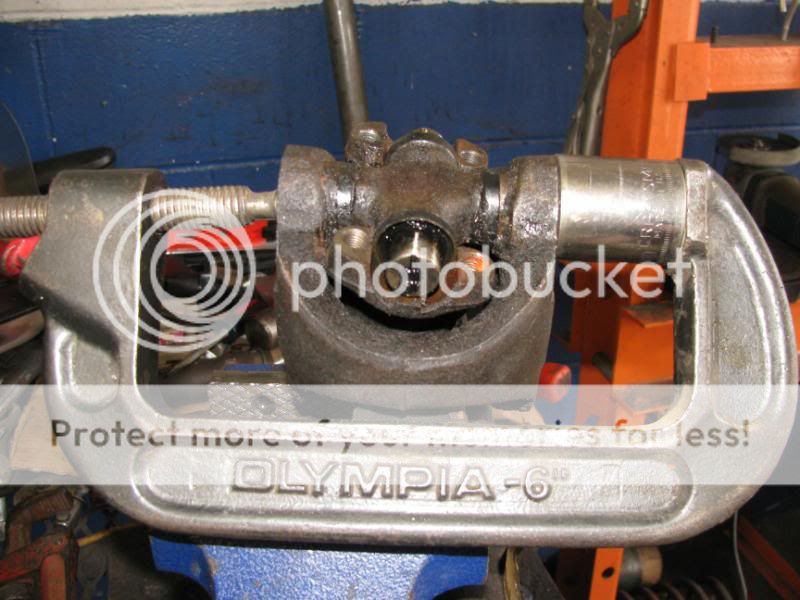
Then I use a 6" c-clamp and a 27mm socket to press out each side:

DCDS015.jpg


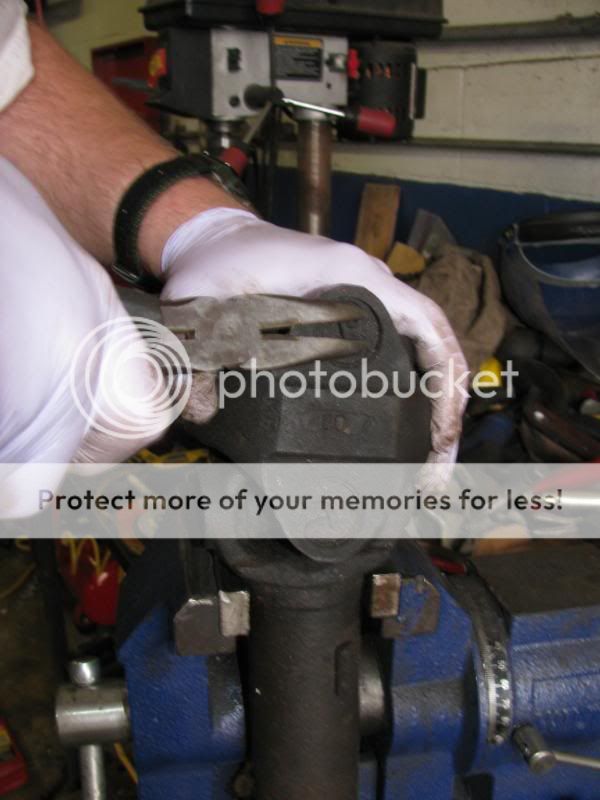
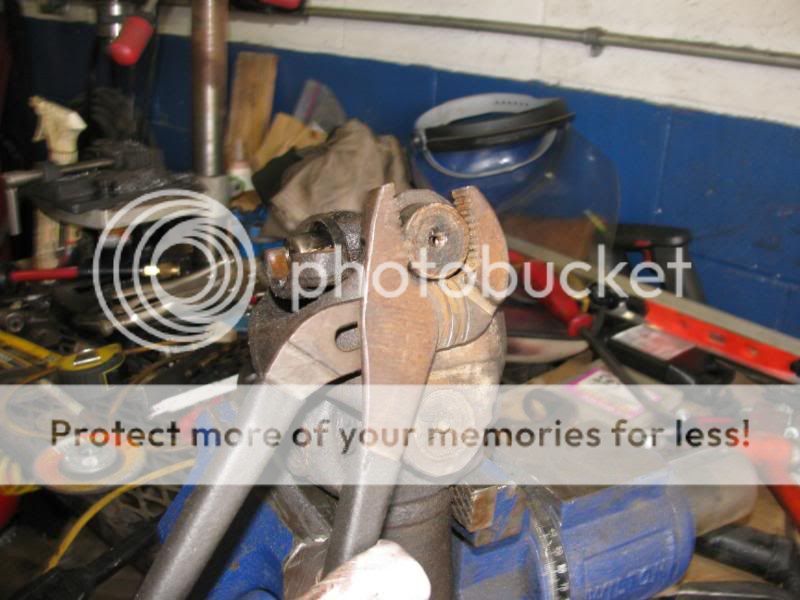
I use channel locks to get the cap the last little bit out. If that does not work I'll use vise grips:
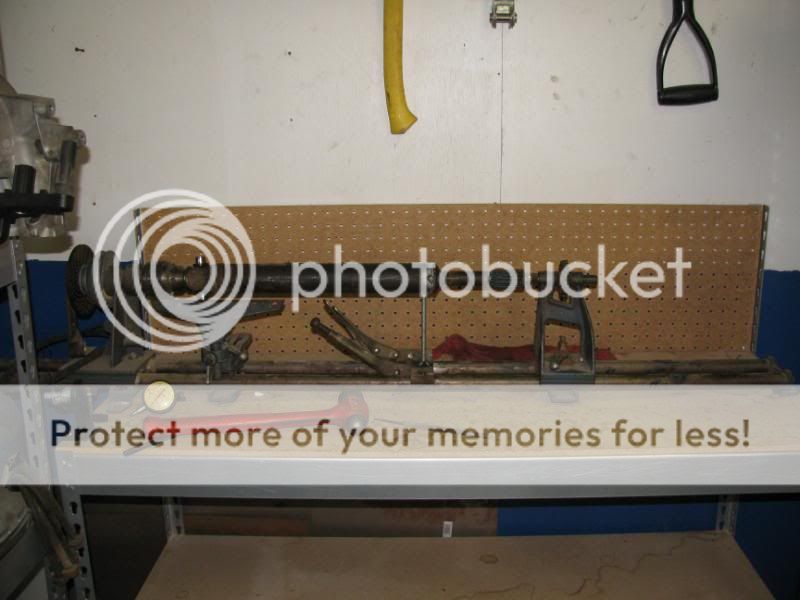
DCDS016.jpg


Other side:

DCDS017.jpg
 
Once the joint is out it will look like this:

DCDS018.jpg


Carefully remove the spring loaded yoke, not sure the technical term but that is what I call it:

DCDS019.jpg


If the spring is missing it is in the yoke piece:

DCDS020.jpg


It will end up looking like this:

DCDS022.jpg


DCDS023.jpg
 
Next we remove the joint caps in the DC piece:

DCDS024.jpg


DCDS025.jpg


At this point if you are rebuilding then remove the other two caps. I am shortening so now I have ot remove the slip joint. The slip joint goes on and off easyer if you seperate the cap from it. I'll mount it in a vice like this:

DCDS026-1.jpg


THen I will use some channel locks to twist it and loosen it up. I have seen some of these screw off. But most press off and on:

DCDS027-1.jpg


You will end up with a shaft that looks like this:

DCDS028-1.jpg


DCDS029.jpg


DCDS030.jpg
 
Last edited:
I need a shaft that is 27.75" long which means this one needed 5" cut out of it. So on to the rest of it:

DCDS002.jpg


Once the end is cut off you need to remove the slip portion from it. I will cut all around it till I get as close to the inner piece as I can. Then I use a BFH to knock it loose so that I dont end up cutting off the part that I need:

DCDS003.jpg


You will need to grind down the ridge on the inner piece of welded seam tube so that this will slide back in. I use an old home made wood lathe to hold it for general balancing. The guy that showed me this uses two vices and some pointed punches.

DCDS004.jpg


Once its mounted you will need something to check the true of it. I made up a piece of threaded rod that mounts under the lathe:

DCDS005.jpg


Wile not perfect for a street maching you can get it perty darn close. Just rotate and watch the shaft to see which way need to be changed. The shaft will wobble and look like it is moving away from the indicator. Once you determine where the farterest point is you tap it on that side untill it is fairly true.
 
Only thing to add: When you do this, it's a good idea to scribe a line on the shaft/end before you make your cuts, so you can re-align the 2 pieces when you go to weld it back together. I'll be honest: I'm not sure how important it is to align the yokes on a double-cardon joint with the yoke for the universal joint on the other end of the shaft, however, it is critical on a standard Universal/universal shaft.
 
Only thing to add: When you do this, it's a good idea to scribe a line on the shaft/end before you make your cuts, so you can re-align the 2 pieces when you go to weld it back together. I'll be honest: I'm not sure how important it is to align the yokes on a double-cardon joint with the yoke for the universal joint on the other end of the shaft, however, it is critical on a standard Universal/universal shaft.

Yea I just make sure the joints all line up. I was told it was called keeping them in phase.
 
I don't believe it matters when there is a DC at one end (since the other end is at a very low angle at ride height), but it can't hurt.

Great writeup :yelclap: I may have to do this when I hack-n-tap and install my 8.8, not sure, been considering getting it shortened professionally but now that I see how easy it is I may try my hand at it myself first.
 
Cool. I never have taken the C.V end of the shaft apart. Now I know. Thanks for the info.
 
Cool. I never have taken the C.V end of the shaft apart. Now I know. Thanks for the info.

I will add a couple things. The piece that had the spring in it has needle bearings like a u-joint cap. SO be careful with it. Also when you reverse the procedure that last cap can be a pita to get back in.
 
Back
Top