• Welcome to the new NAXJA Forum! If your password does not work, please use "Forgot your password?" link on the log-in page. Please feel free to reach out to [email protected] if we can provide any assistance.

JCR transfer case skid

kndrewa

NAXJA Forum User
NAXJA Member
I won a sweet raffle in the red river chapter a while back..!

THANKS!!!!

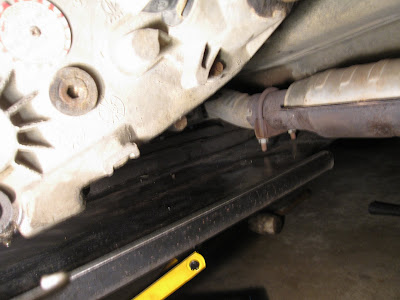
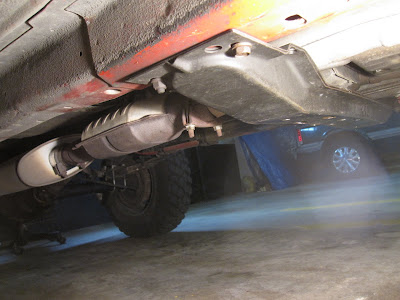
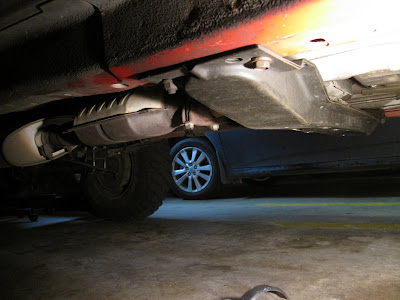
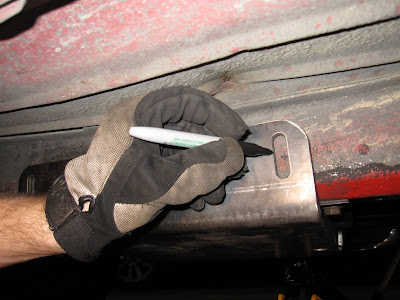
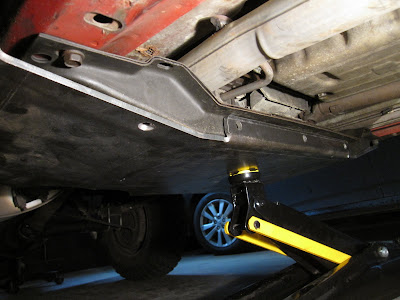
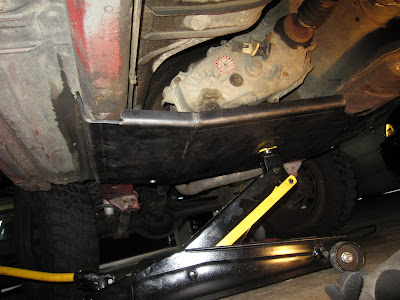
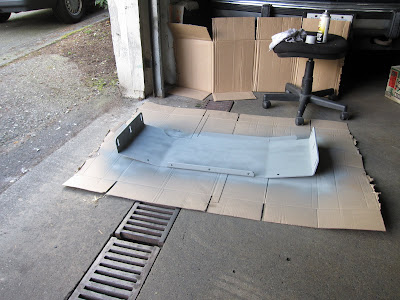
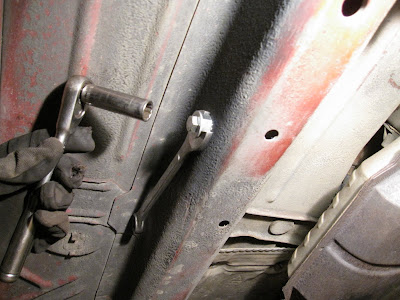
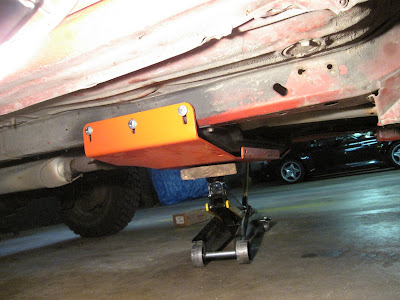
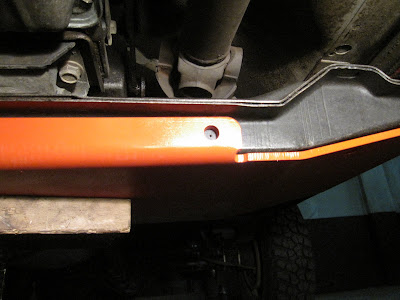
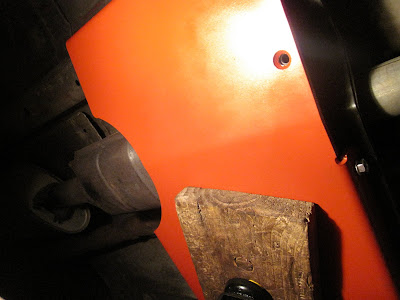
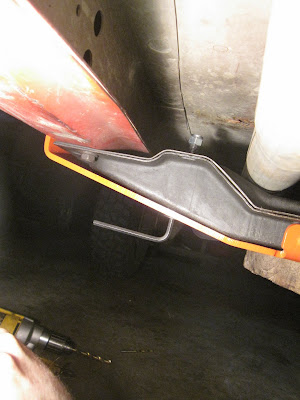
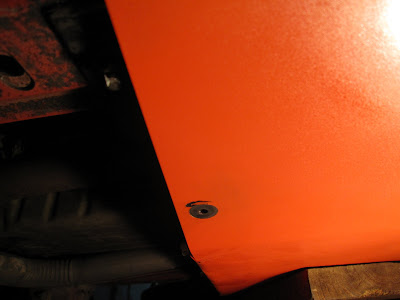
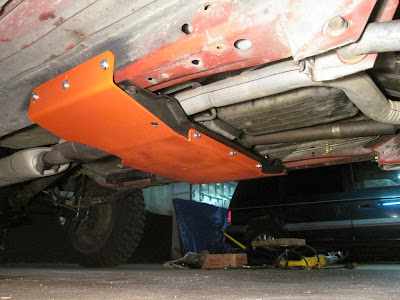
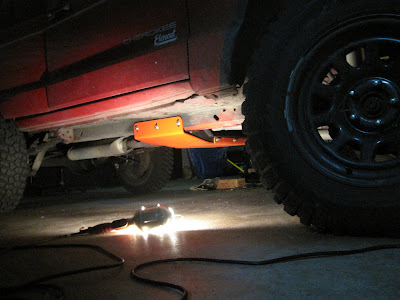
..anyways, I finally got around to installing this skid for my NP231.

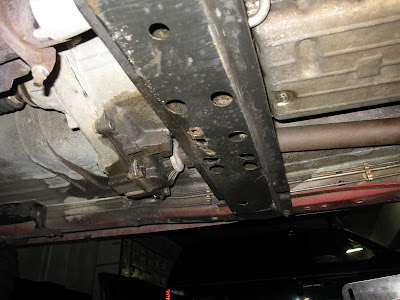
the JCR skid is far superior to stock.
IMG_2324.jpg


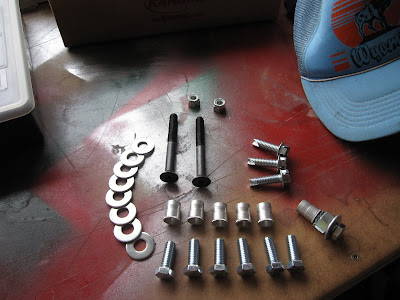
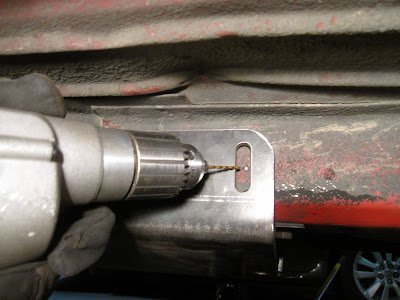
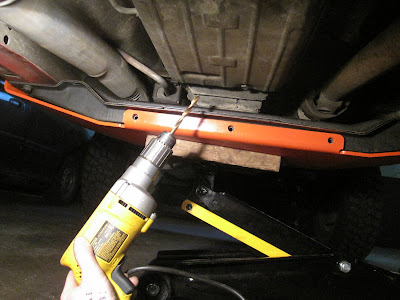
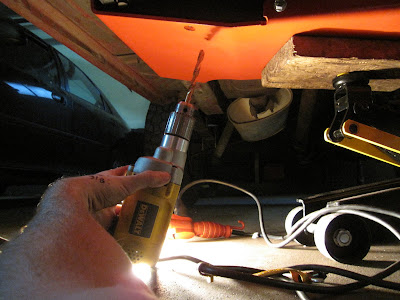
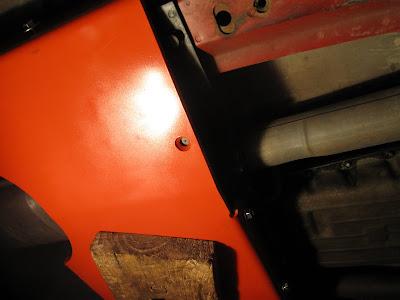
the JCR skid uses plenty of hardware to keep it strong and secure.
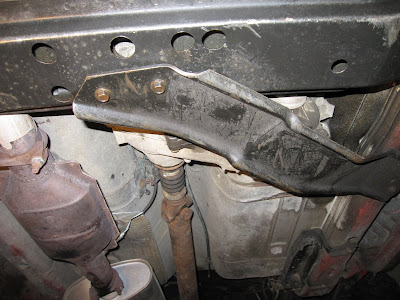
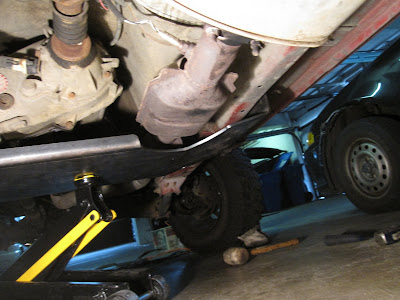
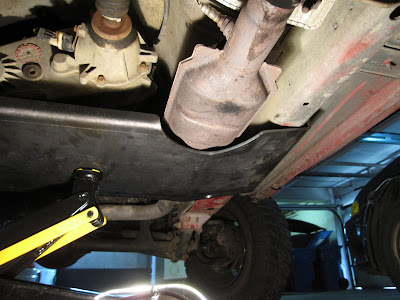
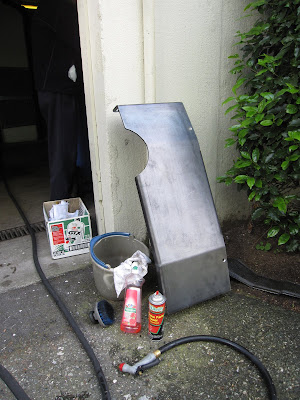
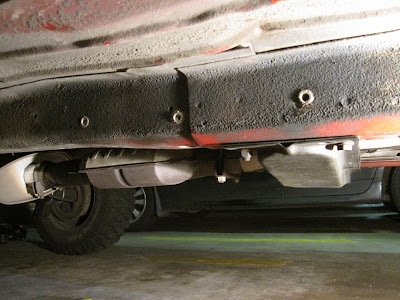
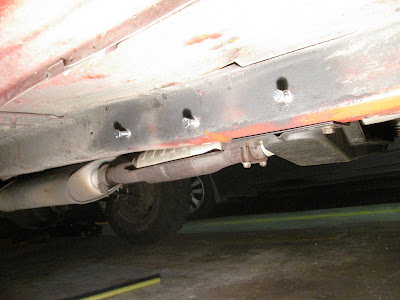
the stock skid only attaches with 3 bolts!
IMG_2291.jpg
 
________________________________
STOCK SKID REMOVAL
________________________________

the stock skid must first be removed.
two bolts hold it to the transmission cross-member, one to the frame rail.
IMG_2297.jpg


mine had been hit enough to mangle the transmission cross-member a bit.
IMG_2311.jpg
 
________________________________
PRE-INSTALLAION MOCK-UP
________________________________

i jacked up the skid plate to mark for drilling.
its heavy, but after getting it balanced on the jack, it was a breeze..
IMG_2328.jpg


..until i found that this exhaust clamp was in the way.
the exhaust clamp's threads contact the skid.
this prevented me from getting a flush mount.
IMG_2332.jpg


the angle grinder made quick work of that problem!
IMG_2336.jpg

IMG_2344.jpg


the clamp was causing this gap between the framerail and the skid.
IMG_2334.jpg

fixed!
IMG_2358.jpg
 
Last edited:
________________________________
DRILLING FOR FRAME MOUNTS
________________________________

i lined everything up and marked centers for the frame holes.
IMG_2361.jpg


drilling small pilot holes first makes centering bigger bits easier.
IMG_2367.jpg


JCR recommends a step bit to quickly drill to the proper diameter.
IMG_2418.jpg


a bit of flat black paint after drilling to prevent rust.
IMG_2426.jpg
 
Last edited:
________________________________
FIRST IMPRESSIONS
________________________________

the skid is very well designed.
it follows the contour of the transmission cross-member perfectly.
IMG_2349.jpg


the transfer case will be well protected!
the coverage is excellent from all angles.
note the cut-away for the catalytic converter.
note also the vertical lip to help deflect rocks.
IMG_2353.jpg
 
________________________________
PREP, PRIME, & PAINT
________________________________

to prepare the surface i used some mild soap and water.
after washing, i used a bit of brake cleaner as a solvent.
this ensured the surface was dry and free of oils.
i wiped everything down and let it fully dry.
IMG_2375.jpg


prep.
IMG_2378.jpg


prime.
IMG_2380.jpg


paint.
IMG_2387.jpg
 
Last edited:
________________________________
NUTSERT INSTALLATION
________________________________

nutserts are cylinders containing threads.
they have a crush-able sleeve which pinches them in place.
they will be installed in the holes i drilled in the frame.
simple hand tools can do the job just fine.
IMG_2436.jpg


the holes in the frame are the same outside diameter as the nutsert.
IMG_2423.jpg


a combination wrench is used to hold the nutsert steady during installation.
IMG_2433.jpg


completed side with 3 installed nutserts in the framerail.
IMG_2437.jpg


the nutserts create a place to thread bolts into the frame.
IMG_2440.jpg


it is now possible to hang the skid for final drilling.
i used a piece of wood between the jack and the skid to protect the finish.
IMG_2450.jpg
 
________________________________
DRILLING FOR CROSS-MEMBER MOUNTS
________________________________

first i drilled pilot holes for the 3 self-tapping bolts.
IMG_2459.jpg


3 bolts will hold the skid to the front of the transmission cross-member.
IMG_2466.jpg


these holes are for the vertical bolts through the cross-member.
they were a pain to drill with such limited space - i wish i had a 2-post lift!
IMG_2477.jpg


the step-bit wouldn't work here.
you have to drill through two layers of the cross-member.
so i used several bits to enlarge the holes progressively.
IMG_2473.jpg

IMG_2474.jpg

IMG_2482.jpg


the final two cross-member hex bolts are installed vertically.
they sandwich the cross-member and the skid together.
IMG_2485.jpg


they are flush mounted to the bottom of the skid plate.
this prevents them from becoming rounded from rock rash.
IMG_2489.jpg
 
________________________________
INSTALLATION COMPLETE
________________________________

all there is left to do is tighten the bolts in the specified order.
IMG_2491.jpg

IMG_2493.jpg


great fit, great product!

thanks red river chapter, and thanks JCR!
 
That's a great write-up.

I bought the skid and sliders a few months ago and put the sliders on but then we moved to another state and the skid got packed/unpacked and is sitting in the garage.

This gives me some motivation to get off my ass an get it installed. How long did it take you (after prep and paint)?
 
I love mine too but I HATE nutserts with a passion. They didn't work out to well for me! There are three of them holding right now but i need to run bolts through the rails to secure it even more.
 
I love mine too but I HATE nutserts with a passion. They didn't work out to well for me! There are three of them holding right now but i need to run bolts through the rails to secure it even more.

yeah.. ..i had never dealt with them before.
it would be easier to get them to grip with a slightly smaller hole.
JCR recommends this now - drill slightly smaller than the nutcerts OD.
 
Big fender washers and long through bolts for the frame rail. Nutserts suck for skid plates.

Be careful of the brake and fuel lines on the inside of the rail!

KH
 
Back
Top