xjbrian
NAXJA Forum User
- Location
- California
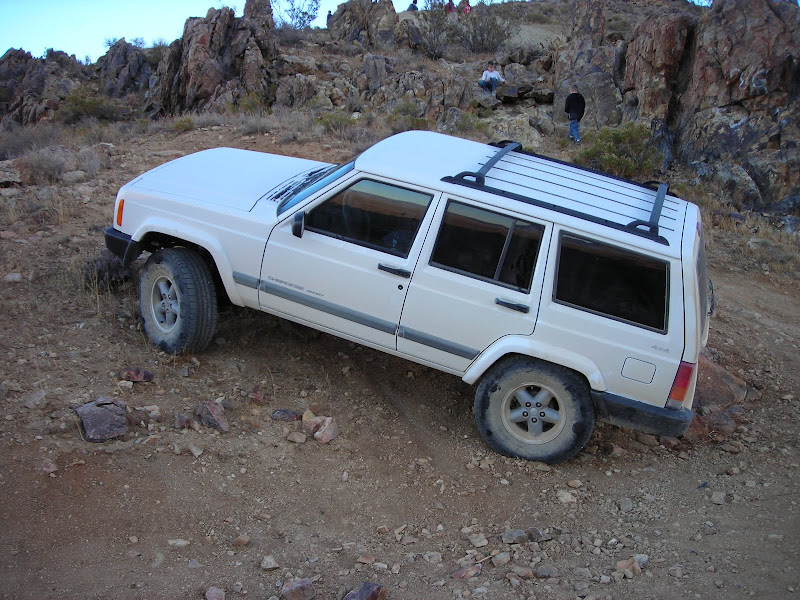
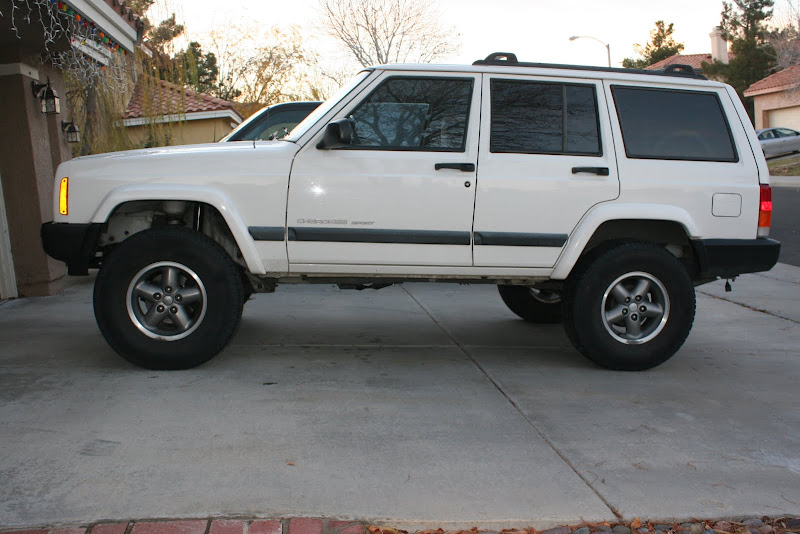
I have a 1999 XJ with a 4.0L engine, automatic, NP231 transfer case, Chrysler 8.25 rear axle, and a new 3 inch budget boost. I am a noob. This post is for other noobs who are in the middle of a budget boost lift or still trying to figure out how to do it. I am sure that there are better ways to do it but I know that this works because I did it and it turned out great. It rides firmer than stock but is still very comfortable. It doesn’t squeak or rattle. It is taller so it does not feel quite as good cornering but it still feels safe and sure footed.
Before starting this lift I read the various Cherokee Forums to learn how to lift an XJ. The most help for me in doing this lift was from RockLizard and GoJeep. I referred to these two pages many times in the process of lifting my XJ.
http://www.rocklizardfabrications.com/home_brew_budget_boost.htm
http://www.go.jeep-xj.info/index.htm
The next link is a list of links I found very helpful.
http://www.jeepforum.com/forum/f11/tech-faq-links-tsbs-89273/
People seem to be asking the same questions over and over but good answers are already out there if you spend the time to find them.
Here is a summary of my lift
Part Part Number Supplier Total Price
Front Shocks Monroe 37120 amazon.com $59.94
Rear Shocks Monroe 37029 RockAuto.com $68.58
Coil Springs OME 934 Used Parts $40.00
Front Bump Stop Ext Hockey pucks EBay $12.01
U Bolts thesuspensionking.com $47.02
Clamps thesuspensionking.com $6.54
Center Bolts thesuspensionking.com $1.54
XJ Main & 2nd Leaf Jeep Used Parts $50.00
Anti-Friction Pads From donor pack Used Parts $0.00
Axle Shims Rough Country 90012 Summitracing.com $20.90
Rear Bump Stop Ext 2"x2" Scrap Steel $0.00
Front LCA Shims 1/8” Scrap Aluminum $0.00
Rear Brake Line AC Delco 18J798 RockAuto.com $20.14
(From YJ non ABS) _______
Total $326.67
I found one problem in the RockLizard lift instructions. I ordered the Monroe 37193 front shocks. When I measured them and they were only 21.75” long. His write up said they were 24.25” long. I called Monroe, they told me that the 37193 shock is no longer in production and that they were listed in an old catalog with the wrong dimensions. So don’t order the 37193 shocks. Use the 37120 shocks they work.
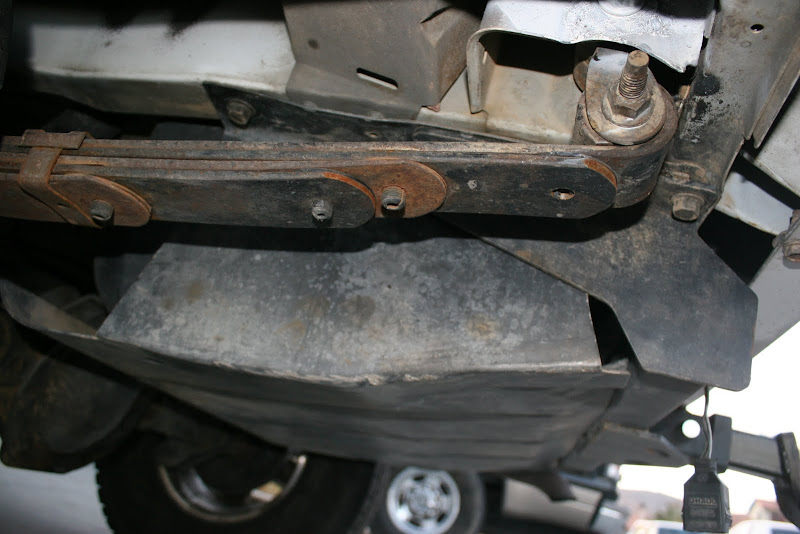
I must work slow because there is no way I could have done this in a weekend even if I didn’t run into trouble several times. The first problem was drilling the holes in the leaf springs to add the anti friction pads. This was a pain and the drill bits are expensive. First I used a ½” cobalt bit. I got through 1½ leafs before it died. So next I used a masonry bit it lasted 2 leafs so I had to get one more masonry bit to finish the job. I tried putting the anti friction pads in the leafs but they would not fit so I filed the posts on the pads down until they fit.
The next problem was when I tried to remove the upper shackle bolts the steel sleeve in the shackle bushing was rusted to the bolt. It ended up pushing through the outer shackle bracket on the frame and made the hole bigger. I had to weld in a washer to make the hole the correct size.
Next problem, two of the upper rear shock bolts snapped. A $10 harbor Freight air chisel punched the nuts out quick and it was easy to feed the 1/4" 20tpi 3/4" long bolts with washers to replace them.
The following link helped me with this.
http://www.jeepforum.com/forum/f11/shock-bolt-replacement-fix-pics-heavy-323809/
The only thing I did different was I wrapped a wire around the bolts and pulled them through the hole, worked great.
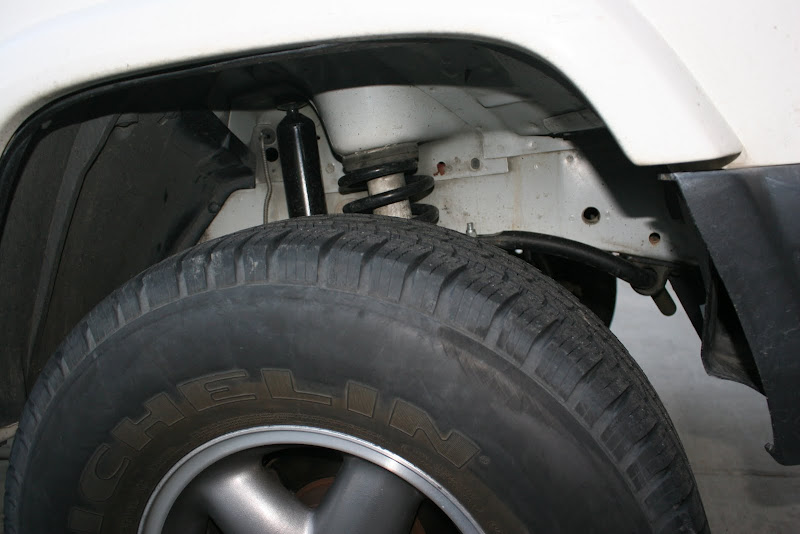
When you go to the parts store to borrow a coil spring compressor make sure you get the strut compressor. The coil spring compressor has a fork that goes through the middle of the spring to compress it. On the XJ the bumpstop gets in the way. While my front coils were out I did remember to drill and tap the spring base for hockey puck bumpstops.
So now the lift was in. I took it for a drive and had terrible Death Wobble at 35mph. I made shims as described by GoJeep and aligned it per his direction. Things got better but at 55mph I still had problems. Everything felt solid in the front end. I searched the forums for solutions and found posts that said to get under the front end and look for loose parts while someone is moving the steering wheel back and forth. I saw some movement, about 1/8”, in the track bar so I replaced it with an adjustable track bar. The new one did not fix the problem and it still had the movement. It did center the axle though. I really wasn’t worried about centering the axle because it was only off by about ½”.
I was talking to a friend about my woes and he had similar problems in the past. He used a small pry bar to look for worn font end parts. He explained that with the springs in the front end everything is so loaded you can’t feel some of the things that may be loose. He came over and we found a couple of control arm bushings that felt loose with the pry bar. They felt fine when I tried moving them by hand. I replaced the bushings and the Death Wobble was gone.

Next I had a vibe problem. I tried a Tcase drop. I shimmed the rear pinion. No luck, I still had slight vibes. So it was time to do a Hack and Tap SYE. Of course I couldn’t go buy one. I had to do it myself. I used the 3103-27CV yoke with a junkyard XJ front driveshaft. I used GoJeeps instructions. I cut 1.75” off both the output shaft and the yoke. It turned out great no vibes. I have another posting with details about how I did it.

The lift was about $327. I have spent more money on other things though. The Homebrew SYE was about $125. The track bar I didn’t need was $147. Nuts and bolts and drill bits were probably another $35. I spent $200 on a set of used 31” tires.
I installed a ZJ (1993-1998 Grand Cherokee) tie rod. It is so much bigger and stronger. The adjusting collar was pretty close to a bracket on the axle so I got out the angle grinder and took care of the bracket.
I also installed a ZJ tank skid that I got for free. It worked great. I had to elongate a couple holes and bend it back in shape because the previous owner had hit it hard a few times. It leaves a gap at the back of the tank but with my tow hitch installed it isn’t a problem. It would probably help me from getting hung up on the tow hitch the way it is.
When I flexed it I was hitting the front bumper end caps so I cut them with a utility knife. It was easy, I just followed the line left by the mold when the end cap was made.
Before starting this lift I read the various Cherokee Forums to learn how to lift an XJ. The most help for me in doing this lift was from RockLizard and GoJeep. I referred to these two pages many times in the process of lifting my XJ.
http://www.rocklizardfabrications.com/home_brew_budget_boost.htm
http://www.go.jeep-xj.info/index.htm
The next link is a list of links I found very helpful.
http://www.jeepforum.com/forum/f11/tech-faq-links-tsbs-89273/
People seem to be asking the same questions over and over but good answers are already out there if you spend the time to find them.
Here is a summary of my lift
Part Part Number Supplier Total Price
Front Shocks Monroe 37120 amazon.com $59.94
Rear Shocks Monroe 37029 RockAuto.com $68.58
Coil Springs OME 934 Used Parts $40.00
Front Bump Stop Ext Hockey pucks EBay $12.01
U Bolts thesuspensionking.com $47.02
Clamps thesuspensionking.com $6.54
Center Bolts thesuspensionking.com $1.54
XJ Main & 2nd Leaf Jeep Used Parts $50.00
Anti-Friction Pads From donor pack Used Parts $0.00
Axle Shims Rough Country 90012 Summitracing.com $20.90
Rear Bump Stop Ext 2"x2" Scrap Steel $0.00
Front LCA Shims 1/8” Scrap Aluminum $0.00
Rear Brake Line AC Delco 18J798 RockAuto.com $20.14
(From YJ non ABS) _______
Total $326.67
I found one problem in the RockLizard lift instructions. I ordered the Monroe 37193 front shocks. When I measured them and they were only 21.75” long. His write up said they were 24.25” long. I called Monroe, they told me that the 37193 shock is no longer in production and that they were listed in an old catalog with the wrong dimensions. So don’t order the 37193 shocks. Use the 37120 shocks they work.
I must work slow because there is no way I could have done this in a weekend even if I didn’t run into trouble several times. The first problem was drilling the holes in the leaf springs to add the anti friction pads. This was a pain and the drill bits are expensive. First I used a ½” cobalt bit. I got through 1½ leafs before it died. So next I used a masonry bit it lasted 2 leafs so I had to get one more masonry bit to finish the job. I tried putting the anti friction pads in the leafs but they would not fit so I filed the posts on the pads down until they fit.
The next problem was when I tried to remove the upper shackle bolts the steel sleeve in the shackle bushing was rusted to the bolt. It ended up pushing through the outer shackle bracket on the frame and made the hole bigger. I had to weld in a washer to make the hole the correct size.
Next problem, two of the upper rear shock bolts snapped. A $10 harbor Freight air chisel punched the nuts out quick and it was easy to feed the 1/4" 20tpi 3/4" long bolts with washers to replace them.
The following link helped me with this.
http://www.jeepforum.com/forum/f11/shock-bolt-replacement-fix-pics-heavy-323809/
The only thing I did different was I wrapped a wire around the bolts and pulled them through the hole, worked great.
When you go to the parts store to borrow a coil spring compressor make sure you get the strut compressor. The coil spring compressor has a fork that goes through the middle of the spring to compress it. On the XJ the bumpstop gets in the way. While my front coils were out I did remember to drill and tap the spring base for hockey puck bumpstops.
So now the lift was in. I took it for a drive and had terrible Death Wobble at 35mph. I made shims as described by GoJeep and aligned it per his direction. Things got better but at 55mph I still had problems. Everything felt solid in the front end. I searched the forums for solutions and found posts that said to get under the front end and look for loose parts while someone is moving the steering wheel back and forth. I saw some movement, about 1/8”, in the track bar so I replaced it with an adjustable track bar. The new one did not fix the problem and it still had the movement. It did center the axle though. I really wasn’t worried about centering the axle because it was only off by about ½”.
I was talking to a friend about my woes and he had similar problems in the past. He used a small pry bar to look for worn font end parts. He explained that with the springs in the front end everything is so loaded you can’t feel some of the things that may be loose. He came over and we found a couple of control arm bushings that felt loose with the pry bar. They felt fine when I tried moving them by hand. I replaced the bushings and the Death Wobble was gone.
Next I had a vibe problem. I tried a Tcase drop. I shimmed the rear pinion. No luck, I still had slight vibes. So it was time to do a Hack and Tap SYE. Of course I couldn’t go buy one. I had to do it myself. I used the 3103-27CV yoke with a junkyard XJ front driveshaft. I used GoJeeps instructions. I cut 1.75” off both the output shaft and the yoke. It turned out great no vibes. I have another posting with details about how I did it.
The lift was about $327. I have spent more money on other things though. The Homebrew SYE was about $125. The track bar I didn’t need was $147. Nuts and bolts and drill bits were probably another $35. I spent $200 on a set of used 31” tires.
I installed a ZJ (1993-1998 Grand Cherokee) tie rod. It is so much bigger and stronger. The adjusting collar was pretty close to a bracket on the axle so I got out the angle grinder and took care of the bracket.
I also installed a ZJ tank skid that I got for free. It worked great. I had to elongate a couple holes and bend it back in shape because the previous owner had hit it hard a few times. It leaves a gap at the back of the tank but with my tow hitch installed it isn’t a problem. It would probably help me from getting hung up on the tow hitch the way it is.
When I flexed it I was hitting the front bumper end caps so I cut them with a utility knife. It was easy, I just followed the line left by the mold when the end cap was made.
 . Looks like you did a great job on a budget