• Welcome to the new NAXJA Forum! If your password does not work, please use "Forgot your password?" link on the log-in page. Please feel free to reach out to [email protected] if we can provide any assistance.

JCR bumper...I am thoroughly confused.

XJJeepNewb

NAXJA Forum User
Location
Clearwater
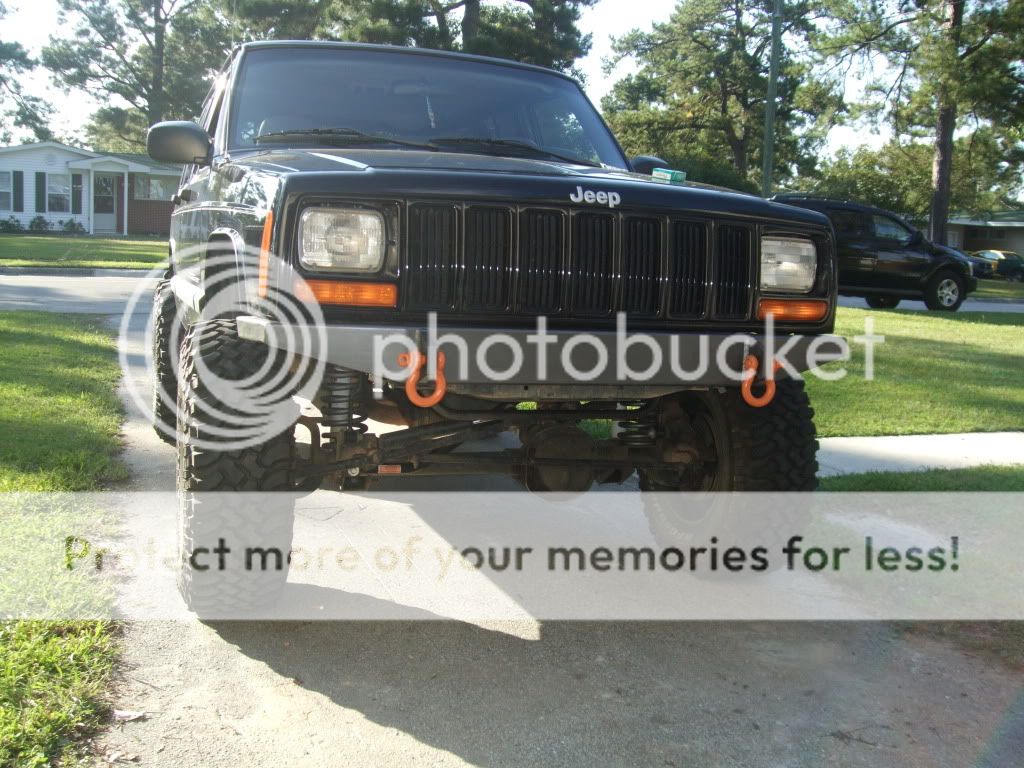
I'm trying to install the front bumper from JCR but the directions aren't making sense with the hardware I'm looking at.

edit.jpg


Question 1 - does this photo above represent the hardware for both the driver and passenger side unibody rail or just for a single side?

(I ask because I received a complete duplicate set of everything shown in the picture above, so 4 steel plates and double the number of bolts and I don't see how I can stack and fit 2 plates on each side).

Question 2 - I have an idea of where some of the bolts go (because they only fit in one hole) but could someone match up the numbers and letters above? (such as 1-A,a : 3-F : 4-f)

Question 3 - I own a 99 (so no lower fender support to remove) but the instruction sheet shows the triangular bracket still in place (where the stock horn mounts) . Since the JCR plate design no longer curves around the bottom of the triangular bracket, does this now need to be completely removed?

I'm sorry if I sound like a total dumbass here and I'll call them if no one has an idea but I thought I'd give the forum a shot first.

Thanks for any assistance you can provide.
 
It should be(1,2)most rearward(aux) hole.9,10,11-pass side equivalent to steering box.3-8 factory bumper mounting points!
 
Thanks RCP, okay that makes sense.

Does that mean that the picture above shows the complete kit necessary to do both sides?

I guess I must've been sent a double shipment of brackets?
 
Question 3 - I own a 99 (so no lower fender support to remove) but the instruction sheet shows the triangular bracket still in place (where the stock horn mounts) . Since the JCR plate design no longer curves around the bottom of the triangular bracket, does this now need to be completely removed?

There was just a thread about this topic last week. Varied opinions, but food for thought nonetheless.

http://www.naxja.org/forum/showthread.php?t=1010245
 
Thanks fyrfytr,
I did a search but different keywords so that thread didn't show up. I've already removed the passenger triangle bracket but maybe I'll re-install and tap it into the jcr tie-in.

Can you answer question 1?


I'm not familiar with this kit but as these things go there is one plate for each side and not necessarily every hole will be used. As far as I can tell that should be the kit for both sides.
 
Not real sure. I have a T&T front bumper and it had different hardware. I'm going to guess though that you got two sets of hardware. At first I was thinking inner and outer plates for each side, but if that was the case, one of the inner plates should have spacers welded onto it where the steering box bolts up. Also, if you have two sets of #9-11 and no nuts for them, that would also indicate you got double hardware as those are the Grade 8's for your steering box and you obviously only have one steering box (with three holes) to thread them into.

Again, I have a T&T which has a totally different hardware package, so really I'm just guessing...
 
Yeah...double plates would be a major PIA to do correctly in comparison to the simple bolt on of the single set and I suspect the hardware would be different.
 
Okay, that makes more sense then. I must've gotten an extra set.

When I first opened the plates I thought they were going to be inner and outer and 'sandwich' the unibody frame....I just couldn't figure out how the hell everything was supposed to fit!

Okay I'm good to go! Thanks to all for the fast responses!
 
you definitely got two sets of brackets. You'll find that you need to cut the brackets that connect to the frame rail (just under or near the steering box bolts; same on opposite side (no steering box of course)) weld them back if you think you'll need them--i didn't.

and the 2nd post was right about the bolts.
 
what kind of bumper are you running with this?
 
Thanks to JCR for the fast response! The photo is just what I was looking for.

what kind of bumper are you running with this?

I got the stage 4 front and stage 2 rear, painted them to match the body and trim color (it's a chili pepper red color).

The rear went on very easy and it looks damned good!

I'm thinking the front will be the same way once I get it bolted up. I've gotta call a friend over to help me get the front bumper attached to the brackets....definitely a very tight fit. I'll try to update with photos once I'm finished.
 
Last edited:
Just had these same problems with my stage 3 front bumper about a week ago, the online directions didn't make sense to me either, I called Eric at JCR and he was super helpful, after speaking to him the final decision for me was to....

1) Cut about a 1/4" peice off of the triangle fender supports, just enough to slide the tie in brackets in between them and the frame rail.

2) Using a buddy assist, hold the bumper and get everything lined up and put the 3 stock mounting point bolts in, followed by the sleeve bolts, then finnaly the steering box bolts.

3) Grab a beer and a camera, sit back and admire/enjoy your new bumper!

Here is my finished product, and I have been extremely pleased with the way it turned out.

DSCF6101.jpg
[/IMG]
 
Okay after getting over the confusion here's how mine turned out.

IMG_2244.jpg


On the rear
IMG_2248.jpg


Side shot of the front showing the change to approach angle.
IMG_2251.jpg


Got a few more things to do but having the bumpers out of the way and getting tow points is a nice improvement!
 
JCR sure makes nice looking bumpers...and they're a sponsor who is participating in a vendor give away right now! Sign up here!
 
I've got the same Chili Pepper Red Classic as yours. Almost makes me regret not painting my bumpers to match... Looks sweet!
 
Back
Top