turpehar
NAXJA Forum User
- Location
- Farmer City, IL
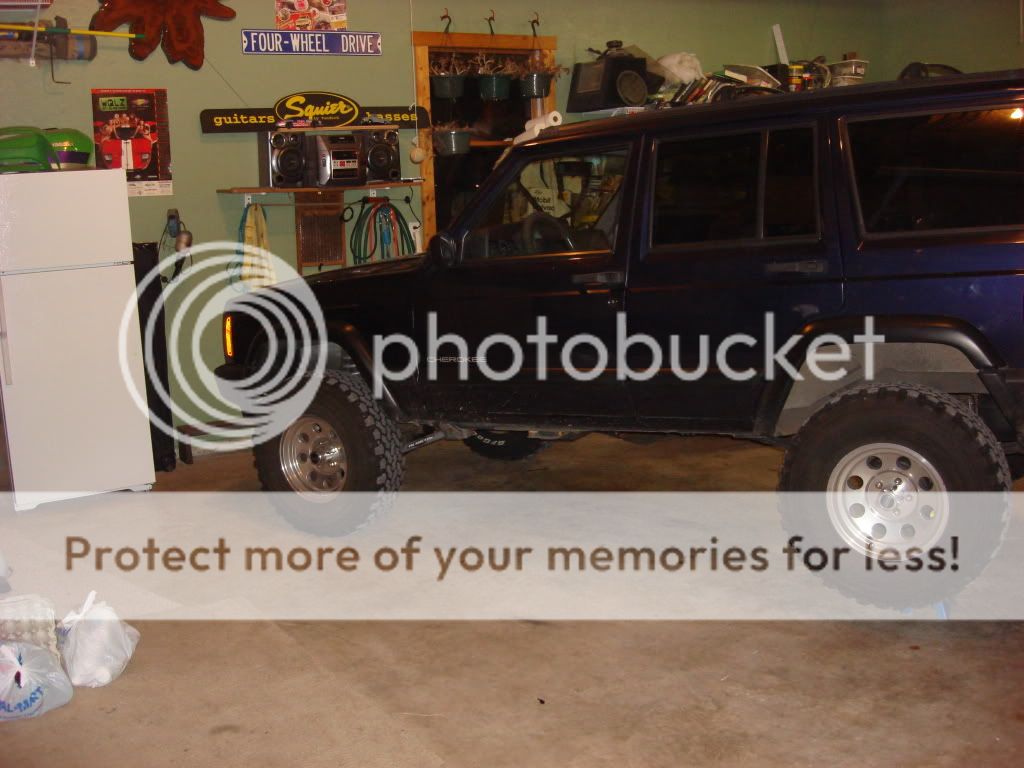
One week ago today, the Aussie auto locker for the 8.25 became available. I ordered one for my 98 XJ. It arrived on Wednesday, so I read the instructions several times and planned to install tonight. I ate supper and went to the garage and started working at 7:00PM and finished at 9:30PM
Here is the specimen.
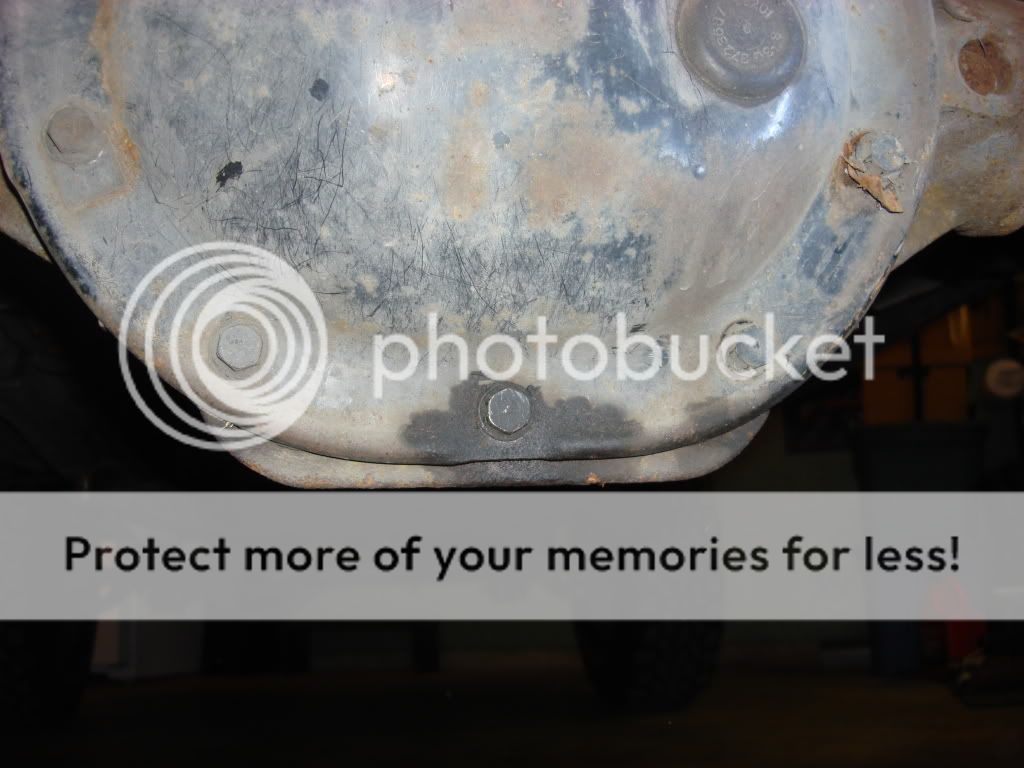
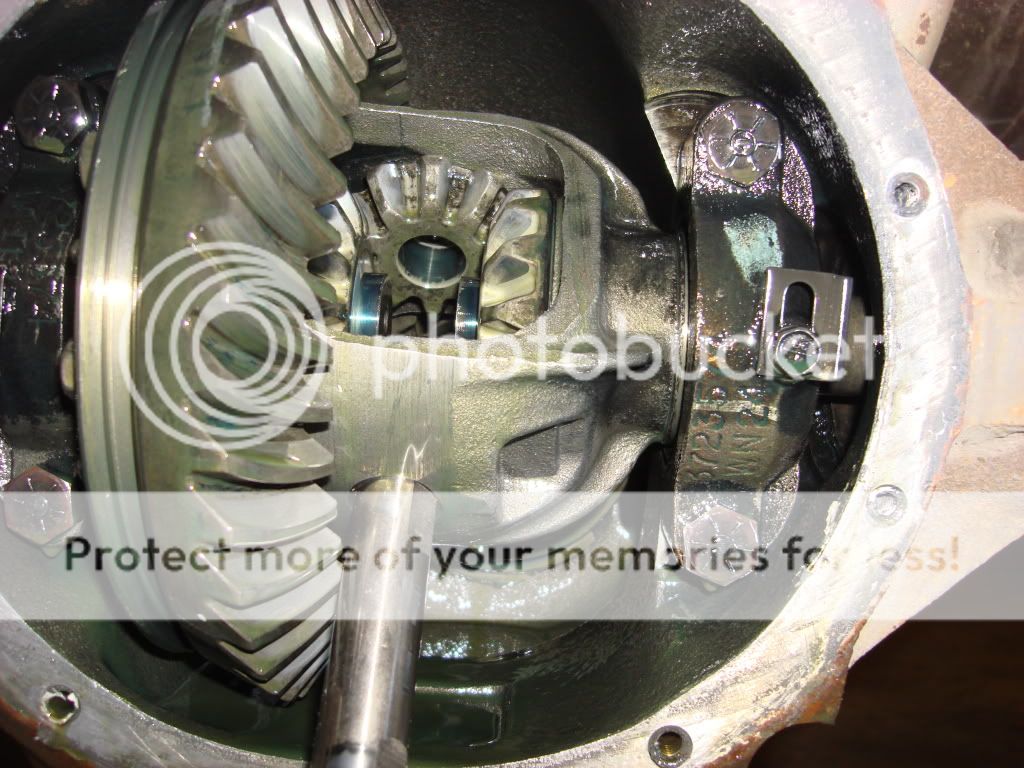
Here is the distinctive sign of an 8.25,,, casting is flat on the bottom.
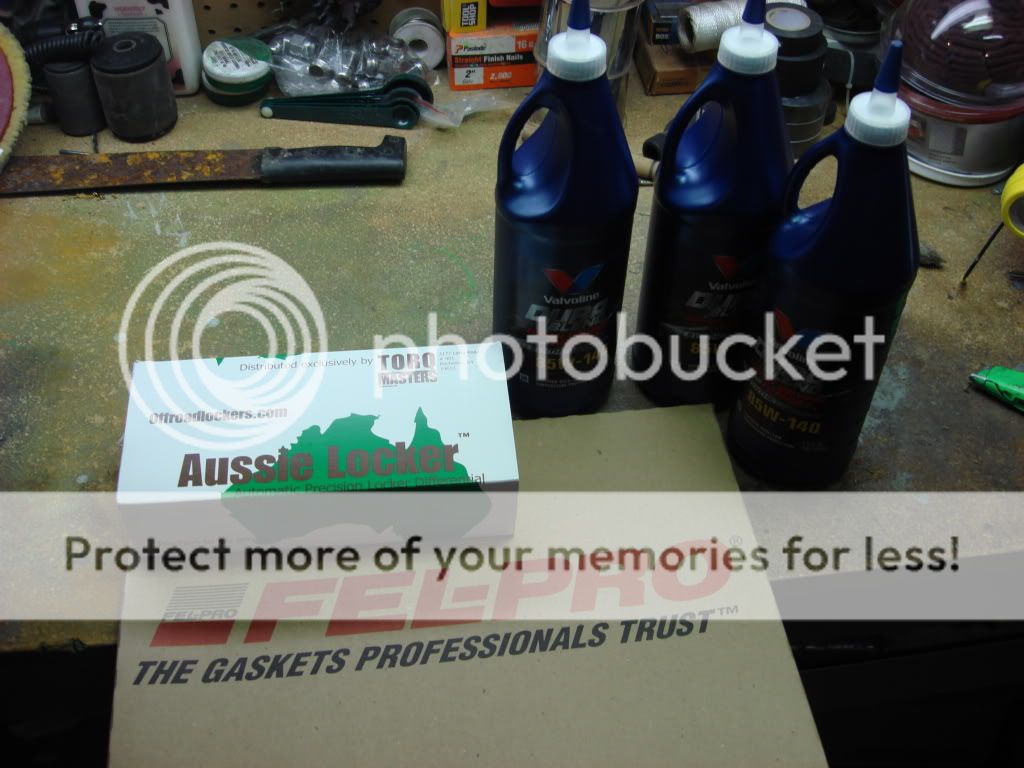
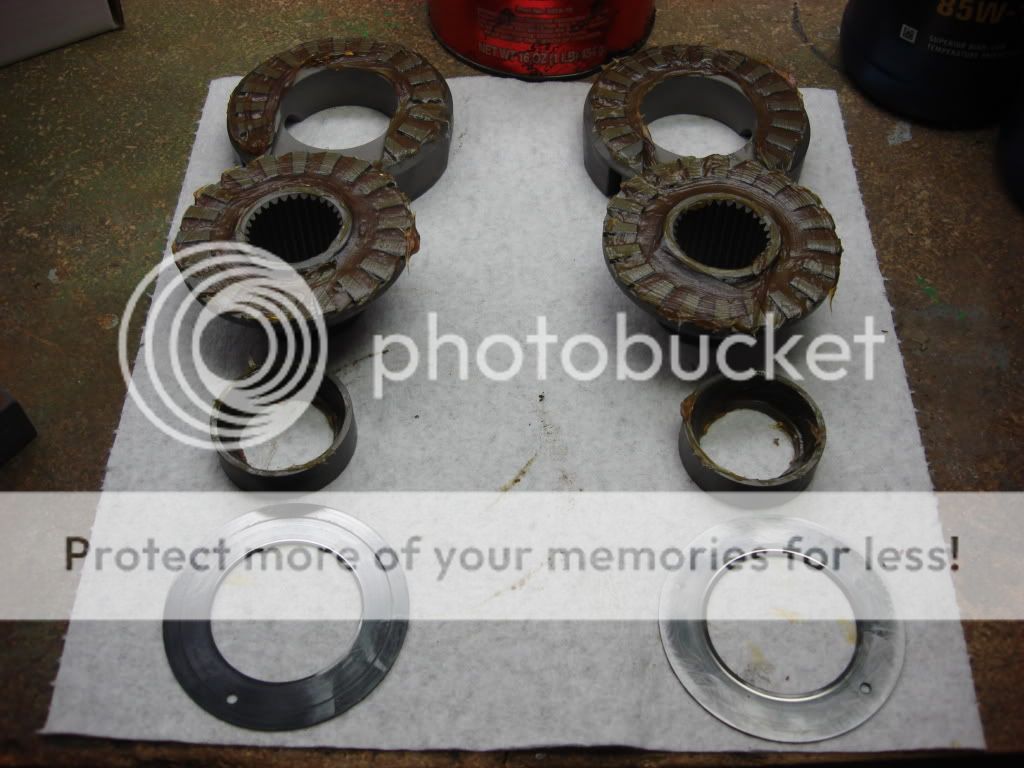
Here are the materials you'll need.
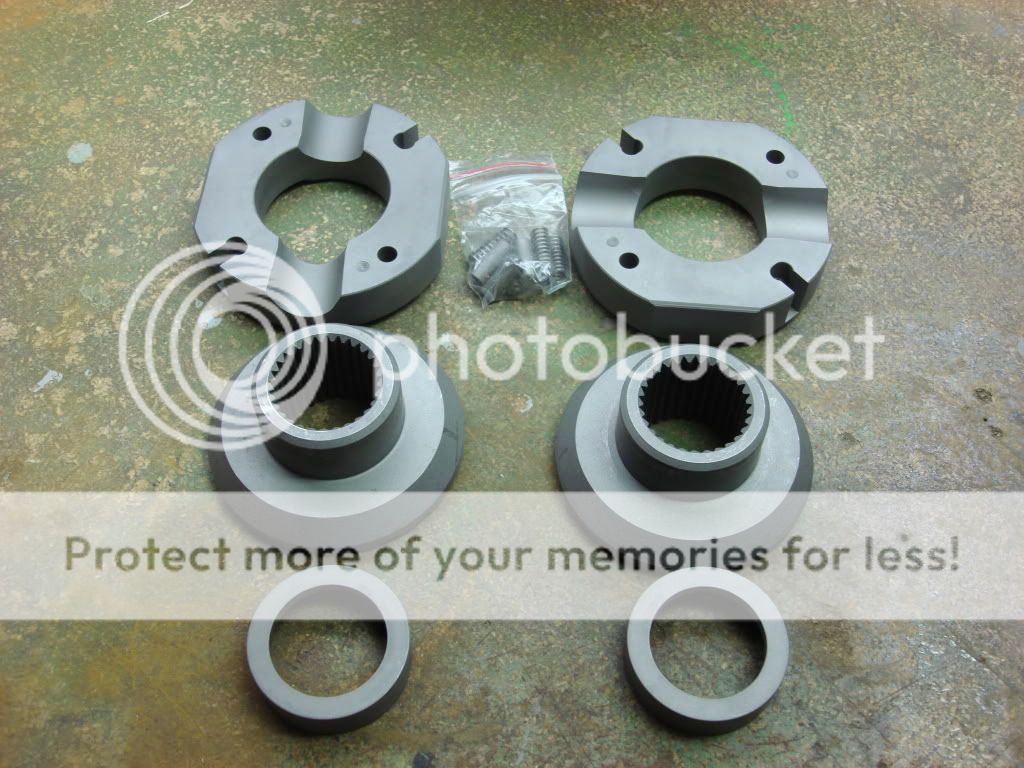
Here are the contents of the kit.
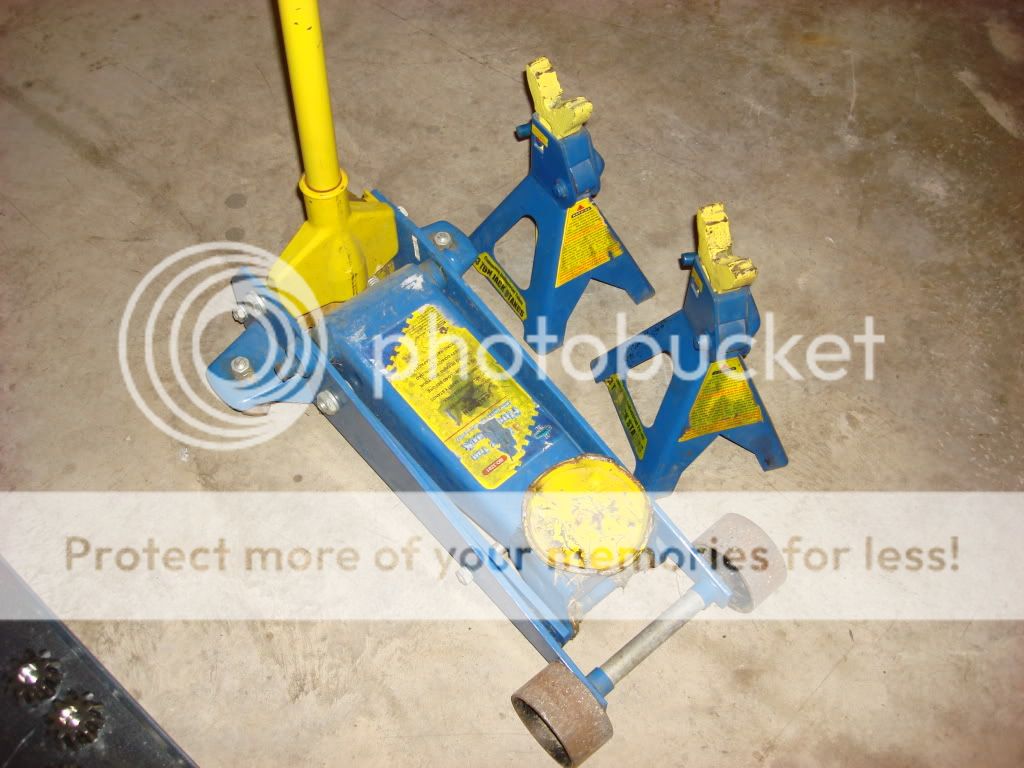
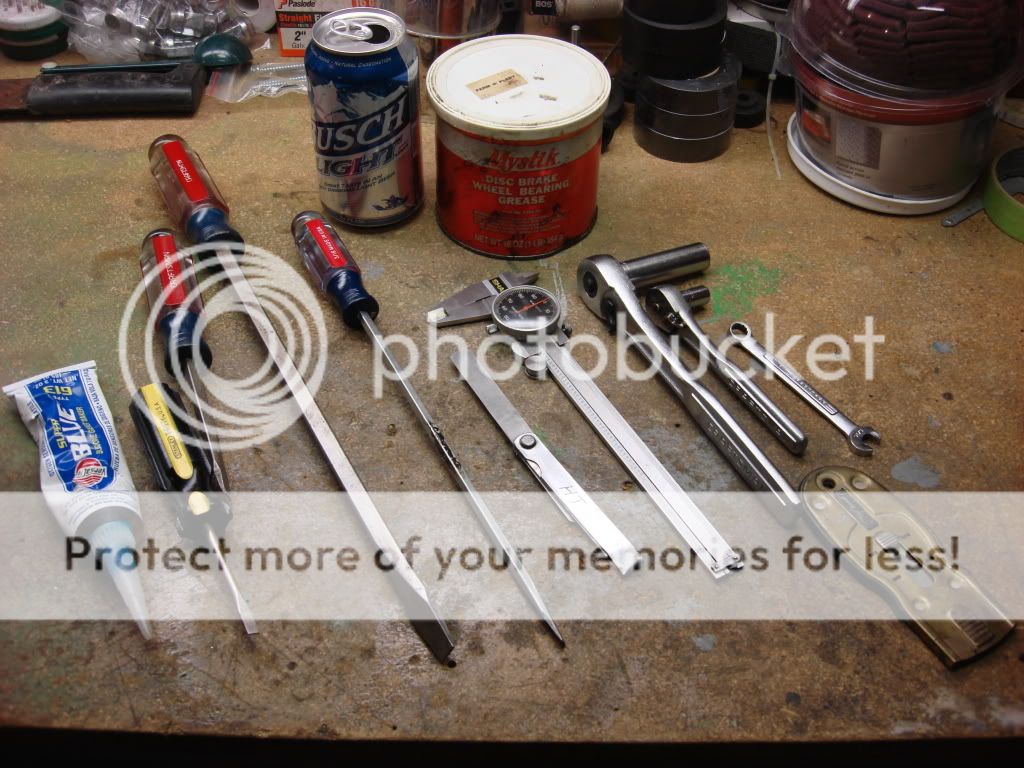
Here are the required tools
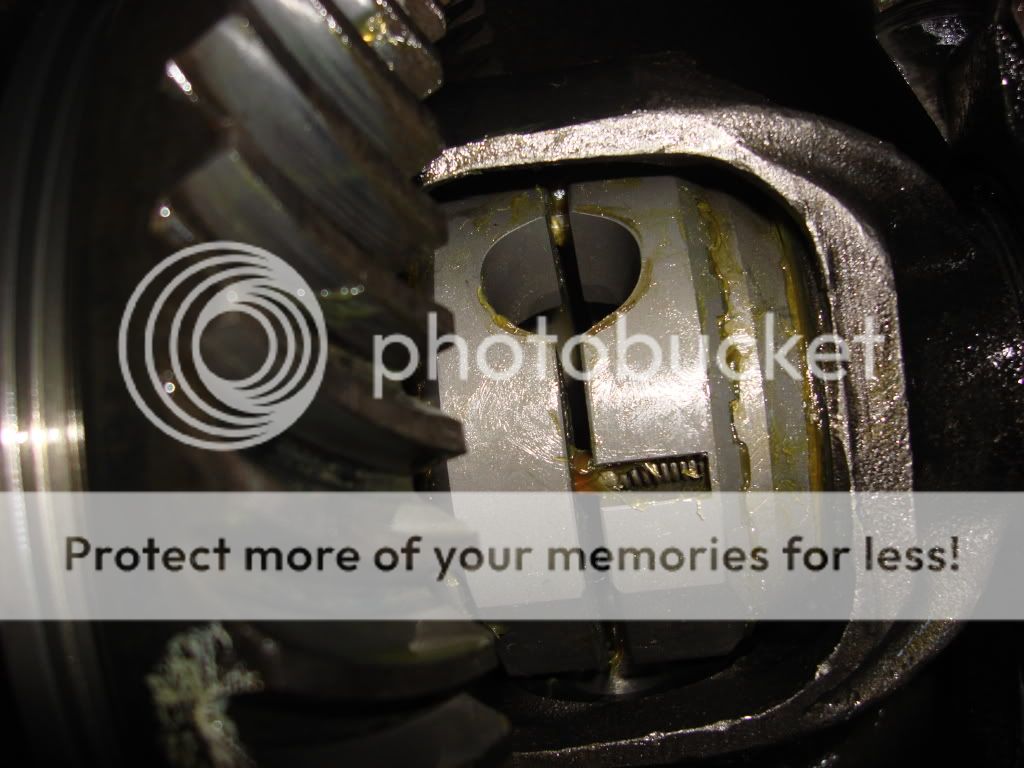
Pull the pan, pull the bolt holding the pin, set the carrier at 45º so the pin will pass the case.
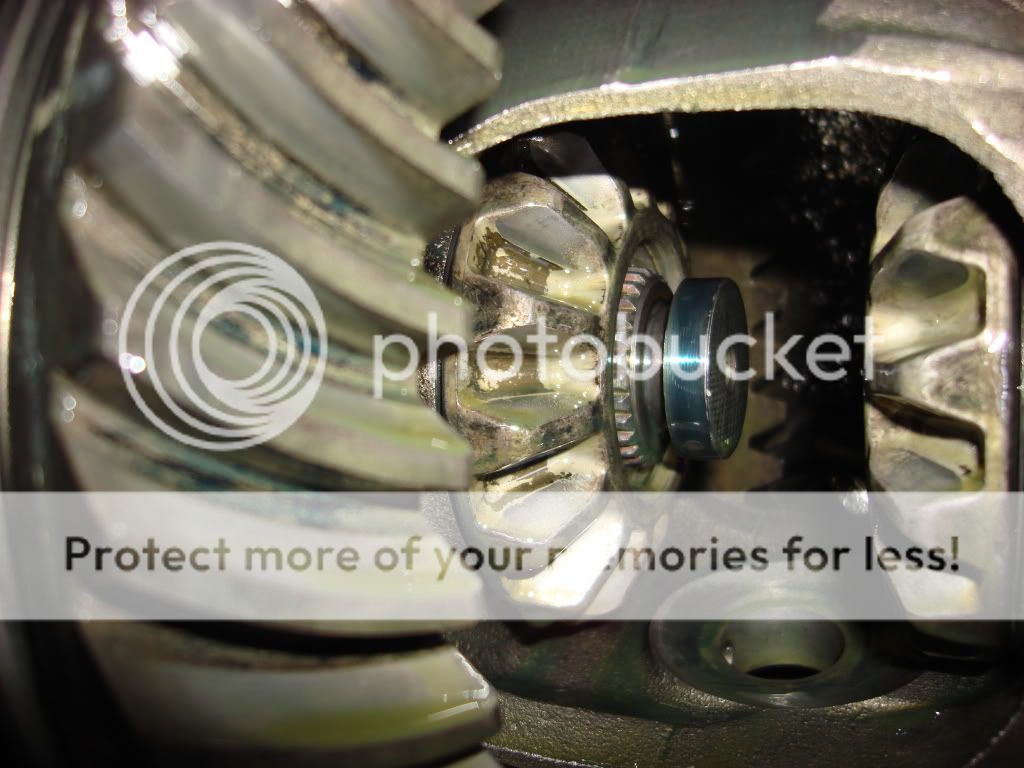
Pull spiders, their washers will not be used.
As described in the directions, grease everything so they will stick together during assembly.
Completely assembled minus the pin.
I could have taken a lot more pictures but with greasy hands it was tough, plus I was by myself.
I finished 2 1/2 hours after I started, this included gathering tools, setting the vehicle on jack stands, all the way to dropping it back to the floor. I don't want to make this sound too simple in terms of time, but the instructions were obviously written by Engineers. I had never installed a locker of any type ever before.
The part of the directions that were confusing dealt with making a tool out of a clothes hanger,,, very confusing for my simple mind,,, but I didn't even need it.
In the test part of the instructions you have to make sure that it will unlock. At first I thought something was wrong because it would not unlock. I got to thinking about it and determined that the axles were just pushed back in so maybe they were not exactly setting where they should be. So, I gave each tire a push/pull cycle. Then the test was good.
I buttoned everything up and went for a test drive. I have to say it's a bit strange getting used to the ratcheting noise when cornering. On the other hand I was able to climb a ditch in two wheel drive that I was never able to do before.
In addition, the instructions have you checking tolerances at two points during the install. One is the clearence between the pin and the c-clip cover/spacers, which is supposed to be between .006" and .020". Mine was right at .020". The second mesurement is the distance between the two halves when assembled, minus the pin. The tolerence was supposed to be between .145" and .170". Mine was at .155". It is also mentioned that you should check the thrust washers that are to be reused between the side gears and the casting for wear. Tolerences aren't given,,, more of a visual thing. Mine were Ok, but I ran them over a flat stone to knock off any burrs. Also, the pin was not to have more that .002" wear. I have no idea what it is supposed to be but, it looked real good.
This was a good experience and agree with Aussie when they say....
"If you can install a set of brakes you can install the Aussie Locker®."
I would rather do one of these than drum brakes.. I'll send out an update after the break in period.
The price shipped to my house was $322.
Here is the specimen.
Here is the distinctive sign of an 8.25,,, casting is flat on the bottom.
Here are the materials you'll need.
Here are the contents of the kit.
Here are the required tools
Pull the pan, pull the bolt holding the pin, set the carrier at 45º so the pin will pass the case.
Pull spiders, their washers will not be used.
As described in the directions, grease everything so they will stick together during assembly.
Completely assembled minus the pin.
I could have taken a lot more pictures but with greasy hands it was tough, plus I was by myself.
I finished 2 1/2 hours after I started, this included gathering tools, setting the vehicle on jack stands, all the way to dropping it back to the floor. I don't want to make this sound too simple in terms of time, but the instructions were obviously written by Engineers. I had never installed a locker of any type ever before.
The part of the directions that were confusing dealt with making a tool out of a clothes hanger,,, very confusing for my simple mind,,, but I didn't even need it.
In the test part of the instructions you have to make sure that it will unlock. At first I thought something was wrong because it would not unlock. I got to thinking about it and determined that the axles were just pushed back in so maybe they were not exactly setting where they should be. So, I gave each tire a push/pull cycle. Then the test was good.
I buttoned everything up and went for a test drive. I have to say it's a bit strange getting used to the ratcheting noise when cornering. On the other hand I was able to climb a ditch in two wheel drive that I was never able to do before.
In addition, the instructions have you checking tolerances at two points during the install. One is the clearence between the pin and the c-clip cover/spacers, which is supposed to be between .006" and .020". Mine was right at .020". The second mesurement is the distance between the two halves when assembled, minus the pin. The tolerence was supposed to be between .145" and .170". Mine was at .155". It is also mentioned that you should check the thrust washers that are to be reused between the side gears and the casting for wear. Tolerences aren't given,,, more of a visual thing. Mine were Ok, but I ran them over a flat stone to knock off any burrs. Also, the pin was not to have more that .002" wear. I have no idea what it is supposed to be but, it looked real good.
This was a good experience and agree with Aussie when they say....
"If you can install a set of brakes you can install the Aussie Locker®."
I would rather do one of these than drum brakes.. I'll send out an update after the break in period.
The price shipped to my house was $322.
") For those with the 8.25, it takes nice long wrenches to adjust carrier backlash/preload.
For those with the 8.25, it takes nice long wrenches to adjust carrier backlash/preload.