• Welcome to the new NAXJA Forum! If your password does not work, please use "Forgot your password?" link on the log-in page. Please feel free to reach out to [email protected] if we can provide any assistance.

Project Downward Spiral

RCman

NAXJA Forum User
Location
USA
Well I just got a PM request to start a build thread here on NAXJA... so I'll copy what I had started on another forum.
You 56k people might want to go and grab a 4 course meal and then come back...

FROM 05-19-2008:


Well I guess its finally time for me to start my build thread. I’ve held off for awhile as it wouldn’t have been much to show other than the come and go of the delivery guys. The “Project Downward Spiral” for the sole reason that as soon as I start something, I end up going all out on it and not really gaining much… yet.

Warning: This build will be slow as I’m on a very limited budget, but I’m trying not to cut corners and do it right the first time. Any suggestions, comments, thoughts are welcomed!

The plan as of today (5/19/08):
- Full width D60s, 5.38s Spooled rear, lockright front, alloyed 35-spline everything, flanges.
- H1s with a 38-39.5” tire
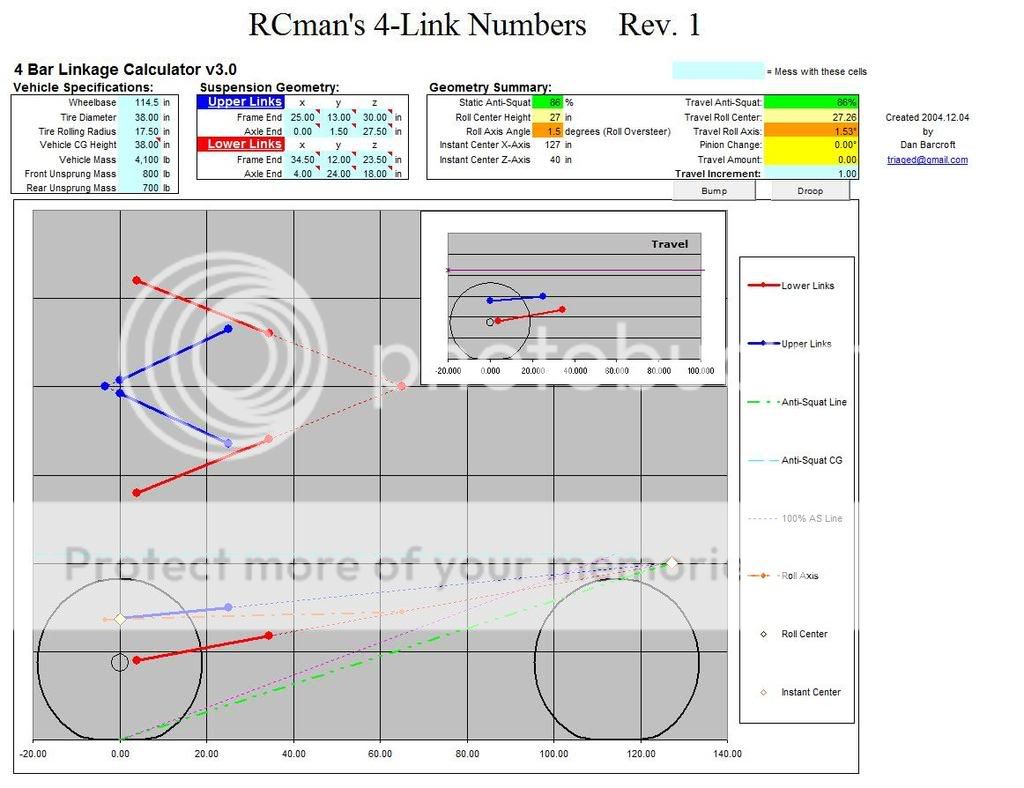
- 4-link rear with coilovers
- Drop brackets/short arms up front, RE springs, ACOS, Fox Shocks ( I know the DBs aren’t the best, but I do have them now so they aren’t costing my anything more)
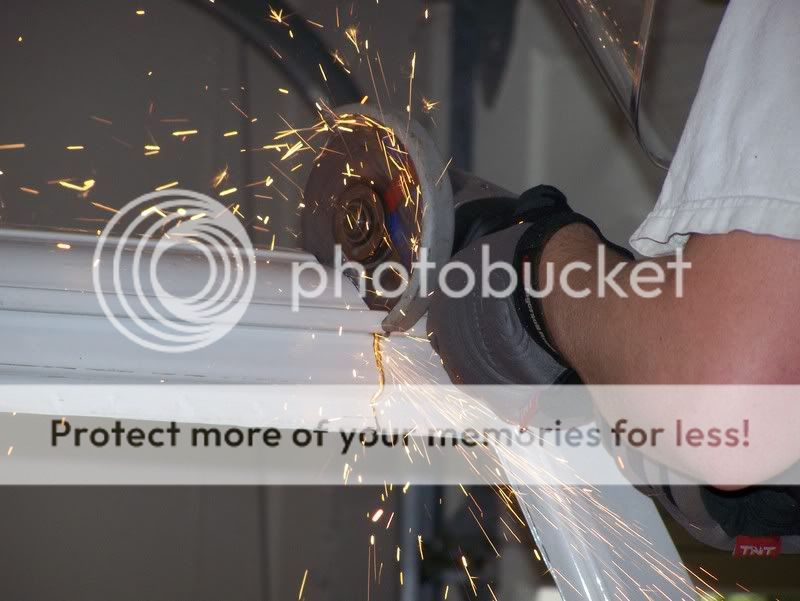
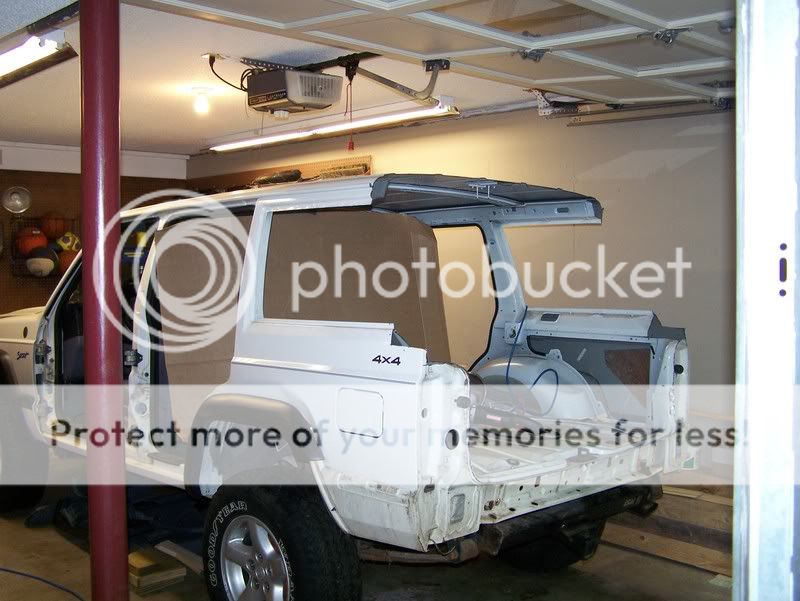
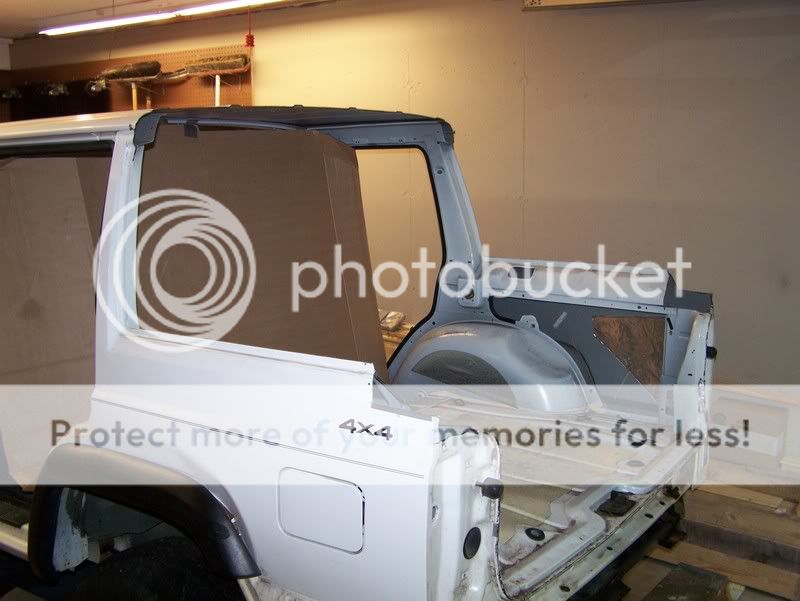
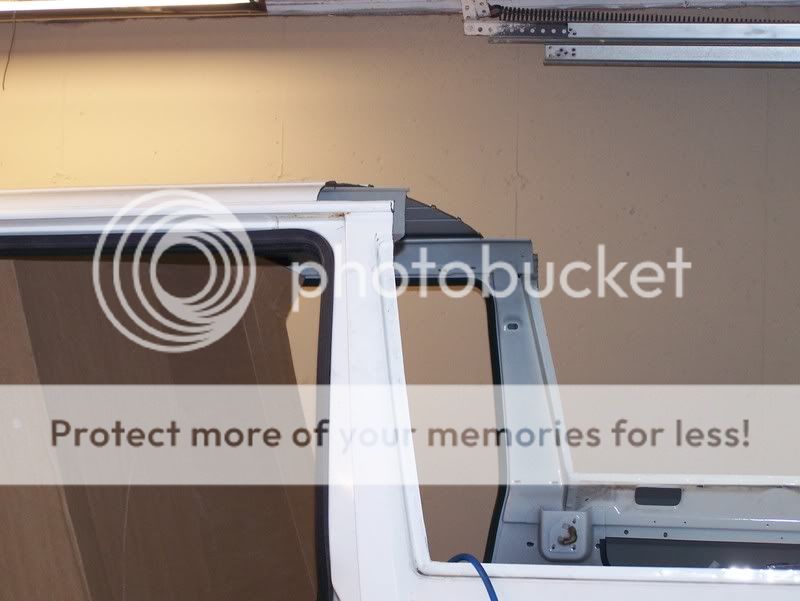
- Chop the top and more the hatch forward
- Cage, suspension seats, Crow 5-points.
- Other stuff I’m forgetting

I’ll start it off with some history for those that don’t know.

Wheeled it for awhile stock, had some fun, and threw on just over 2” lift with ACOS and new HD leafs. Its now December of 2005 and I’ve got an ARB and C4x4 rails. One trip out I had to much fun in and ended up hydro-locking the engine crossing what was thought to be a small brook. Got it running after pulling the plugs and cranking the water out, only to have it throw a rod while pulling back into my driveway after driving home.

Built the engine up, Comp Cams A6 X4 250H-13 Camshaft, Bored & Align honed, Speed-Pro 3.905 in. Bore Pistons, ported/polished intake, shiny new black paint, and so on. The goal at that time was to have a reliable engine that was street drivable with good mileage. In hindsight, should’ve stroked it, but I’m very happy with the tremendous increase in power it does have over stock.

Fast forward to December 2006, I’ve got a RE 4.5” lift, a semi-built D30/44 combo waiting and ready to go in. The day before I’m set to install it I’m coming home from work I stop at a red light. Next thing I know I’m hit from behind by a dumb woman who was smoking and talking on her cell phone. Insurance totals the Jeep, I buy it back, then purchase an ’03 Silverado.

How my Jeep looked before the accident:
JeepBefore1.jpg


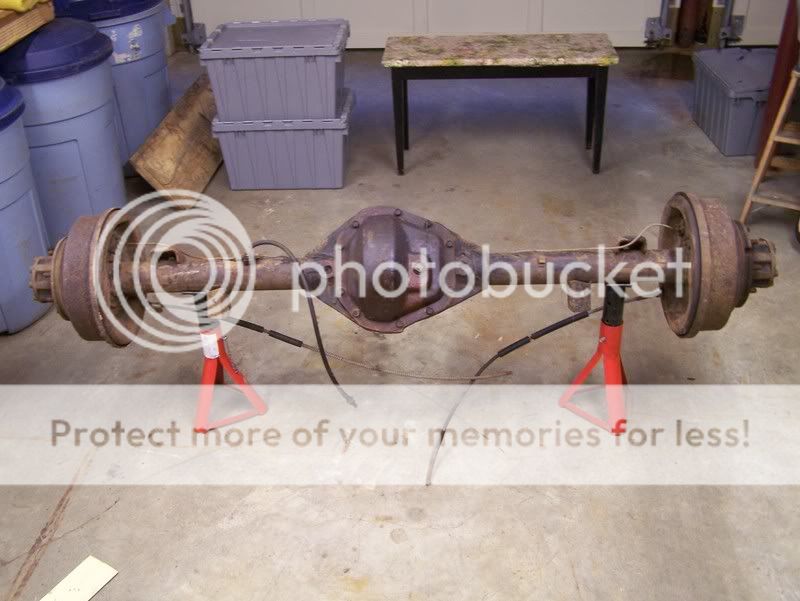
Over the next few months I played the “juggle a bunch of axles at my parents house” game. I literally went through a pair of XJ 30/44, a ’78 F250 HP D44, a ’87 F350 HPD60, then settling on a pair of D60s out of a ’79 F350. All said and done after the swaps I ended up with the ’79 F350 axles for next to nothing. Score. :thumbsup:

When I brought them home (they don't look like this anymore):
FirstHome_FrontHPD60.jpg


FirstHome_RearD60.jpg


After I’d settled on the axles I’m going to be using the parts collecting started and that’s pretty much all I’ve done from then until now. I did clean the axles up and built a GotTrikes Air/Hydro bender with a 1.75” 240 degree die, but more on those later.

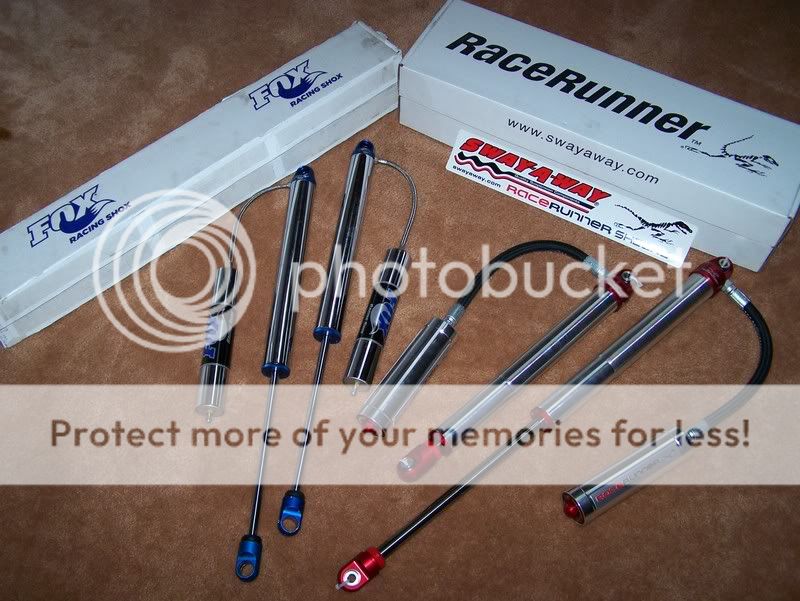
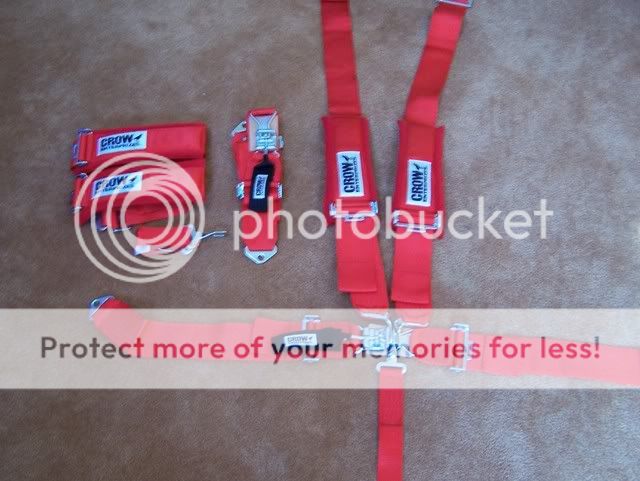
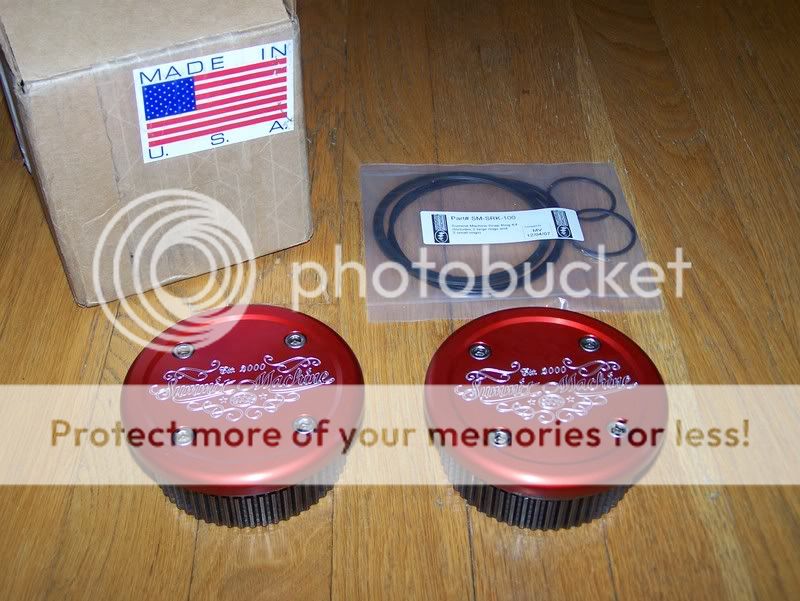
So far, I’ve collected a bunch of parts (to many to list), but some of the finer stuff; Precision 5.38s, 35-spline spool, 12’ travel Fox 2.0 Shocks for the front, Crow 5-points, Summit Machine drive flanges, brand new in box 12-bolt H1s, a front D60 T&T truss, BTF rear D60 truss, etc.
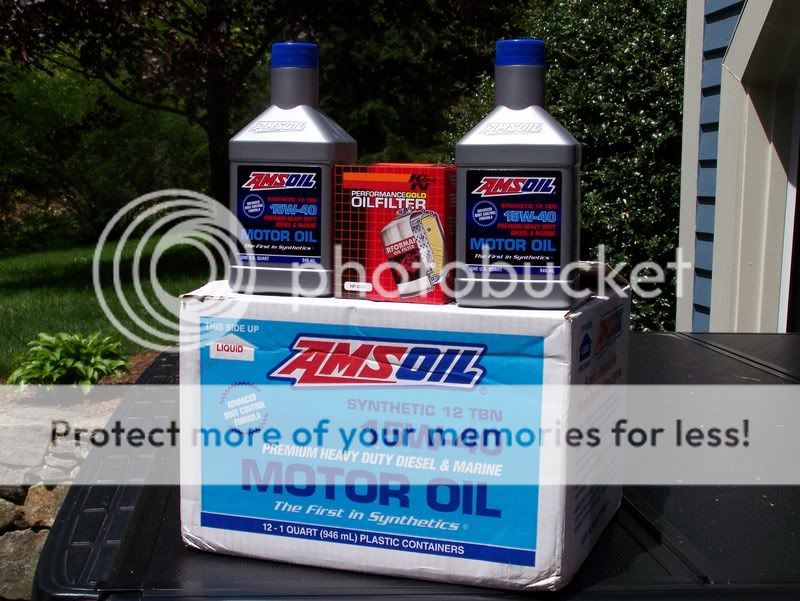
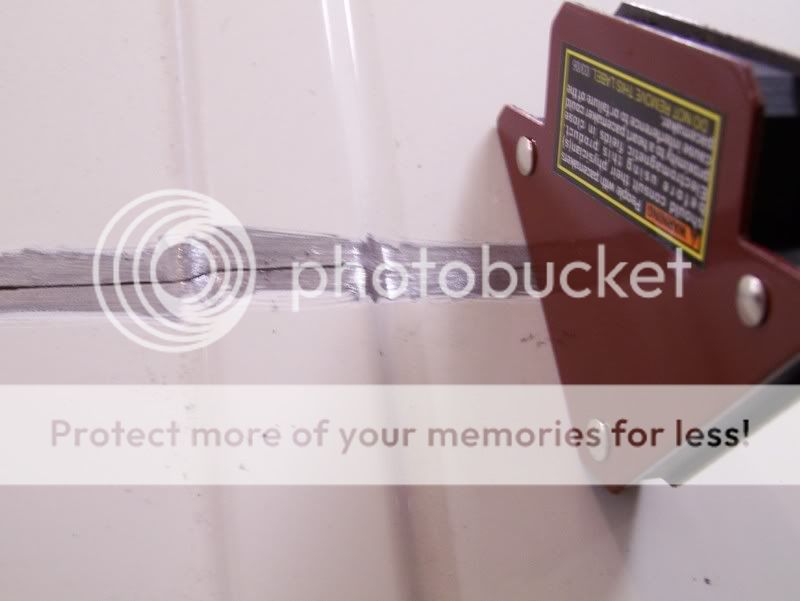
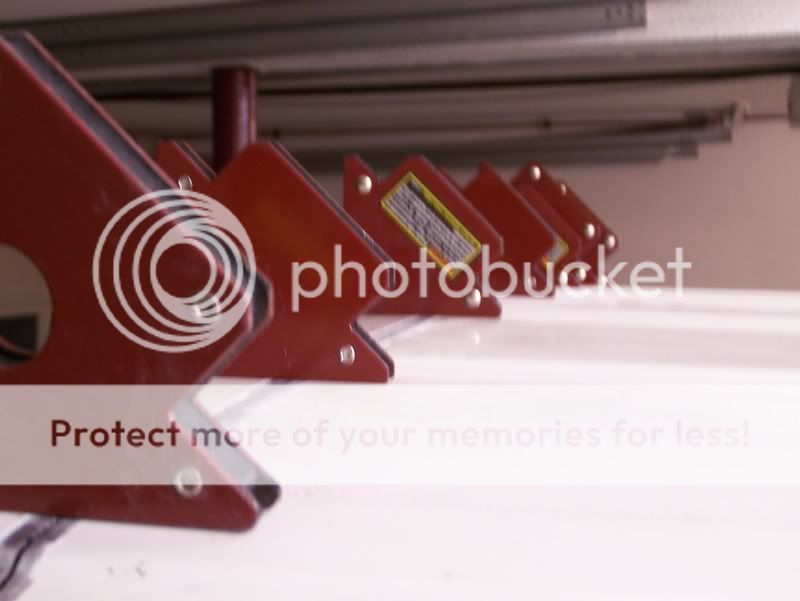
I guess I’ll show off a few of the parts :D :
D60_GearsInstallSpool.jpg


Xmas07_Crow_Harnesses.jpg


SummitMachine_D60_Flanges.jpg


During the parts collecting I cleaned up and stripped both axles down. While I was tackling the rear, I bored out the spindles to accept 35-spline shafts. I did a write-up here on that.

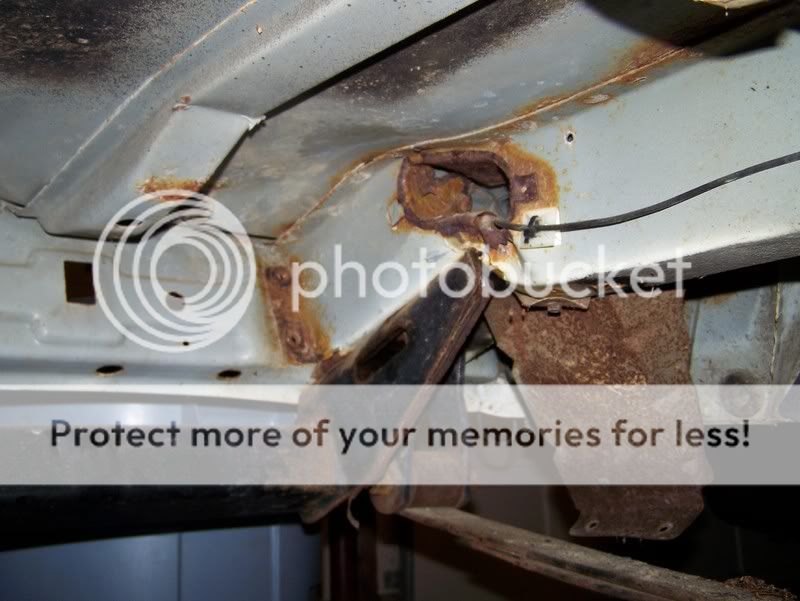
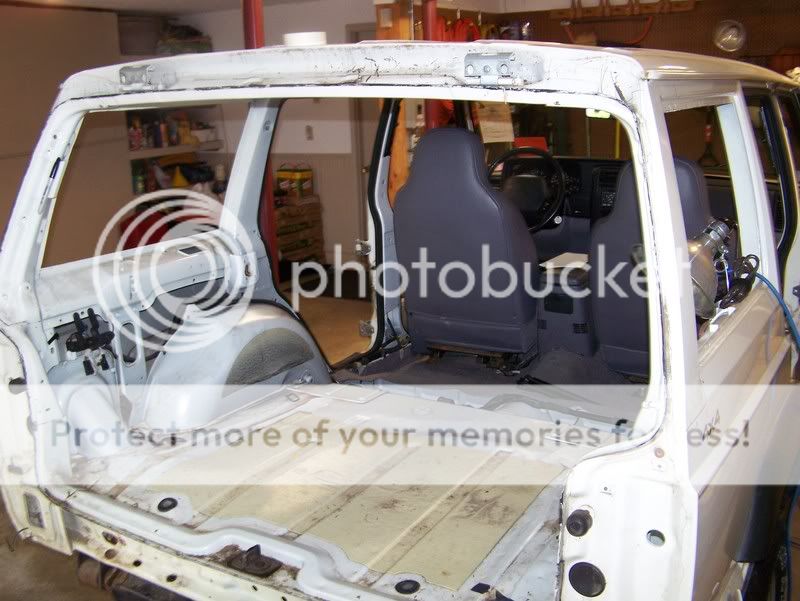
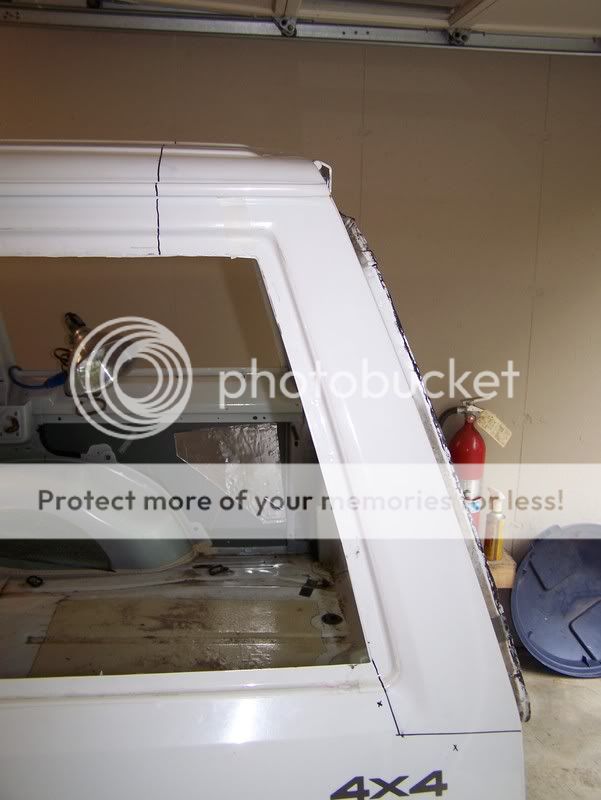
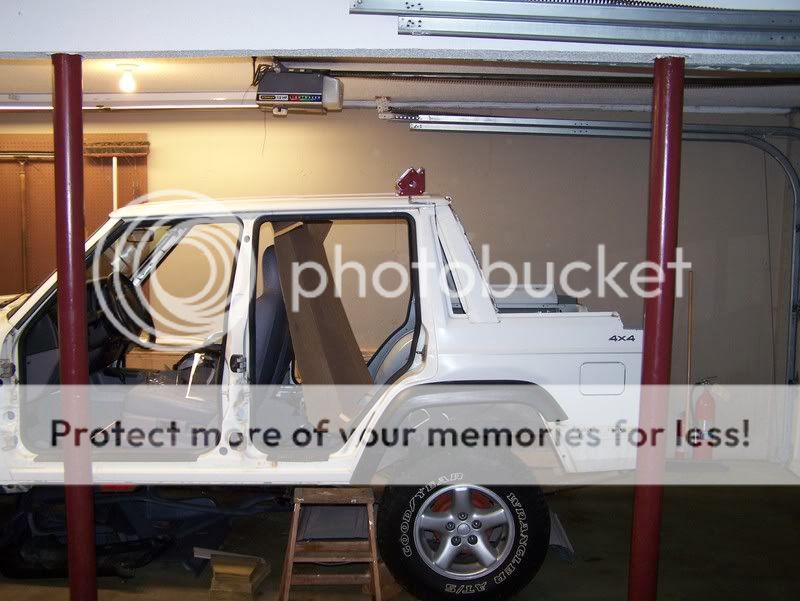
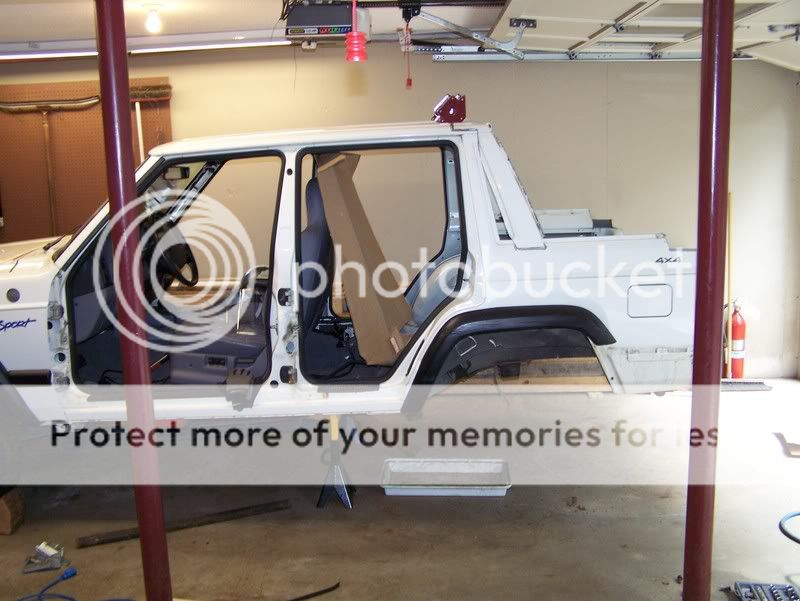
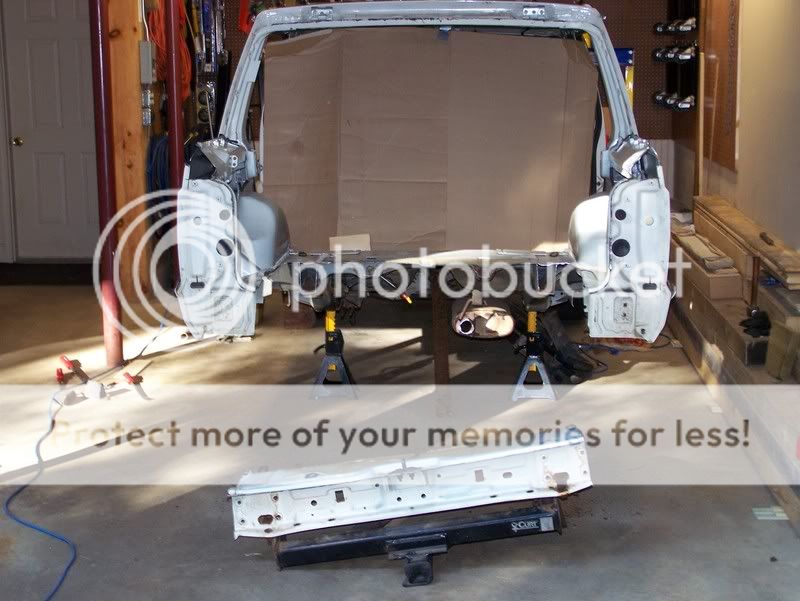
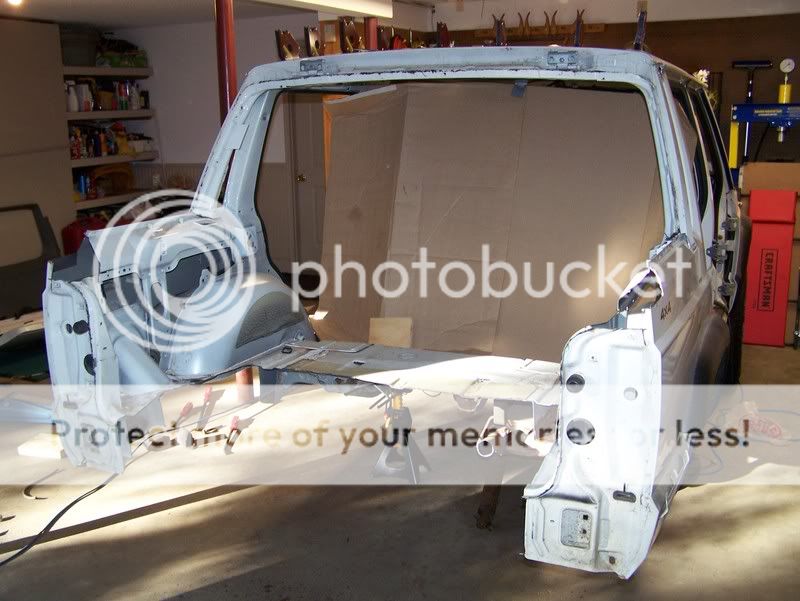
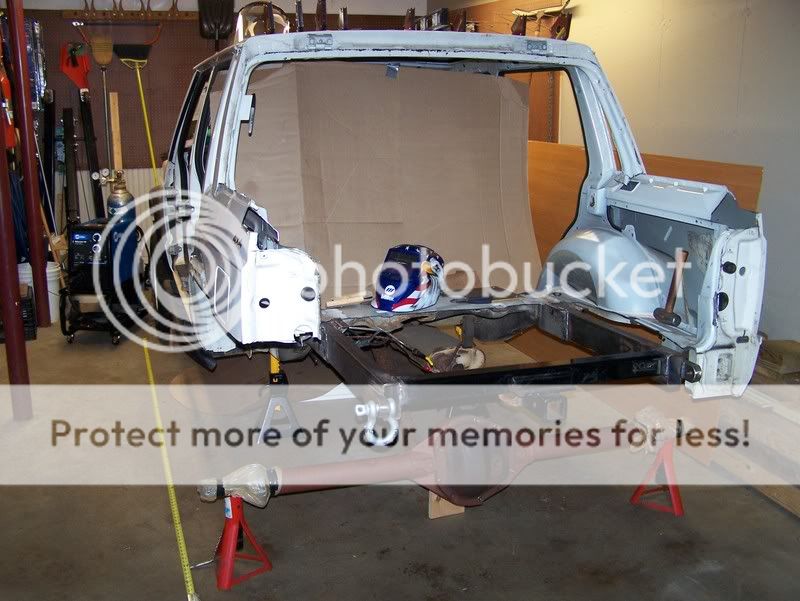
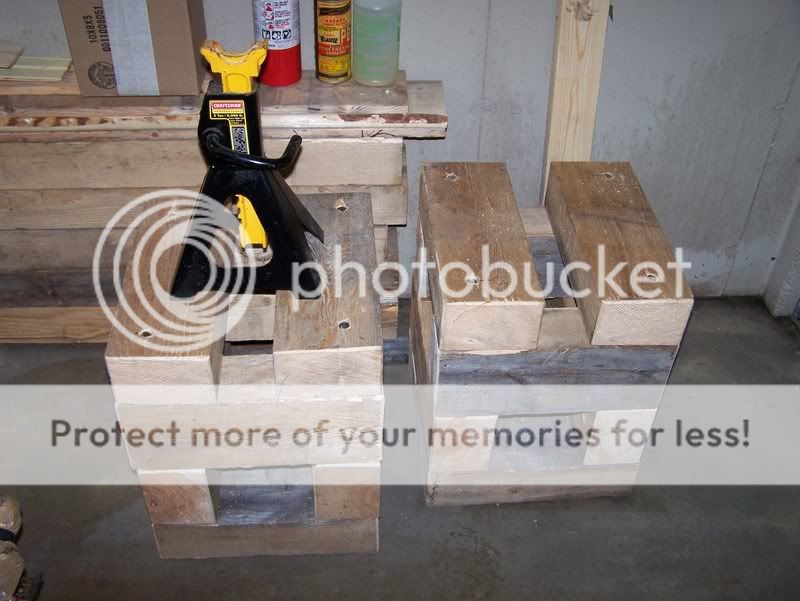
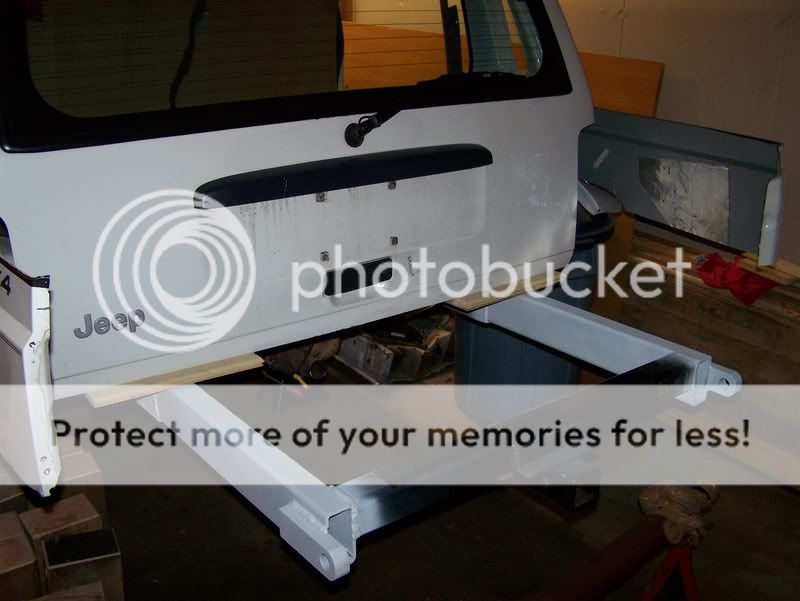
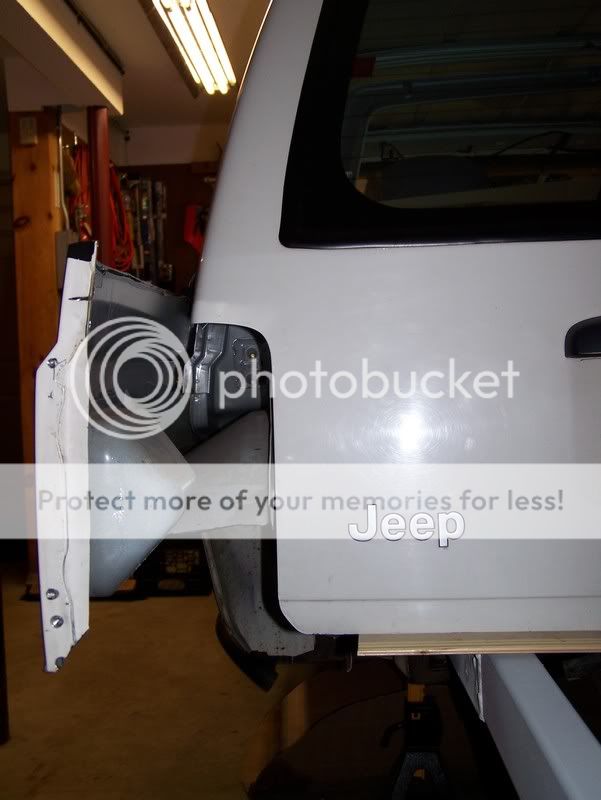
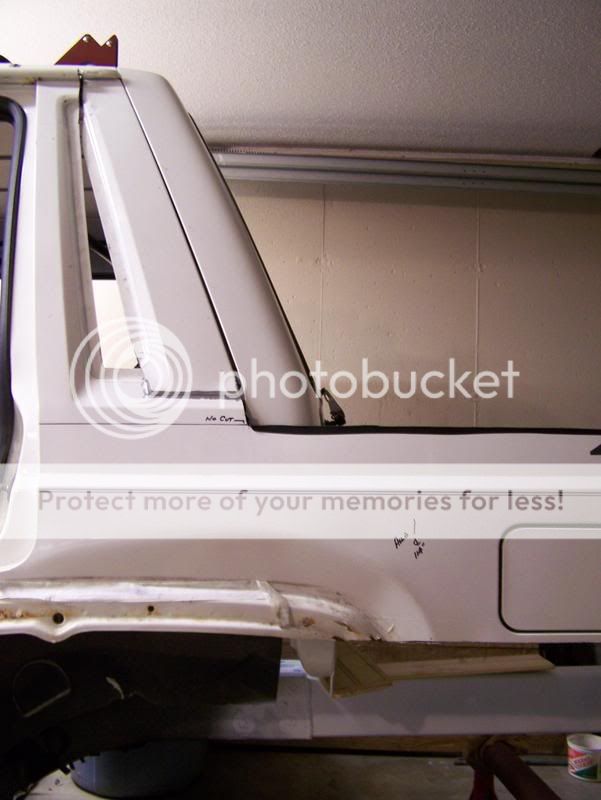
Which now brings me to this past weekend and why I can finally start this build thread. Teardown. I’ve very amazed at how fast one can strip down a XJ. Two days while chipping brush and spreading the mulch during that period in between yields this:

PartsOff.jpg


Teardown1.jpg


Teardown2.jpg


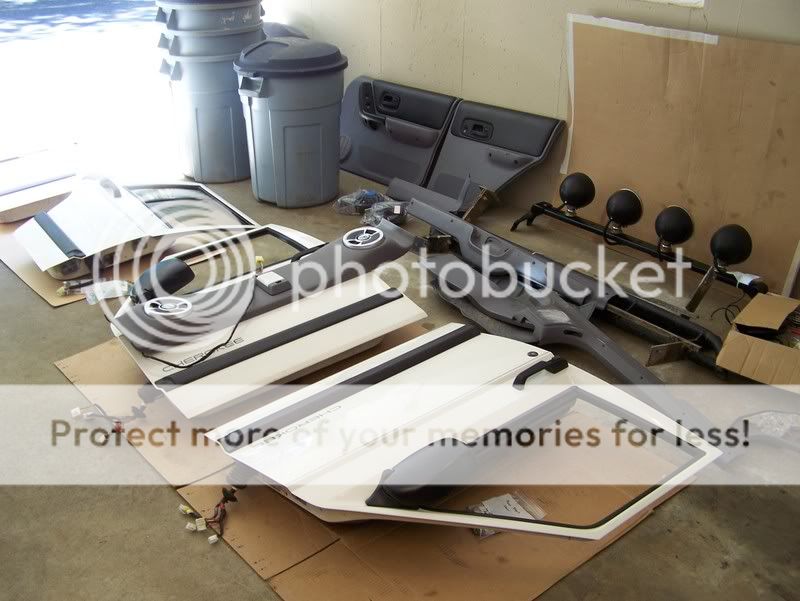
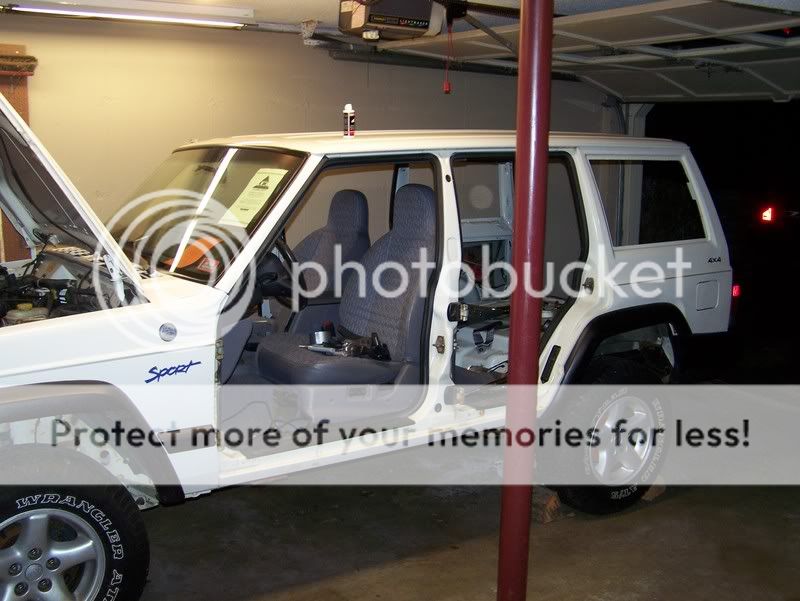
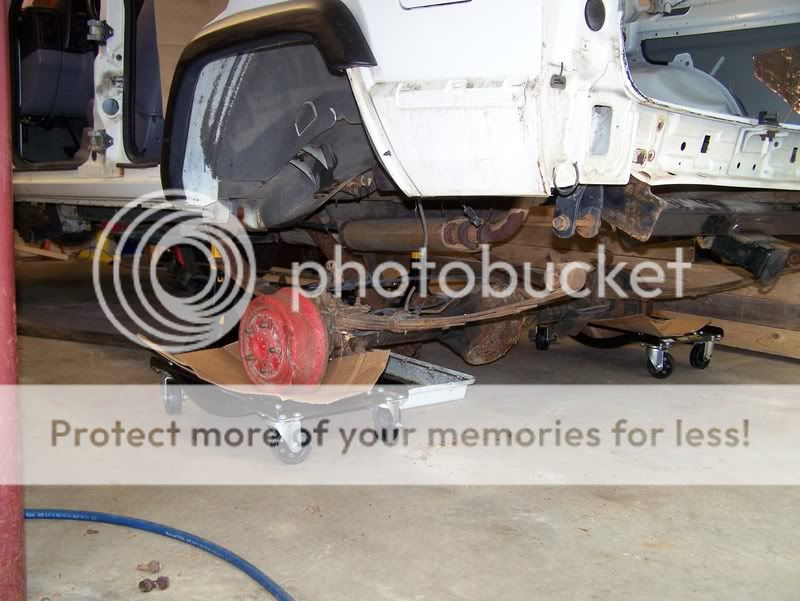
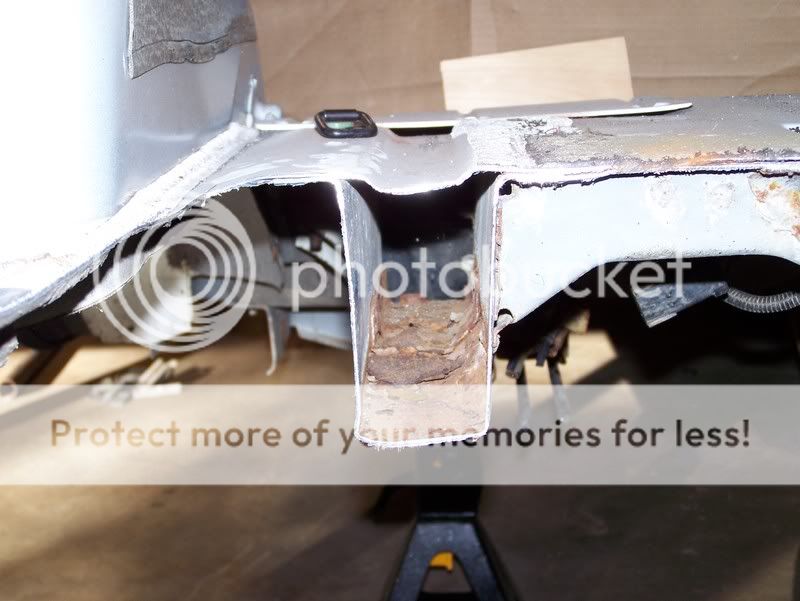
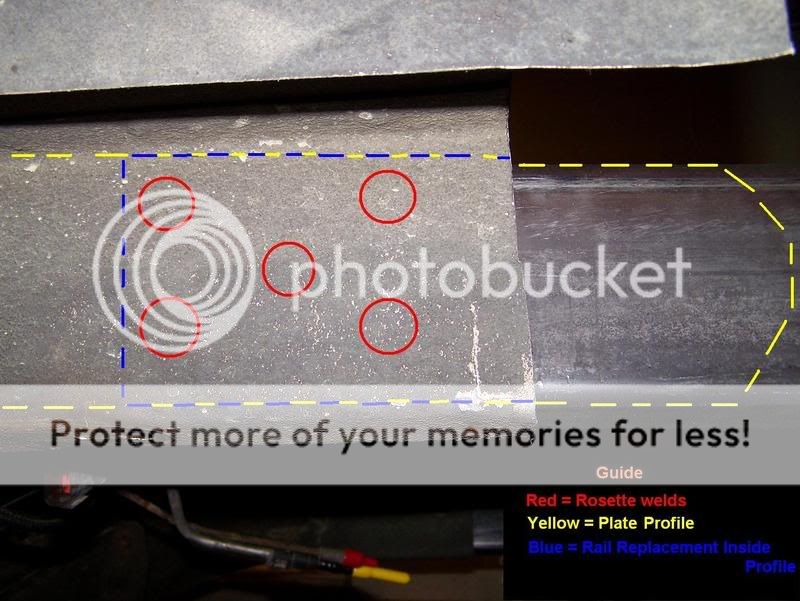
The above pictures don’t do the damage any justice. The sections of floor above the rear portion of the unibody rails are about 1.5-2” higher than they should be, the hitch is toast, the gas tank leaks, sheet metal on the driver’s side is pretty much done, etc.
 
FROM 05-21-2008:

Progress Today/Yesterday:
Minimal due to work, but got a few things done.
Bumper, some more plastic, and the leaky gas tank are now gone. I changed the oil before pulling the tank and let it run for a few minutes (fire extinguisher in hand, thankfully didn't have to use it).

This things gets more expensive oil than my almost $20k truck! :eek:
Amsoil AME 15W-40 Full Synthetic Diesel & Marine Oil, K&N Gold Filter. I wanted to use something very good as it won't get changed often and its going to have to sit for awhile.
OilChange_Amsoil_15W-40.jpg


Here's a good shot of the driver's side portion of what used to be a unibody rail. Note the multiple creases and the 2 1/4" raise (measured) in the floor pan. Good thing its all getting cut out soon.
Drivers_UnibodyRail_Damage.jpg


Thats all for now. Work will continue on it Sunday night. Tomorrow and this weekend nothing will get done, I'm headed away for the long weekend. :thumbsup:
 
Yesterday’s (5/31/08) Progress:
Rear Gutting finished:
Gut_Finished.jpg


Spent about half an hour trying to decide exactly how and where I was going to cut things up.
First cut lines:
FirstCutLines.jpg


After ensuring myself I could actually cut into it...
No turning back now:
FirstCut_NoTurnBack.jpg


First set of cuts completed:
FirstCutComplete.jpg


Second set of cuts completed:
SecondCutComplete.jpg


Third and final cut on the roofline:
FinalRoofCut.jpg


The next few hours were spent taking the rear section on and off while slowly cutting more until it fit pretty good.
Final roof line seam/joint:
RoofJoint.jpg


One can never have enough of these:
Magnets.jpg


Final Mockup and how I think it’ll sit when I finally burn it in:
SectionMocked.jpg


The plan is to fill in the gap between the moved rear section and the ‘C’ pillar with some sheet metal to finish it all off. I’ll also be putting the hatch back in place in its new moved forward position and weld that all in for a “sealed” cab.

That was it for the day/night. Went upstairs to clean up, had a few brews, and hit the sheets.
 
Began trying to figure out how exactly I was going to cut the hatch to get it to fit where I wanted it. After an hour or so with the tape measure I came to the conclusion that I couldn’t cut the hatch yet until I knew where the new “bedsides” where going to be. However, I wouldn’t know that until I had an axle underneath to determine the wheel wheels. This in turn couldn’t be done until I removed the damaged floor and unibody section and replaced it.
So after all that, work began this morning removing the Dana 35.
Disconnected:
AxleDisconnected.jpg


Something missing?
AxleGone.jpg


Next I spent some time working on where I was going to cut the floor out. I cut all the damaged section out and left as much as I could so that I’d have a place to tie in the new replacement rails.

Rear floor now on the floor:
FlooronFloor.jpg


Another angle:
FloorRemoved.jpg


I’ve seen pictures and read about how thin the unibody rails are, but it doesn’t actuall hit you until you cut into them and really get up close and look. Now wonder it twisted like a worm on a fishhook.

ThinUnibodyRails.jpg


That was it for the today, I had to spend some time cleaning up the garage and the tools. Grinding grit and cutoff wheel dust sucks when it gets all over everything. :(

Non-Tech / Commercial: These are by far the best gloves I’ve ever work with, they are comfortable, hug my hands very well, and are easy to work with. Now I’ve just got to find a place that carries them for cheap…
Ingersoll Rand Titanium Series Gloves:
IRTitaniumGloves.jpg


Weekend Concluded! :D
 
Looks pretty good so far, keep up the good work and keep us updated.
 
Thanks guys!
Not much progress to report for tonight. I spent my lunch hour calling all over to try an find some 2"x4"x.188wall rectangular tubing locally to replace the section of unibody rail I cut out.. I tried everything even the scrapyards. Ended up finding some but with the price of gas and the time it'd take to go pick it up I just sucked it up and payed the $31 in freight. Anyway, I should have 8ft of it at my doorstep Friday morning.

As for actual work on the XJ, I got about 20min of work in playing with the rest of the damn rear seat belts and getting them out. Stupid rusted bolts. :(

But hey, progress is progress, right?
I highly doubt I'll get anything done tomorrow night as my girlfriend gets back from 3 weeks in Germany, so she'll want some time outside of the garage... haha.
 
jjmat3 said:
Great looking build so far, Subscribing.
Thanks!
jjmat3 said:
Great oil choice but Why the k&n when you could have used a EA series Amsoil filter which does a much better job??
Well for one I used to be able to get volume discounts on K&N oil filters making them just about 1/2 the cost of an EA and I still have a few left over. Honestly, after running both, I don't see a difference between the two. IMO (take if for what it's worth) the inequality looks like: K&N Gold = Amsoil EA > Everything else.
 
Alright... unfortunatly not much progress to report from the weekend. There is just to much stuff going on and not enought hours. :( Next weekend will be the same way and I'm going to work a bunch of late nights in the garage to make up for it...

Anyway, the 2"x4"x.188" tubing came in and I cut it up to fit in what is left of the uni-rails. I'm pretty sure this is how I'm going to attach them:

Rail_Attachment_Proposal.jpg


If the picture doesn't explain itself; the red circles are rosette welds that will attach the uni-rail to the new rails. The blue line is the inner profile of the new rail showing where it ends. The yellow line is the re-enforcing plate (most likely 2"x4"x.188 angle) that will begin at the back of the the front spring hanger used to be, form up the bend in the uni-rail and continue till onto the new rail. That plate will be stitched and rosette welded.

Sound good?

I'm still working on the rear bumper plans... that will be revealed soon.
 
Alright... bumper layout Rev. 1: (Sorry for my MSPaint Skills :) )

Bumper_Proposal.jpg


Legend in the picture should explain it well.
I'm using the middle section of the hitch I've already got for a couple reasons. First, I have it, its free. Second, it's not damaged, so why not? The only issue I have with it is that it is 2.5" Square 0.188" wall. This means that the actual hitch portion would extend below the bumper by 1". I'm not really a fan of that, but I think by adding the "sliders" on the side of it (in pink) it shouldn't be a problem and won't complain if dropped on a rock. I think...

At the moment the plan is to weld everything in place and make it an integral part of the rear structure. This means that there would be no way to remove it without cutting some welds. Yet it does save me from having to build a separate bumper and rearmost cross member. Good idea or not?

Any input welcomed.
 
It appears that you made some very precise cuts off of the back! I really like how well the roof and pillars tacked together so nicely.

Was it a pain to get it to line up so well?
 
Twicepardoned said:
It appears that you made some very precise cuts off of the back! I really like how well the roof and pillars tacked together so nicely.

Was it a pain to get it to line up so well?
Well I knew from the start I wanted to do it, so I knew I had to plan the cuts well for a good turnout. Before any cutting was done I measured probably (no lie) a dozen different ways, twice, to make sure it all lined up well.

I wanted to keep the main roof support from the rear section I moved forward to give the roof some more strength back as well as keep it together for when I weld the hatch back in. I also wanted it as far forward as I could without cutting into the structural part of the 'C' pillar.

As you can see, this required me to cut the roof but not anything else (see cut #3) on the section that remains part of the Jeep. That cut was determined from the length I left on the cut off portion in Cut #1. Cut #2 was really just to get rid of the drip rail and the window edge as well as a big portion of roof.

It didn't just "drop" into place like that either though. Not kidding there is about 9 hours of work into the cutting, trimming, and fitment of the two from whole Jeep to what you see in the above pictures. I can't tell you (and don't want to remember) how many times that got lifted on and off and back on again. The final edge was cut with a steady hand and an .040 cut off wheel on my 4.5" angle grinder. I touched up only slightly to rid of the burs and removed paint with my air die grinder.

The only thing that didn't line up perfect is the drip rail edge. The approx 1.75" section I left on the cut portion was just about 3/16" narrower than the section it was moved up to. If that makes any sence...
I'm not going to worry about that as I plan to run 1.75" 0.120wall tube along the gutter edge as protection from leaning again something. I've placed a section I had lieing around in place to check, and I got lucky. It fits like a glove and covers and hides the small gap.

Unfortunatly I can't weld it into place until I figure out the hatch placement. That can't be done until the floor gets figured out. The floor can't be figured out until the rear suspension is determined, which can't be done until the replacement rails are done. Long list ahead of me... and I'm glad!

I can snap any picture you want later, I'm headed away this weekend so no work on the Jeep gets done. :( Yet, it will be nice to get away for the weekend at my place in VT. :D

I'm very happy with the results. Did it take a long time? Yes. Would I call it a pain? No, I like working in the garage. Would I do it again? Yup.
 
I'm glad to know that I'm not the only one who finds time in the garage therapeutic! :)
 
Twicepardoned said:
I'm glad to know that I'm not the only one who finds time in the garage therapeutic! :)

Haha... I've been saying that for awhile now to "the wife" and she doesn't get it.

Back on topic... my bank account is felling much lighter today. I just got a killer deal on a pair of 2.0 14" remote resi SAW coilovers, dual rate kits, and a spanner (no springs yet got to figure out weights/travel first).

More updates on the work done to the XJ later.
 
Sorry for the lack of updates, these last two weeks have been very busy so actual work is minimal. As well as the wallet is to light to purchase much of anything. :(
Anyway, bragging rights came in: :firedevil
On the left are the 12" travel Fox 2.0 remote resi shocks that will be going up front (had these a few weeks). On the left is what came in a few days ago, Racerunner (Sway-A-Way) 14" travel 2.0 remote resi coilovers for the rear.

CoiloversShocks.jpg


Ok so back to the actual tech, I got the replacement rails welded in place and the hitch ties them together for now. I think I've come up with a decent bumper plan, but not finalized yet. Getting them in place was much more of a project then I had expected. The portion I left of the passenger side rail was pretty messed up and took some time to get level and square with the driver's side.

ReplacementRailsWelded.jpg


This has been driving me nuts all day. The picture below shows the rear axle pretty much where it would be going as far as placement front to back (not ride height). Right where is it, assuming the front gets pushed forward an inch, sets the wheelbase at 112".

SideProfile1.jpg


Side note: Don't worry, there will be tie-ins for the replacement rails to the unibody, just haven't cut them yet.

Looking at how the hatch and the coilovers would play together I can't get the wheelbase any shorter than about 110" and I can relistically go back to about 114-115". I'm going to get the hatch cut and in place next, but I still need to determine a wheelbase. Any thoughts?
 
Well some progress was made.
Spent some time on Sunday making up some "jackstand extenders" out of 4"x6" solid oak and pinned them with 5/8" rebar. I don't think they are going anywhere and I think I'll feel comfortable under them when I need to use them on the rear. I need them because I'll be putting the rear jackstands almost at the back of the XJ when I tear apart the front in a week. The picture makes them look a lot taller than they are, really they are only 19.5" tall.

JackstandExtenders.jpg


I cut the rest of the passenger side quarter up and now it matches the driver's side as far as "comp cut", if you want to call it that.
As got the hatch fitted to the point were its now sits where it will lie when complete. A lot more trimming needs to be done in order to get the clearance needed for the wheel well, but that will come in due time.

Shot of the super mini bedspace:

HatchFitted1.jpg


This is what I was talking about with the clearance for the wheel well. I'm also thinking of bringing in what is left of the sheet metal from the quarter and semi-dovetailing it.

HatchFitted2.jpg


Side profile shot:

HatchFitted3.jpg


That gives you a good idea of what I was talking about with the wheelbase. You can just make out the mark on the quarter I drew for the 114" wheelbase centerline. Really that does work to well as the coilovers would interfere with the hatch and it needs to get pushed back about another 1"-1.5". Now add the approx 1" stretch in the front and I'm at 116"-117" of wheelbase. Thats more than I originally planned for and wanted. Thoughts? :dunno:

Tomorrow I'll do some calling around, I need to order some discs brakes for the rear D60 and some steel to re-enforce and sleeve the uni-body.
 
Last edited:
Alright. I sat under my Jeep tonight with the notebook and ran some numbers.
Here's what I came up with after a few attempts and about 2 hours going back and forth with a tape measure. Please, critique away! :paperwork

4LinkNumbers_Rev1.jpg
 
Back
Top