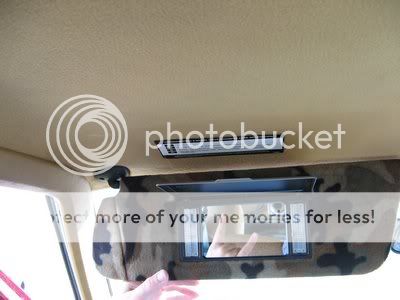
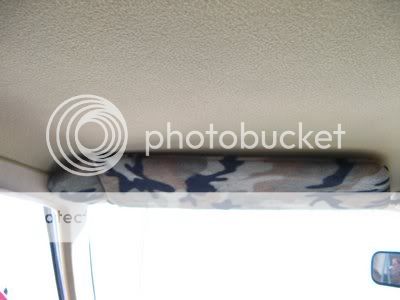
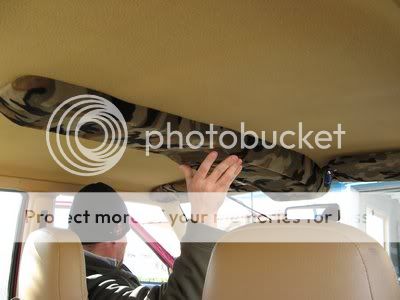
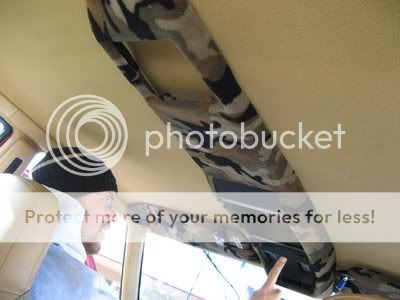
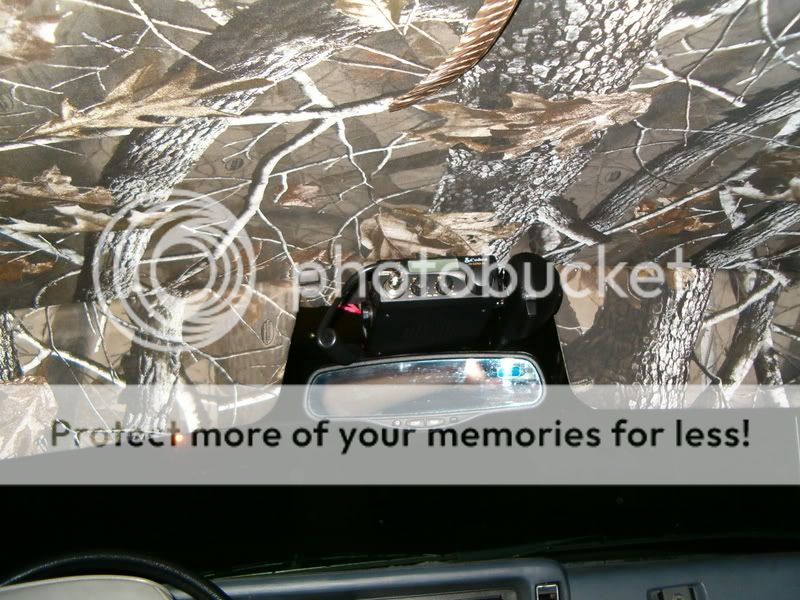
Well I found an early model overhead console at the local u-pull yard for $7 so I brought it home. I also brought home the visors because they had the lit vanity mirrors and were an upgrade from my plain ones. Here's a pictorial overview or how-to of sorts for re-upholstering your visors and your early overhead console...
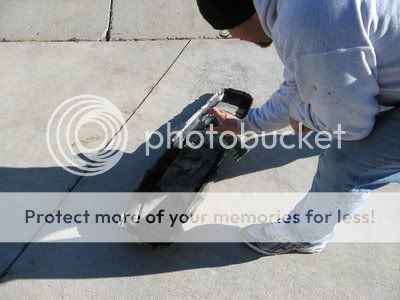
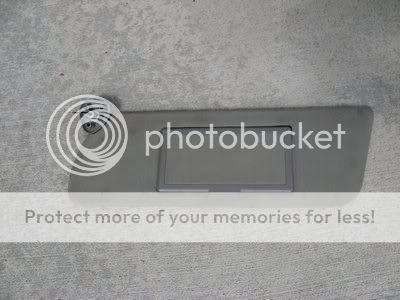
Old and busted looking visor from a 94 XJ
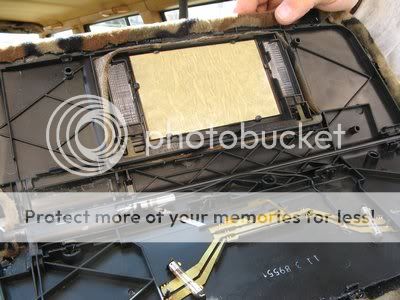
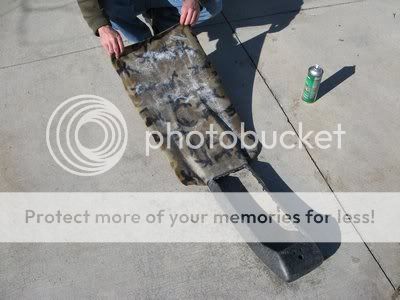
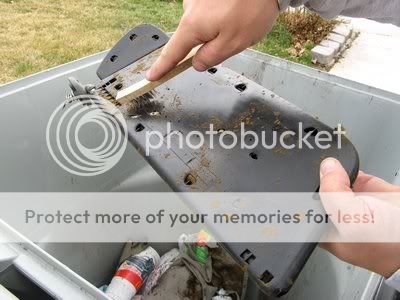
The factory fabric with the foam backing was nasty
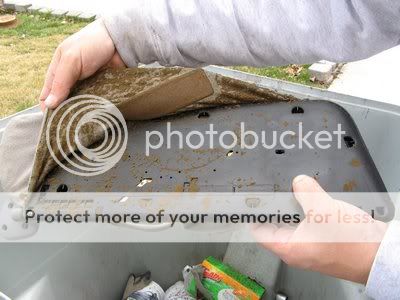
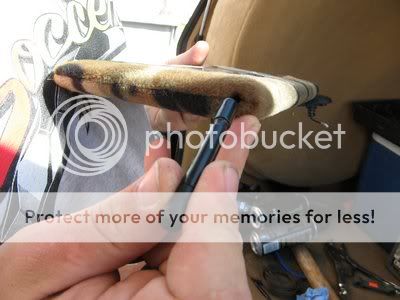
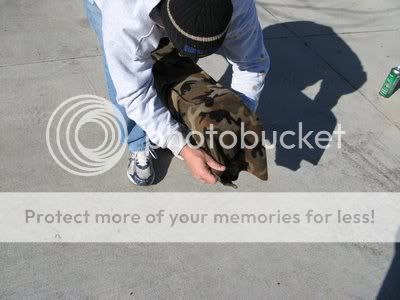
Wire brush the crap off
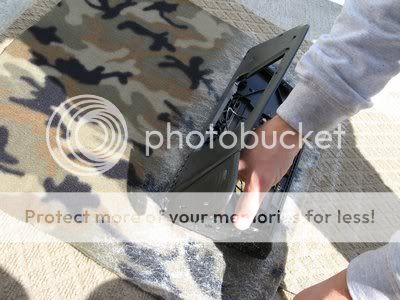
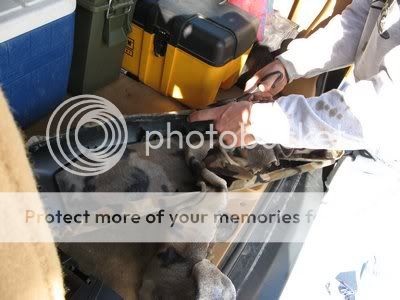
Here's where you need to make sure you dont break your visors. I actually broke the shit out of my 98 visors trying to get them apart. The earlier model visors are of much better plastic that is more forgiving
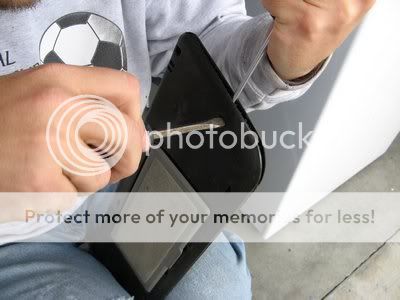
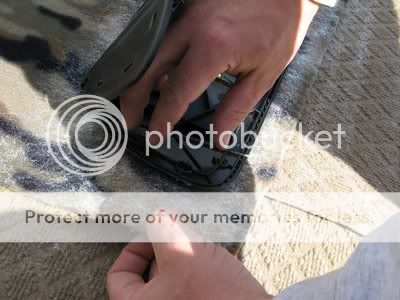
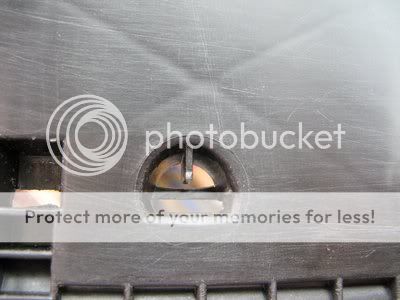
Make sure you pry from this side
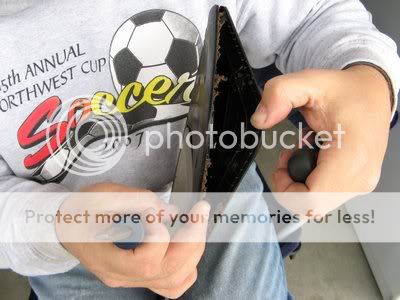
And not this side
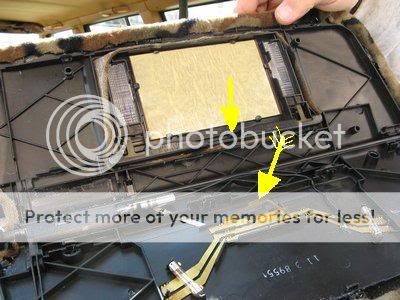
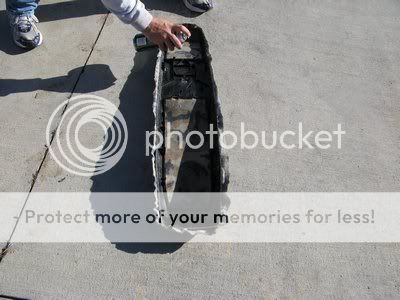
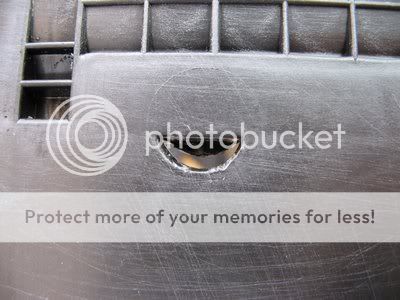
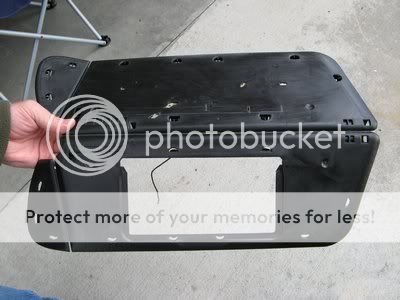
Stripped visor
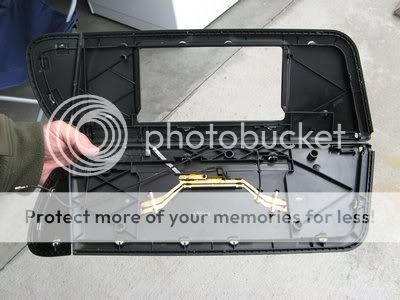
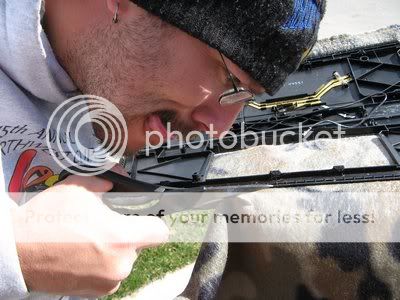
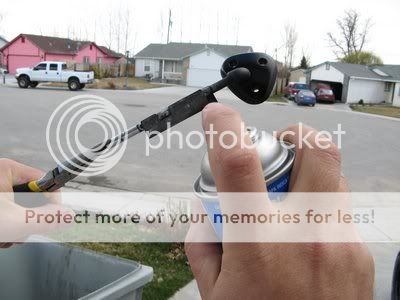
The visor hinges on my stock ones were black but were not hollow for the vanity lights so I had to paint the grey ones I got
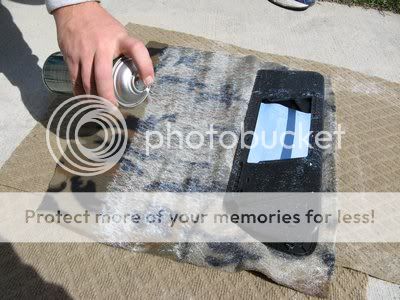
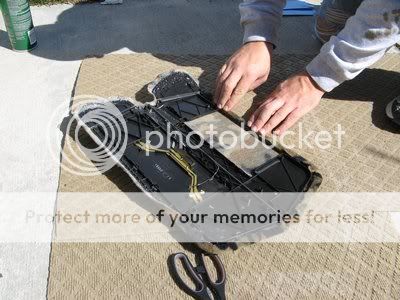
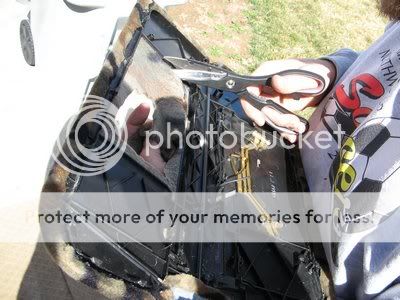
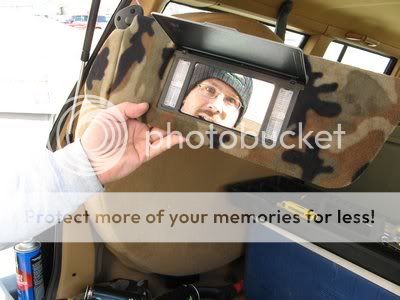
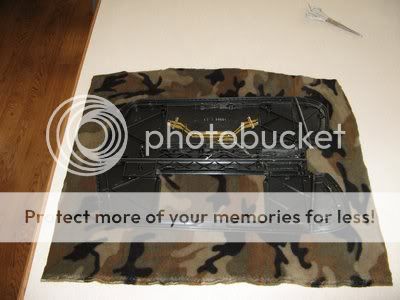
Make sure you cut plenty of extra material
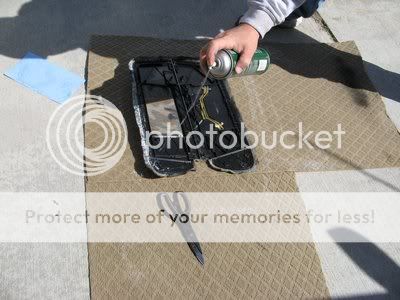
I got 3M Hi Strength spray adhesive but i'm sure the regular would work

Follow the instructions on the can
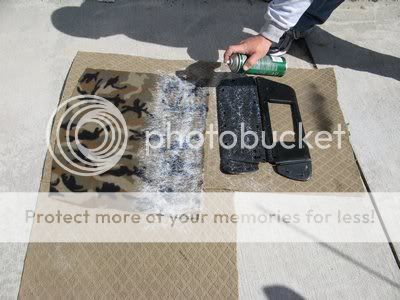
Hurry up and wait
[FONT="]
 [/FONT]
Old and busted looking visor from a 94 XJ
The factory fabric with the foam backing was nasty
Wire brush the crap off
Here's where you need to make sure you dont break your visors. I actually broke the shit out of my 98 visors trying to get them apart. The earlier model visors are of much better plastic that is more forgiving
Make sure you pry from this side
And not this side
Stripped visor
The visor hinges on my stock ones were black but were not hollow for the vanity lights so I had to paint the grey ones I got
Make sure you cut plenty of extra material
I got 3M Hi Strength spray adhesive but i'm sure the regular would work
Follow the instructions on the can
Hurry up and wait
[FONT="]